I've been looking for a good leather combination for quite a while. I've tried lots of layering combinations and a few wet blending techniques and I could just never find something that looked realistic. One thing I find when looking at pictures of leather (google searching leather things is weird) is that leather both holds shadows well (dark darks) and is reflective nearly as much as metal sometimes.
So I thought I'd try a new technique I'd been keen on giving a crack, pre-shading. The technique is simple, just shade the area black to white using whatever technique you like best (I've used layering). Then apply layers of very thin glazes over the top to give it colour.
Ignore the dodgy coat, it's a failed test.
So this picture shows the pre-shading step. I wanted this leather to look a little darker so I've left the blacks very black and not highlighted to high on the white. I'm using Vallejo Model Colour black and white colours. I find they are not grainy and handle the wet palette very well. Next up is the shade. Army painter to the rescue. I generally don't like army painter products. Their paints have arrived dry, their base coat sprays go on VERY thick and once i nicked a can with a plastic knife and BAM paint everywhere! But they two excellent products that I've used. Strong tone and Soft tone.
These are very thin paints with nice smooth pigment that go on as glazes. When combined with the process above, they produce a leather I'm happy with. Here is the same bag with just soft tone. There are about 5 layers, maybe 6, on it, but each layer is really simple, just was it on.
To be honest, I'm not overly happy with my pre-shade or how dark it turned out, but the camera washes out the picture a lot so it makes it look worse than it is, but I am happy with the colouring and highlighting. Different tones of leather can be achieved with adding inks into your soft or strong tone (not much!). Also after your first layer, you can achieve greater contrast by avoiding the whitest of areas and focusing the colour on the darker areas.
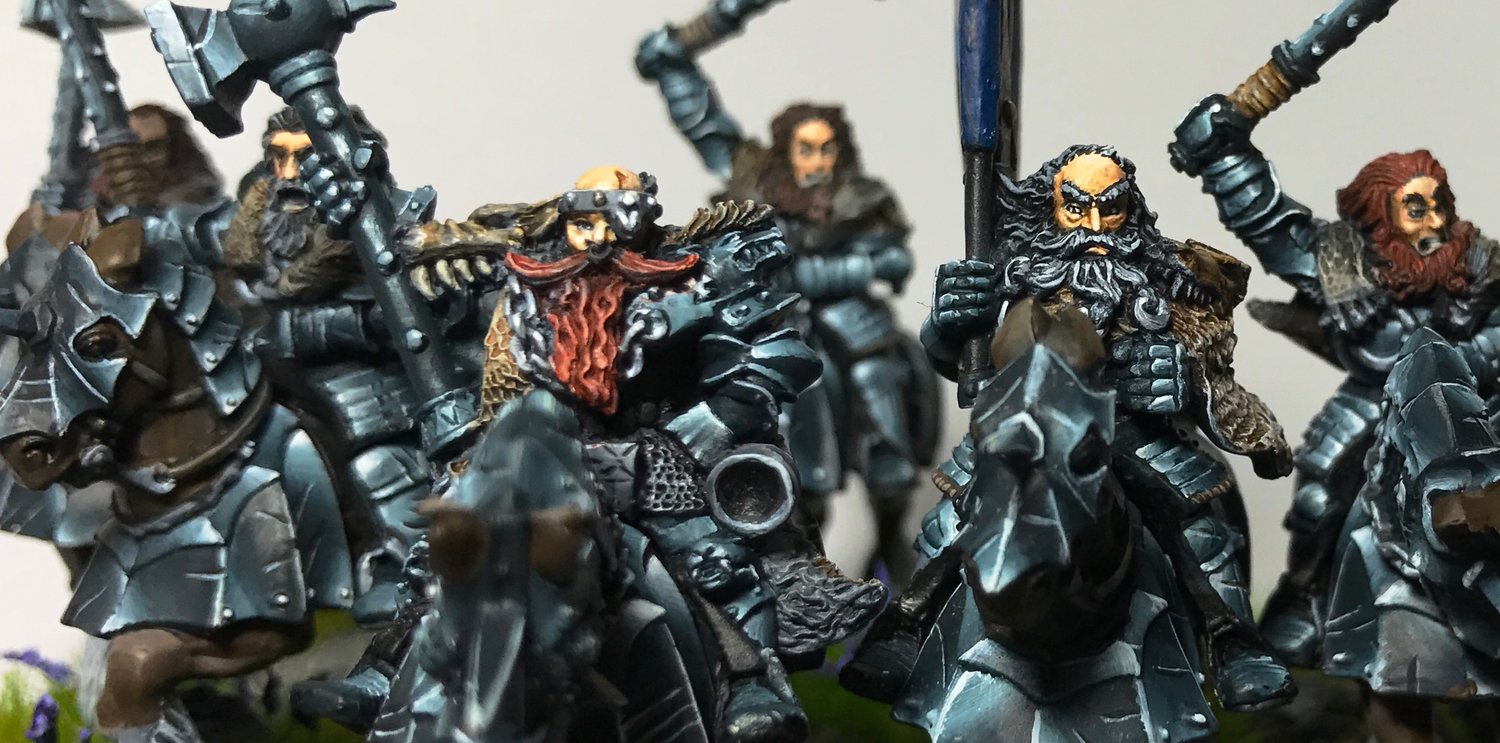
The boots on the captain were done in this fashion, so was the belt. The boots have a tiny bit of brown ink mixed in and lots of layers of soft tone, the belt has just a couple with no brown. Different effects (I think) but the same process. Now my goal is to make it a faster process.


