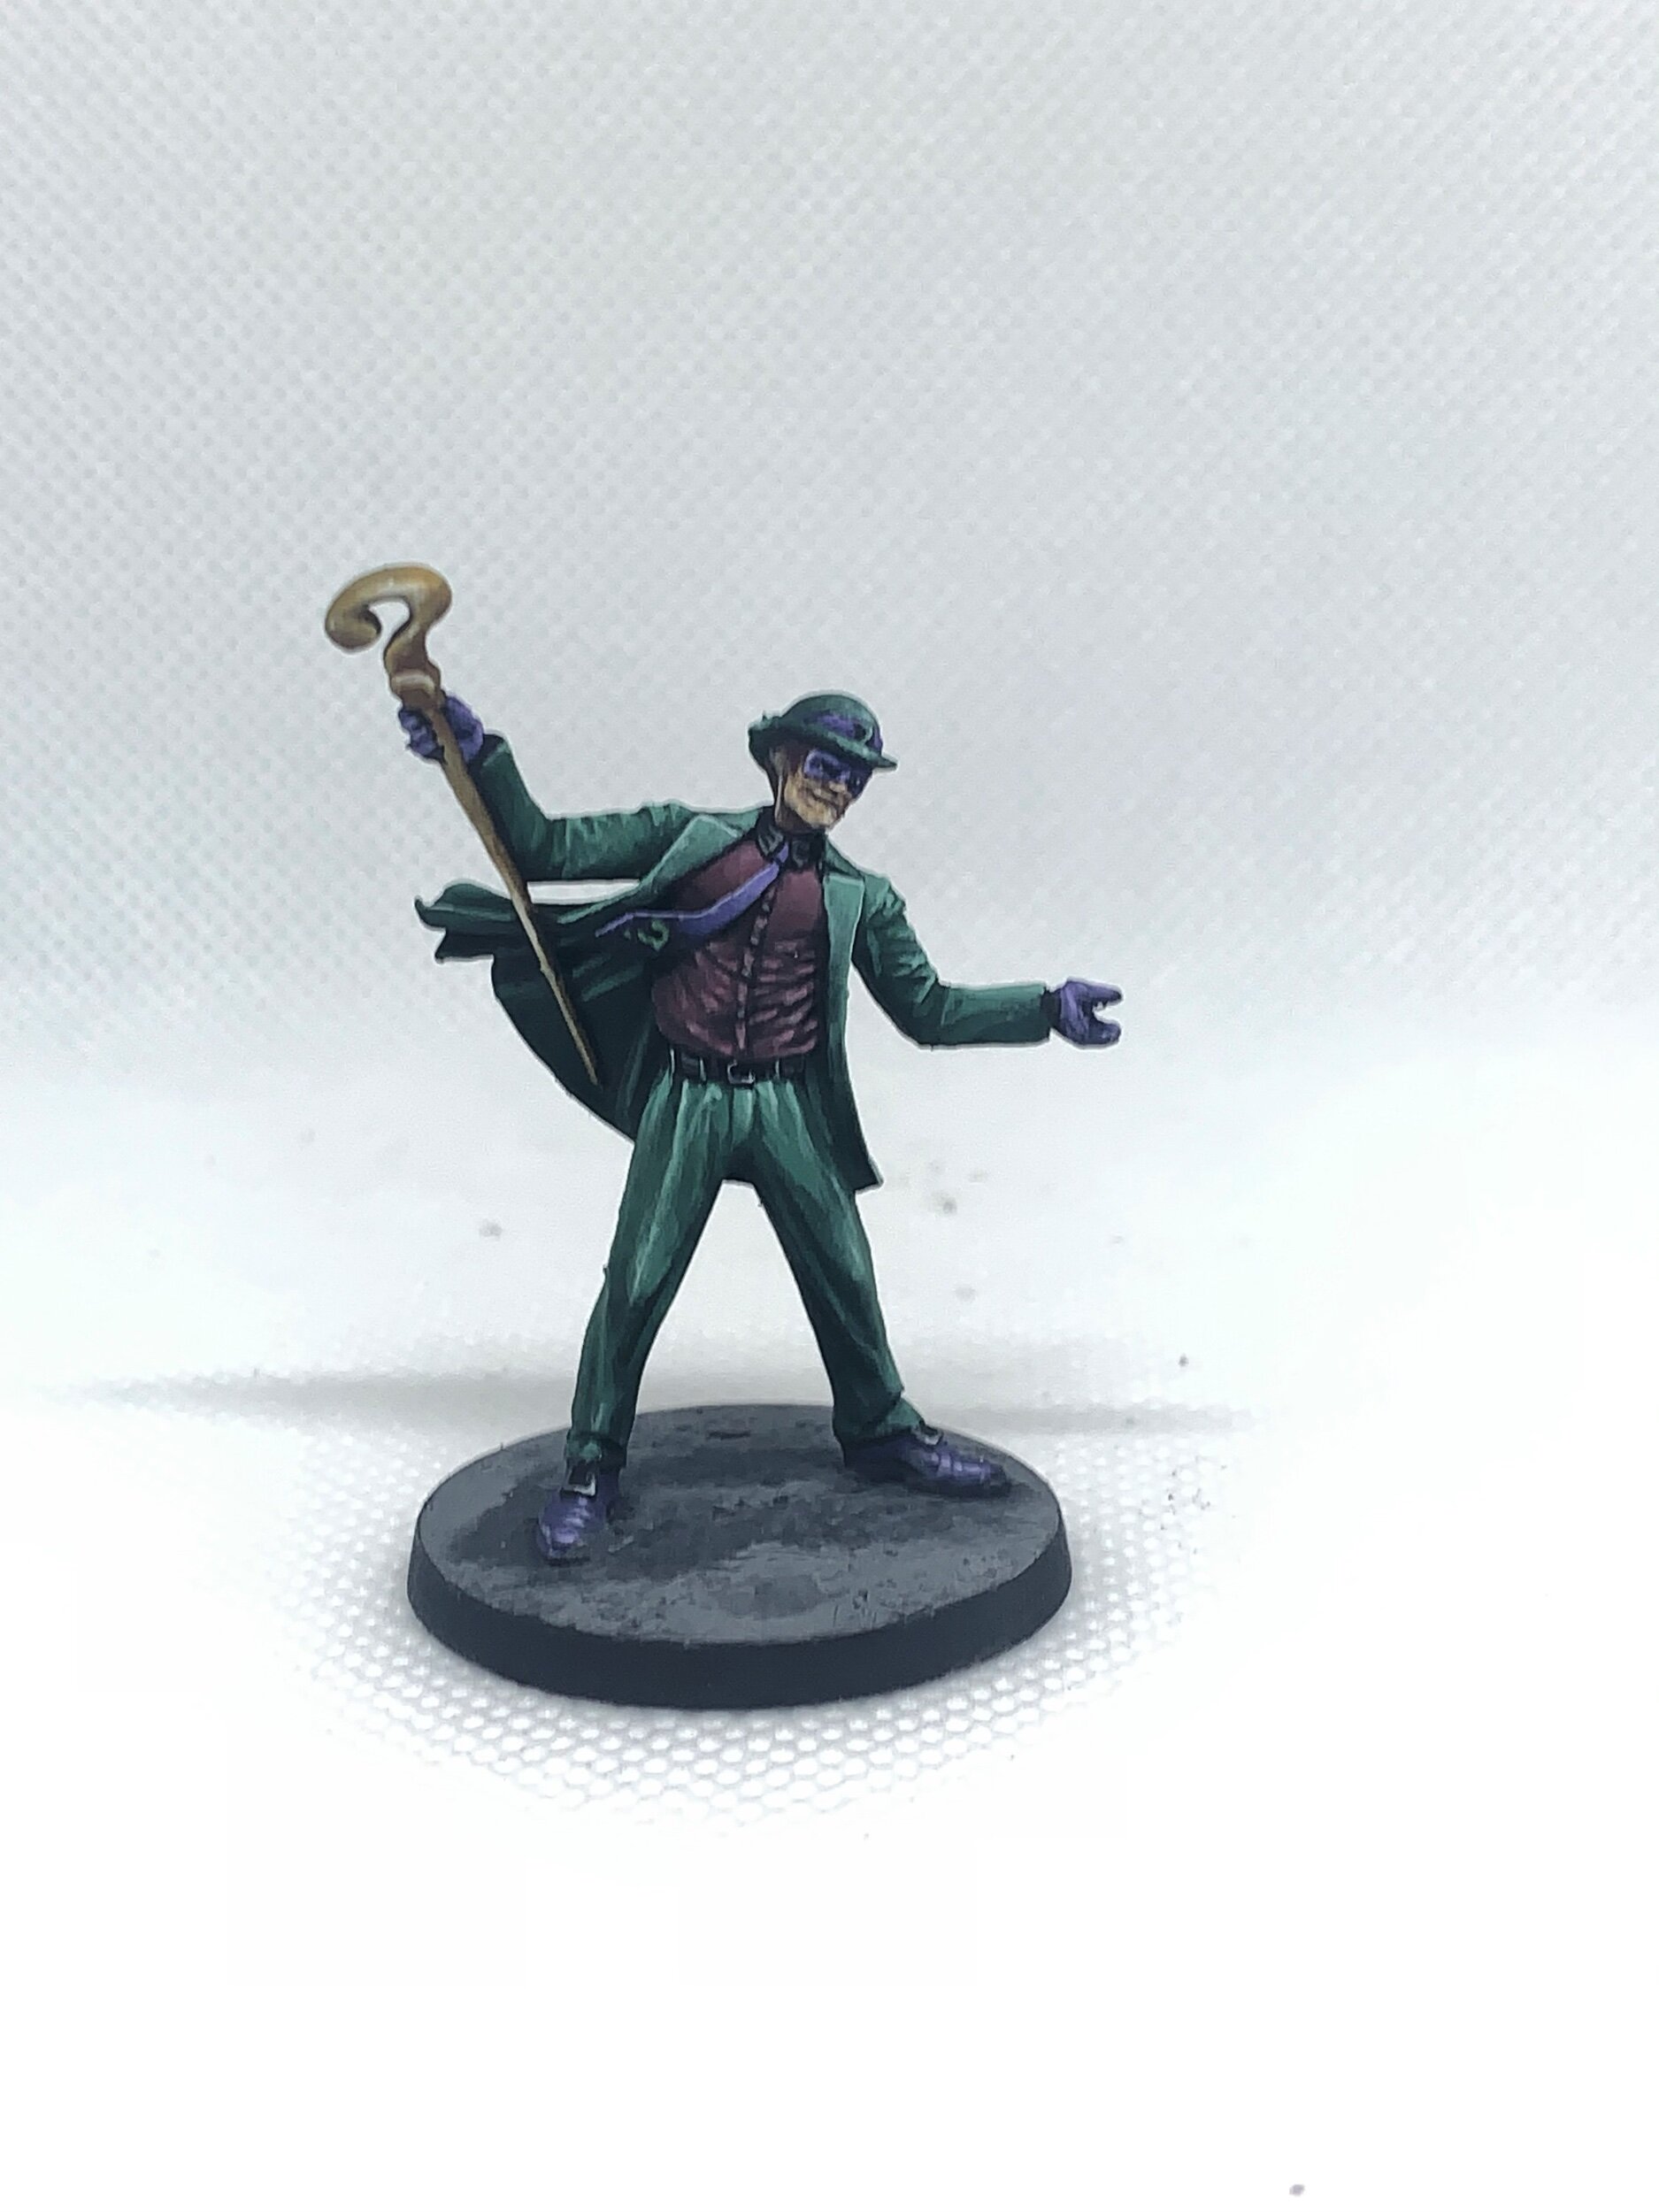
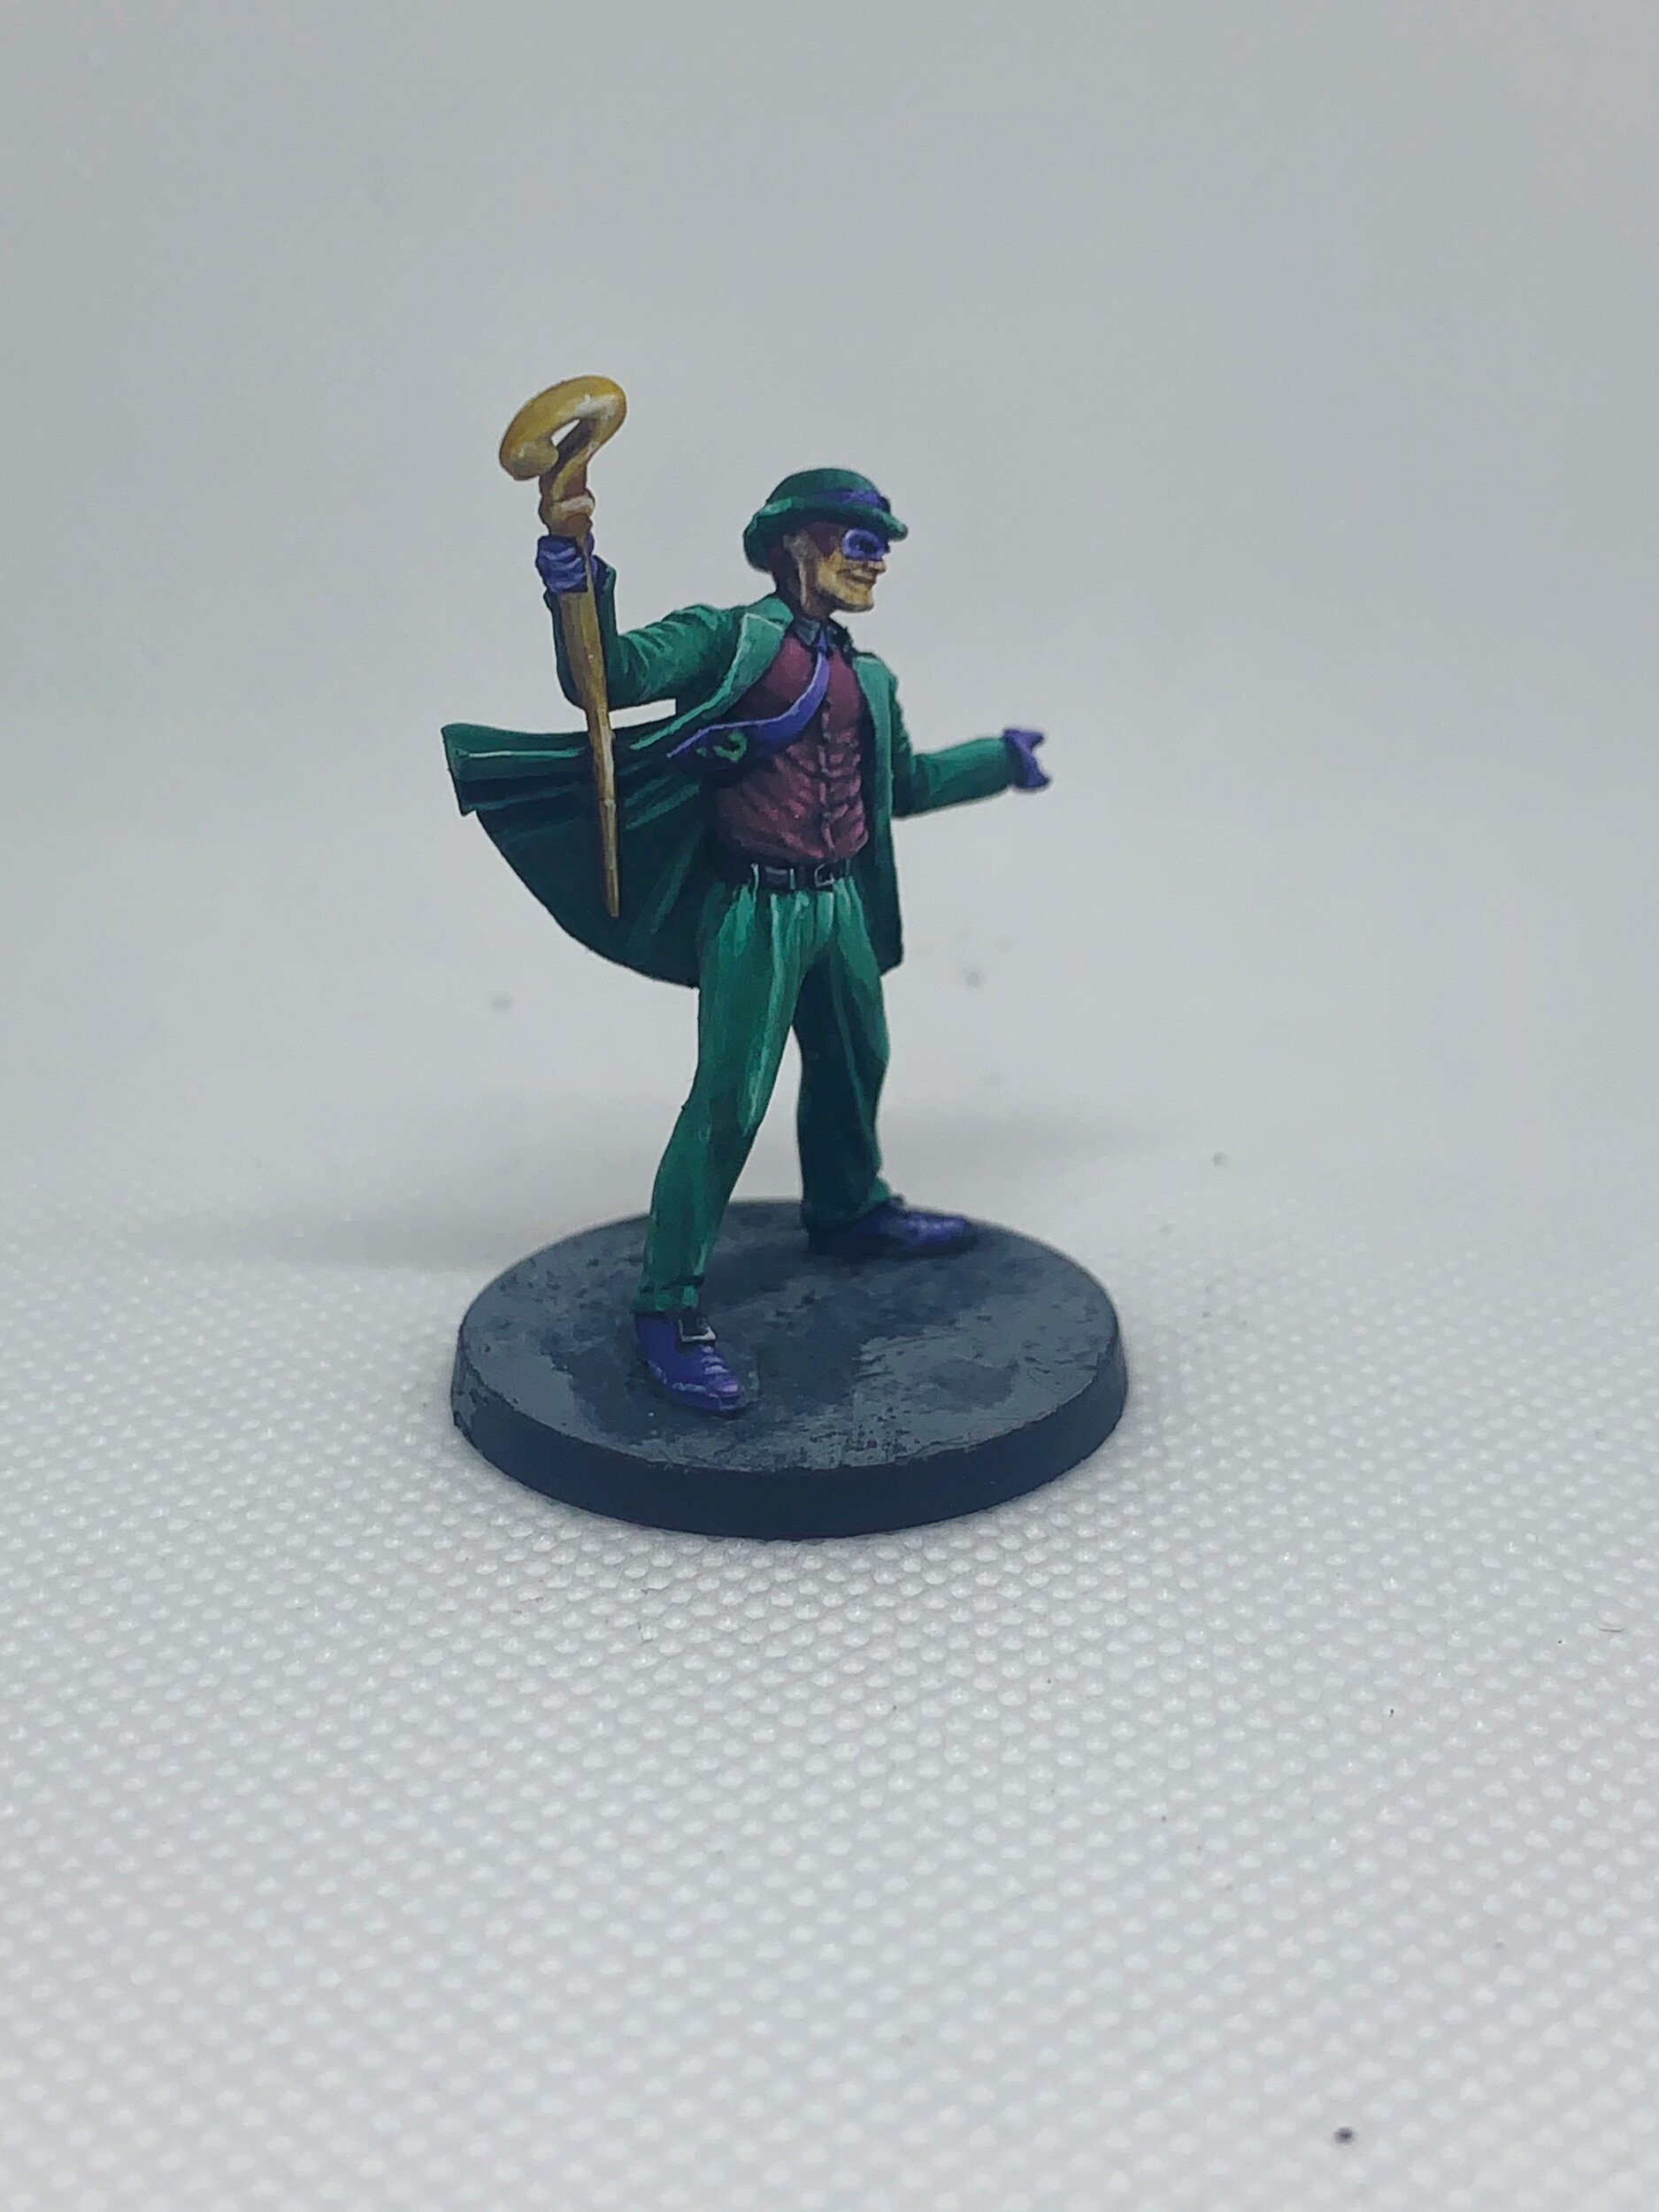
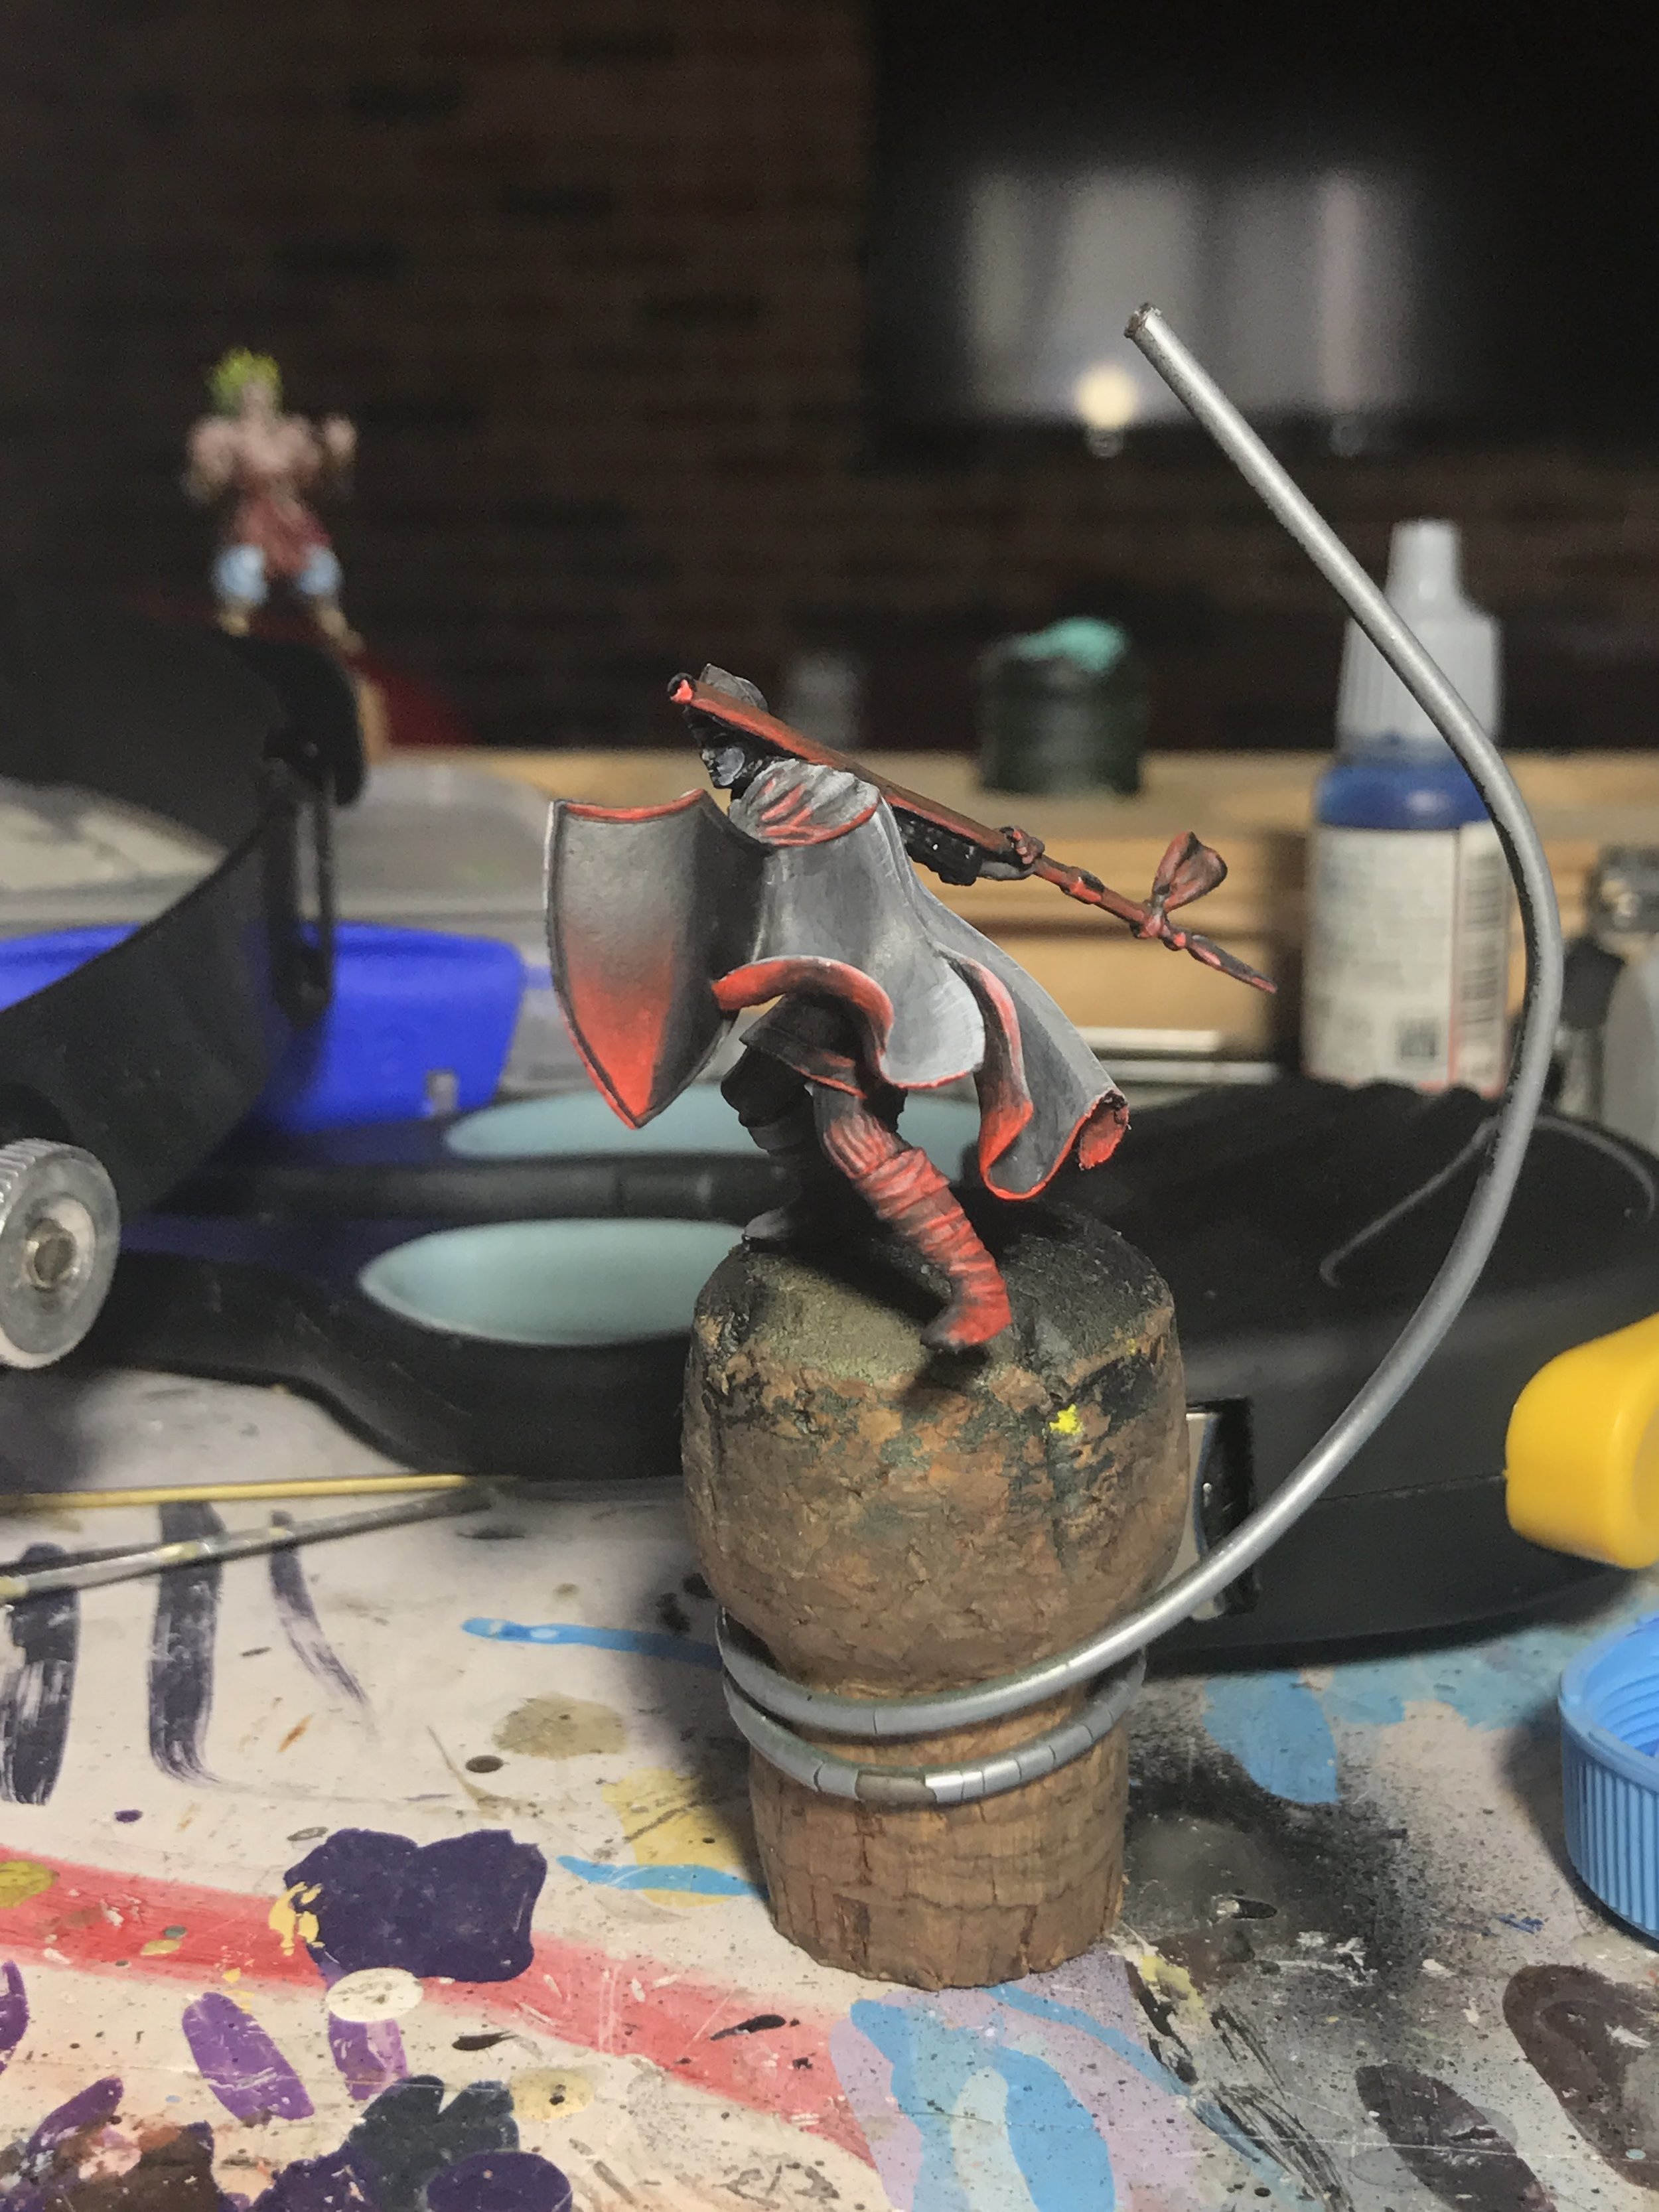
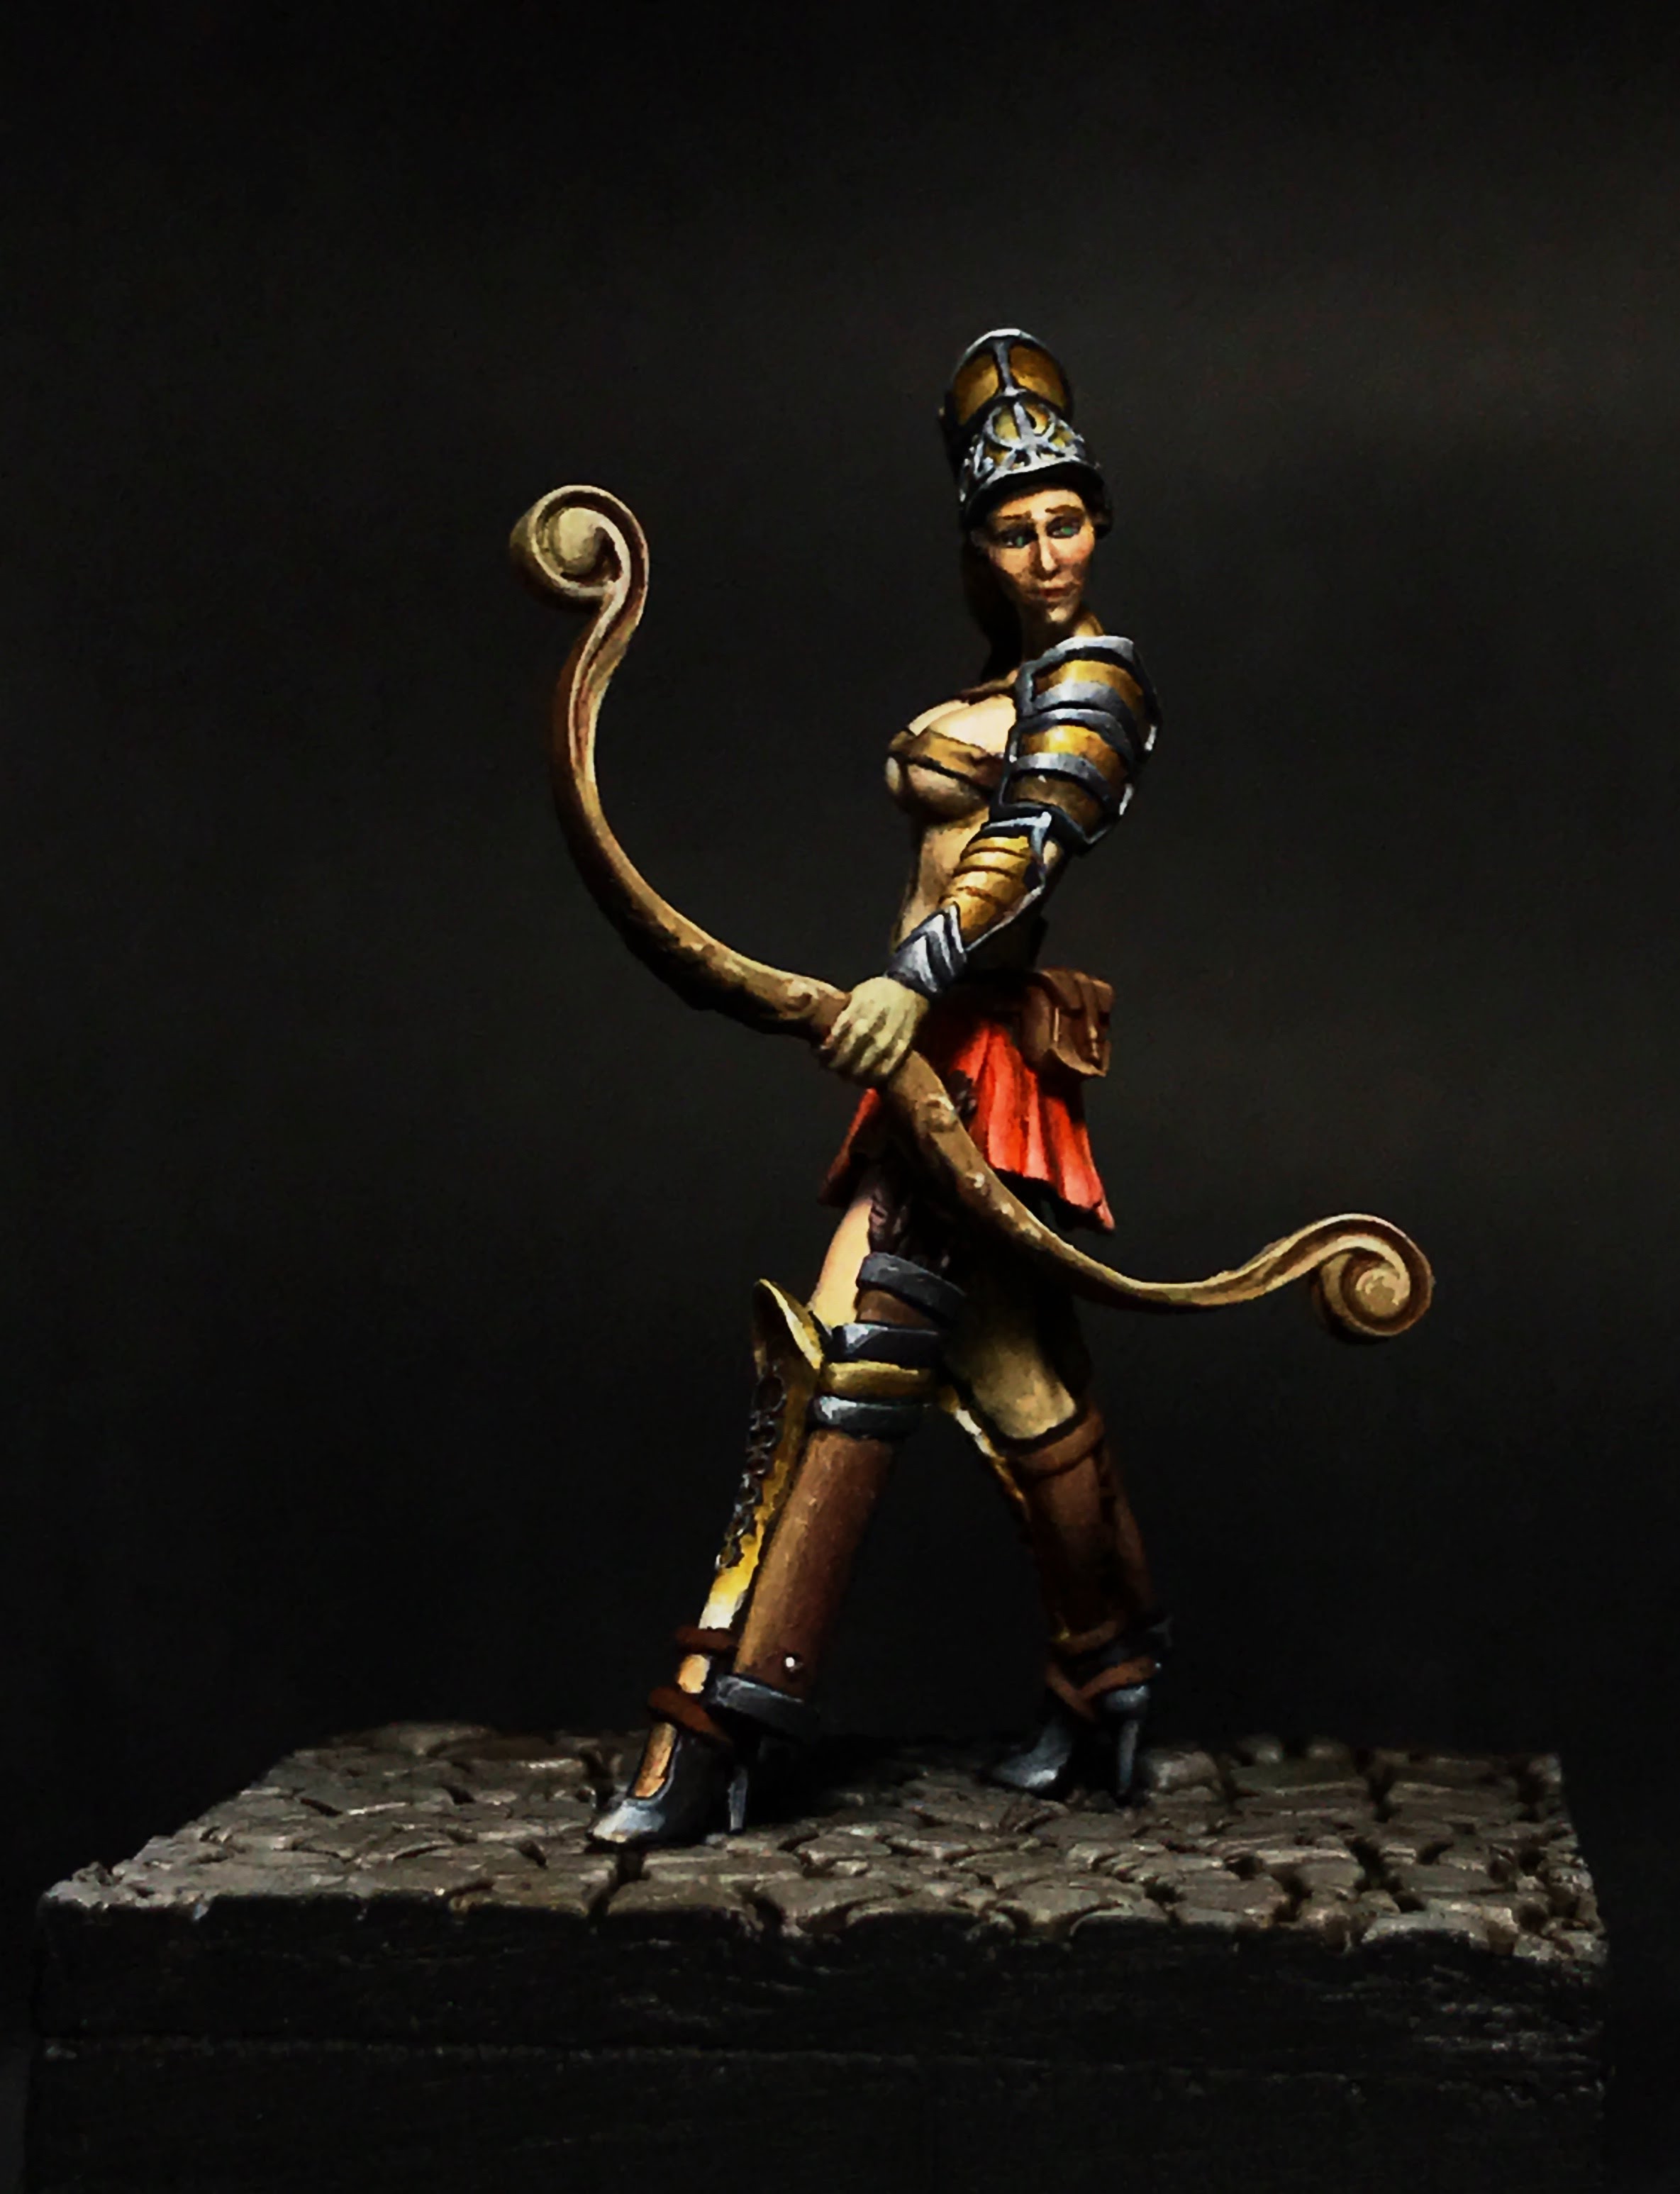
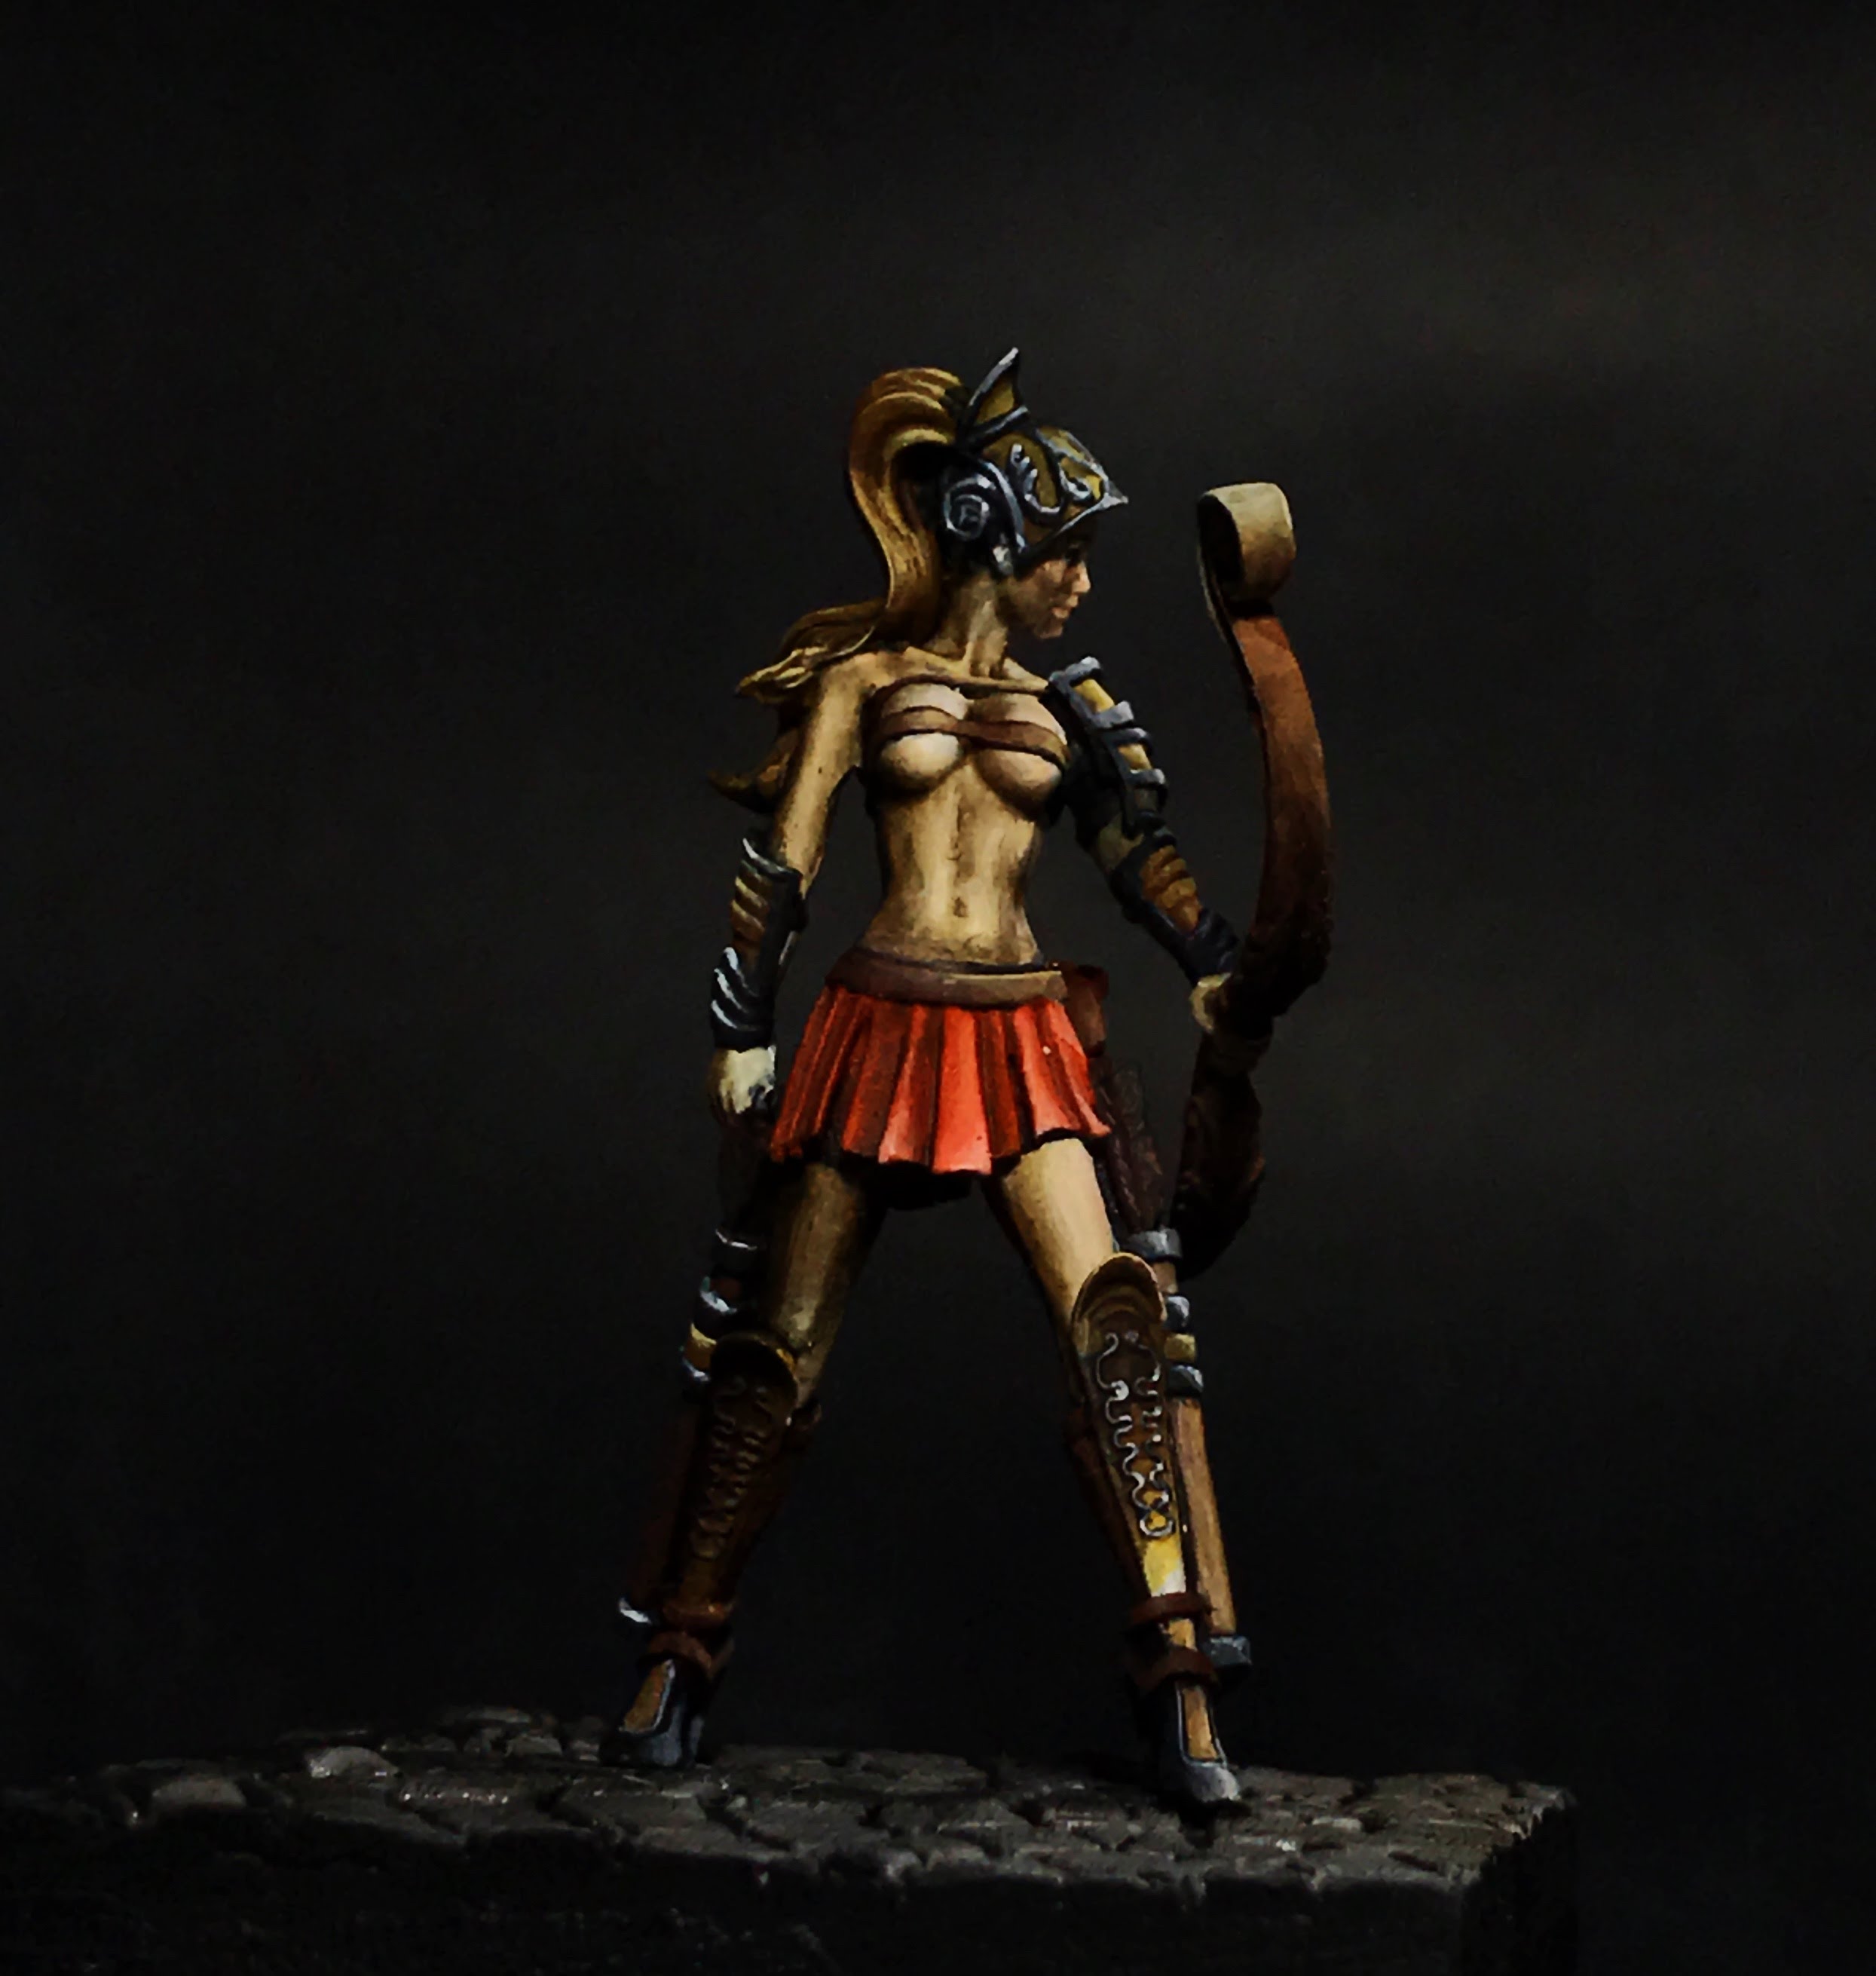
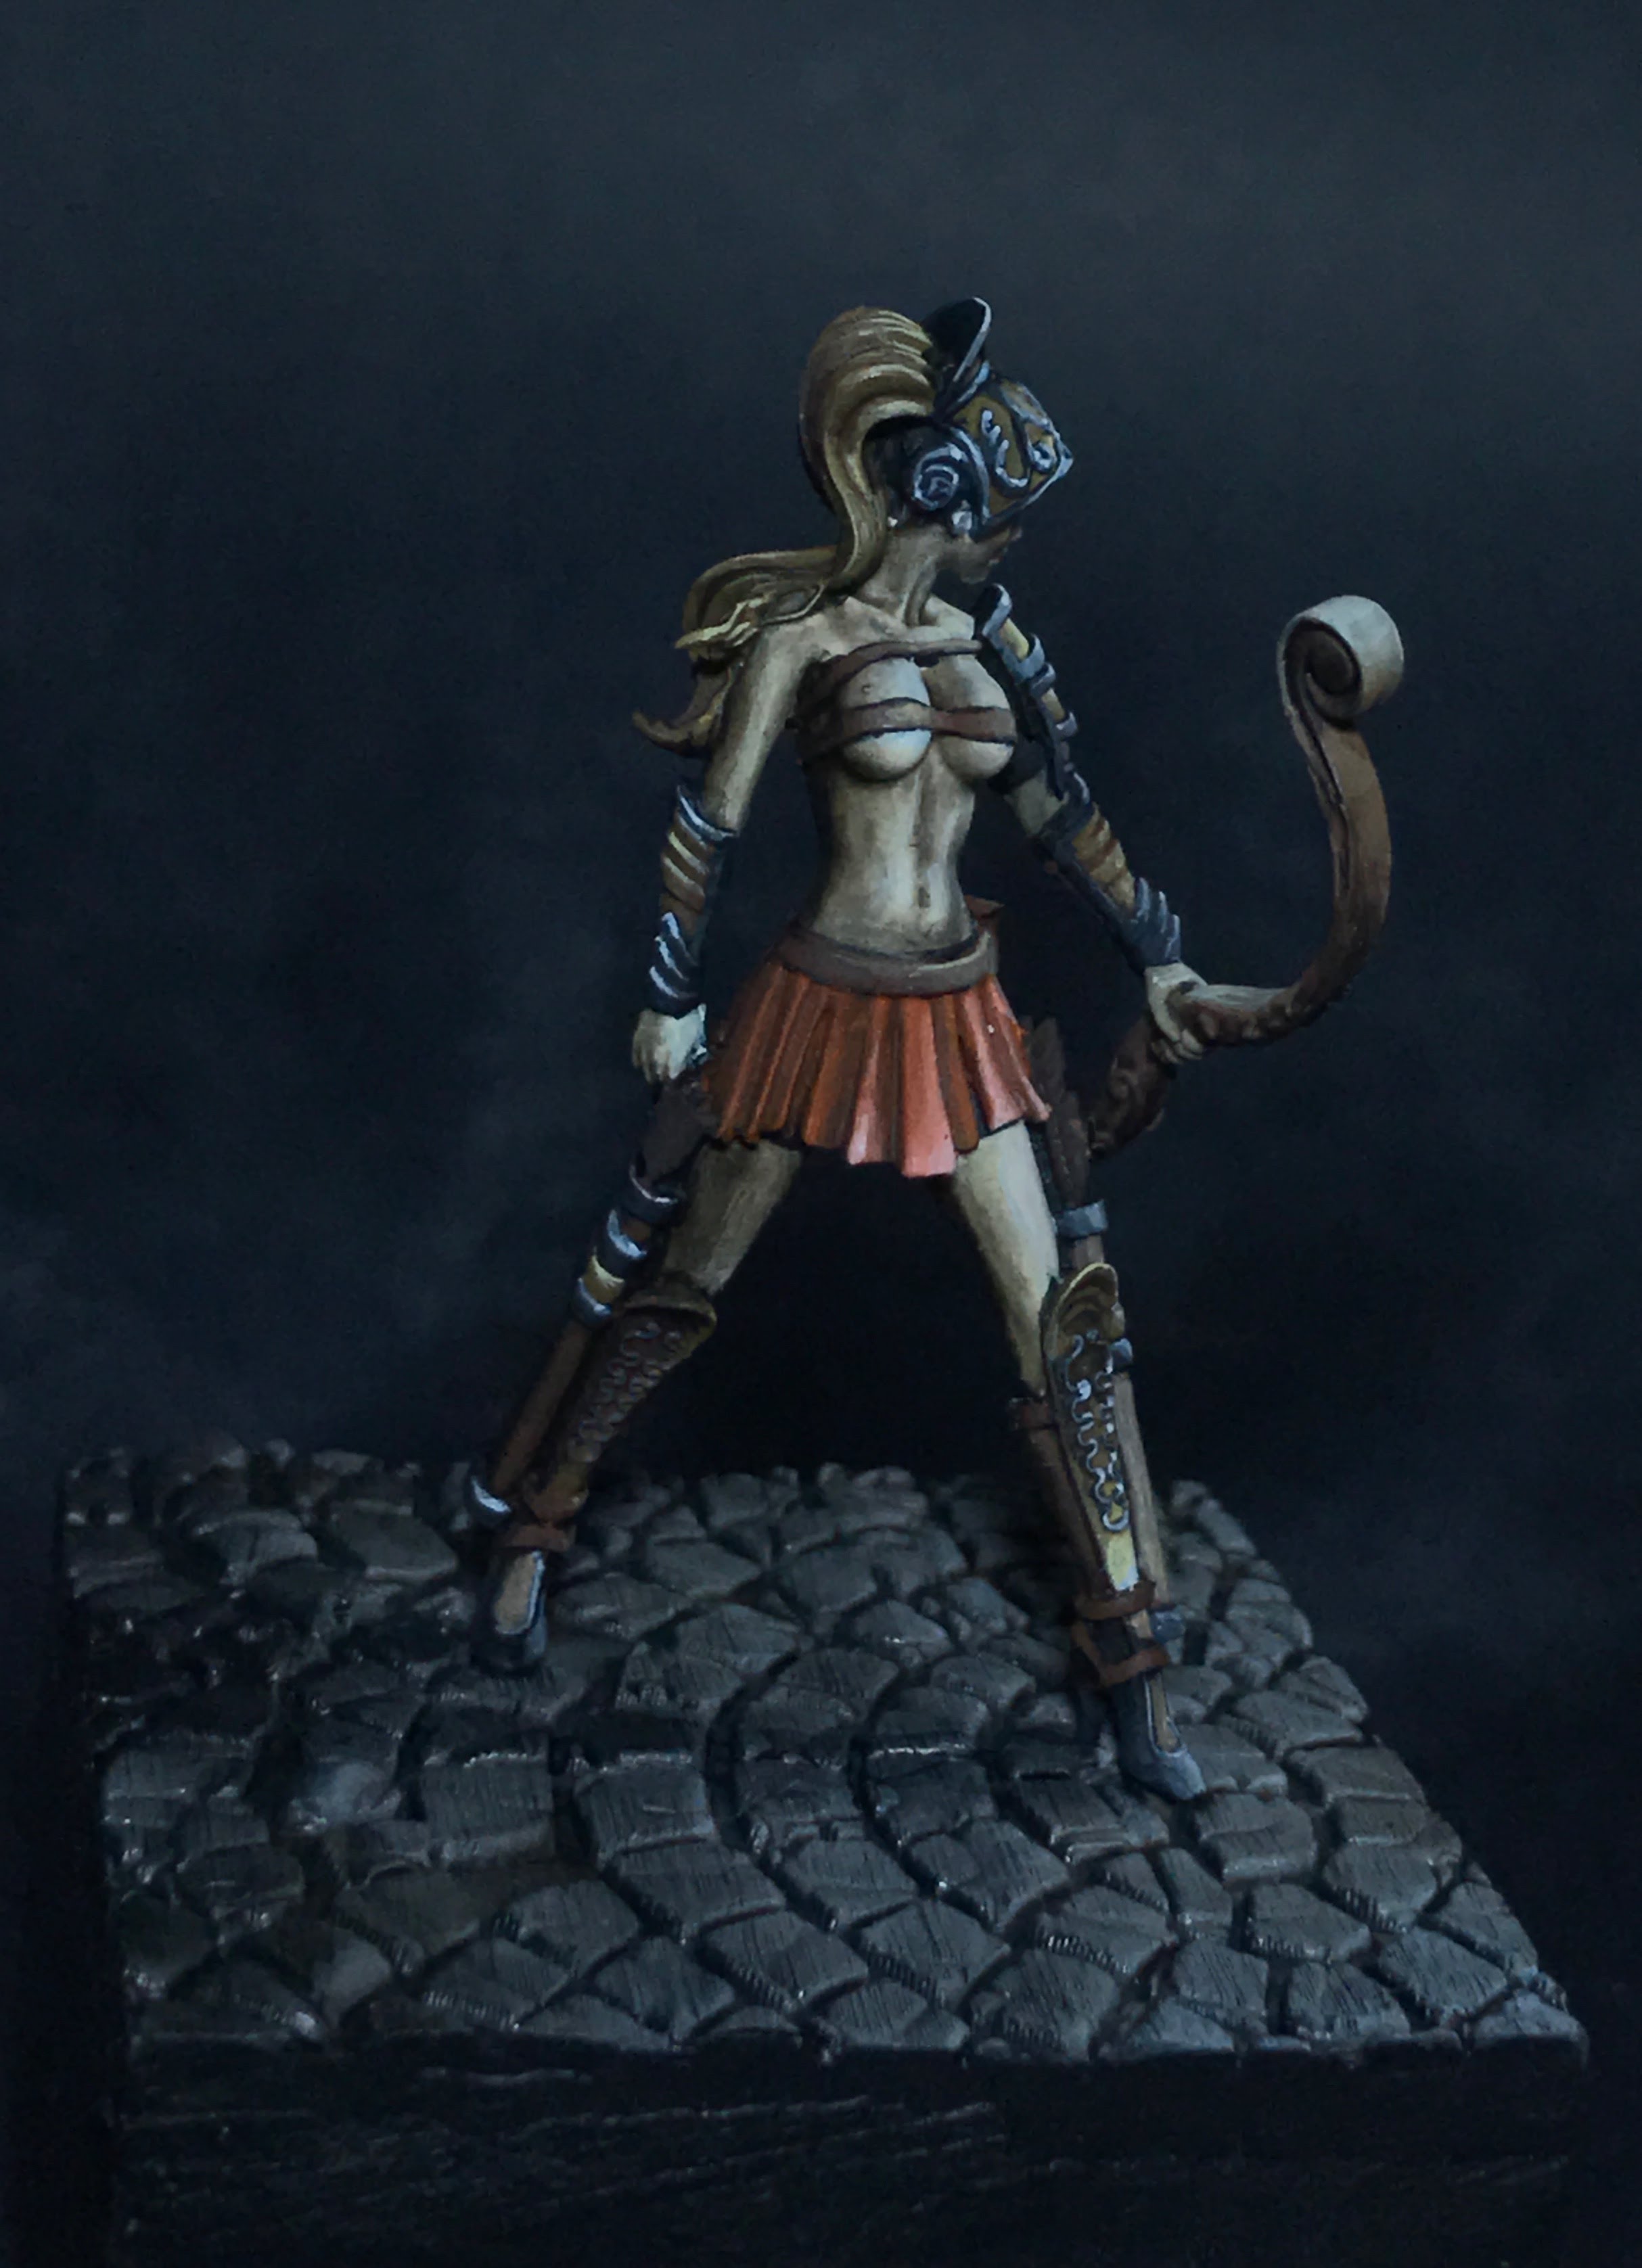
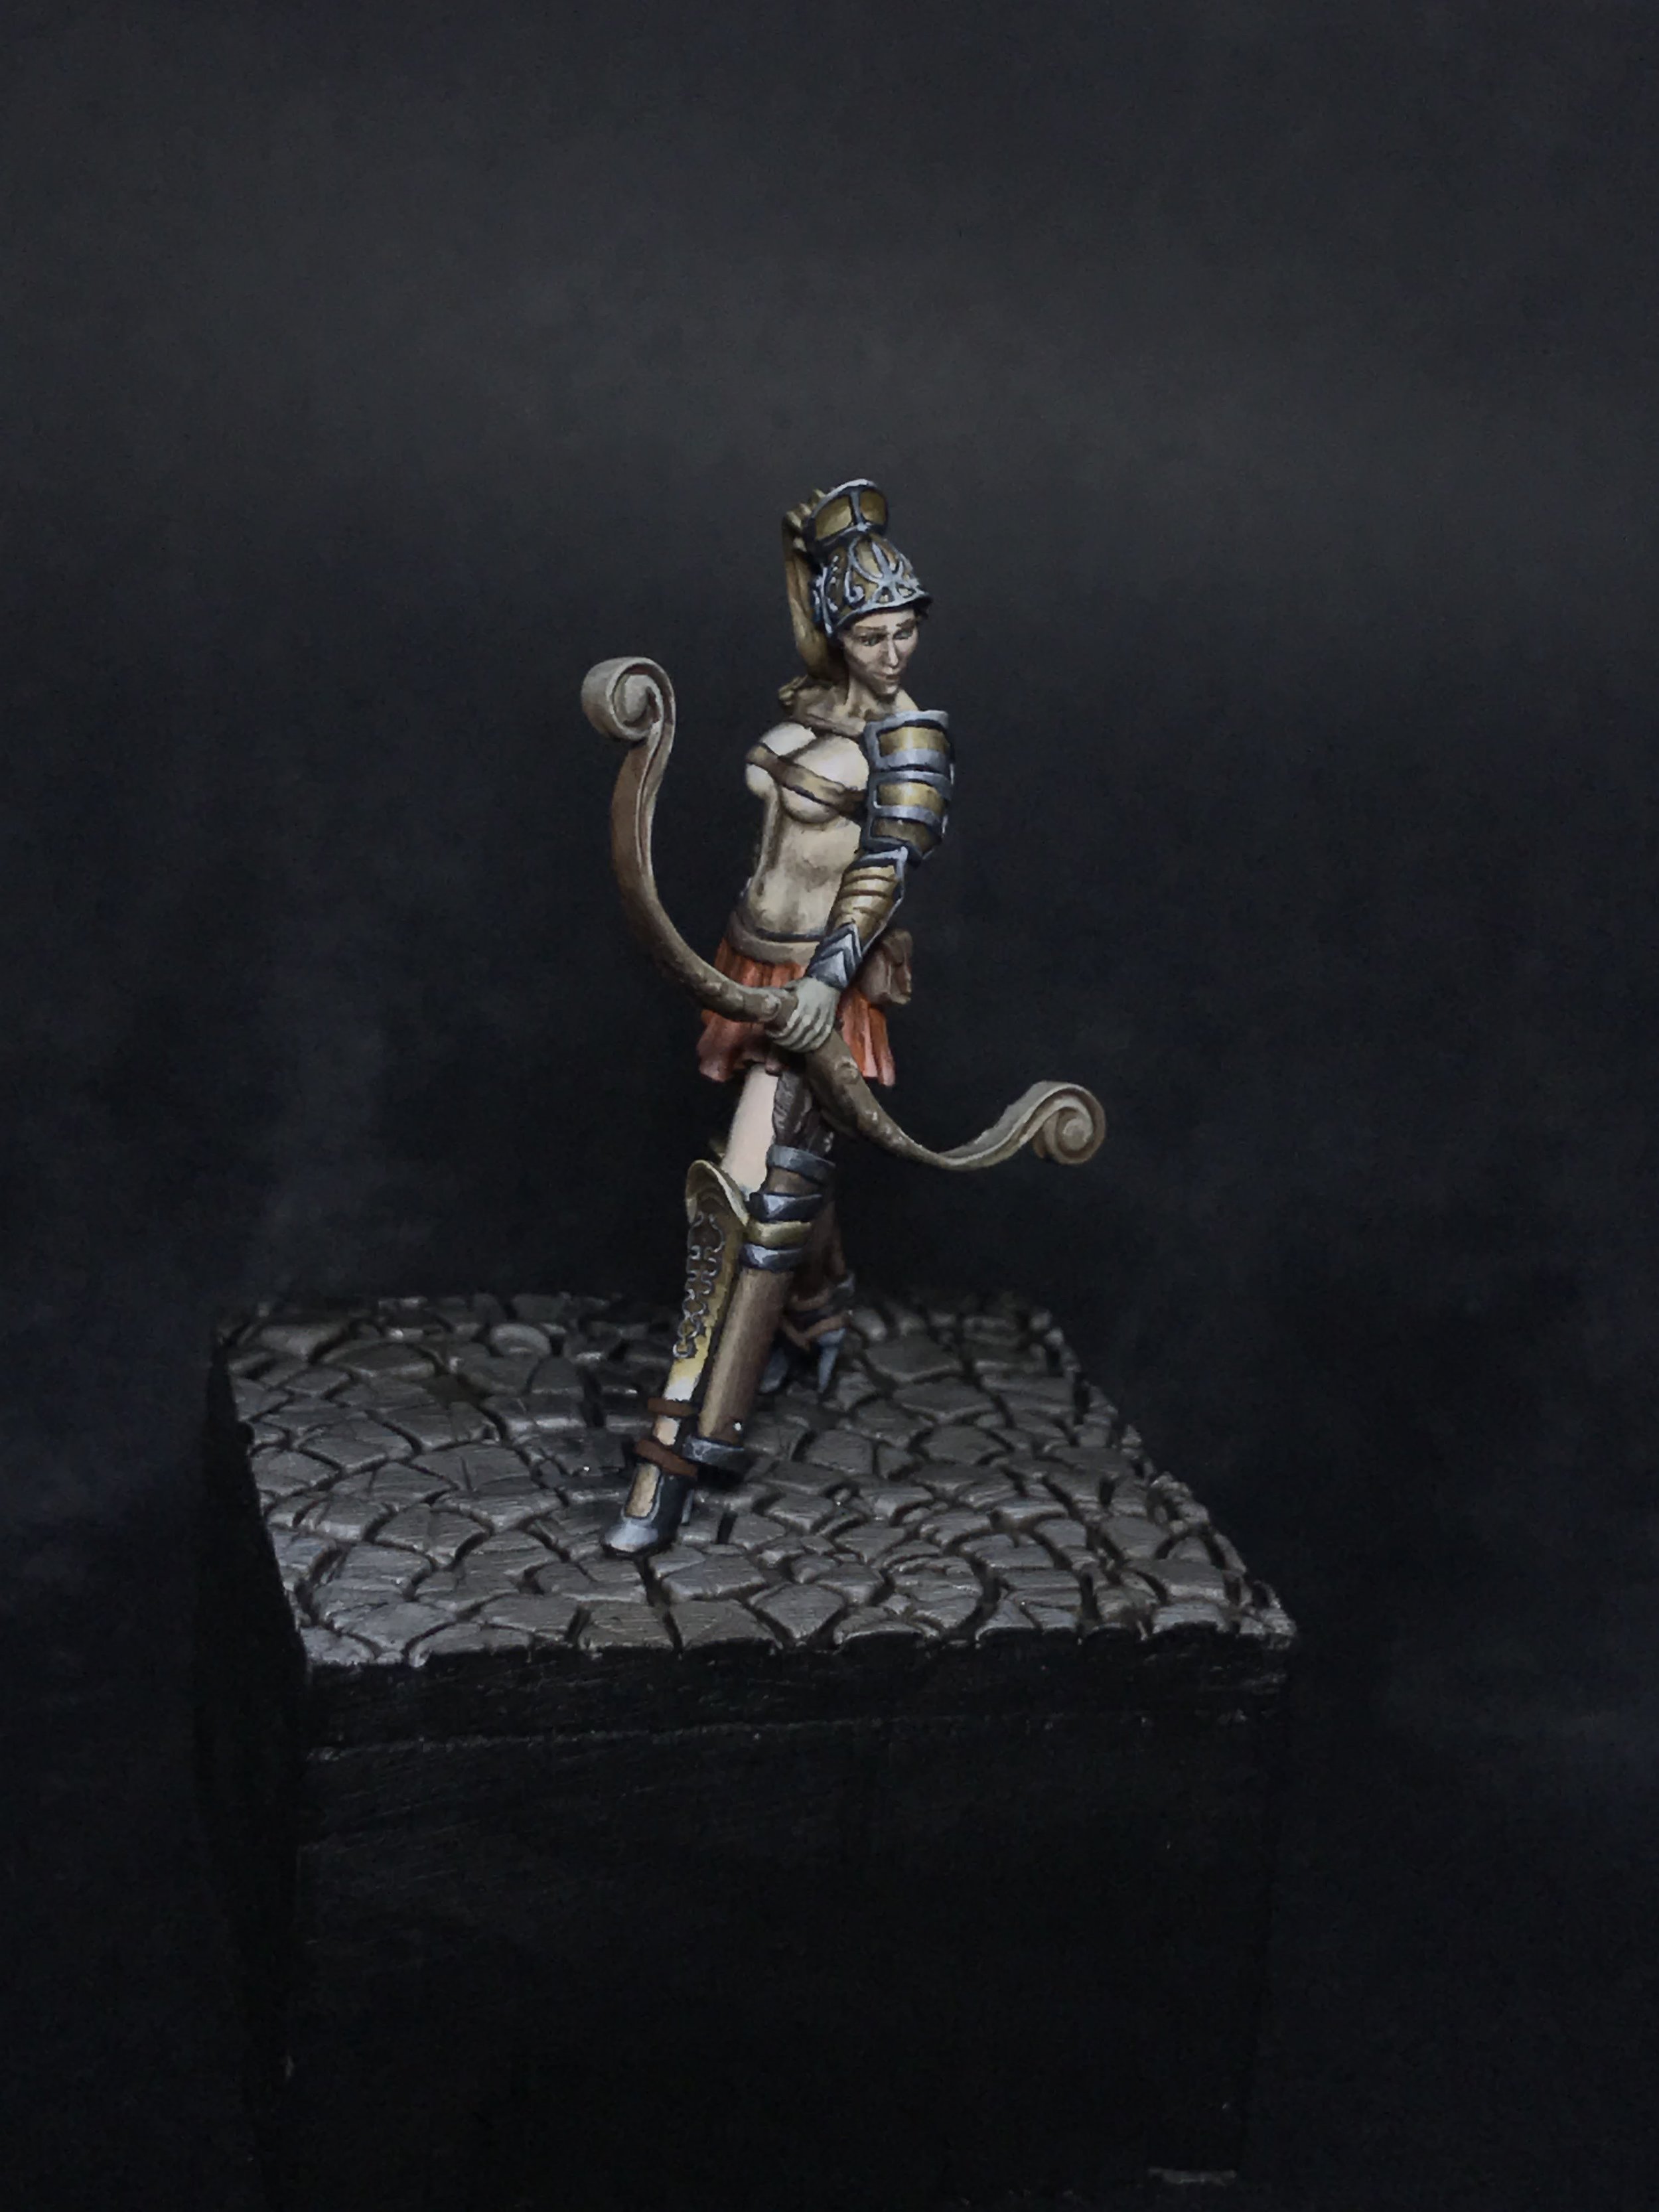
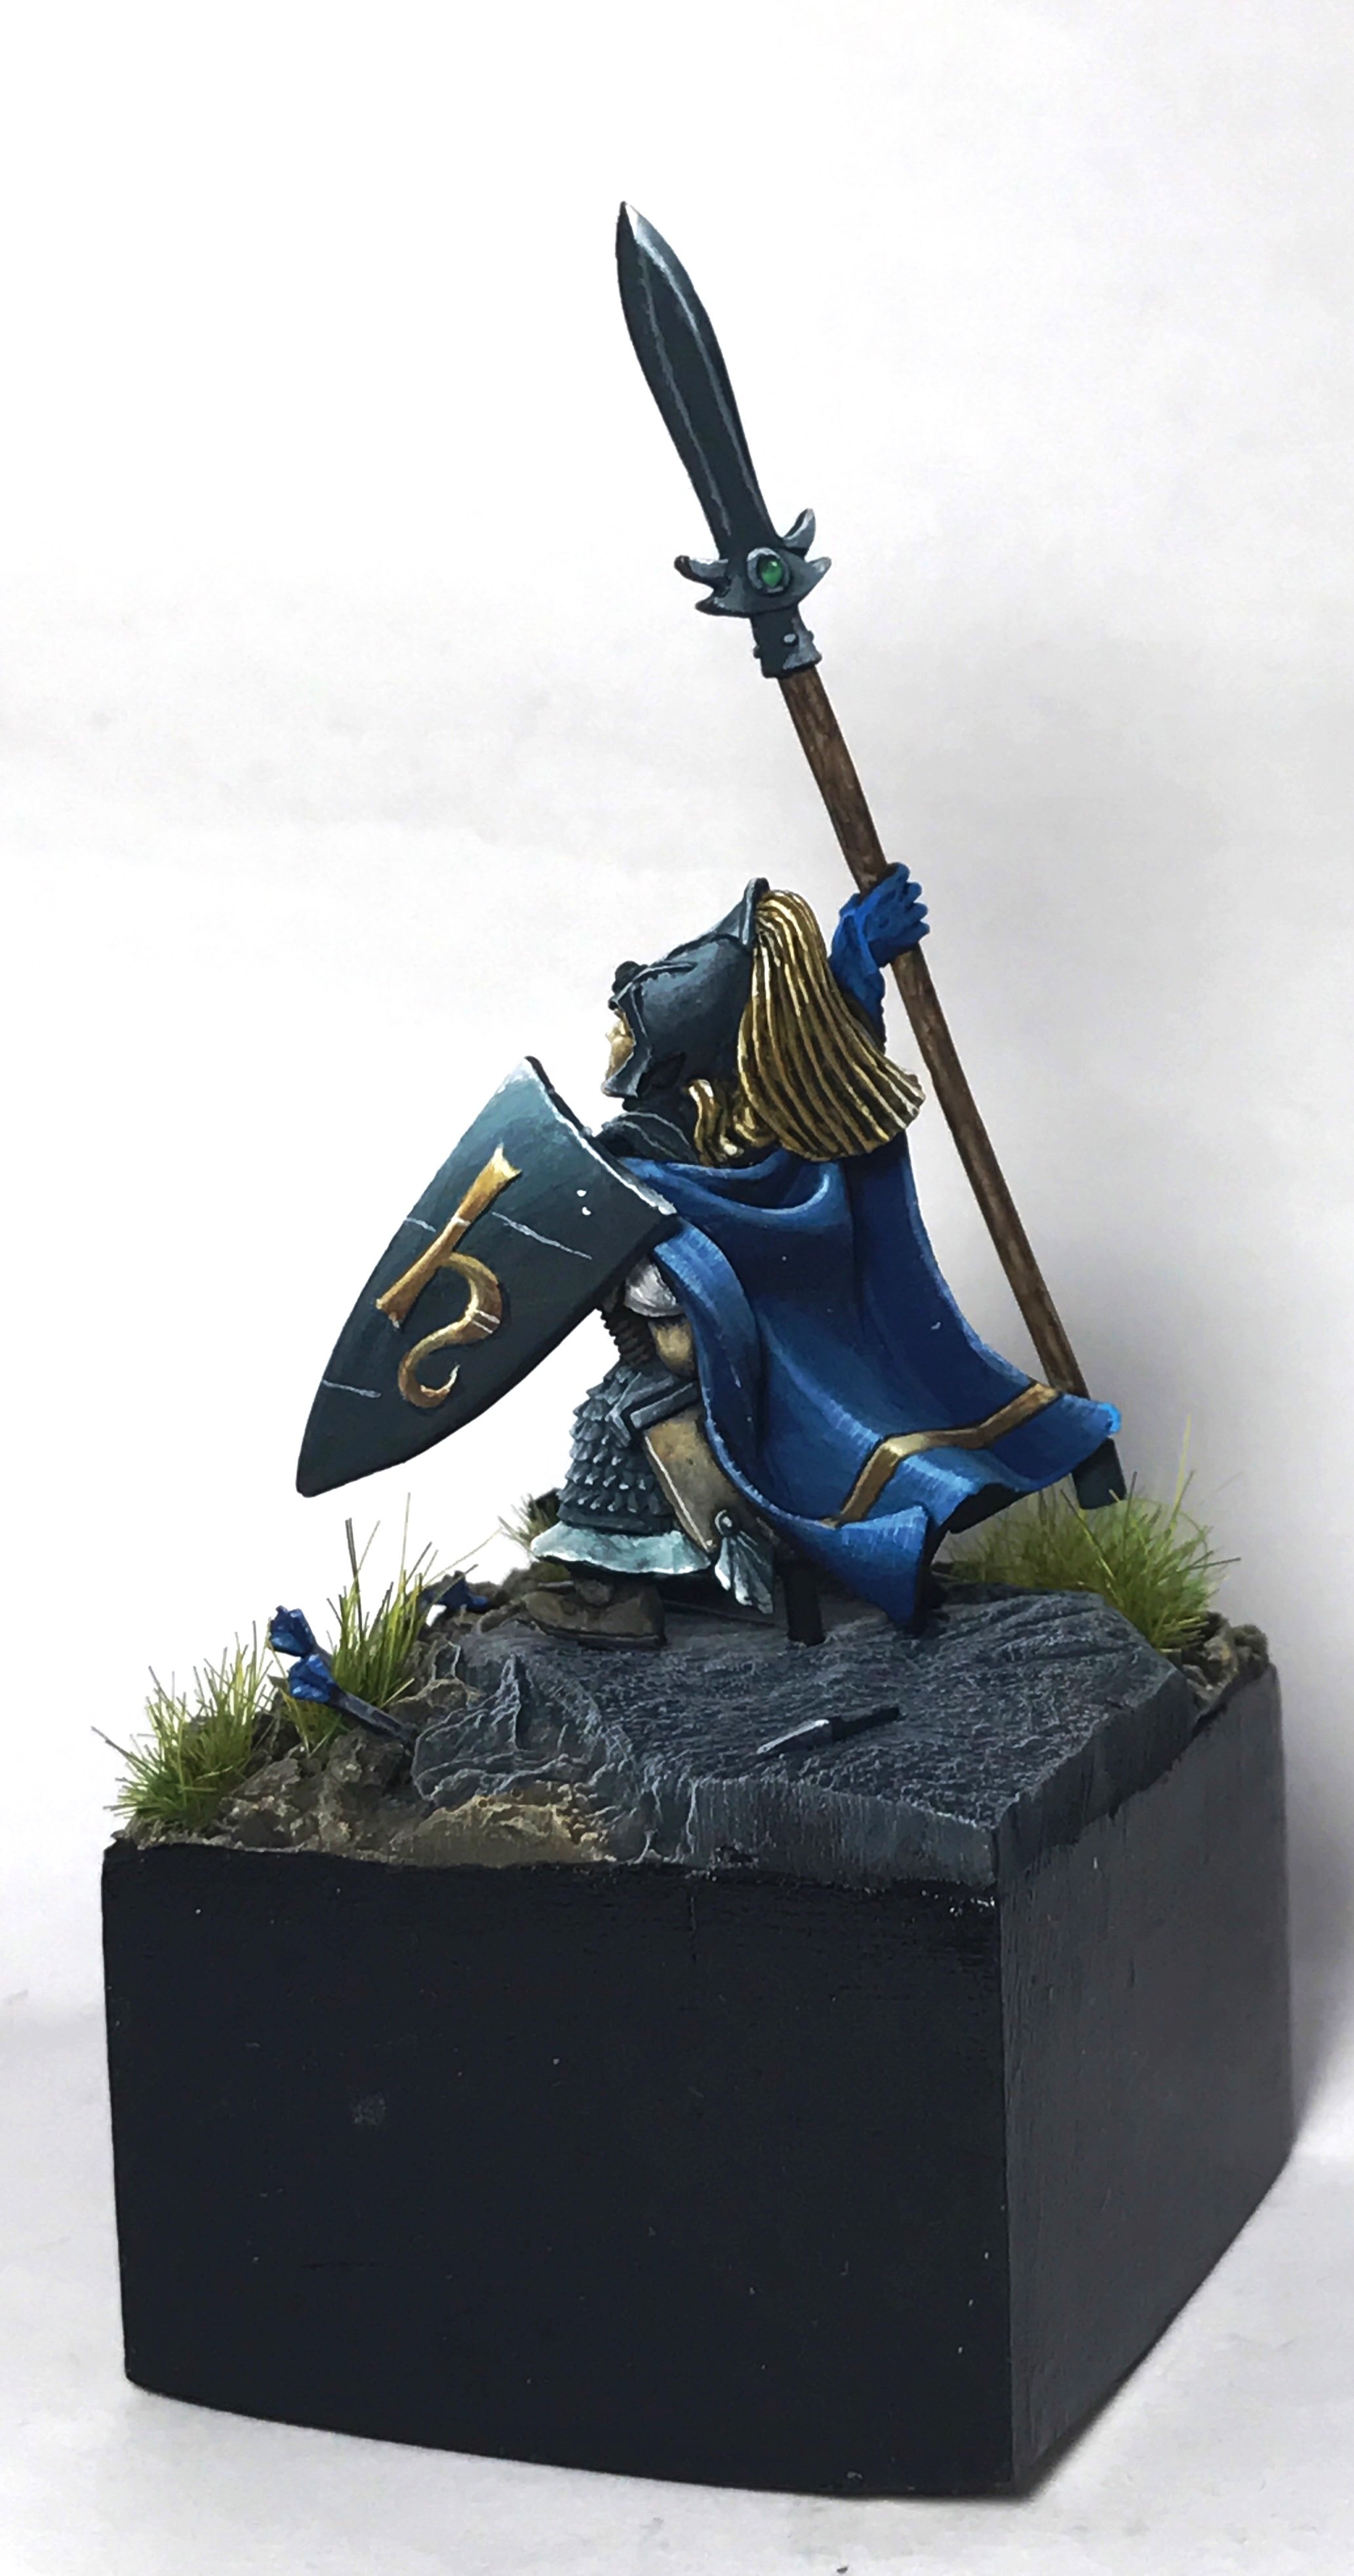
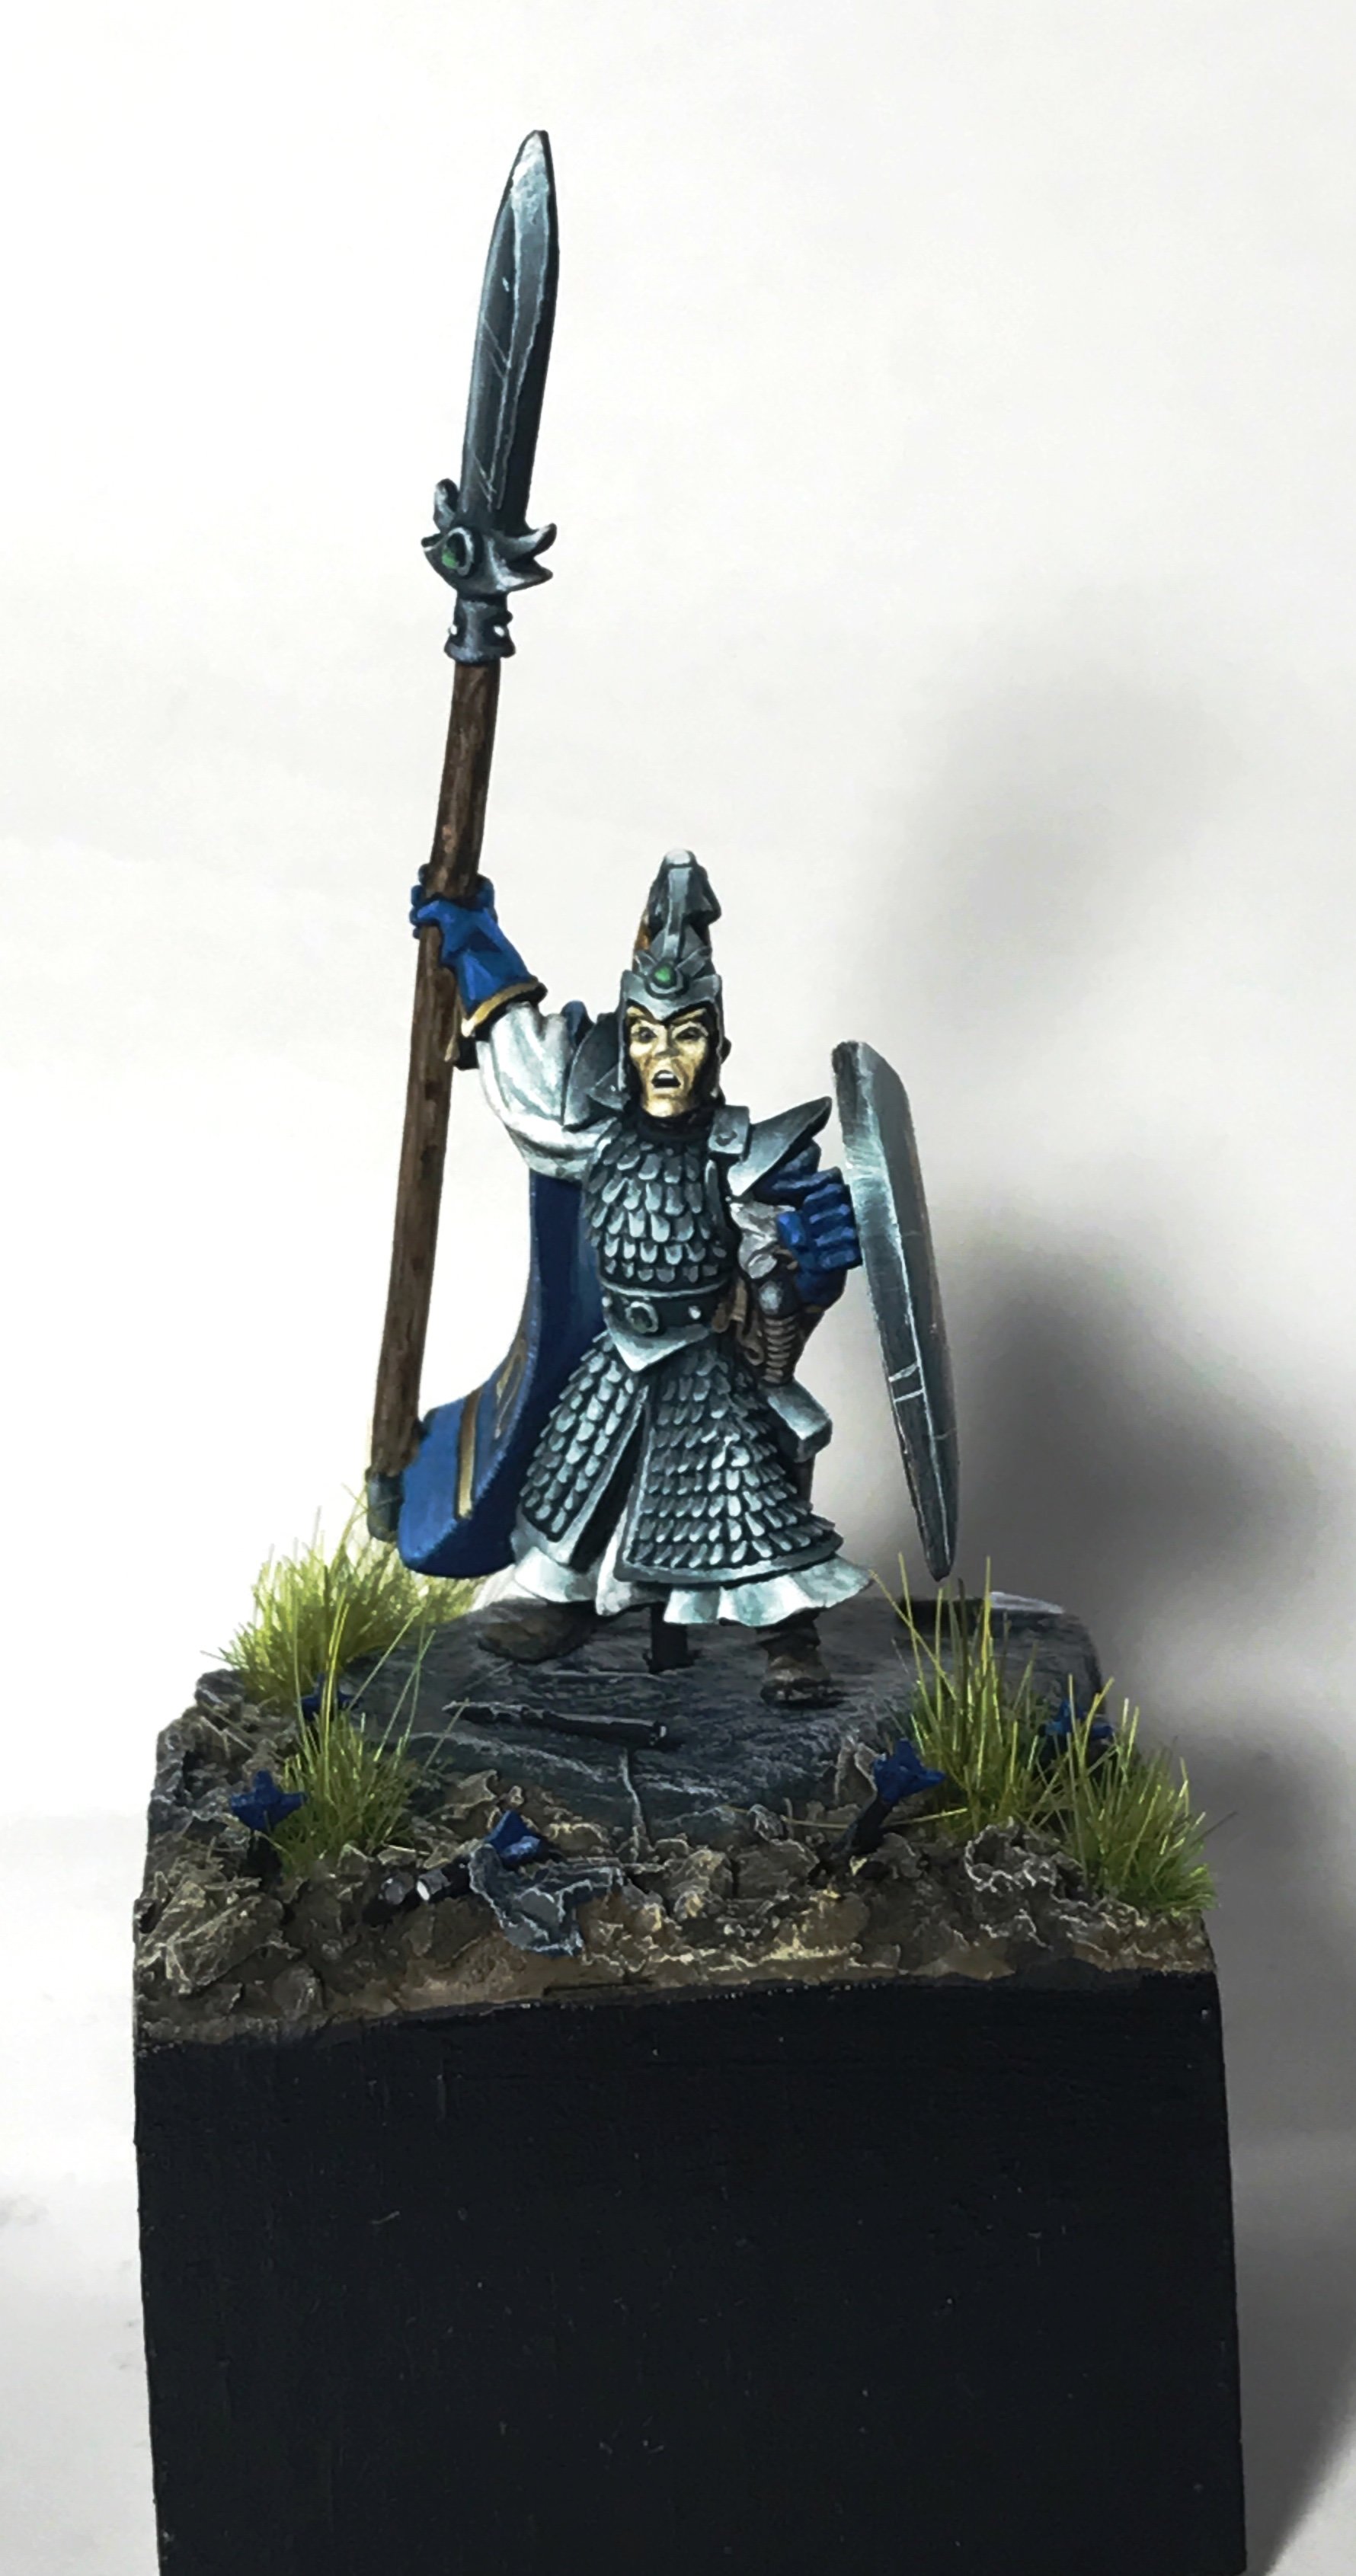
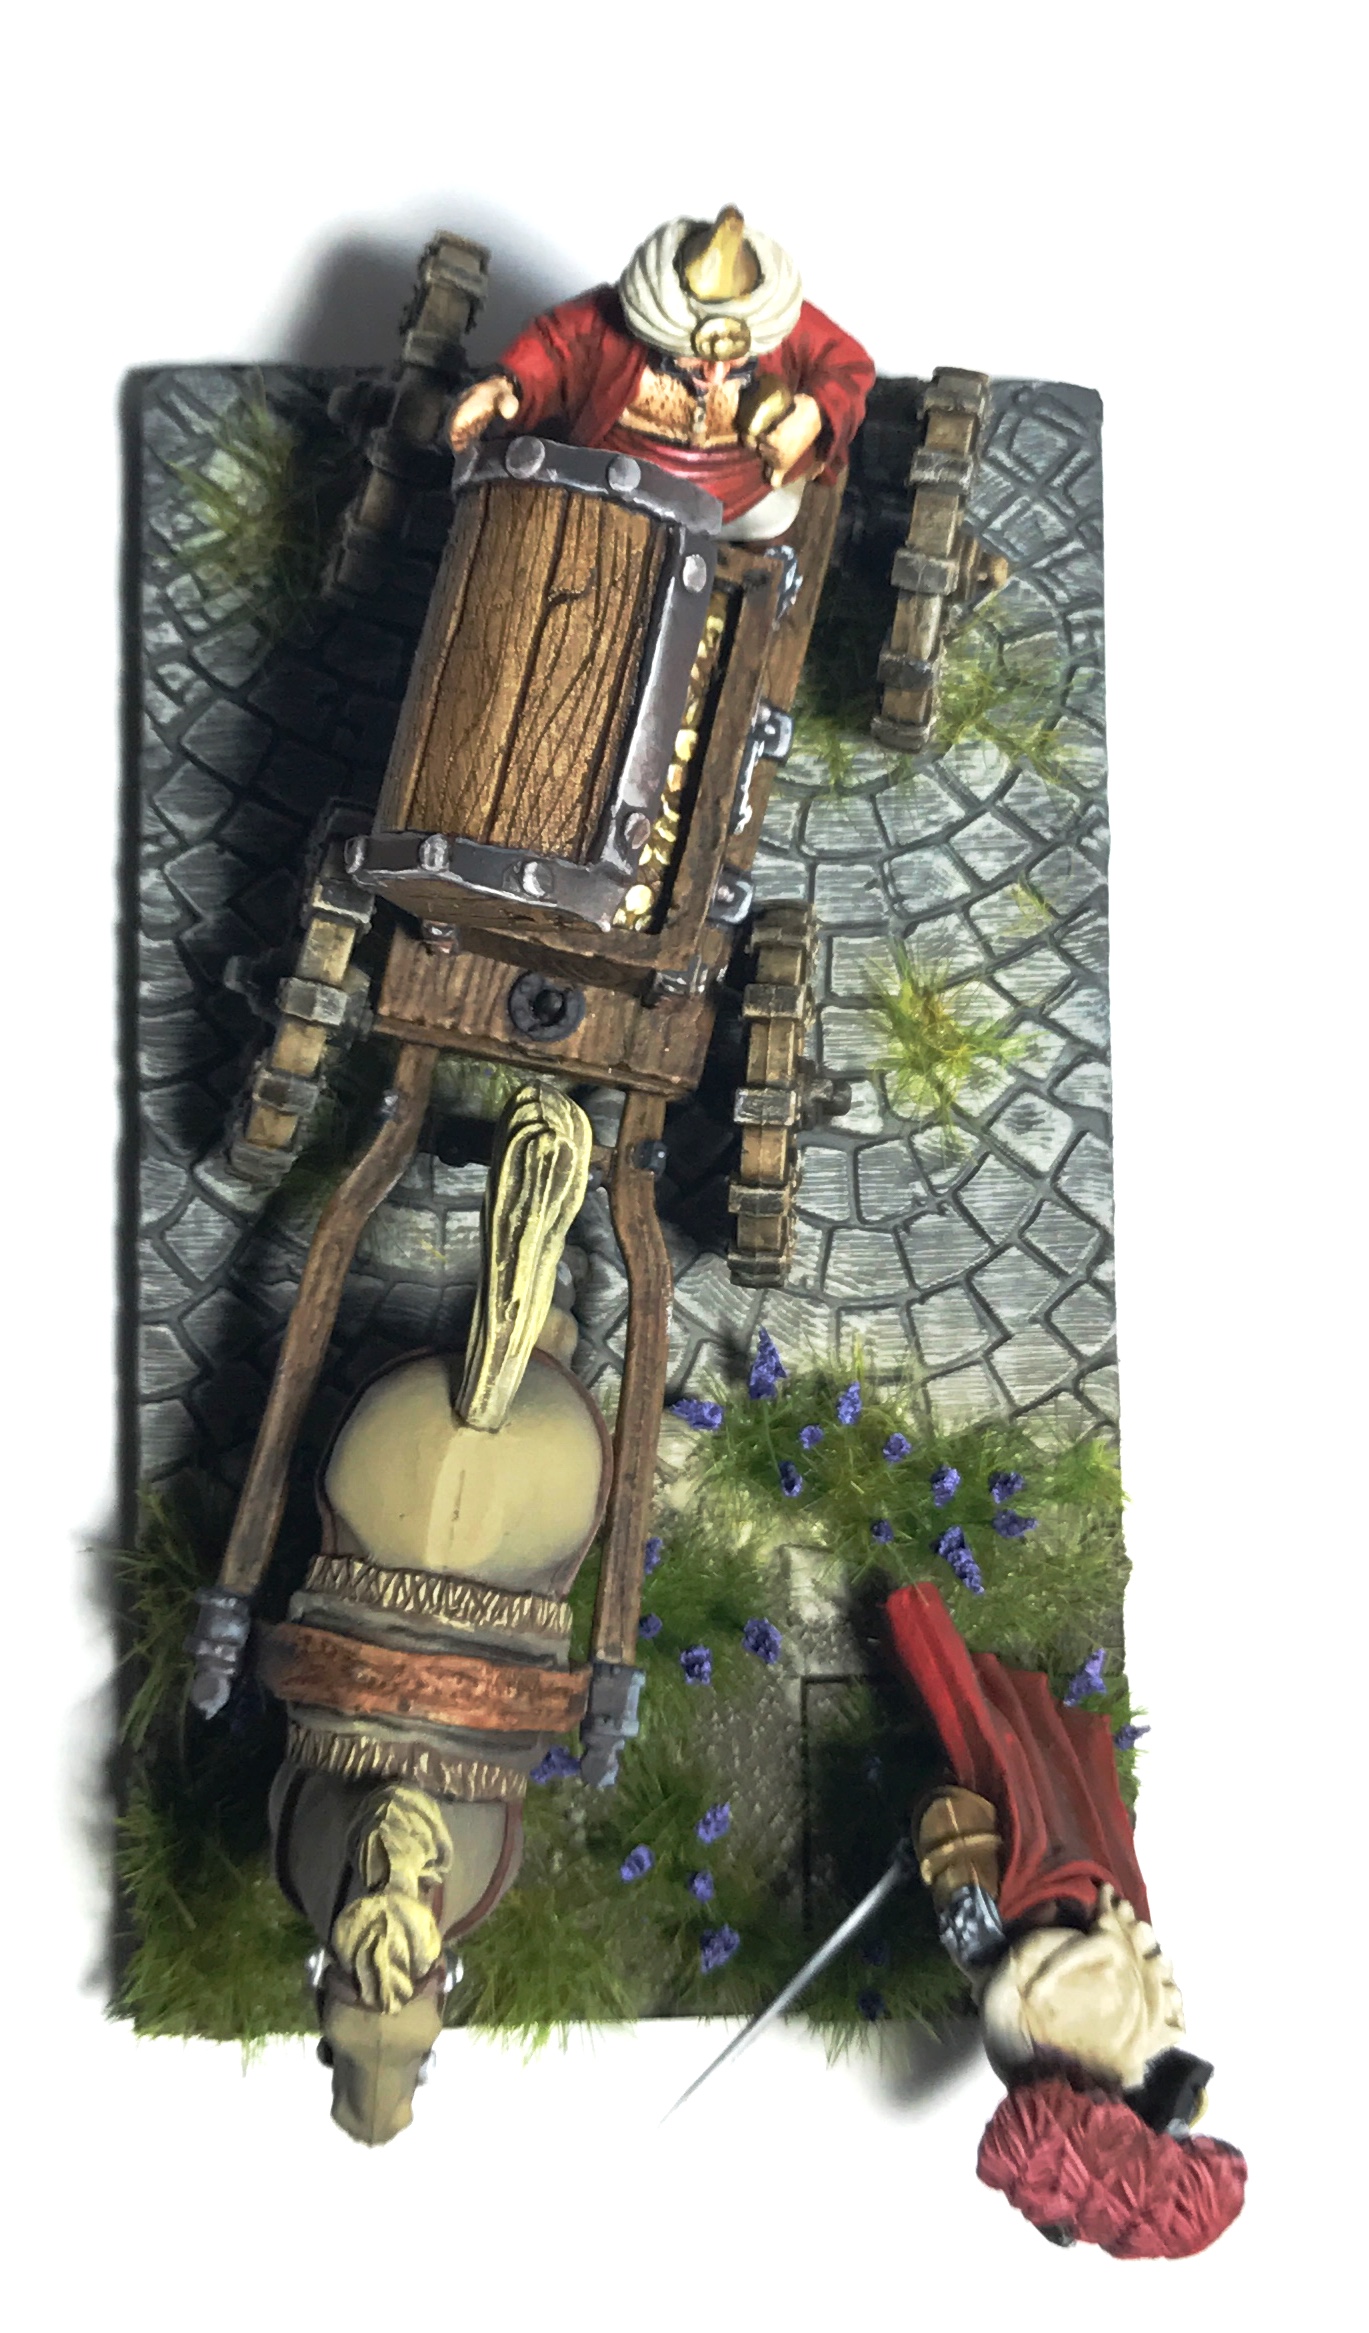
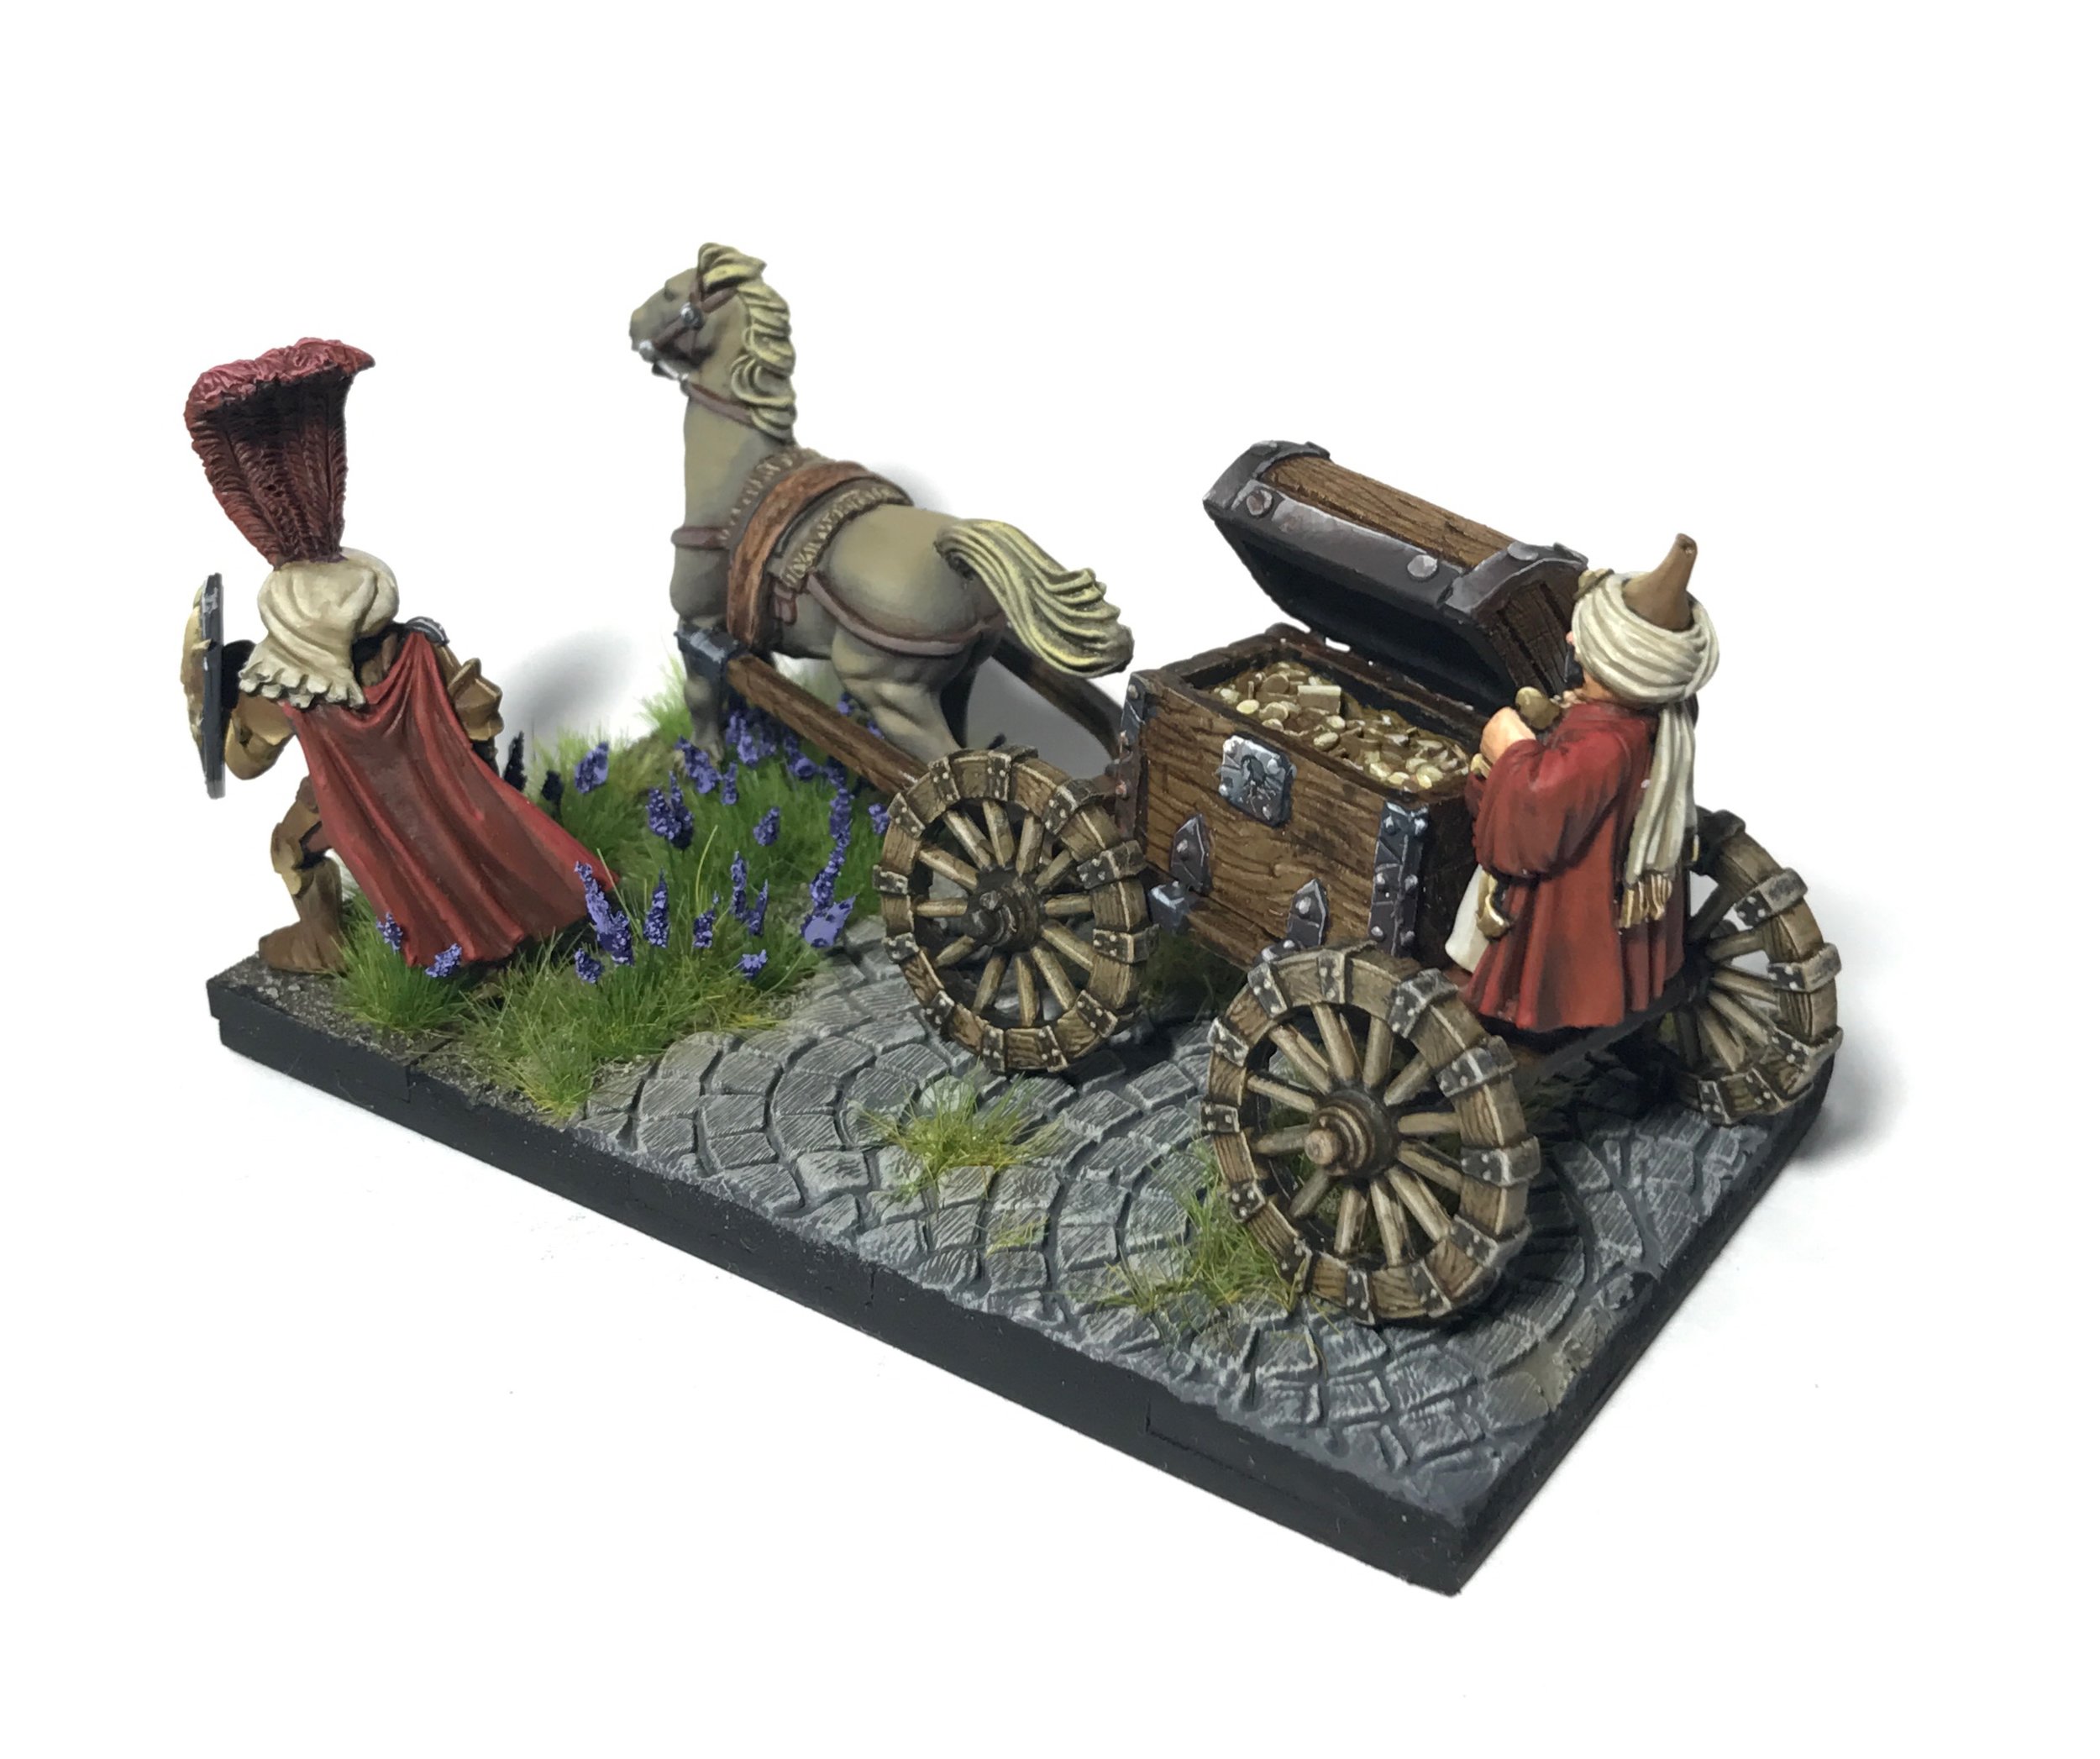
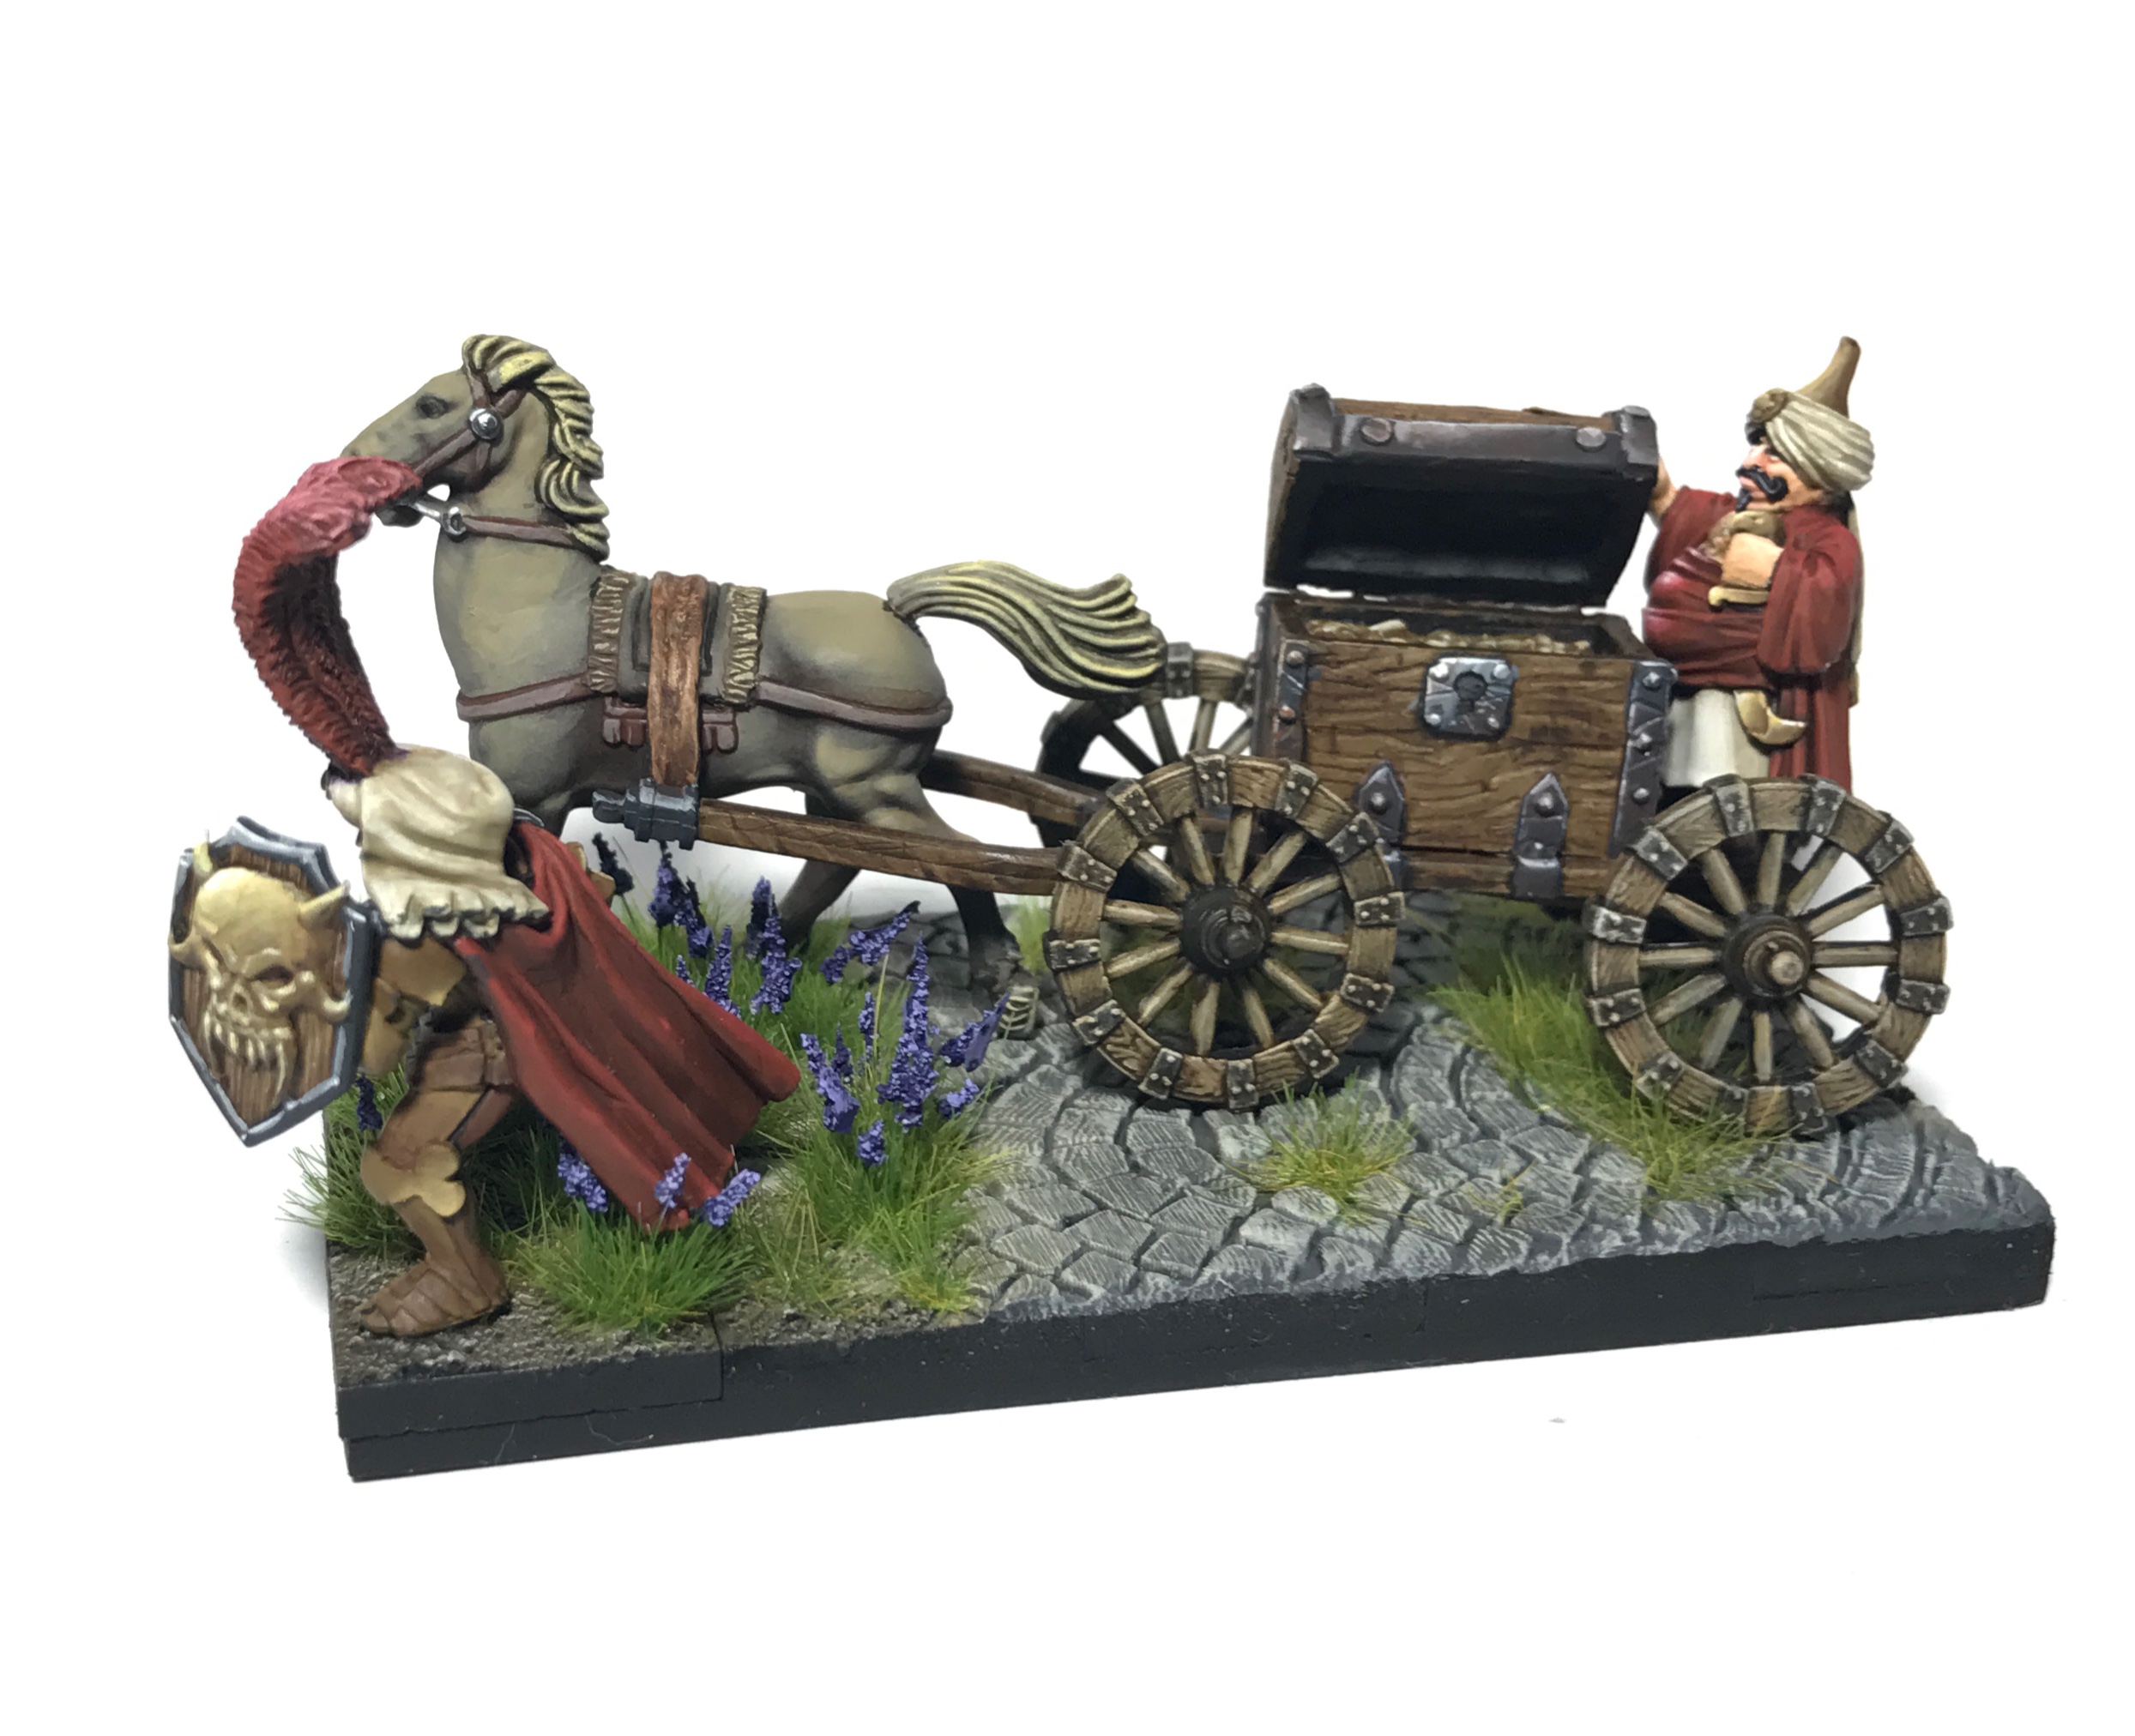
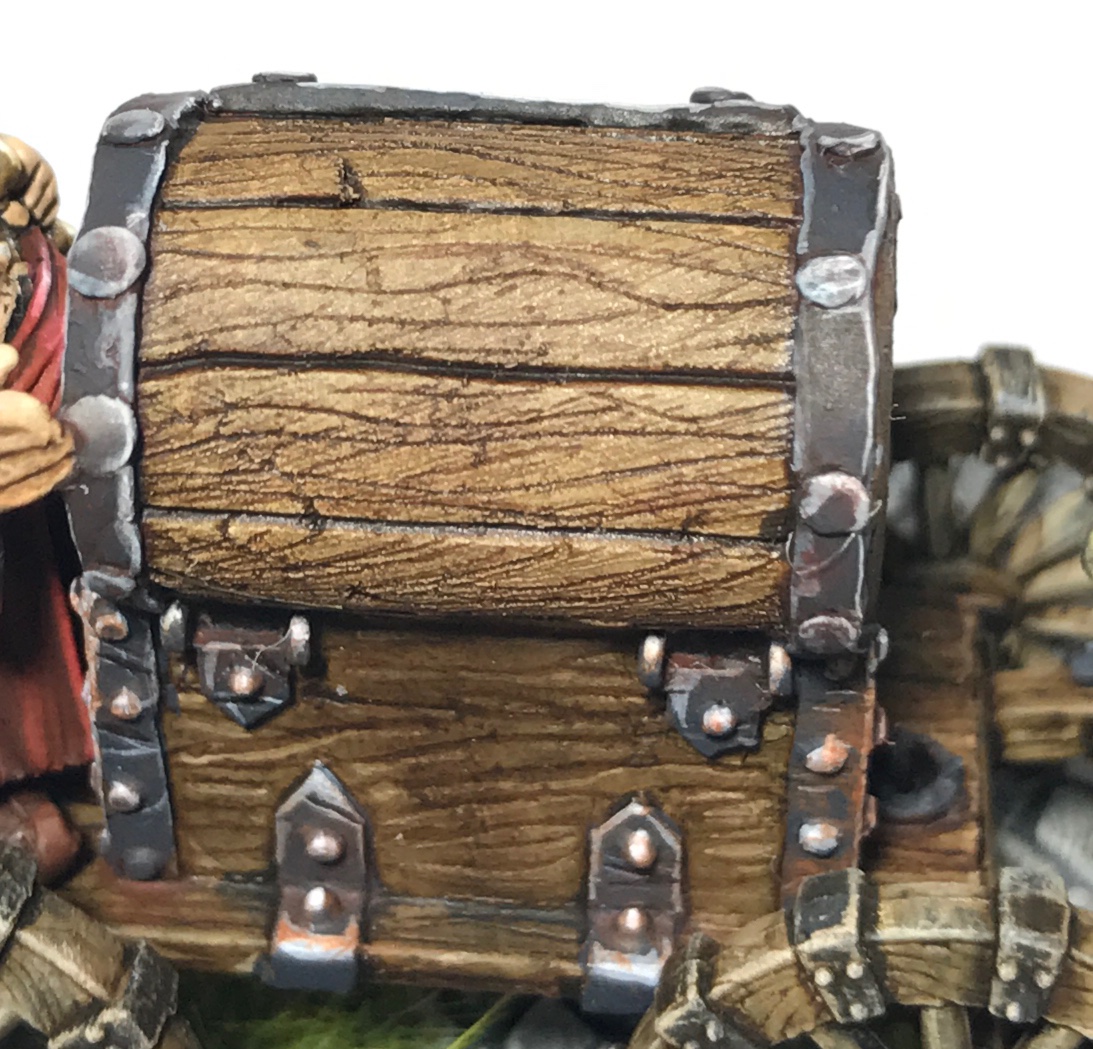
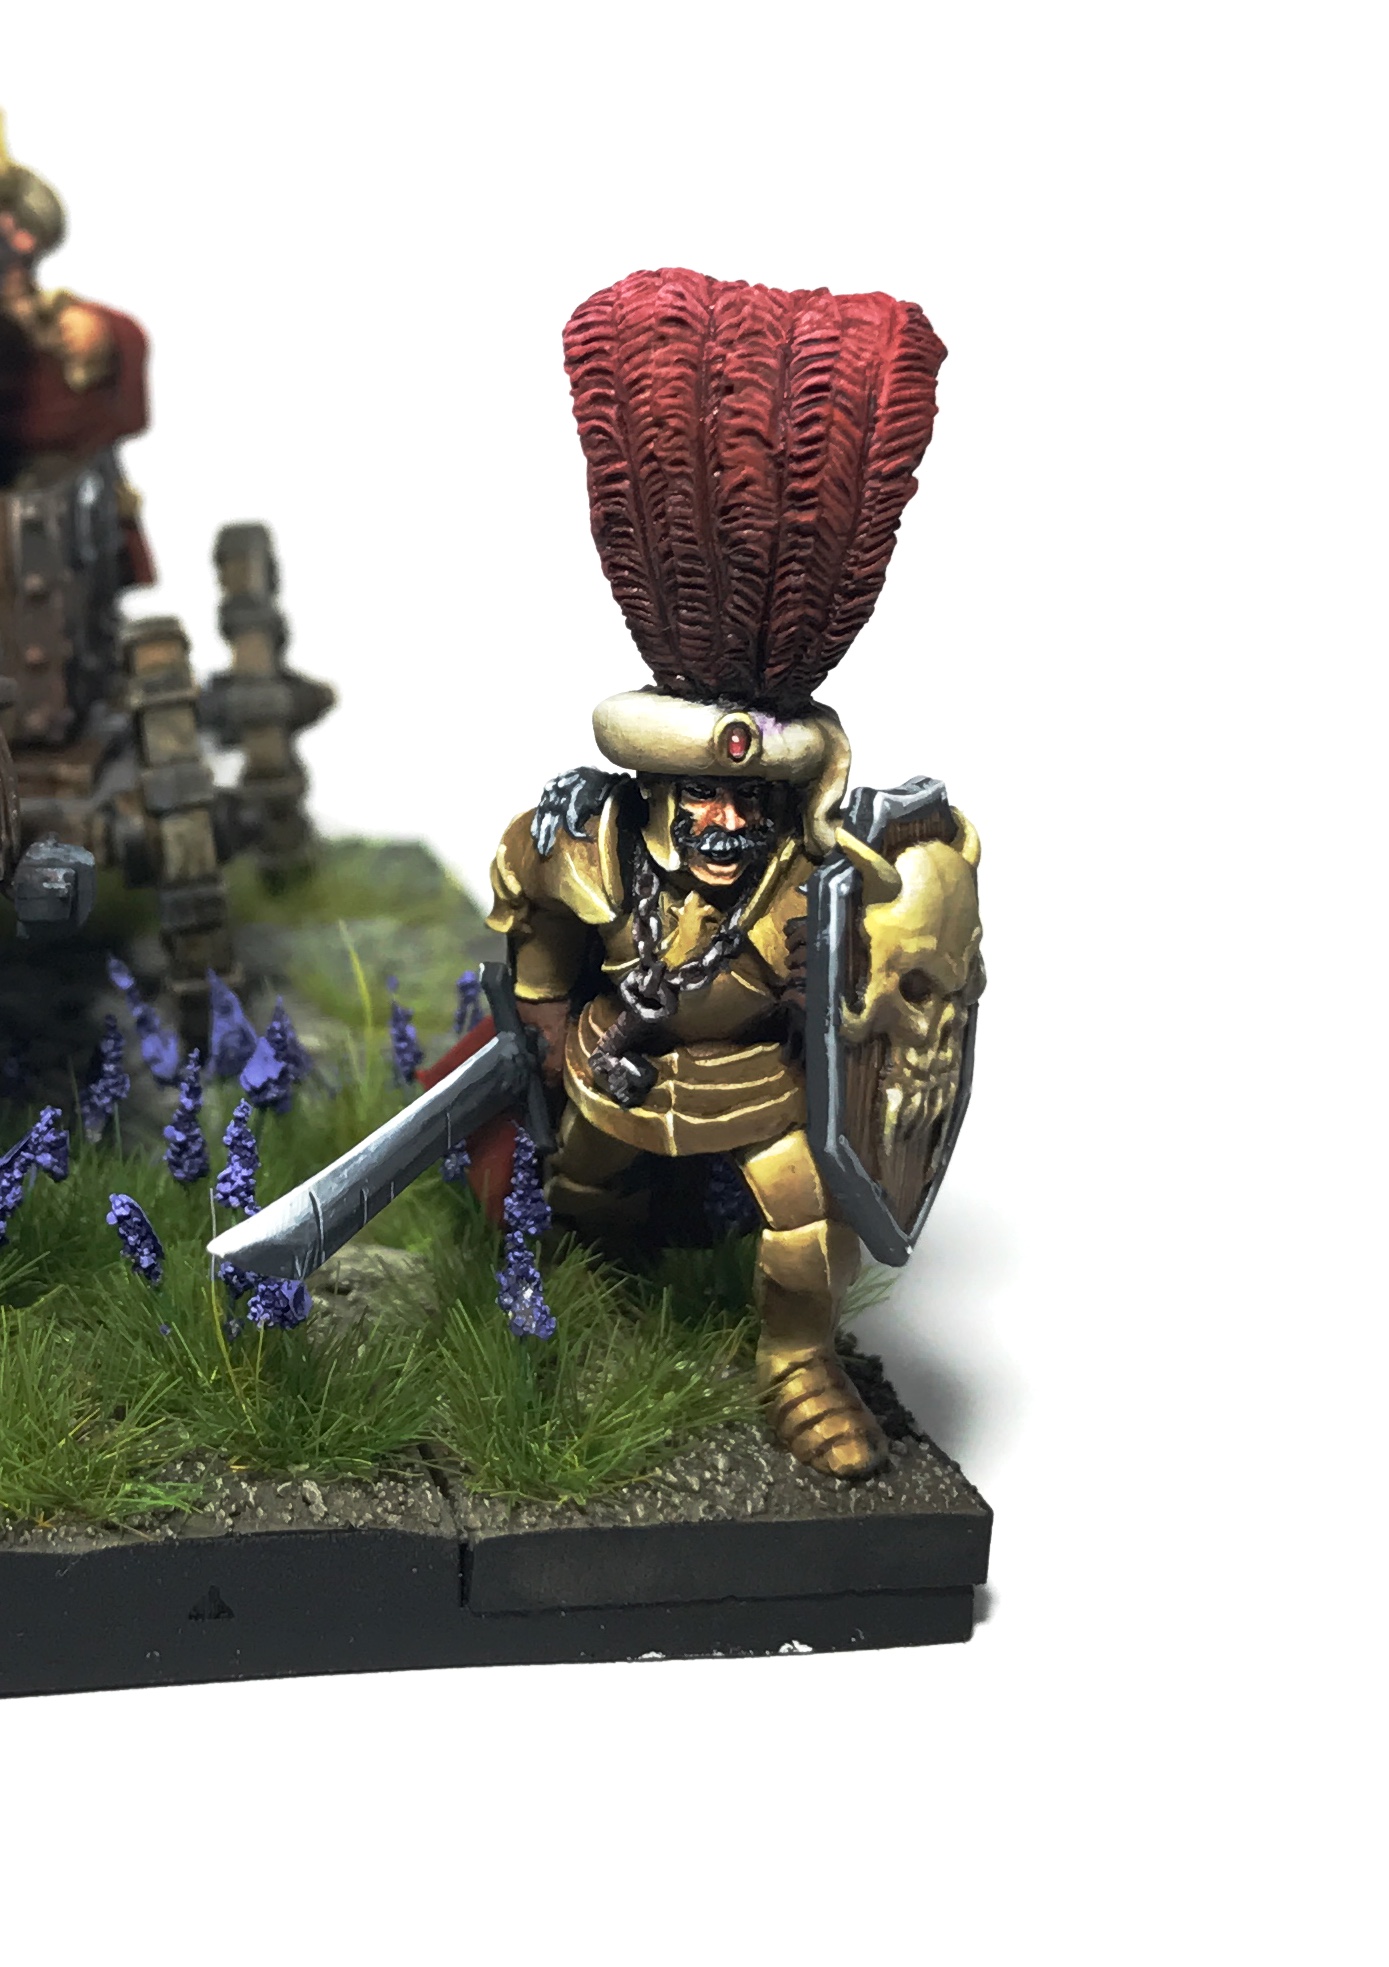
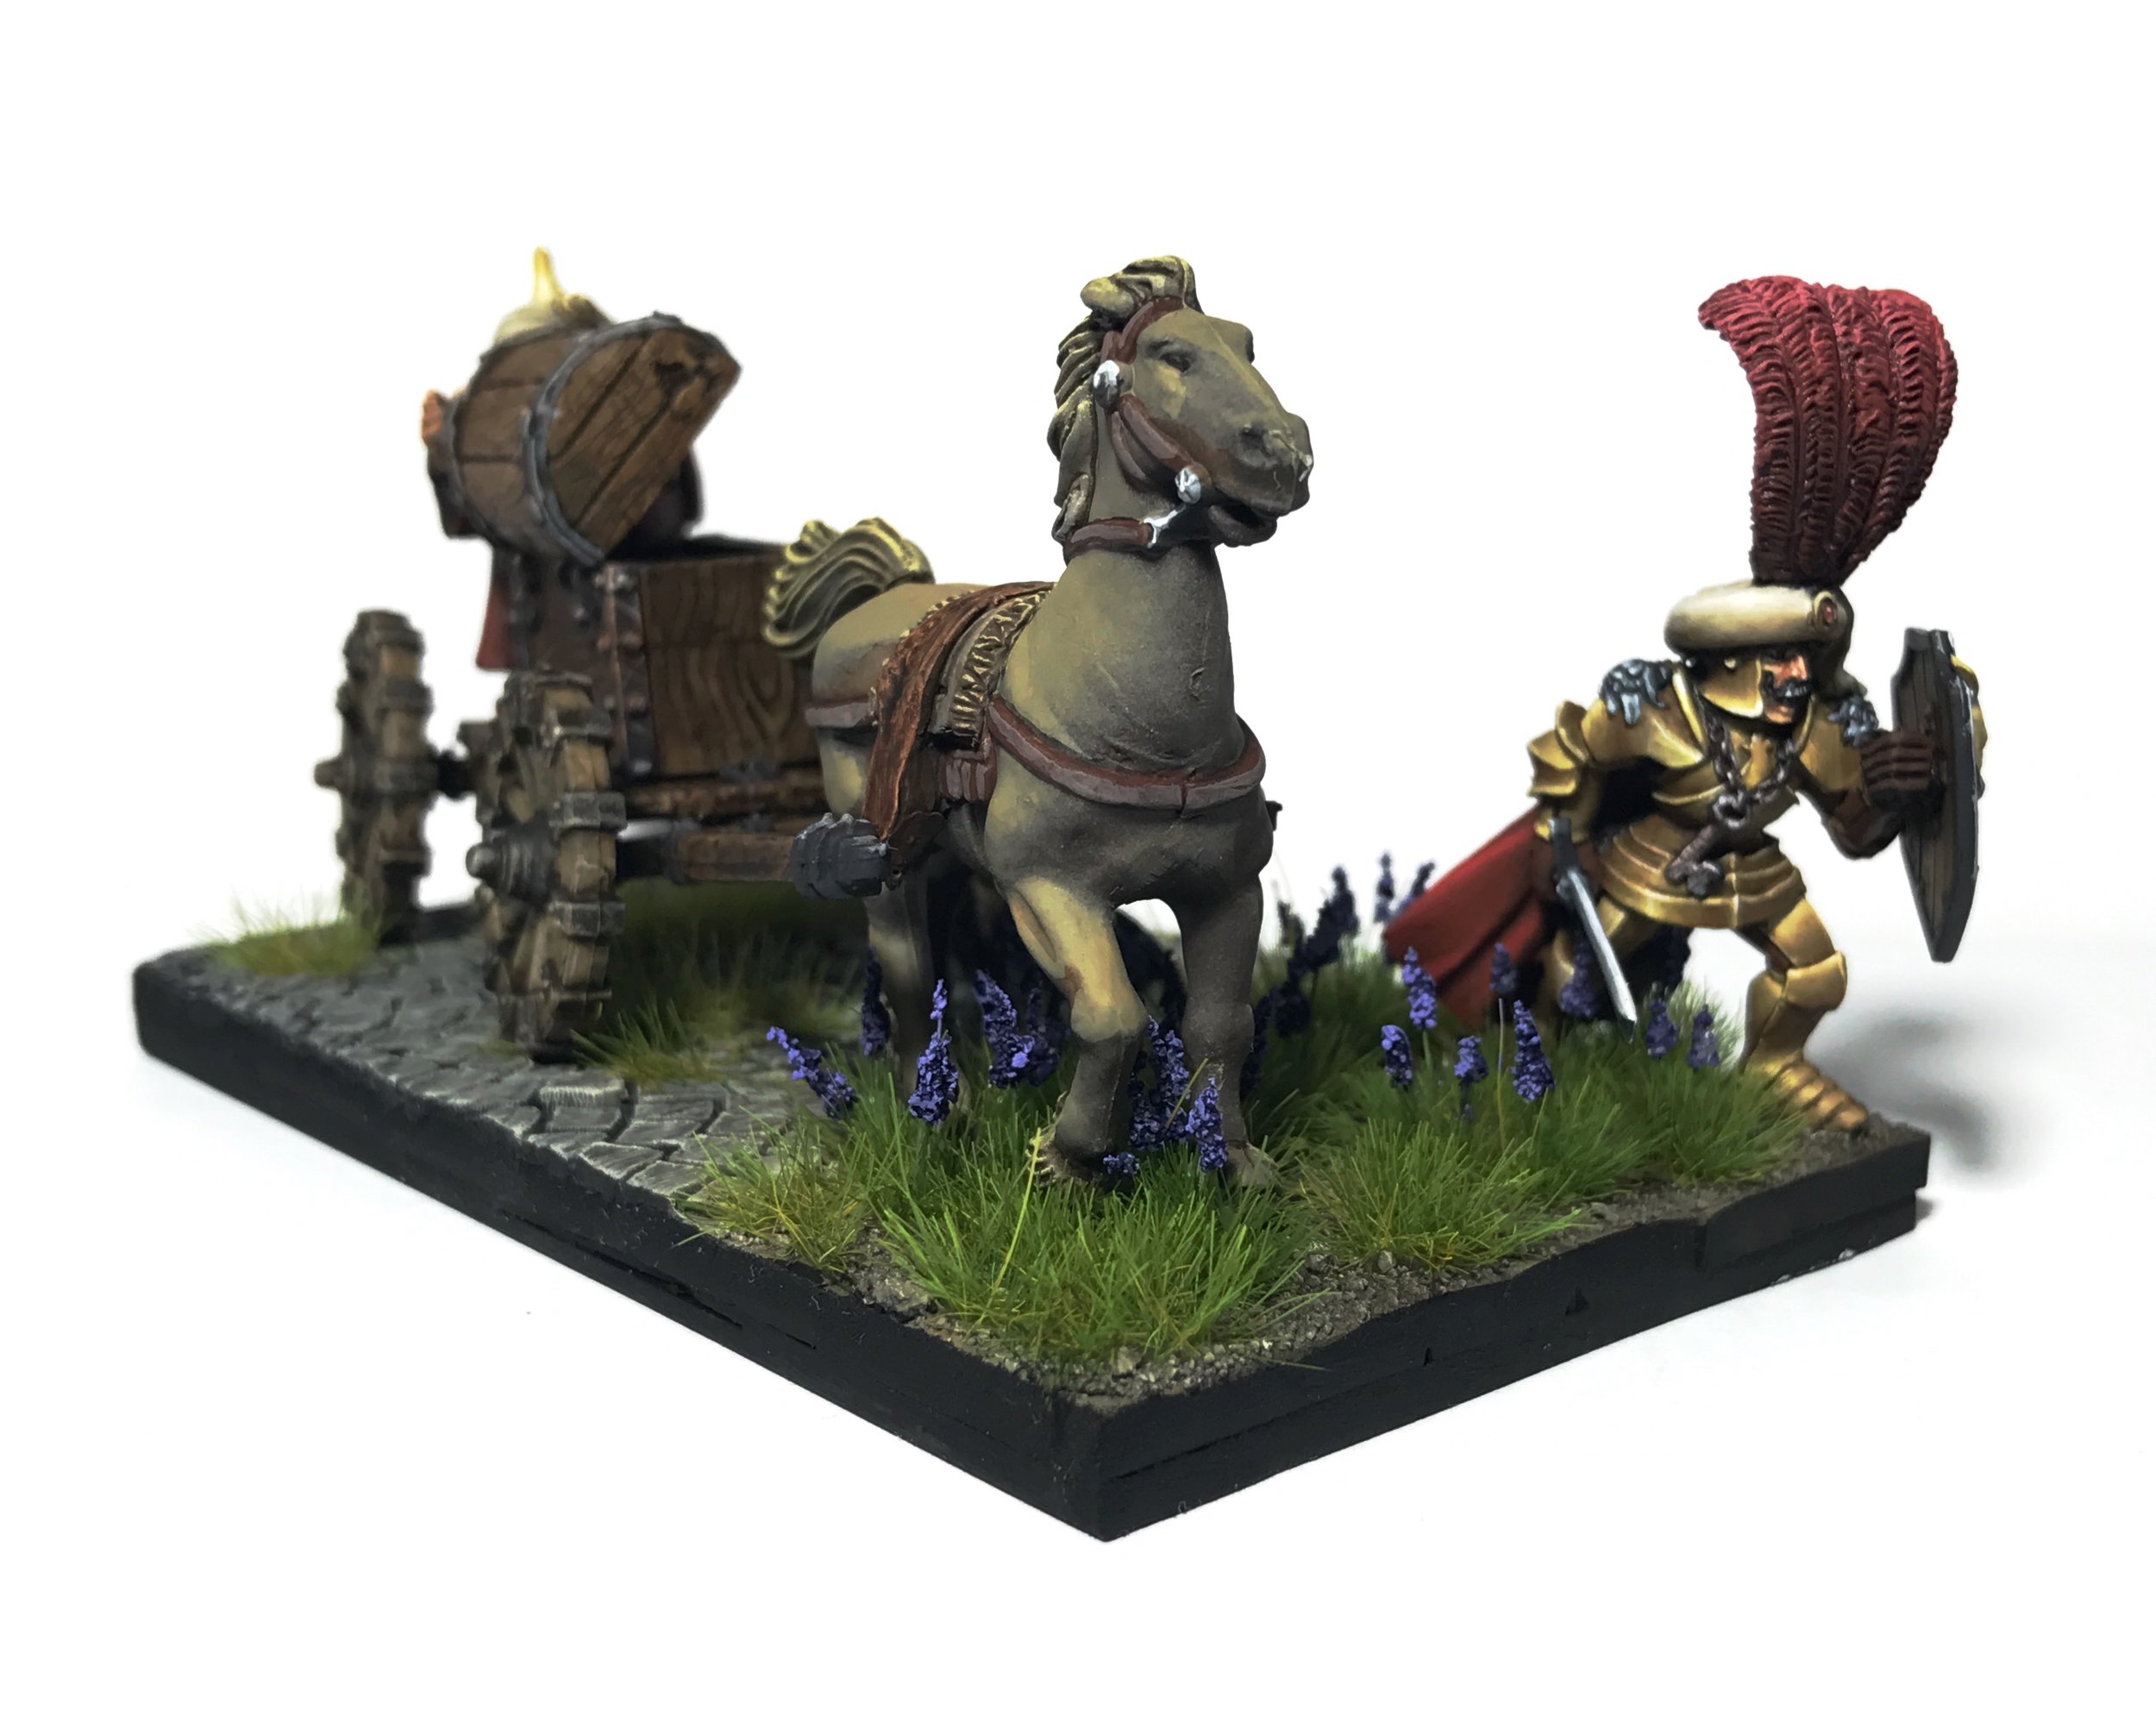
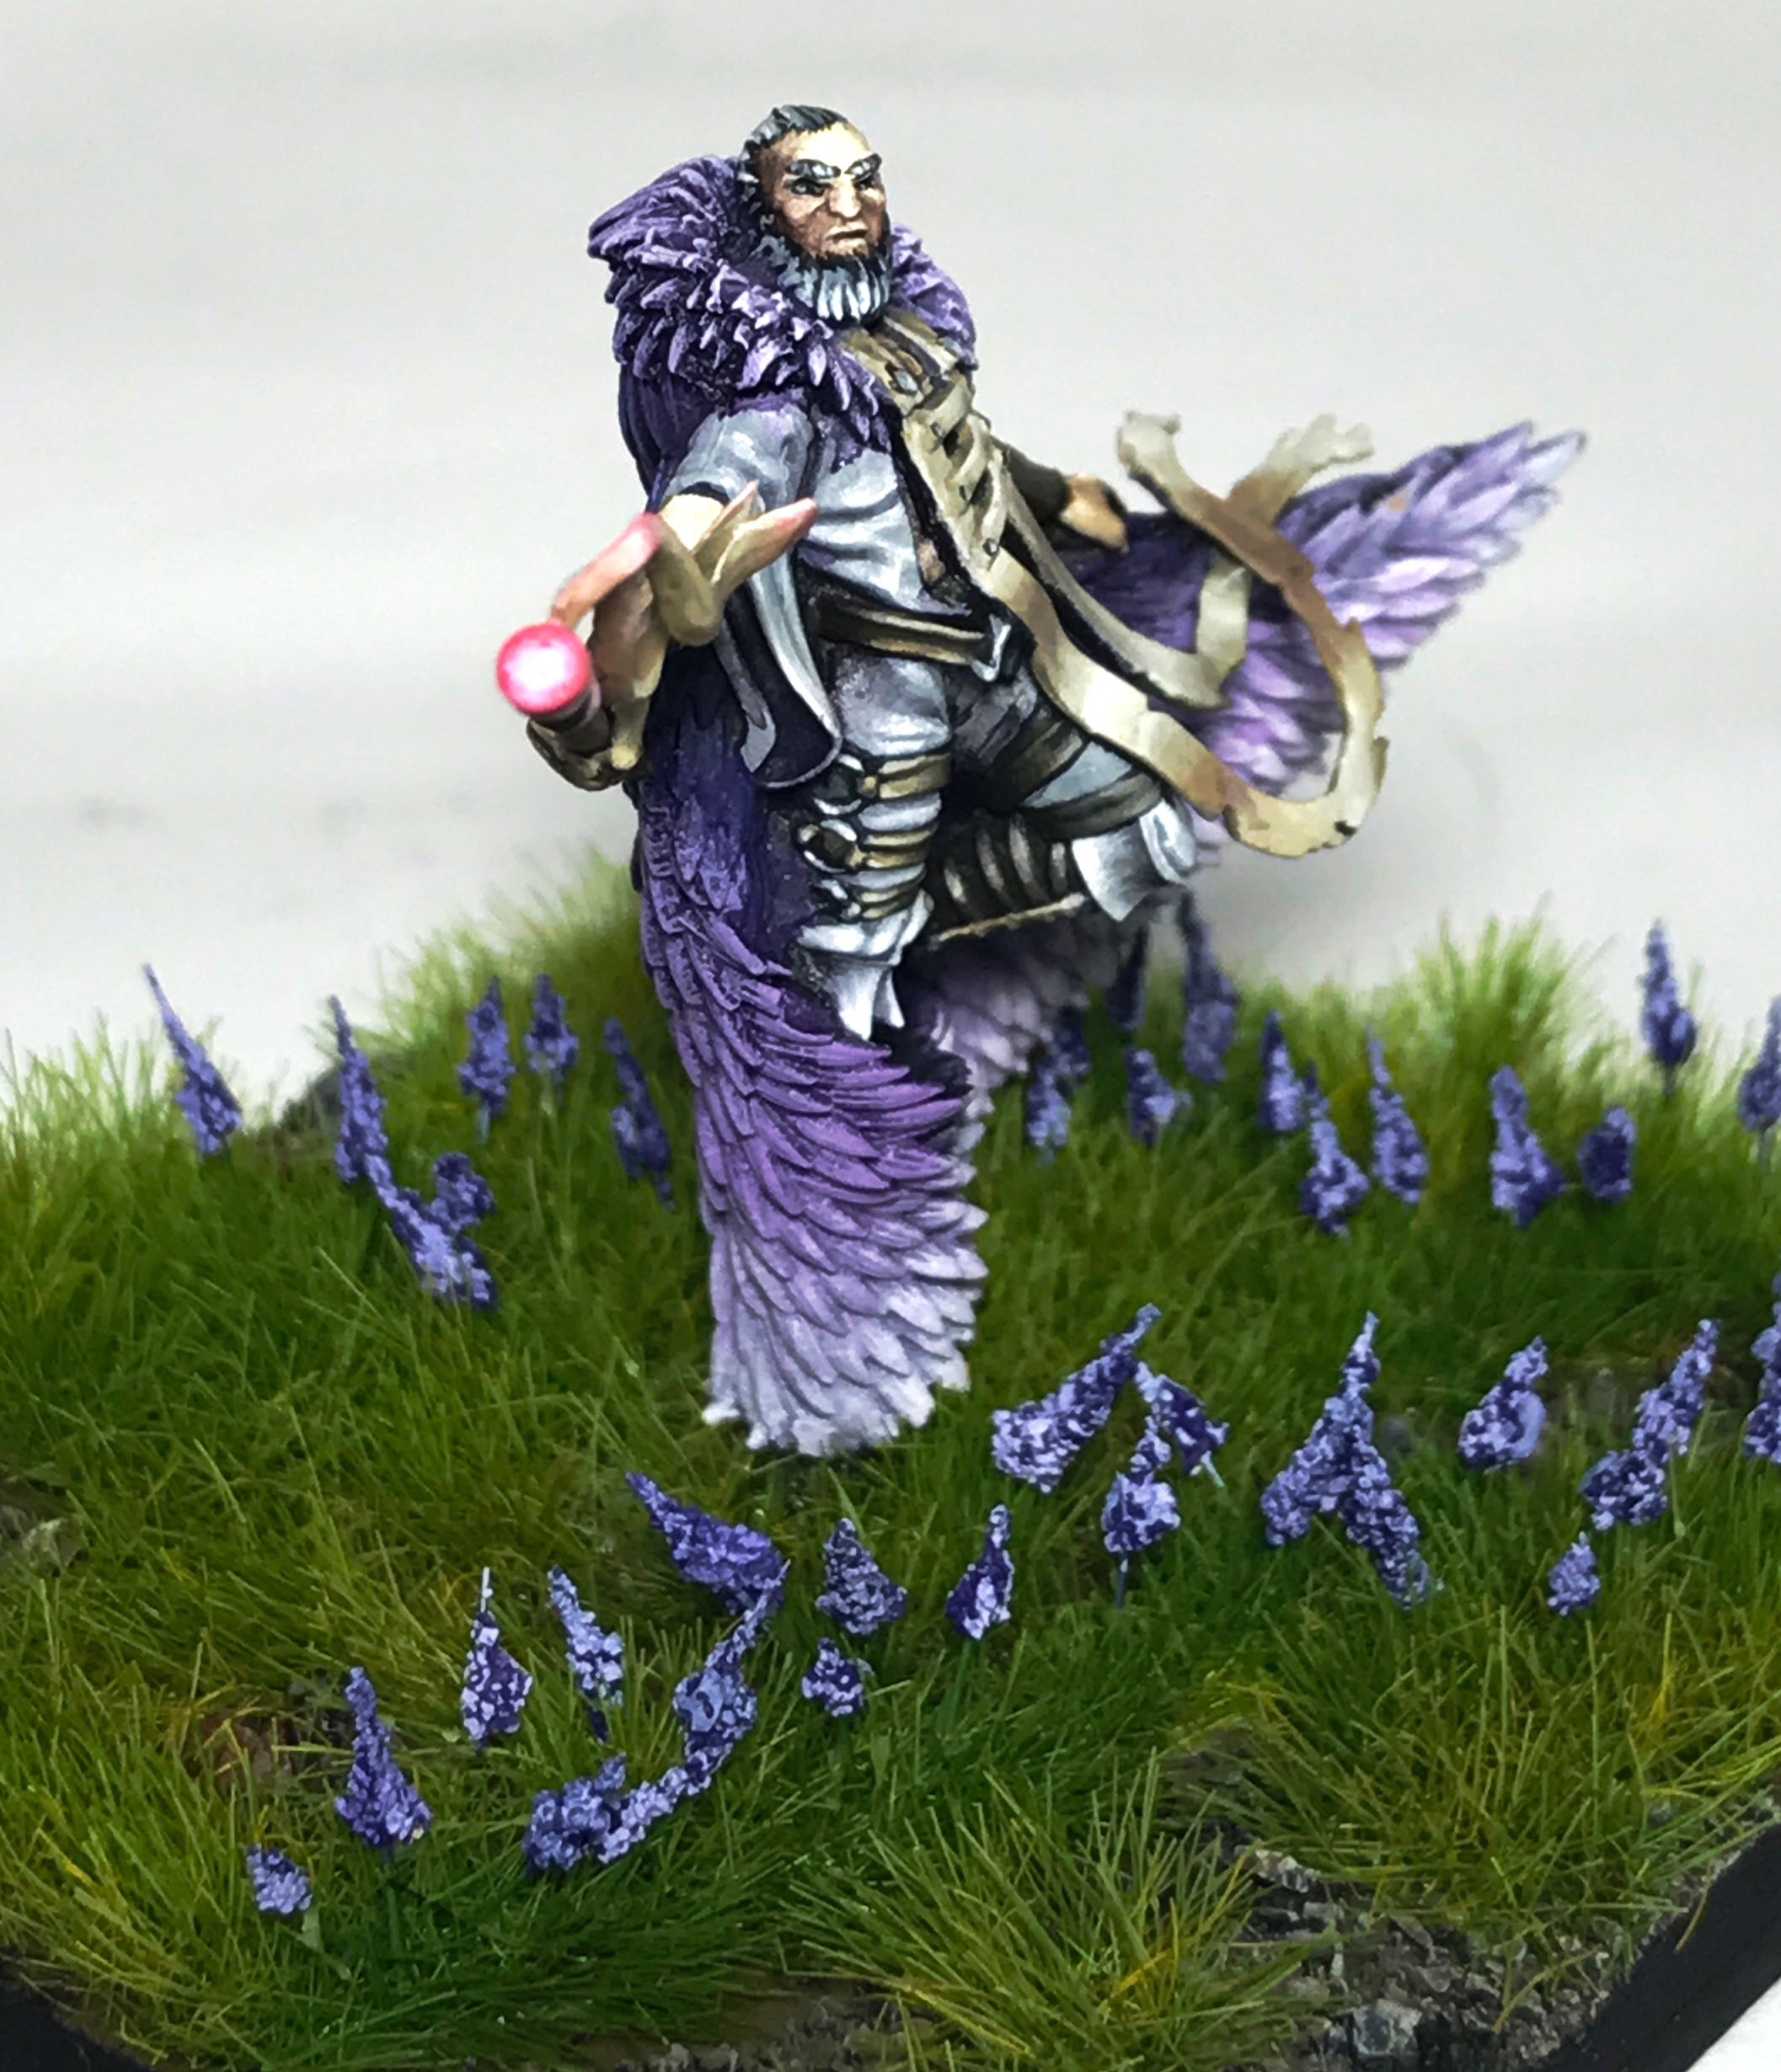
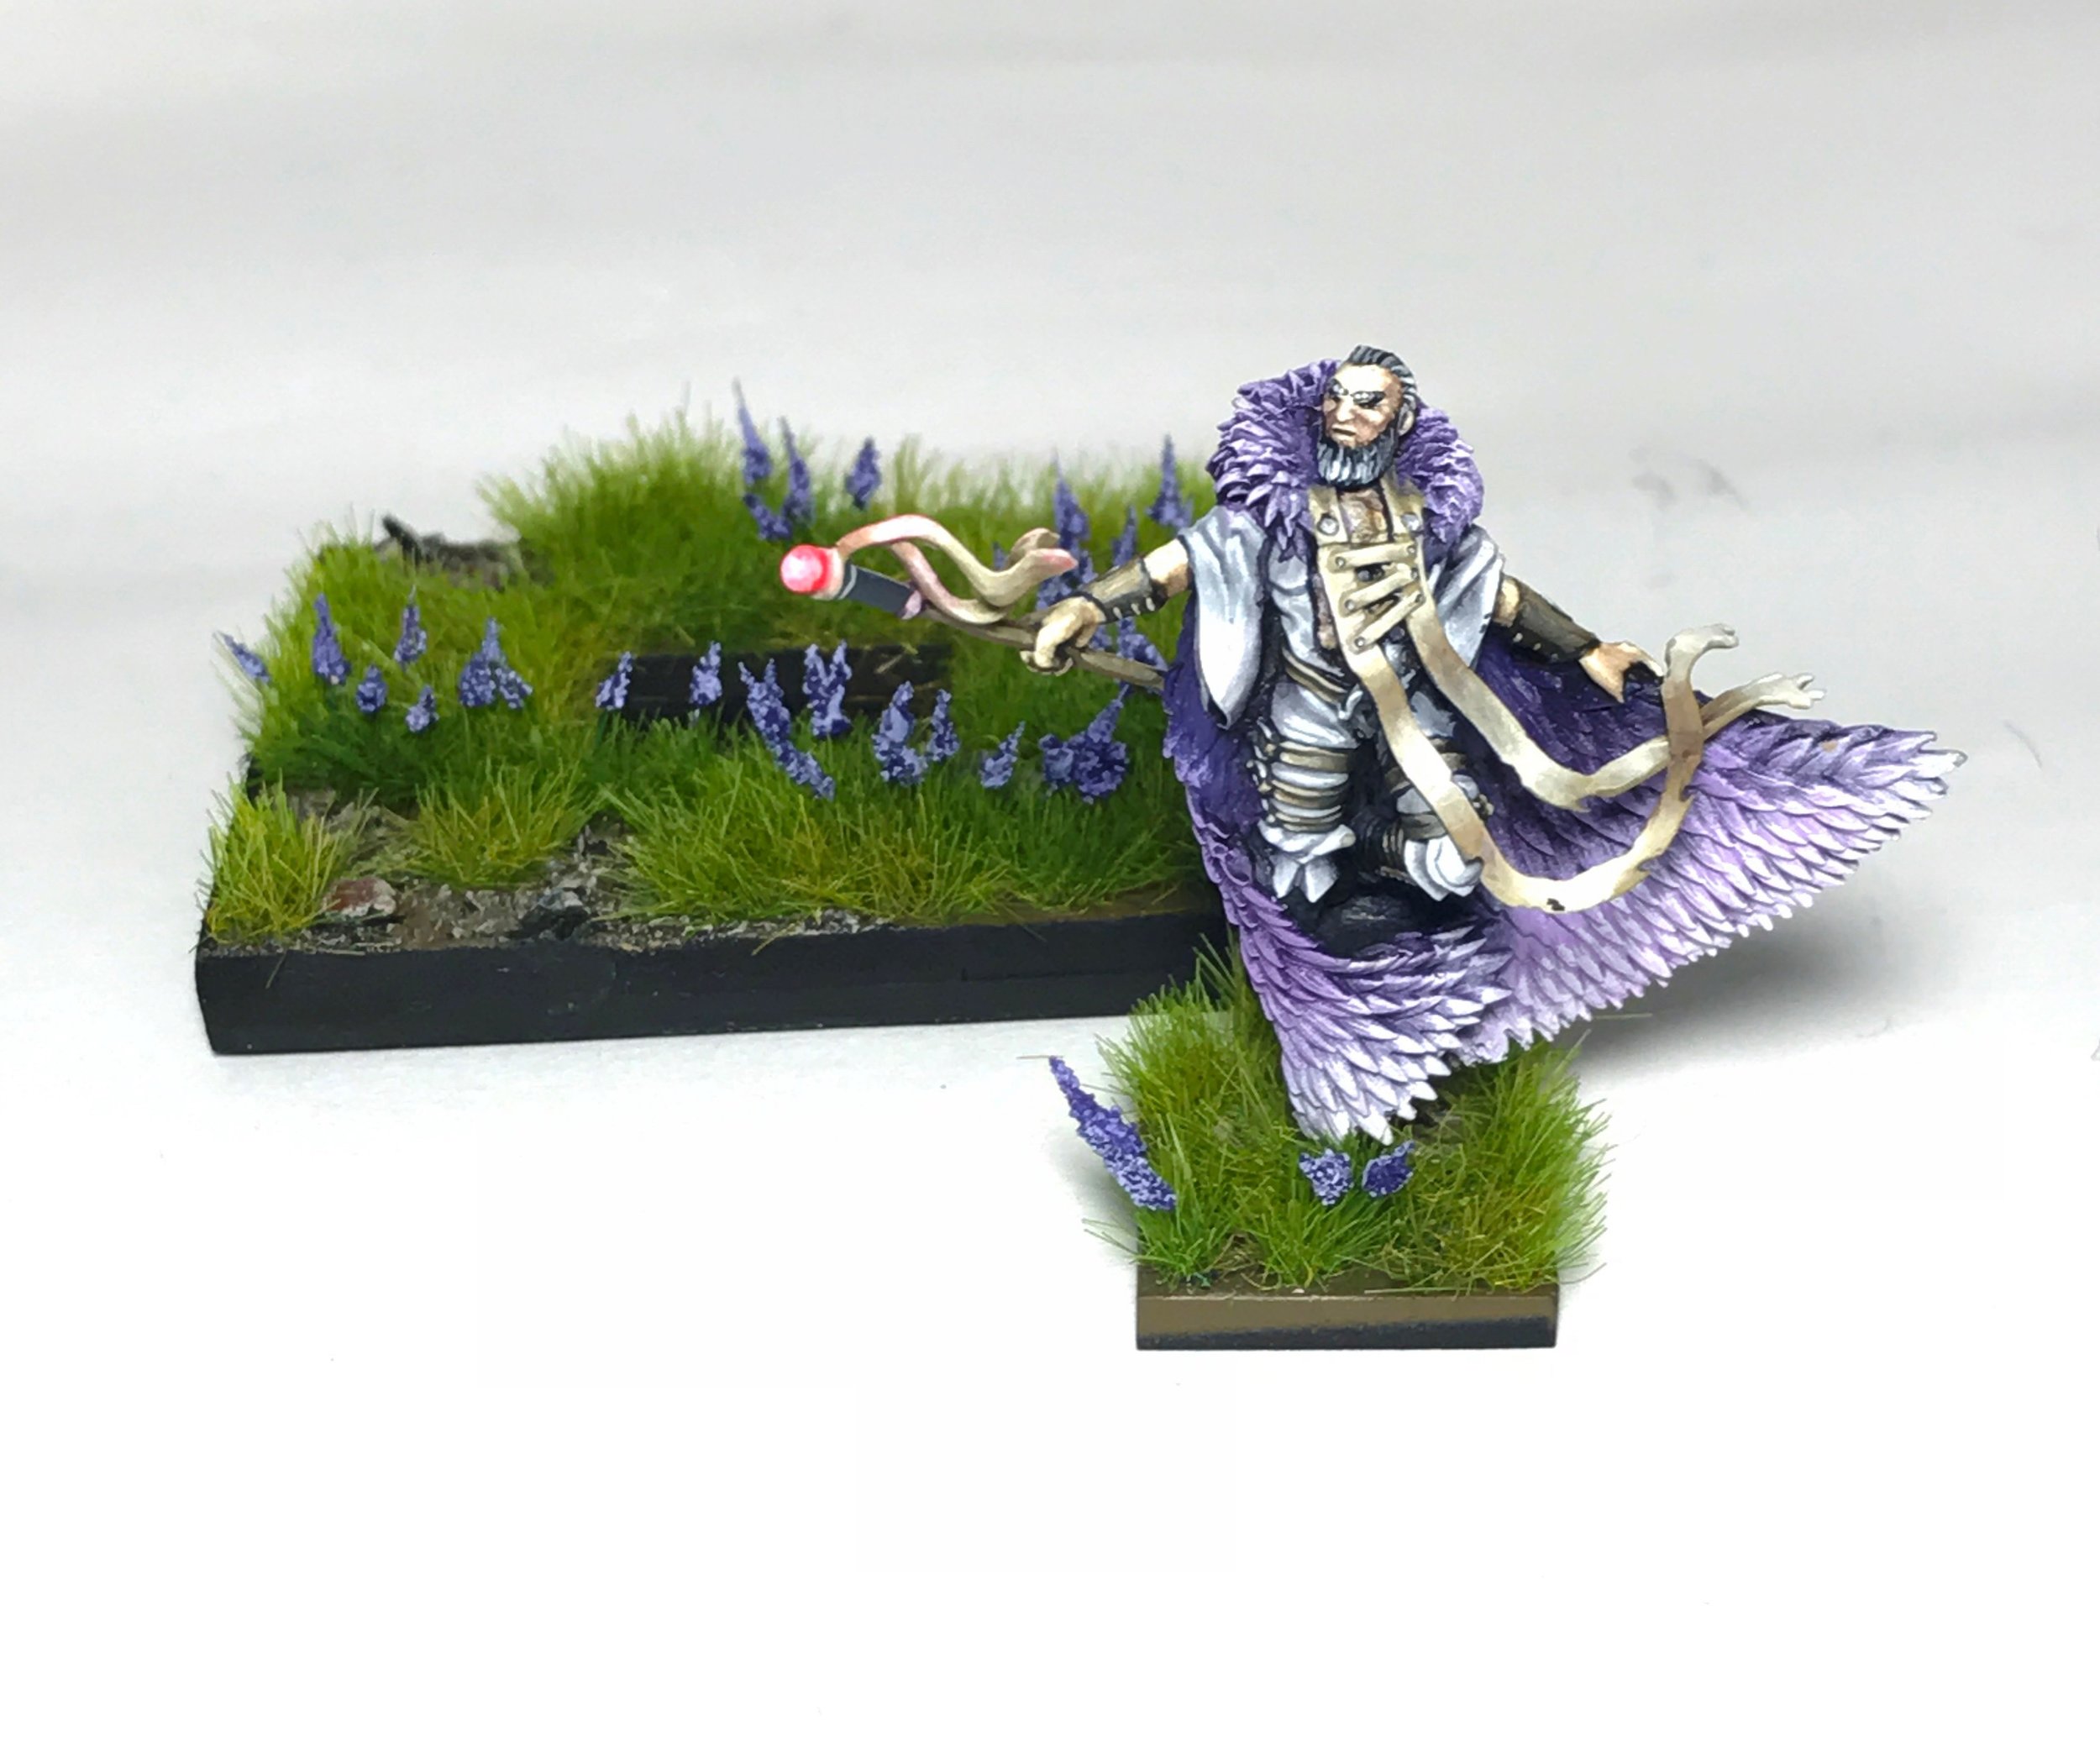
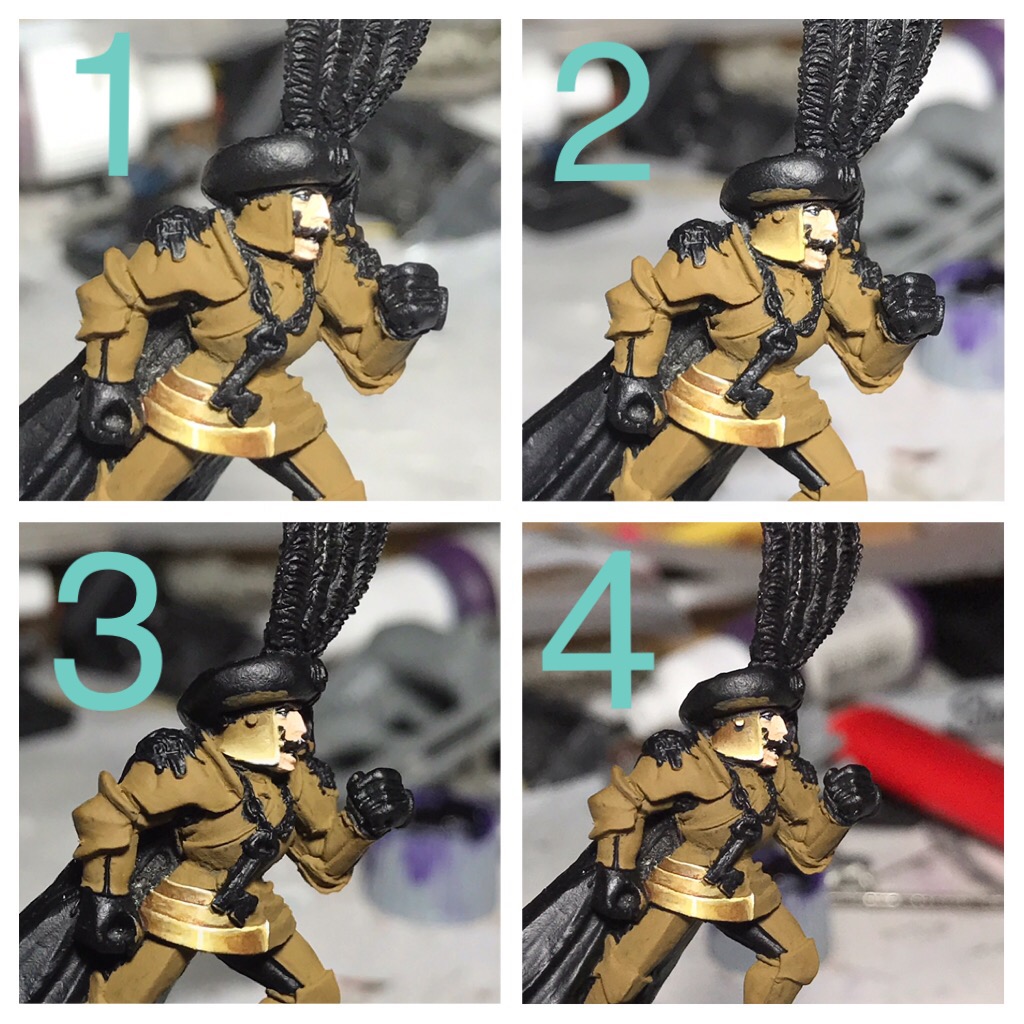
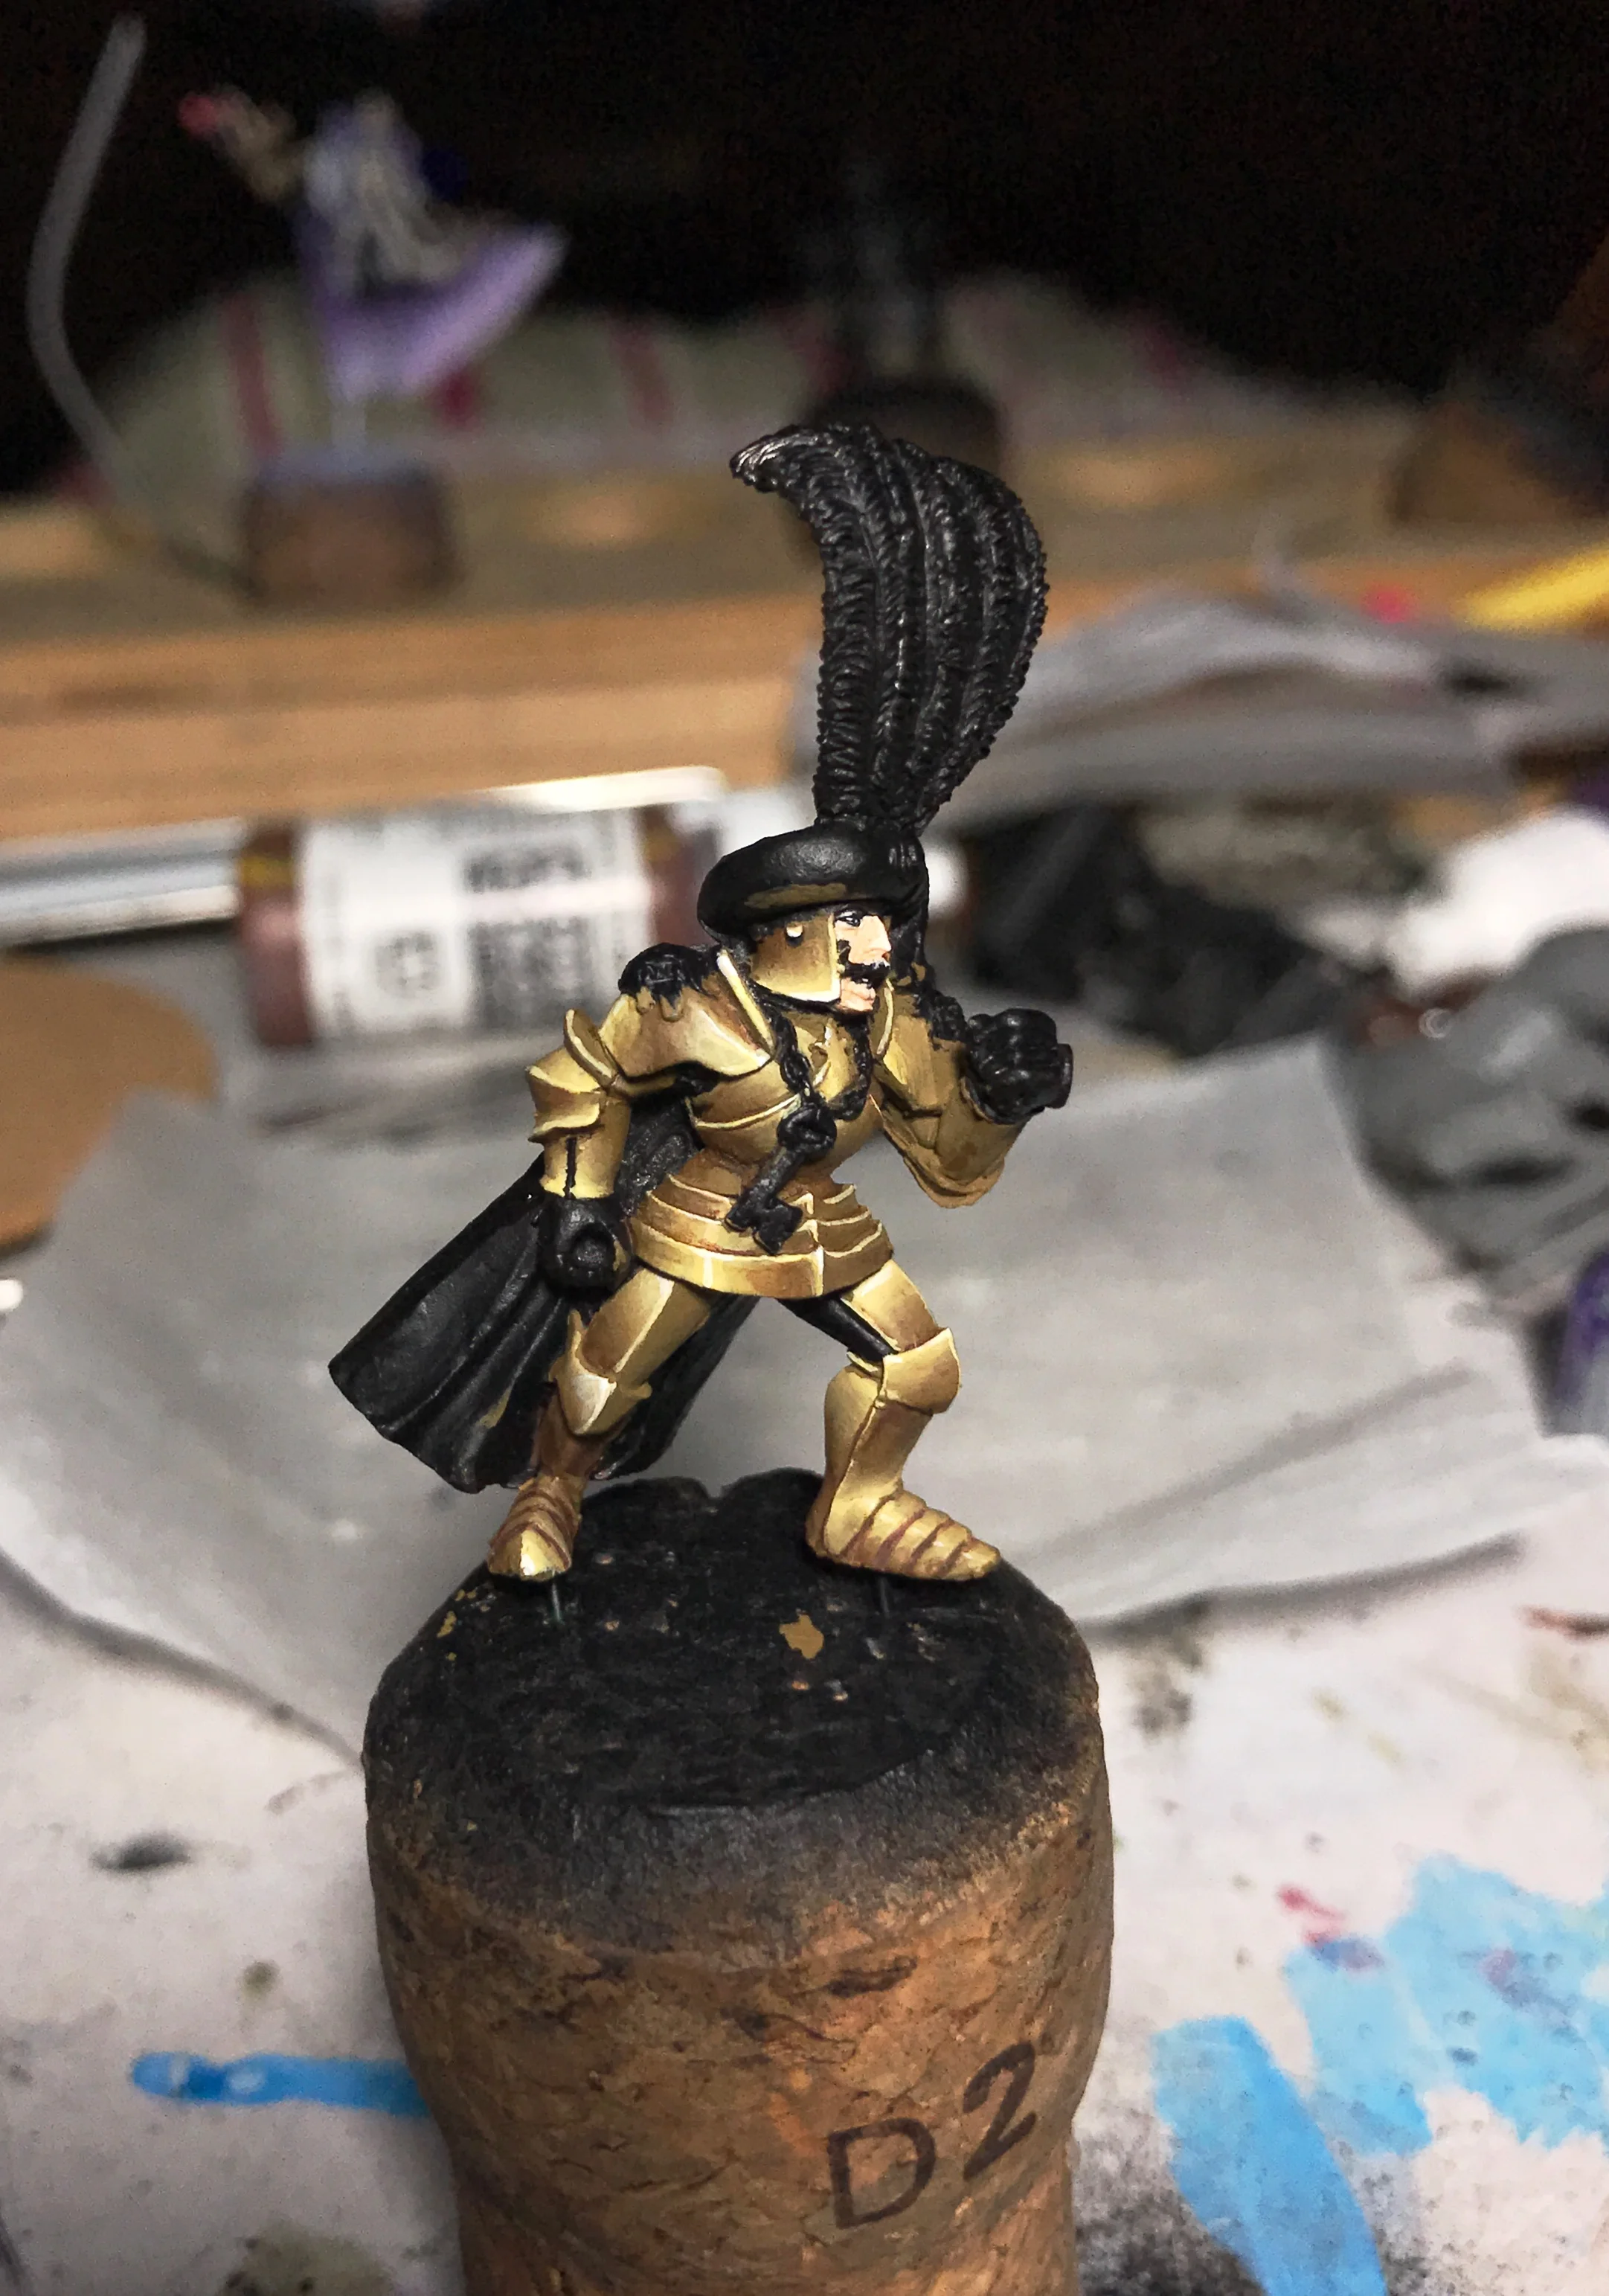
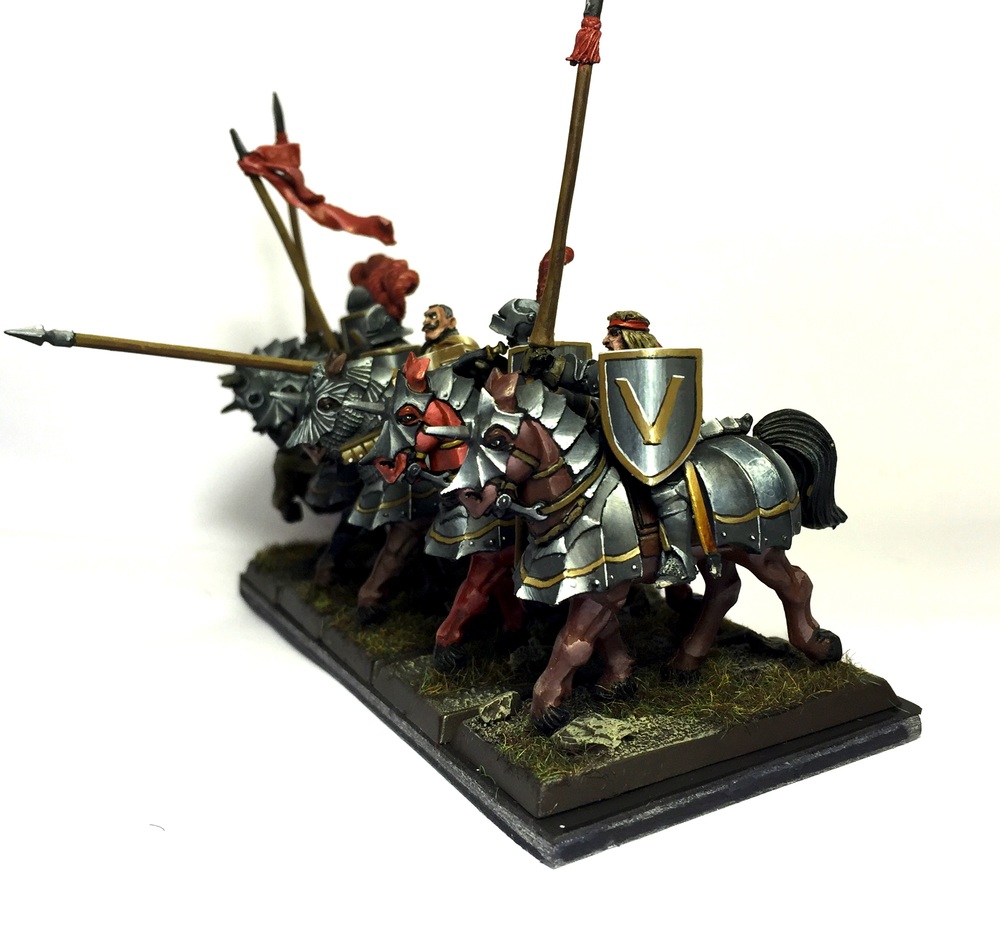
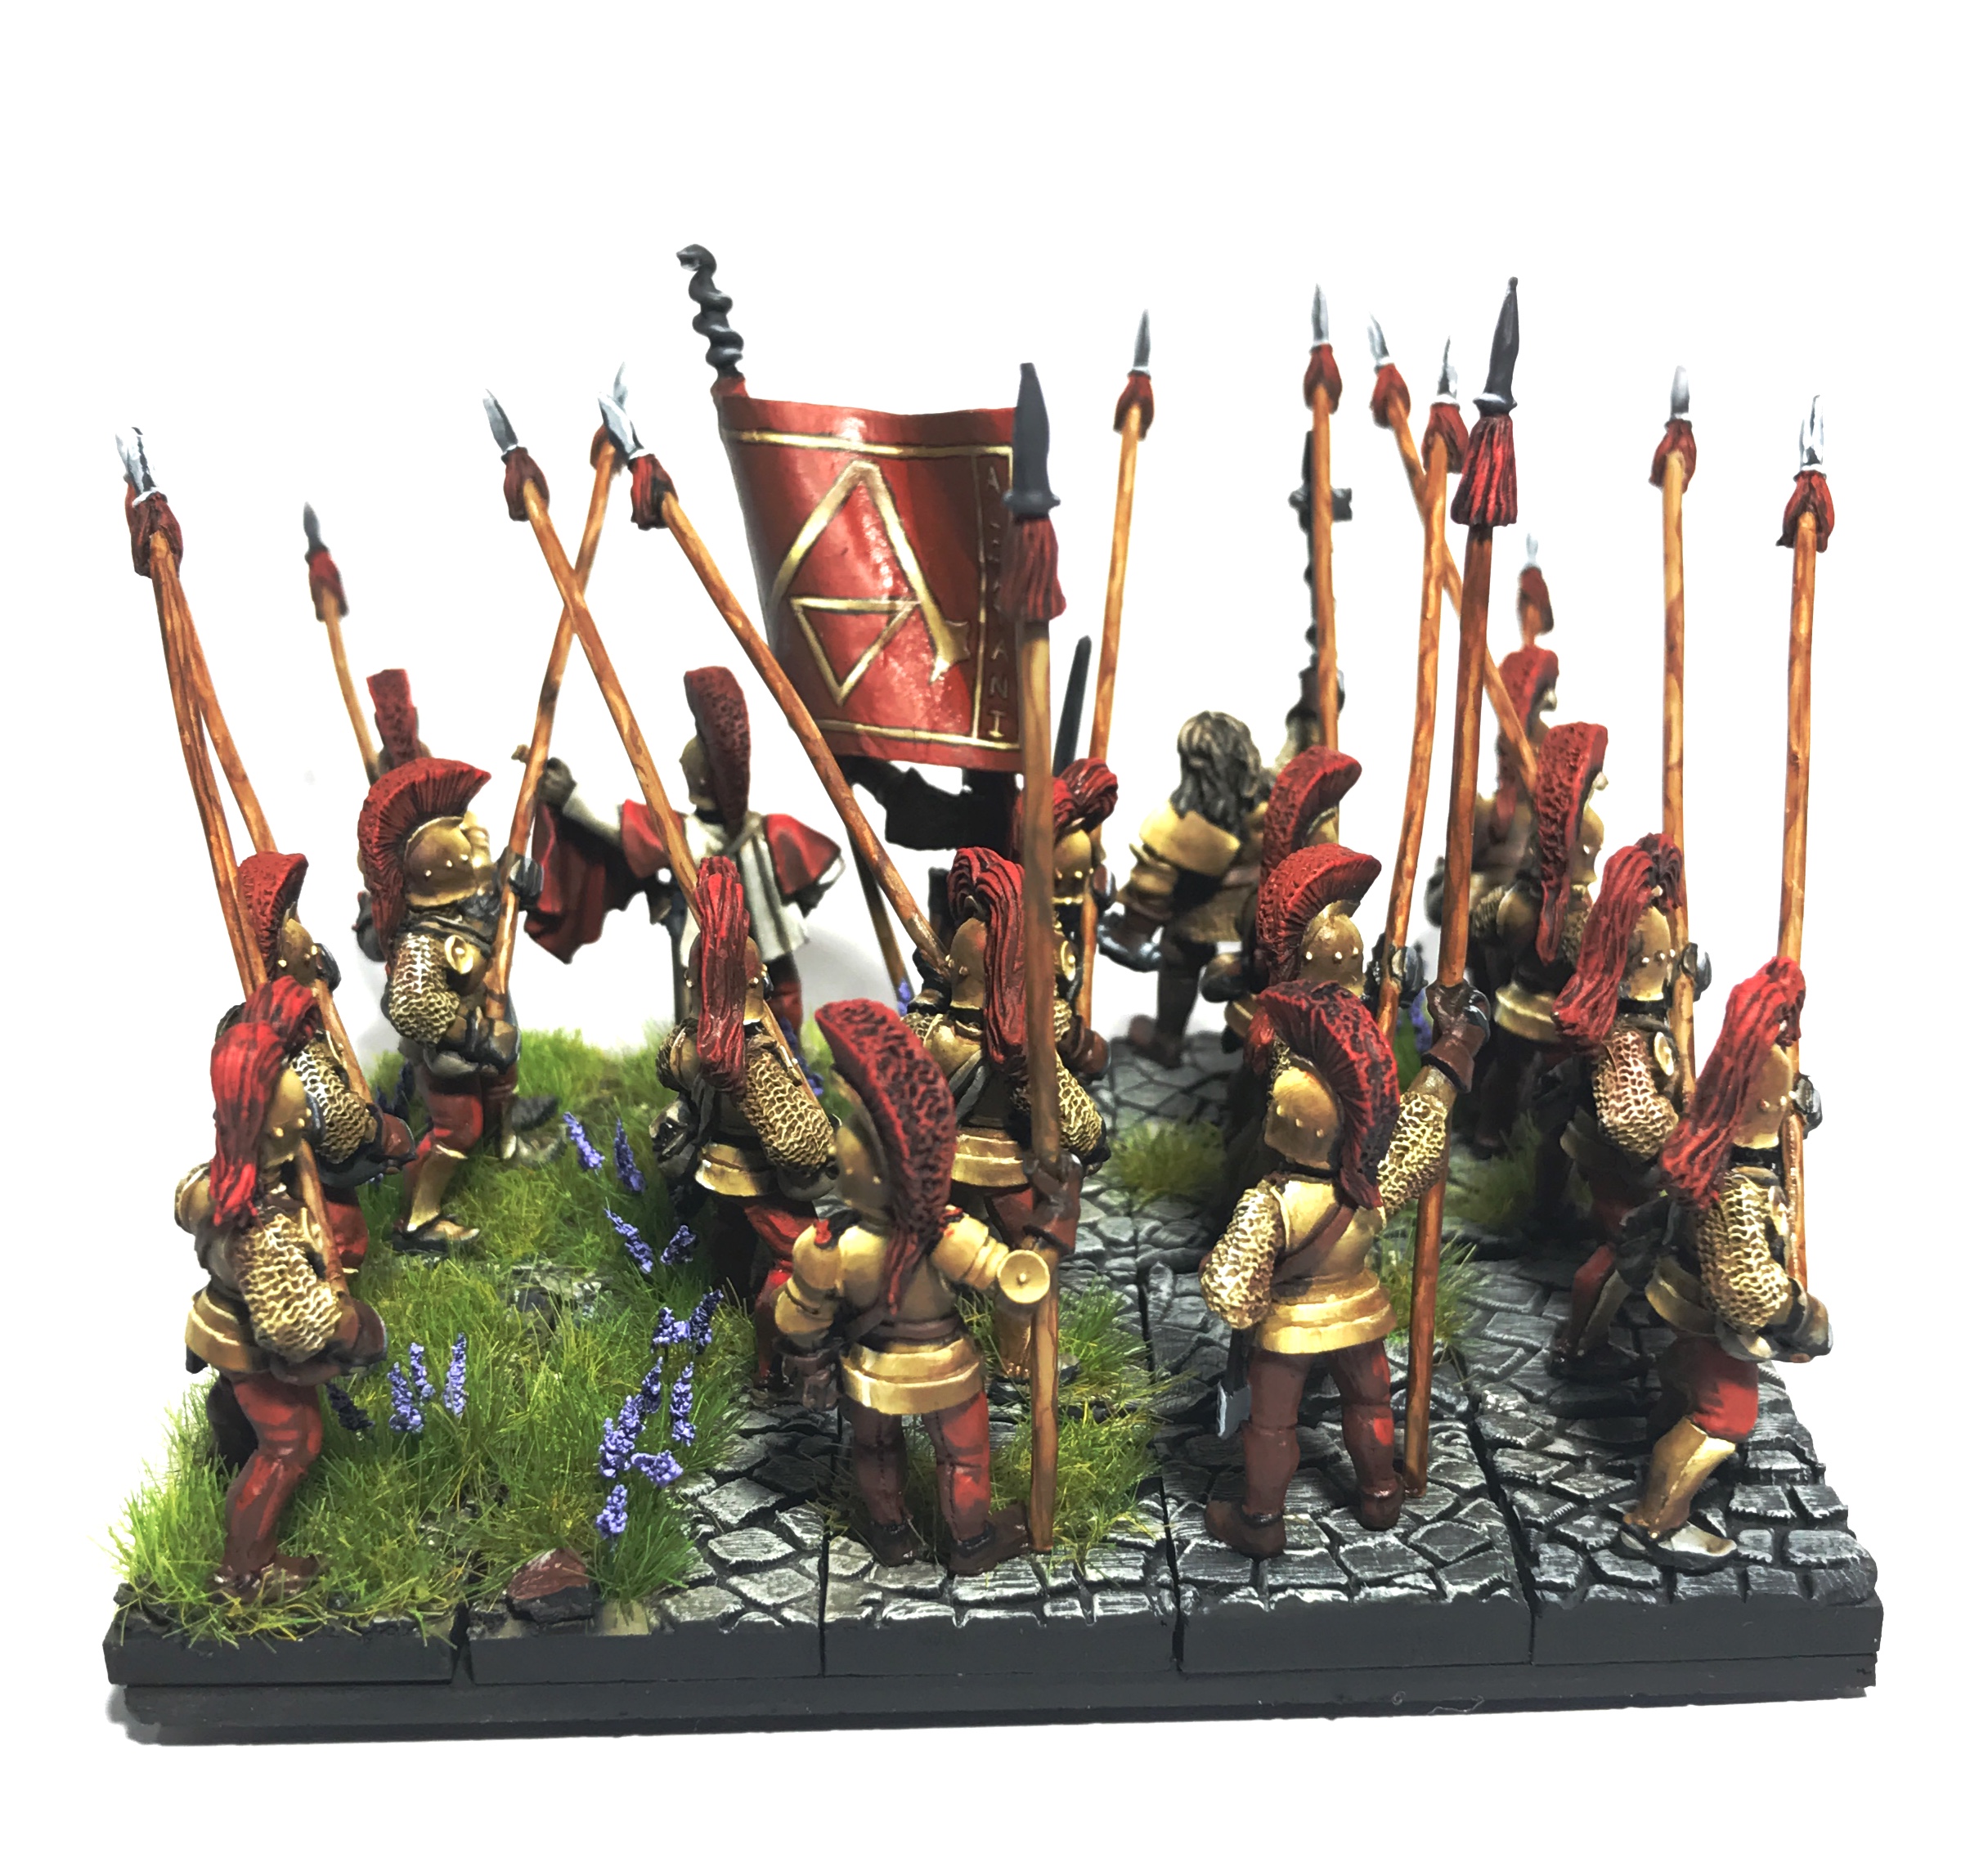
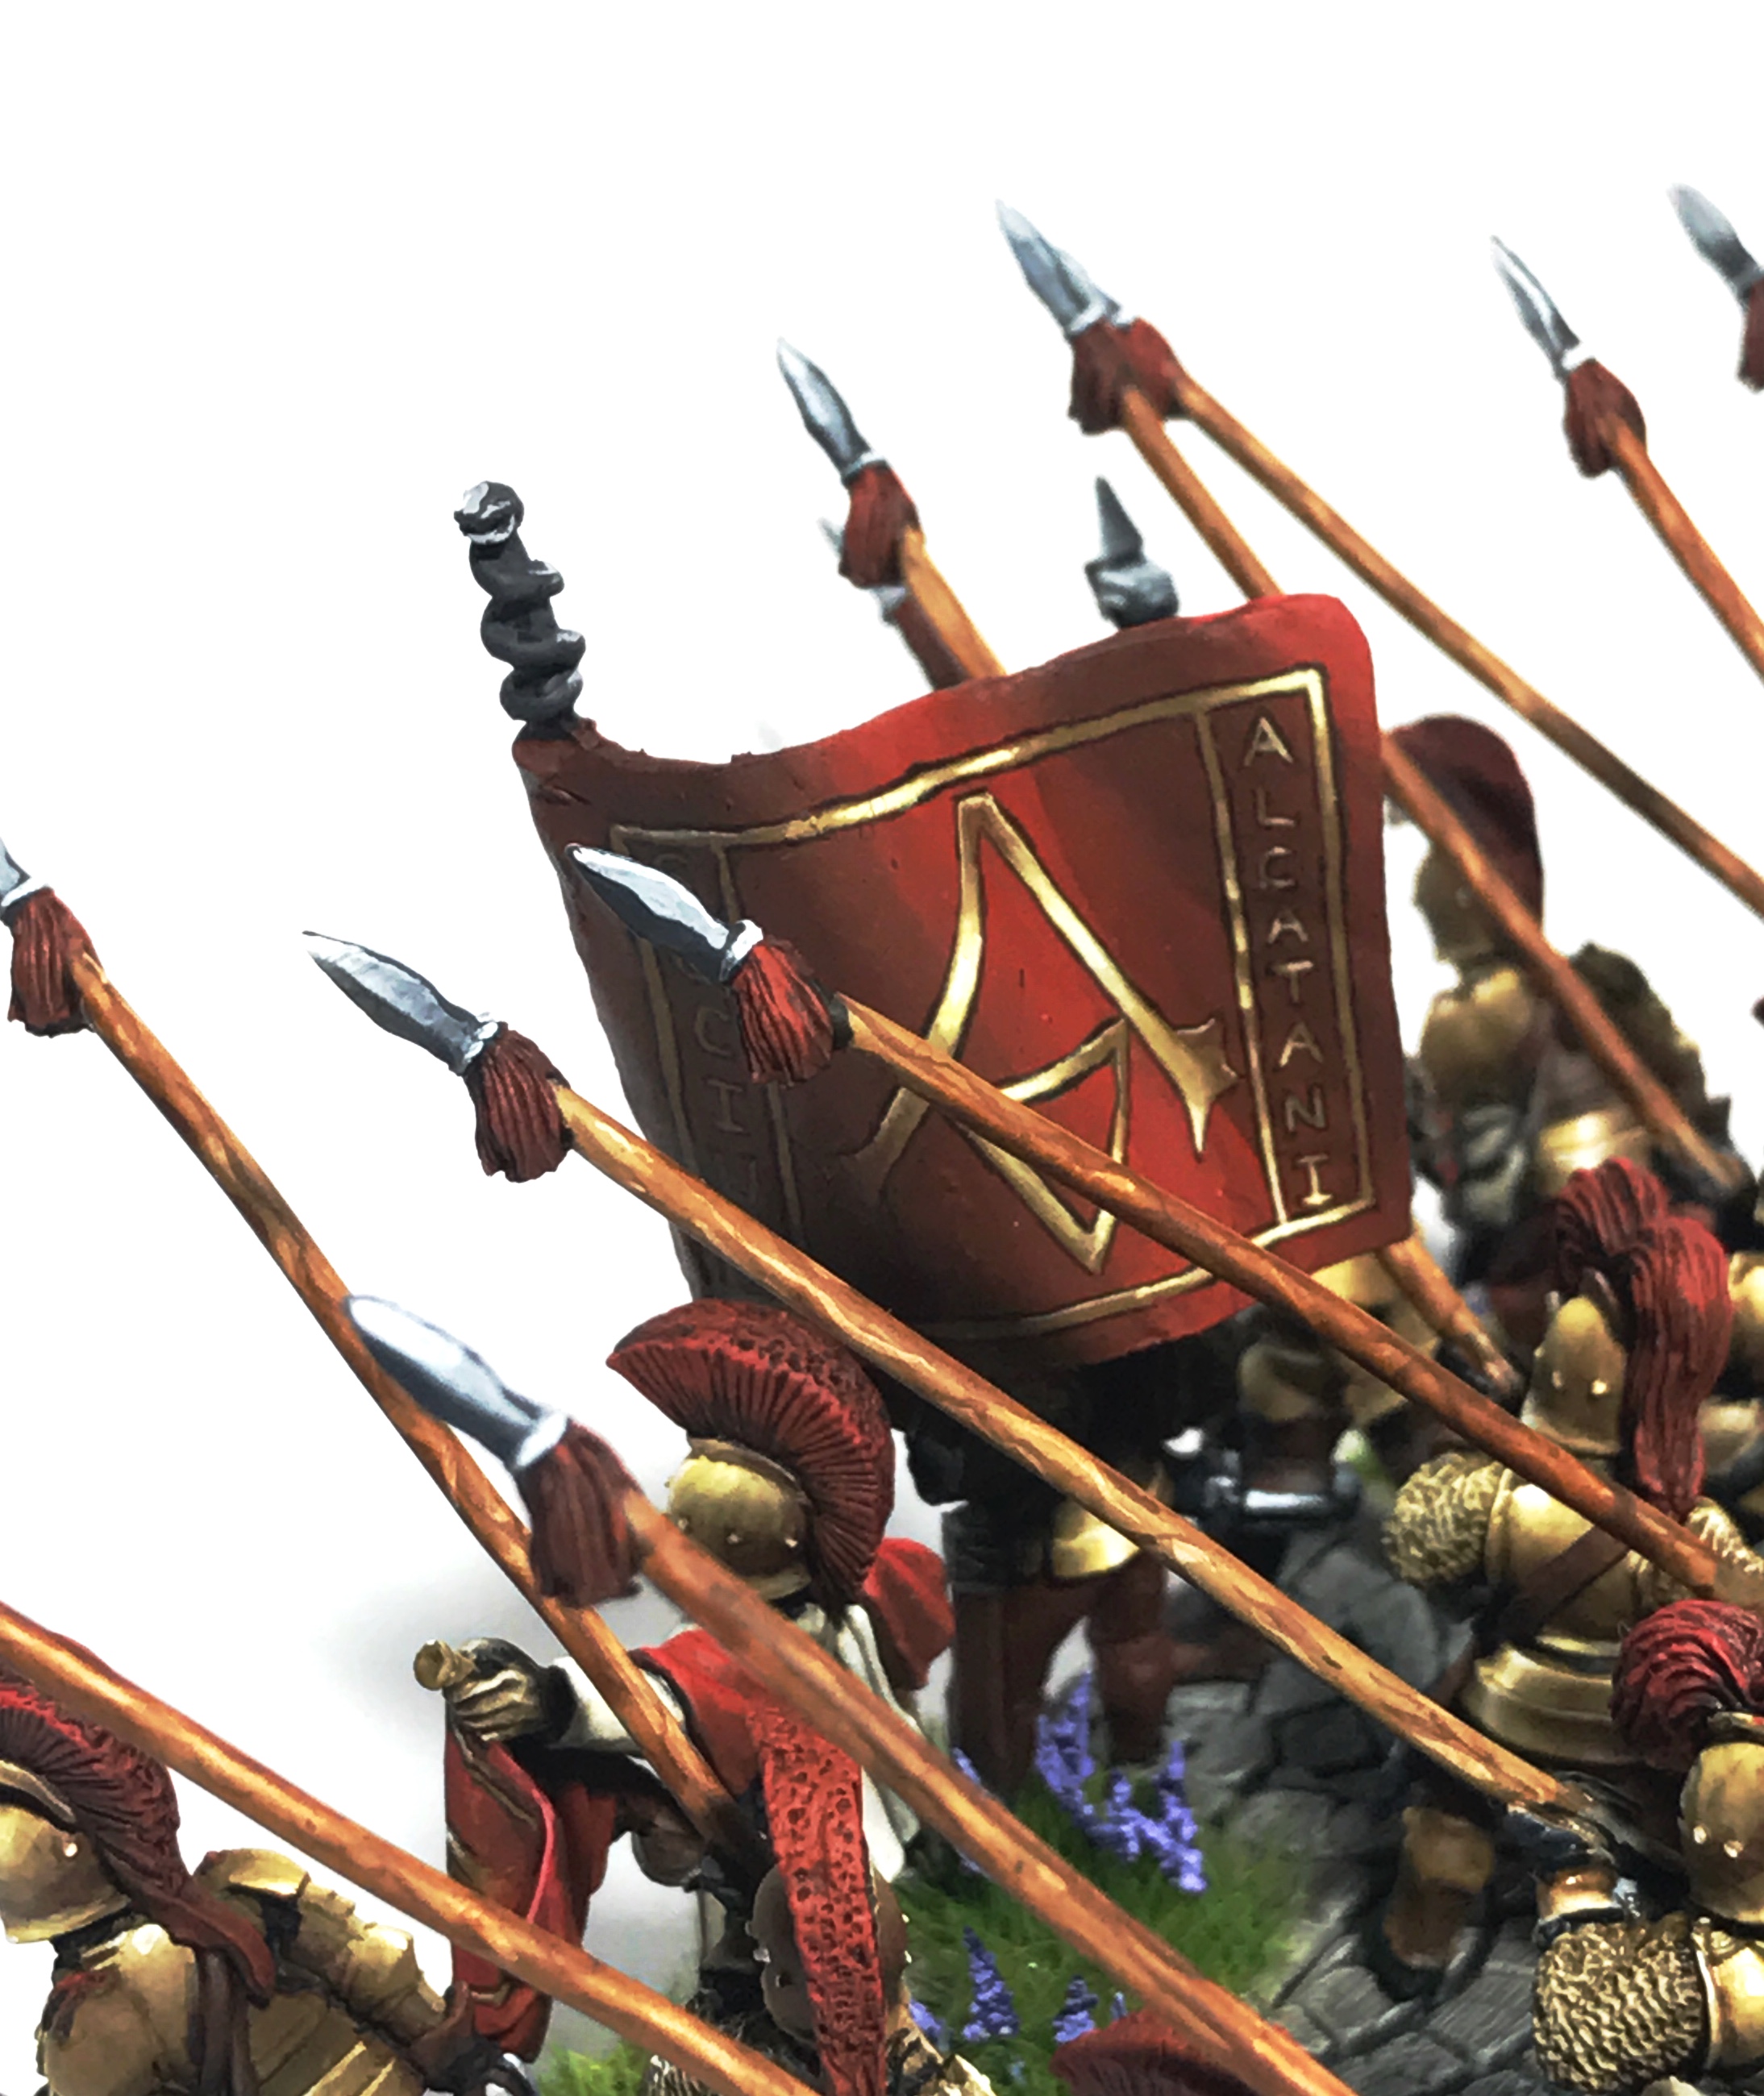
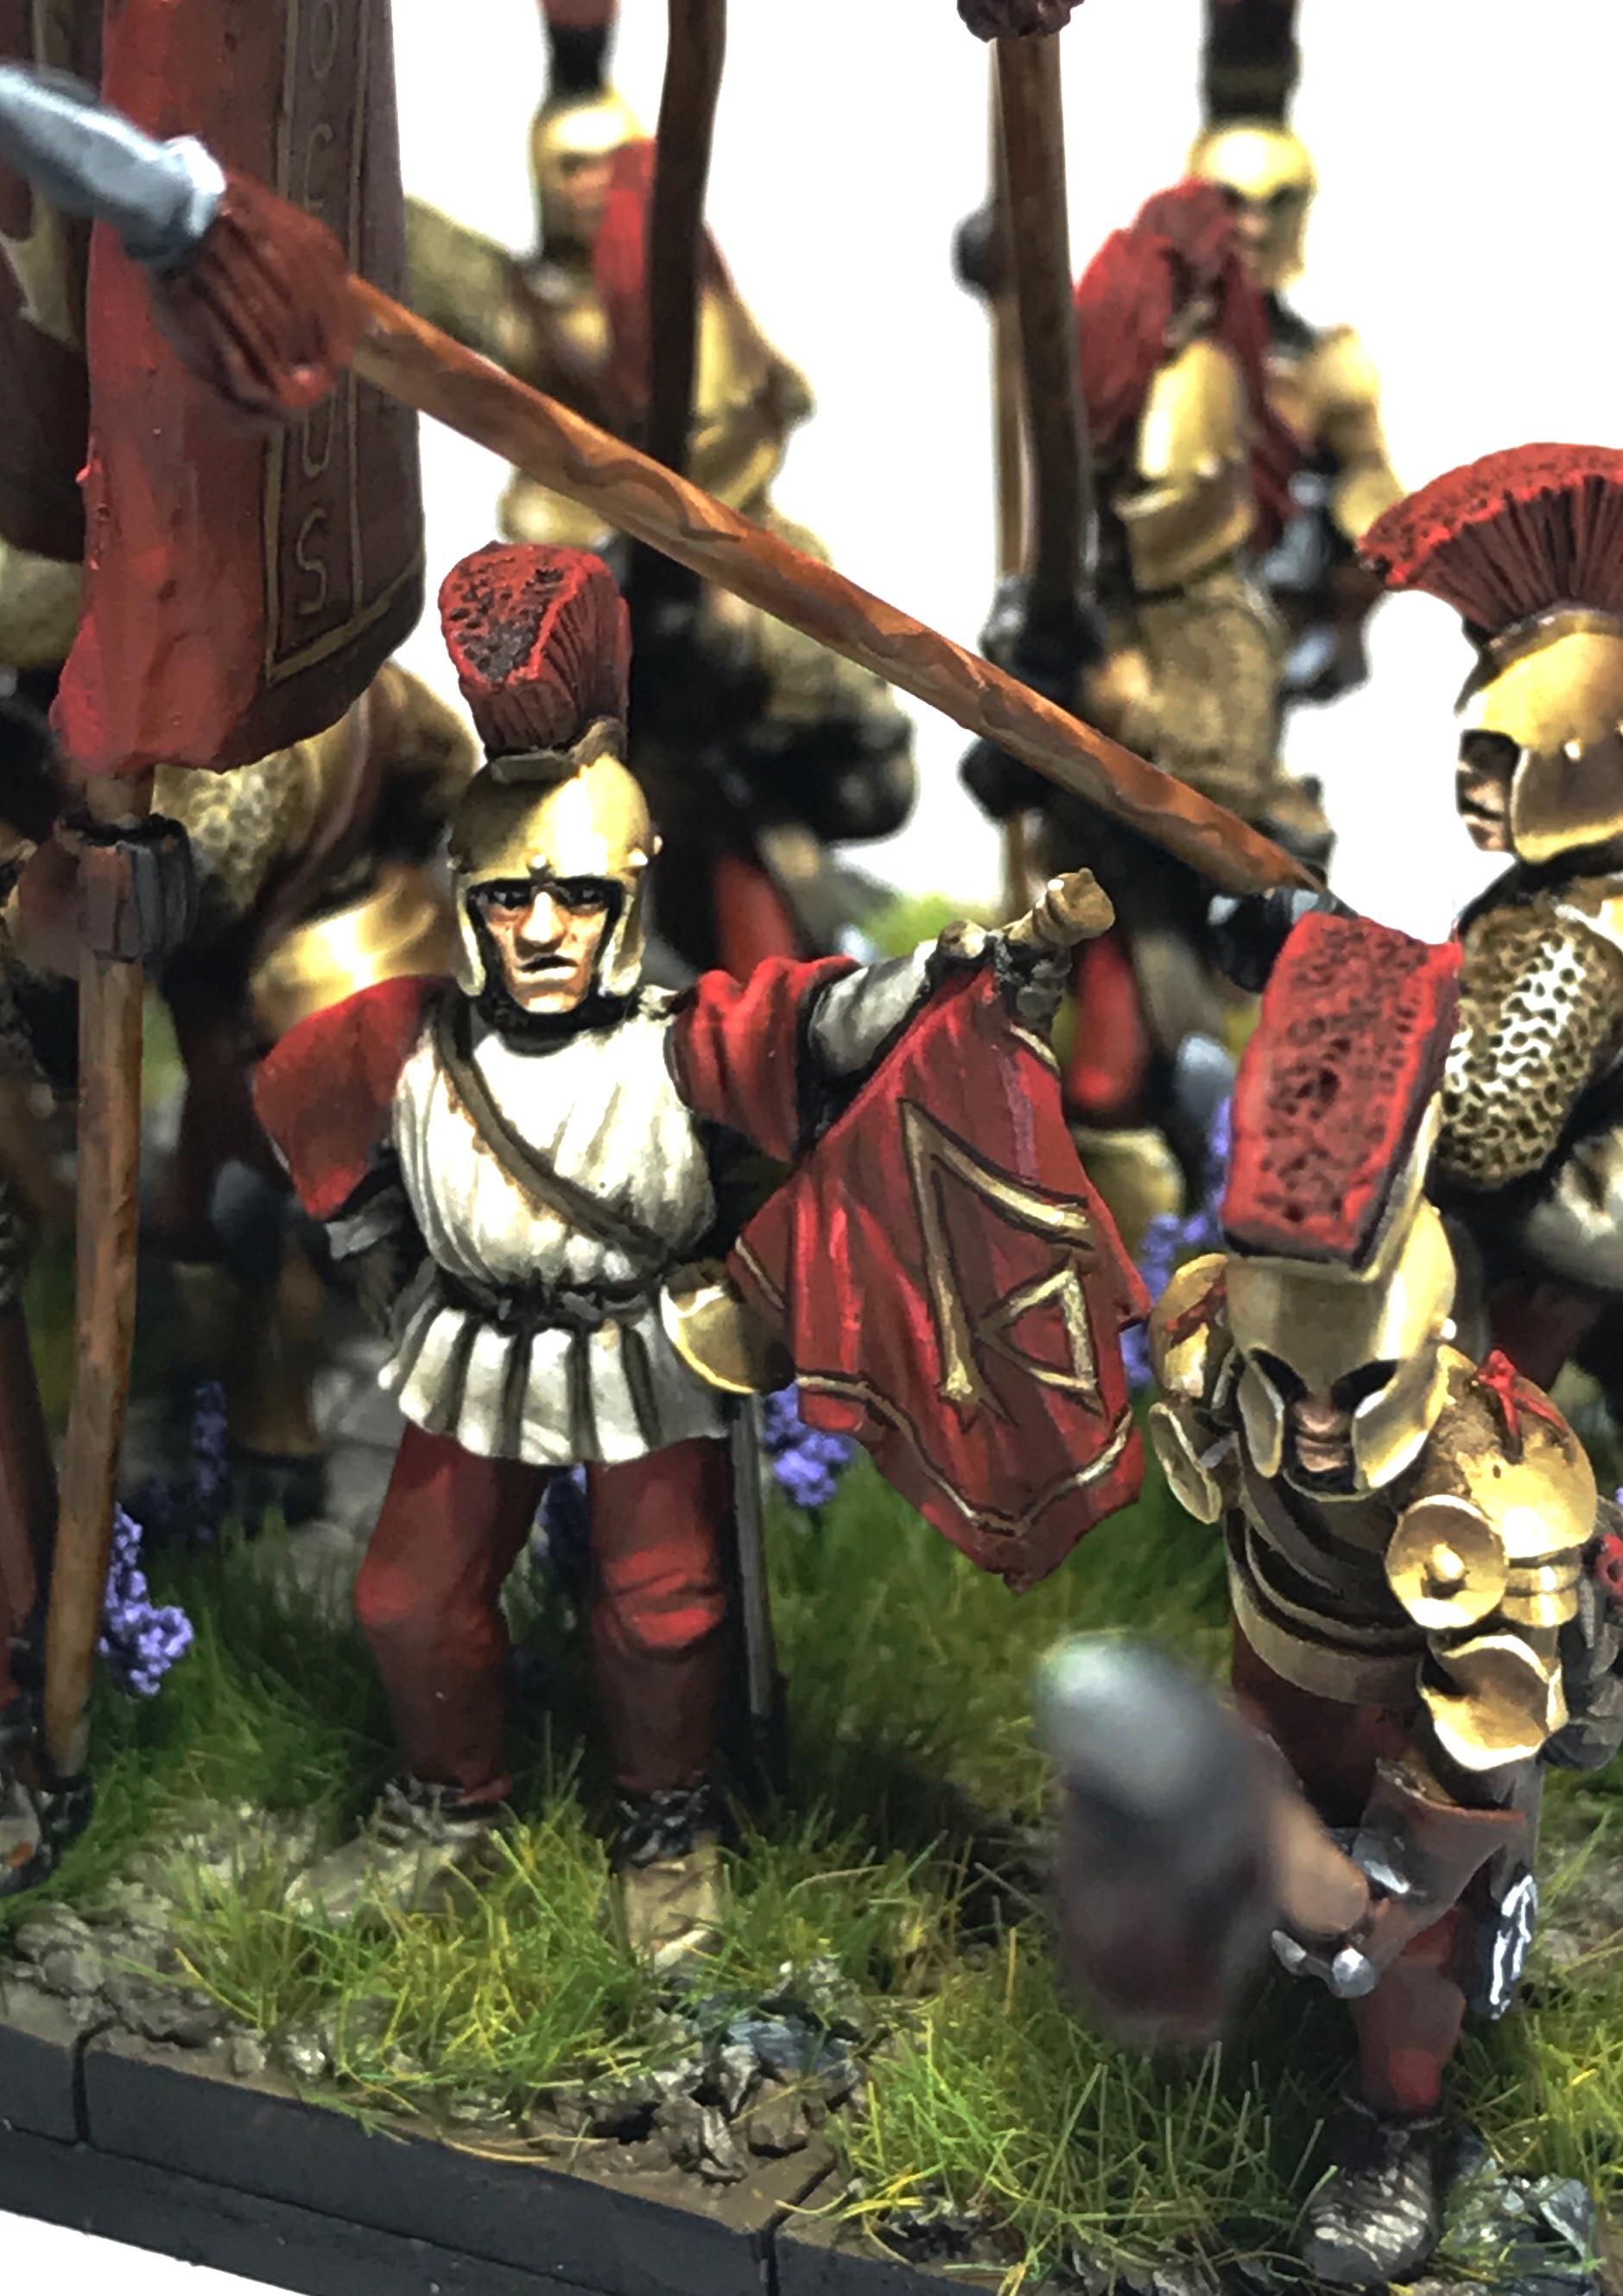
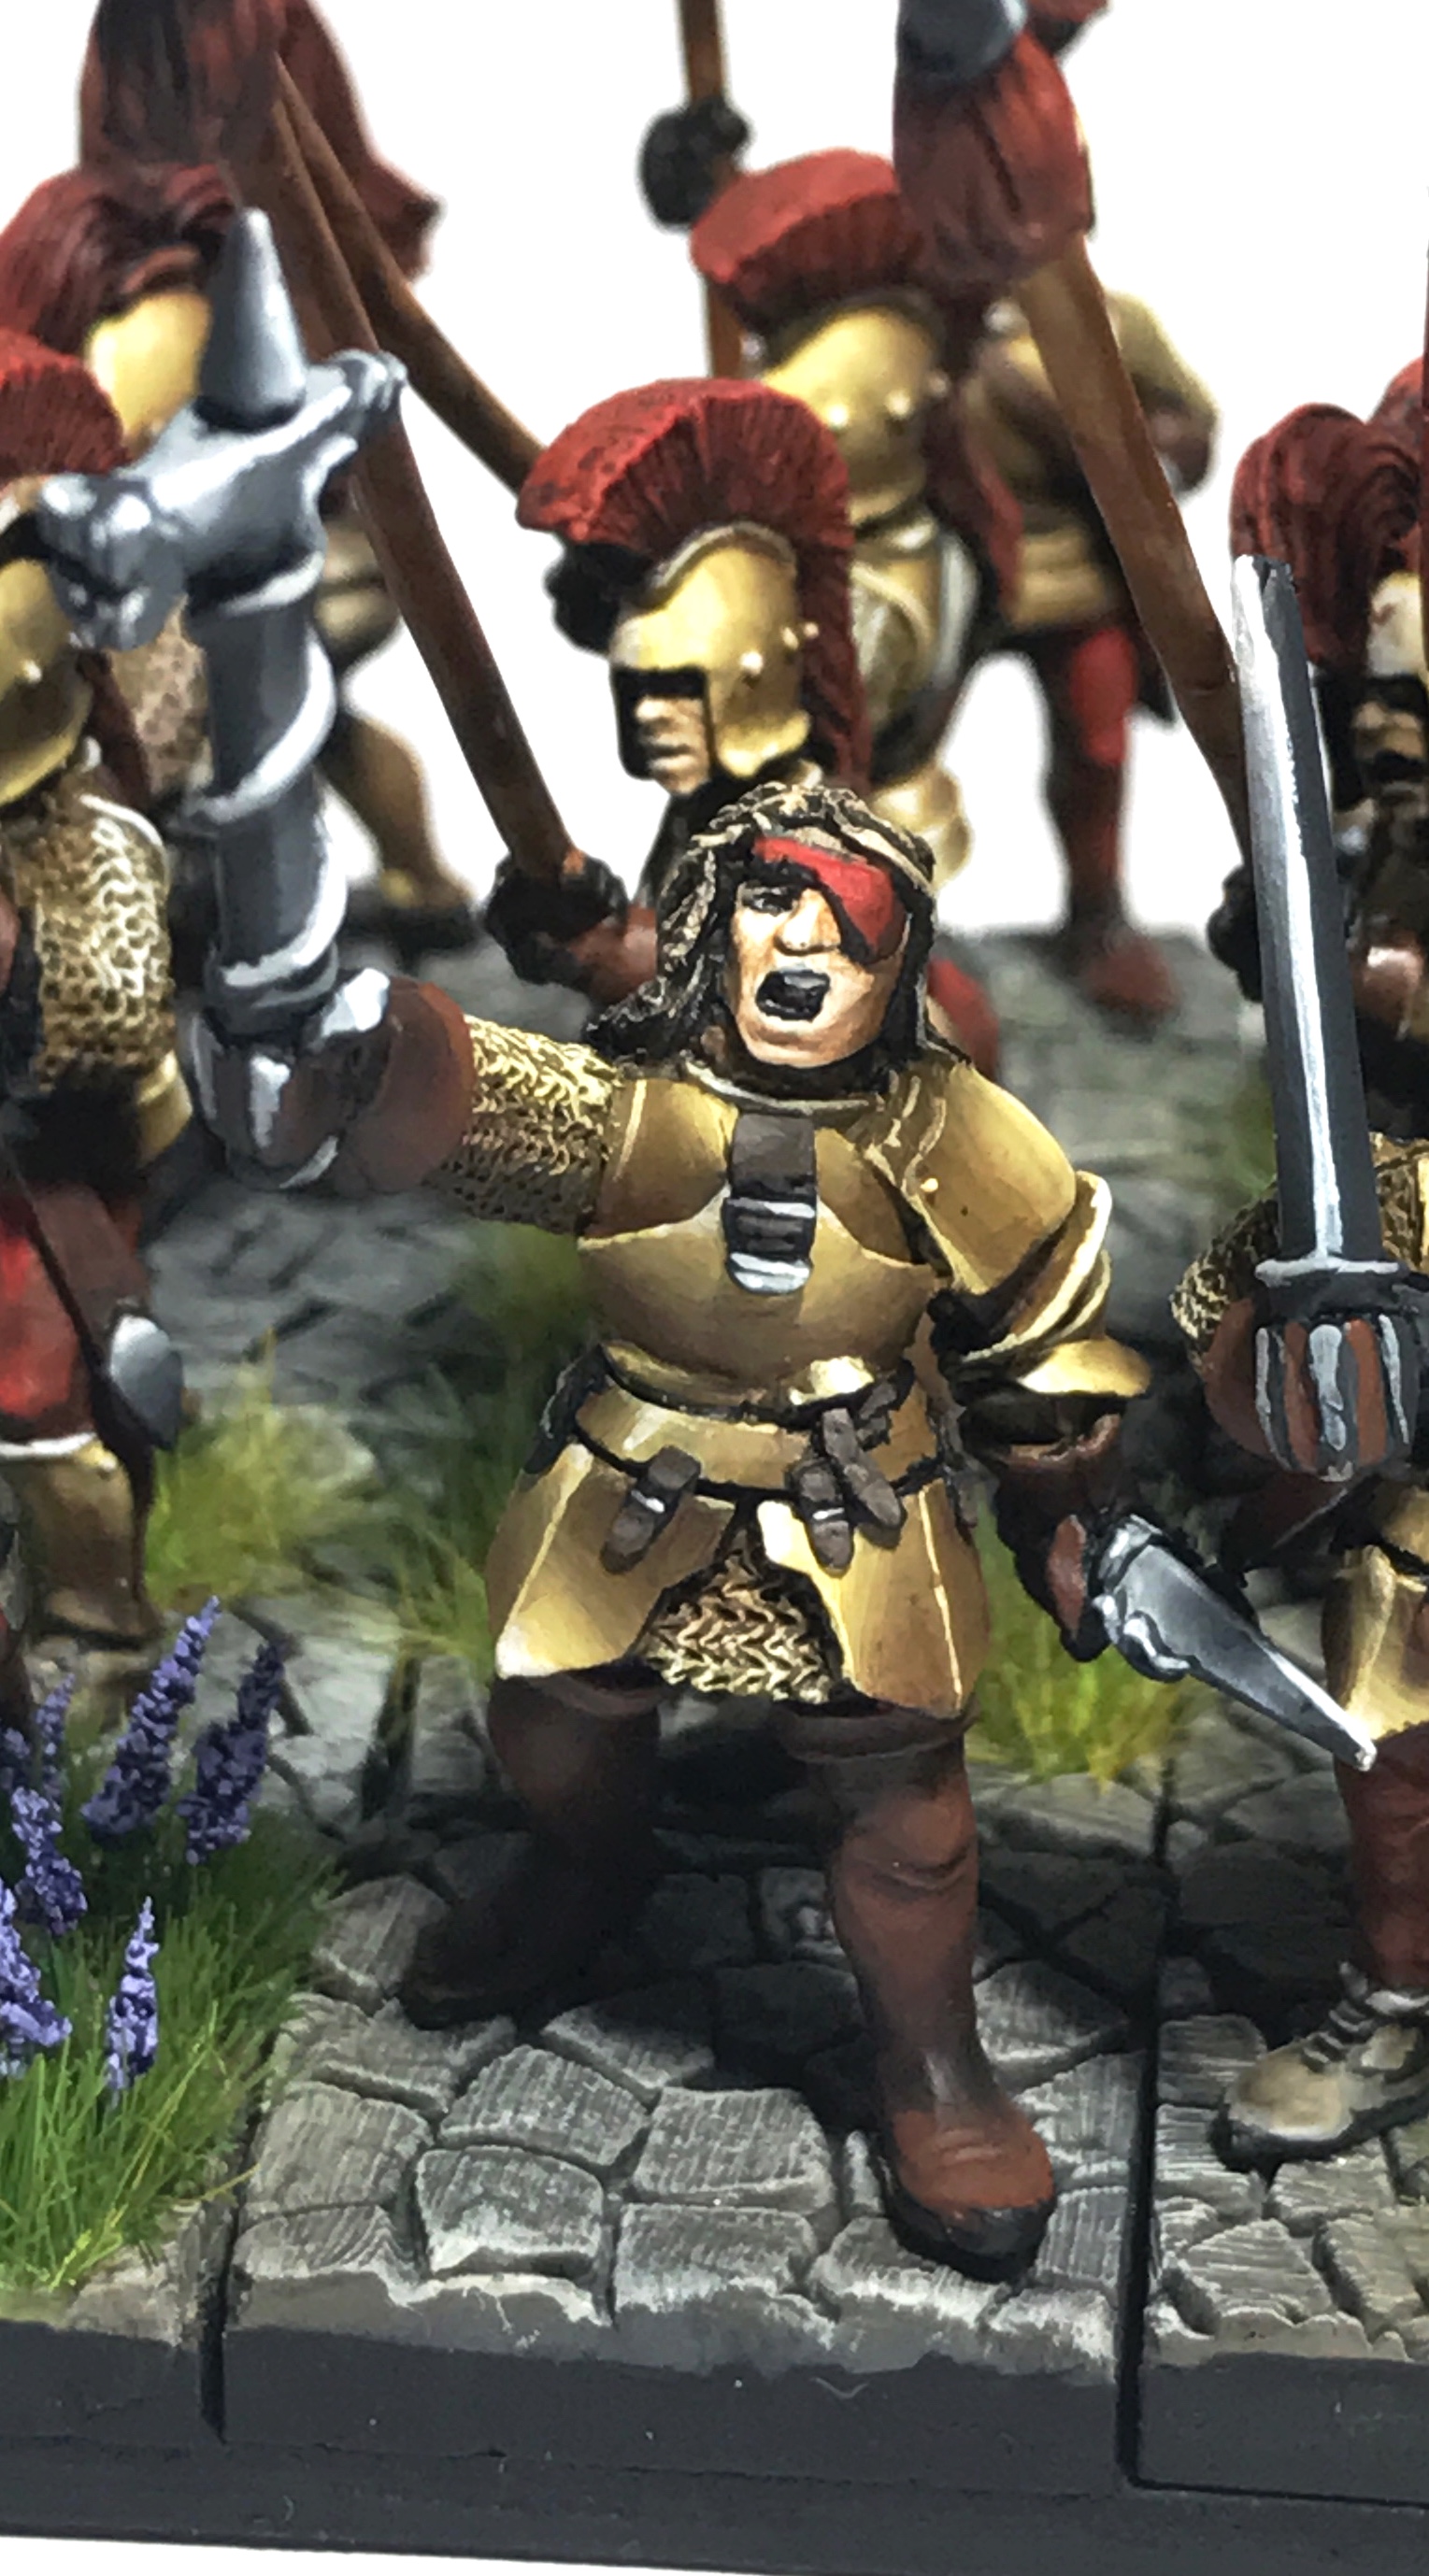
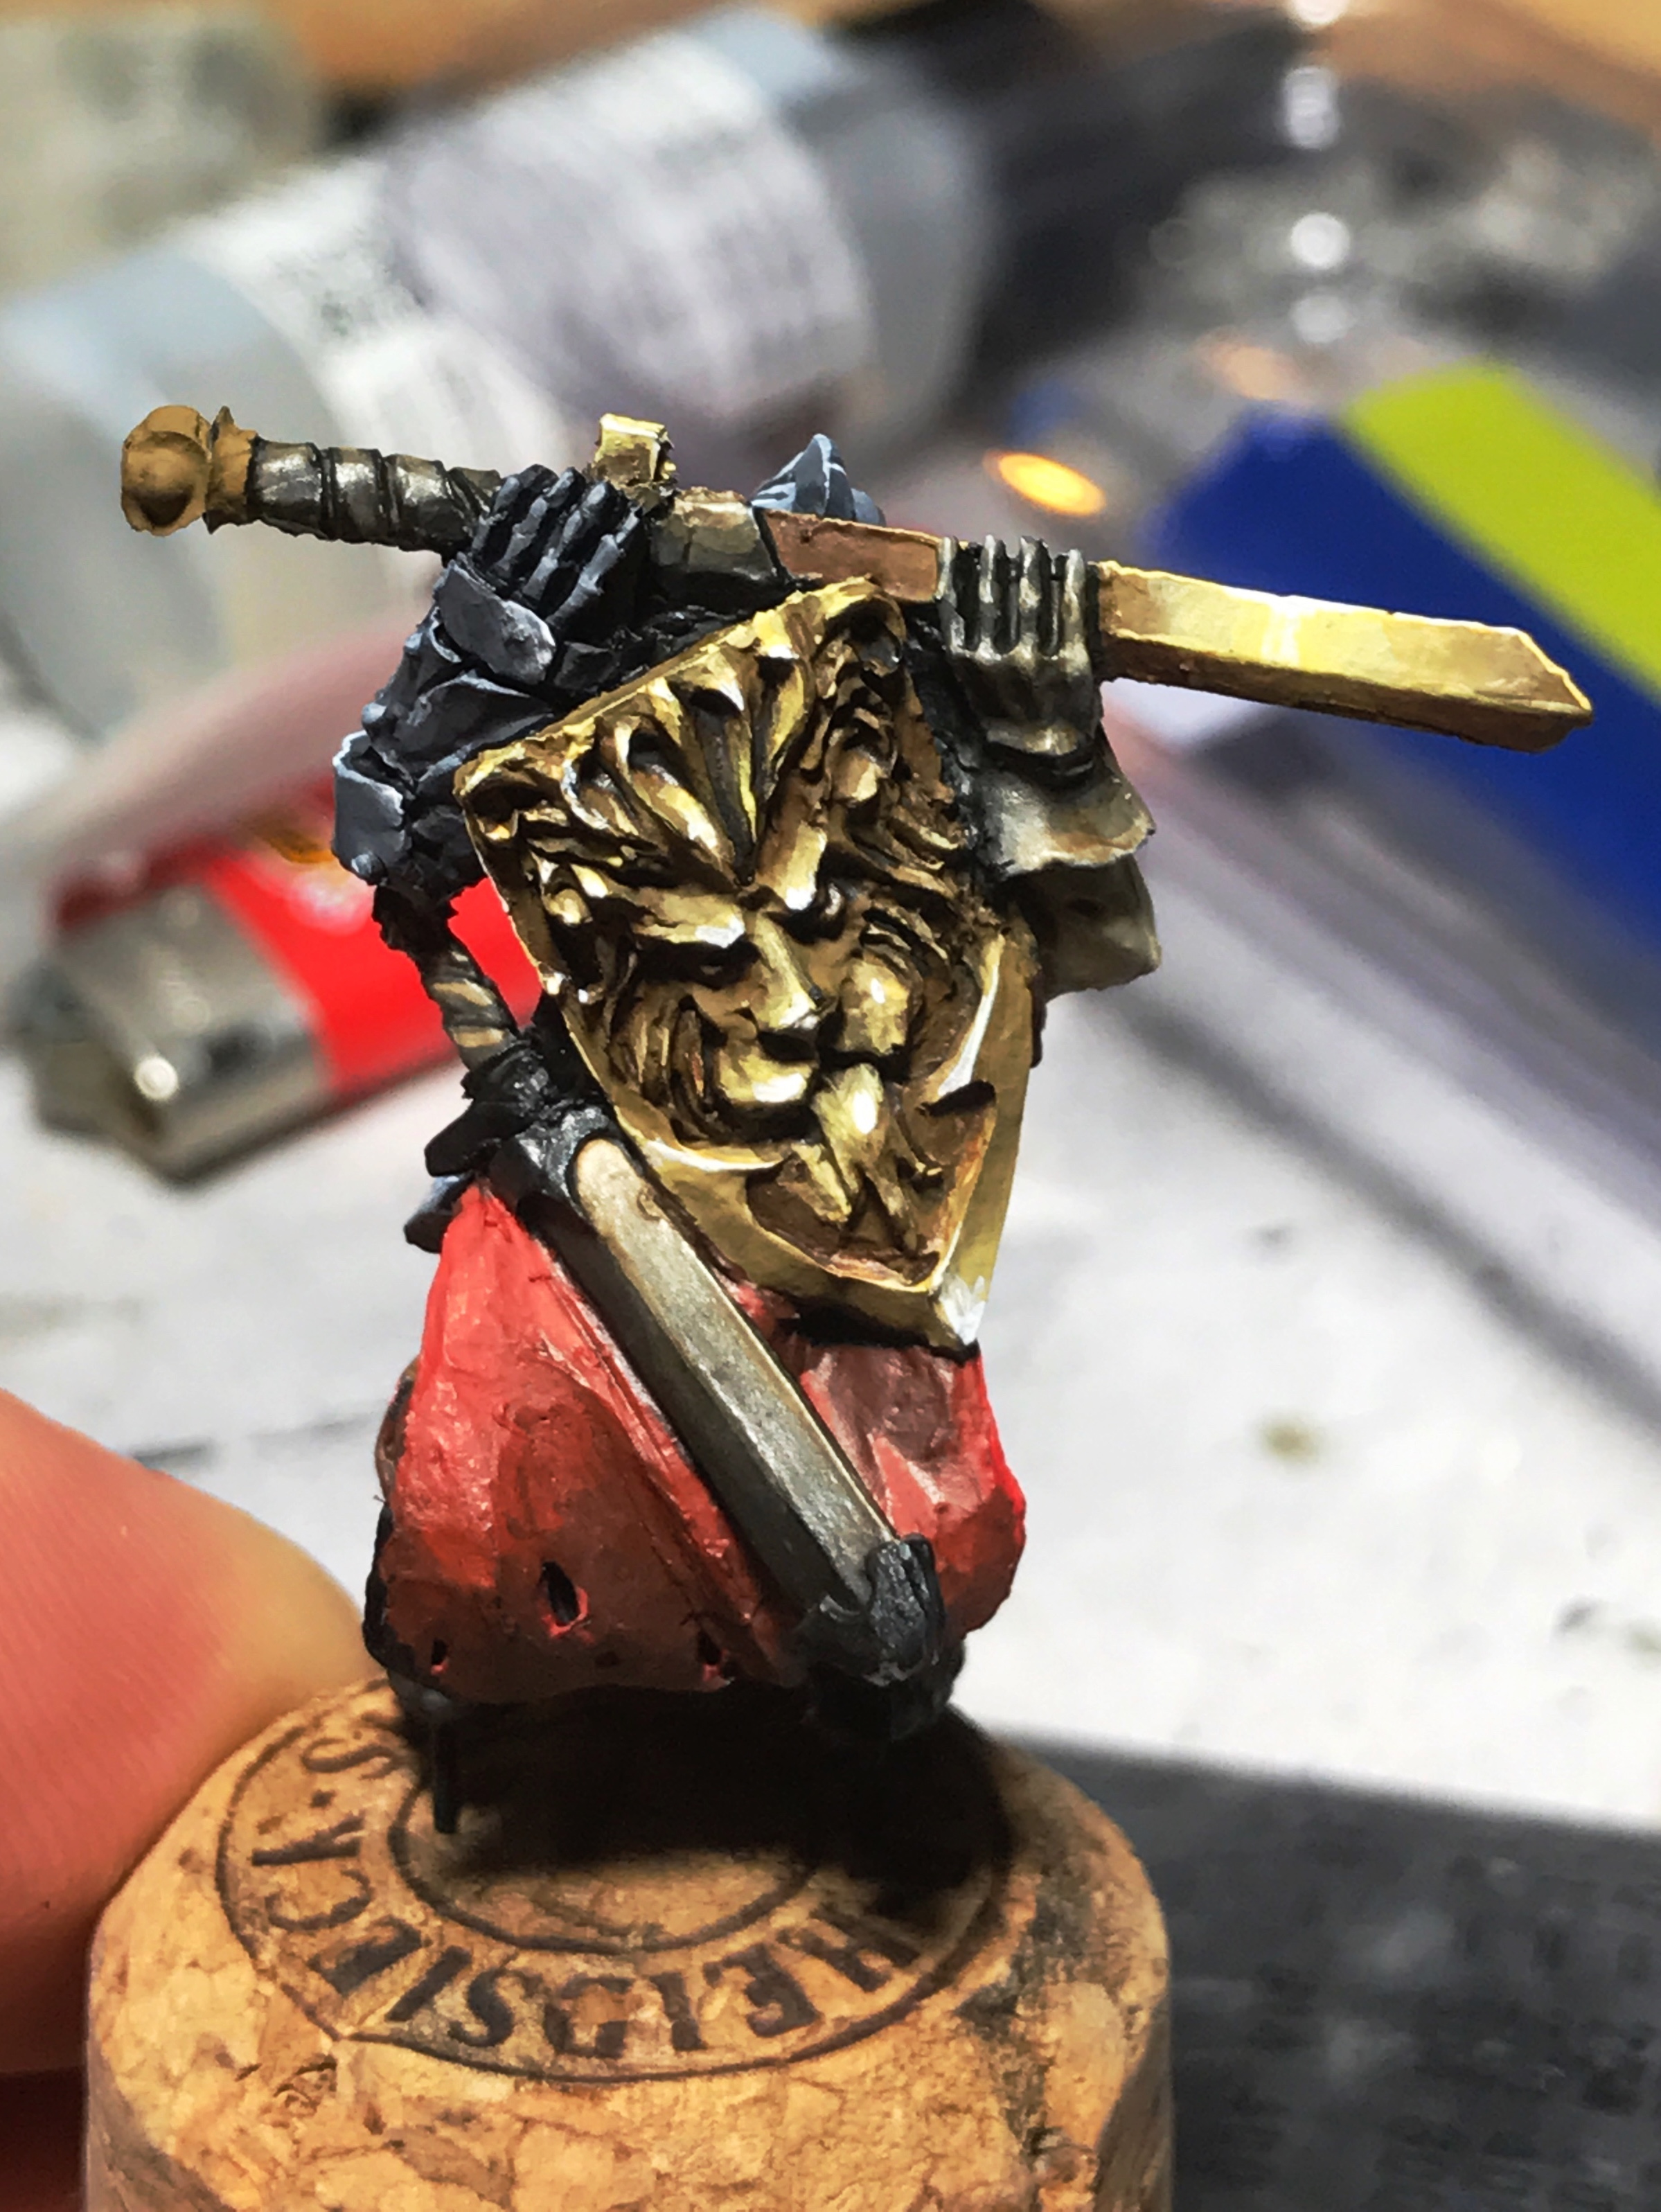
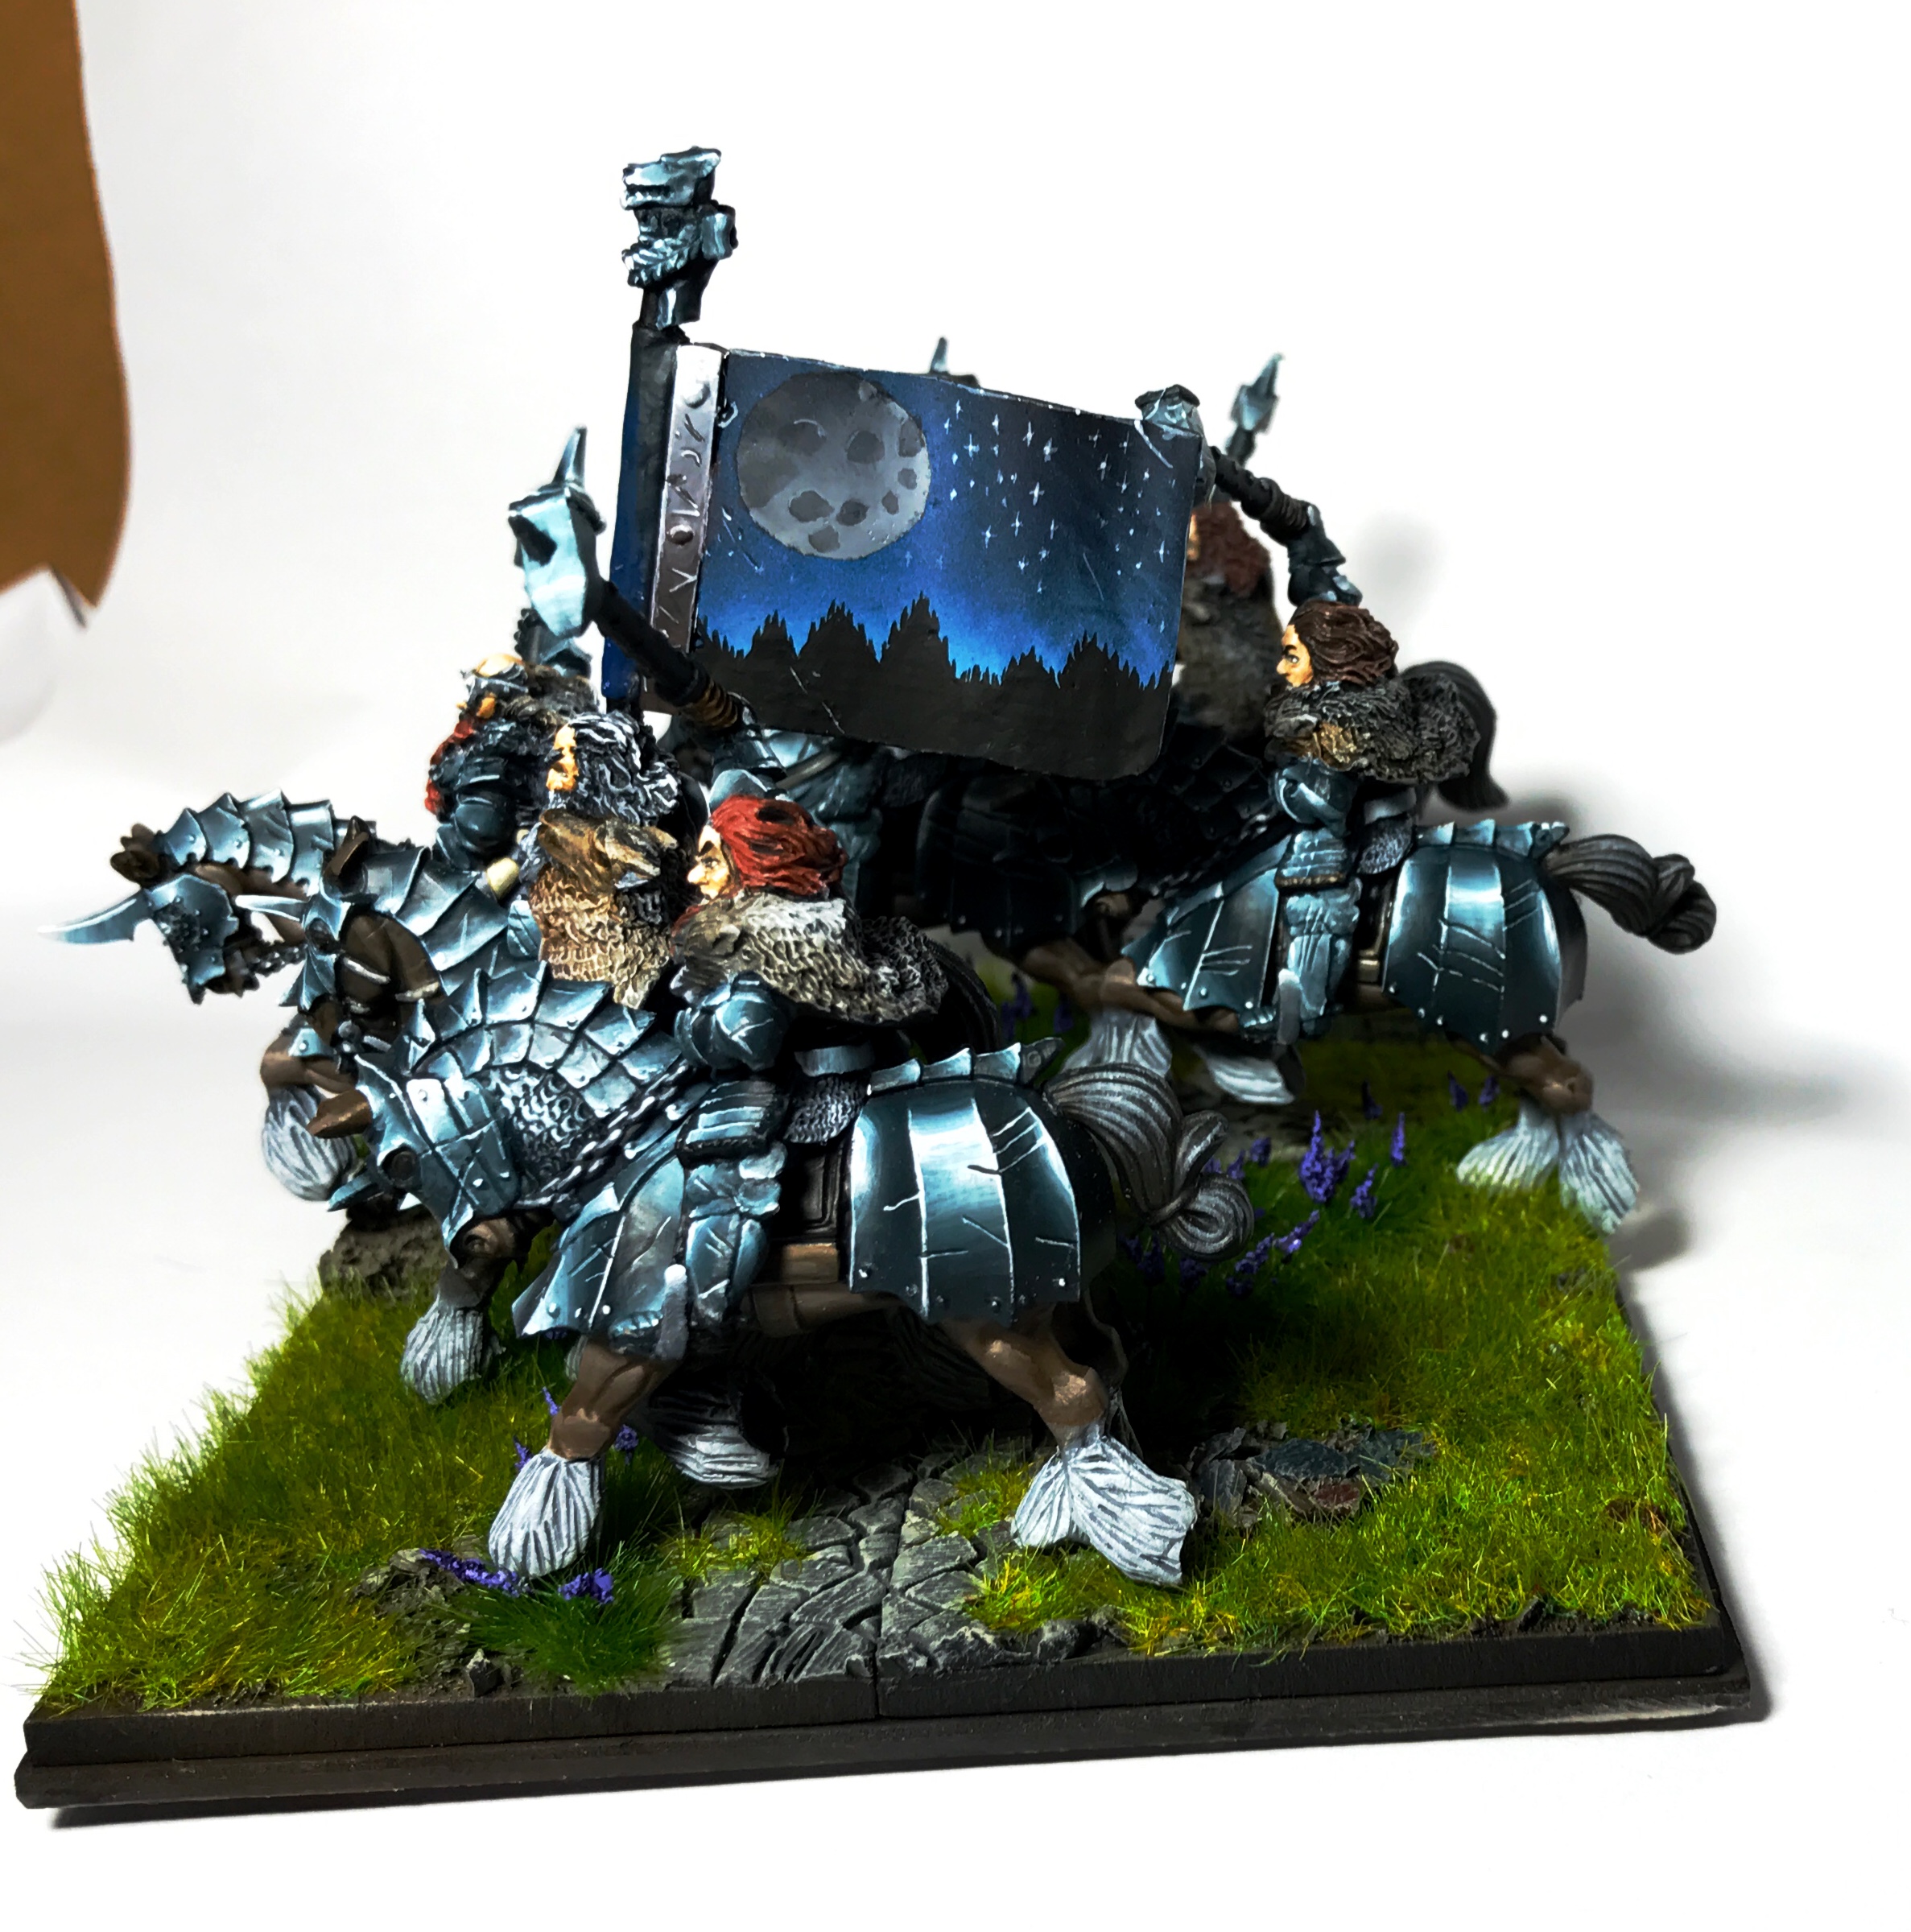
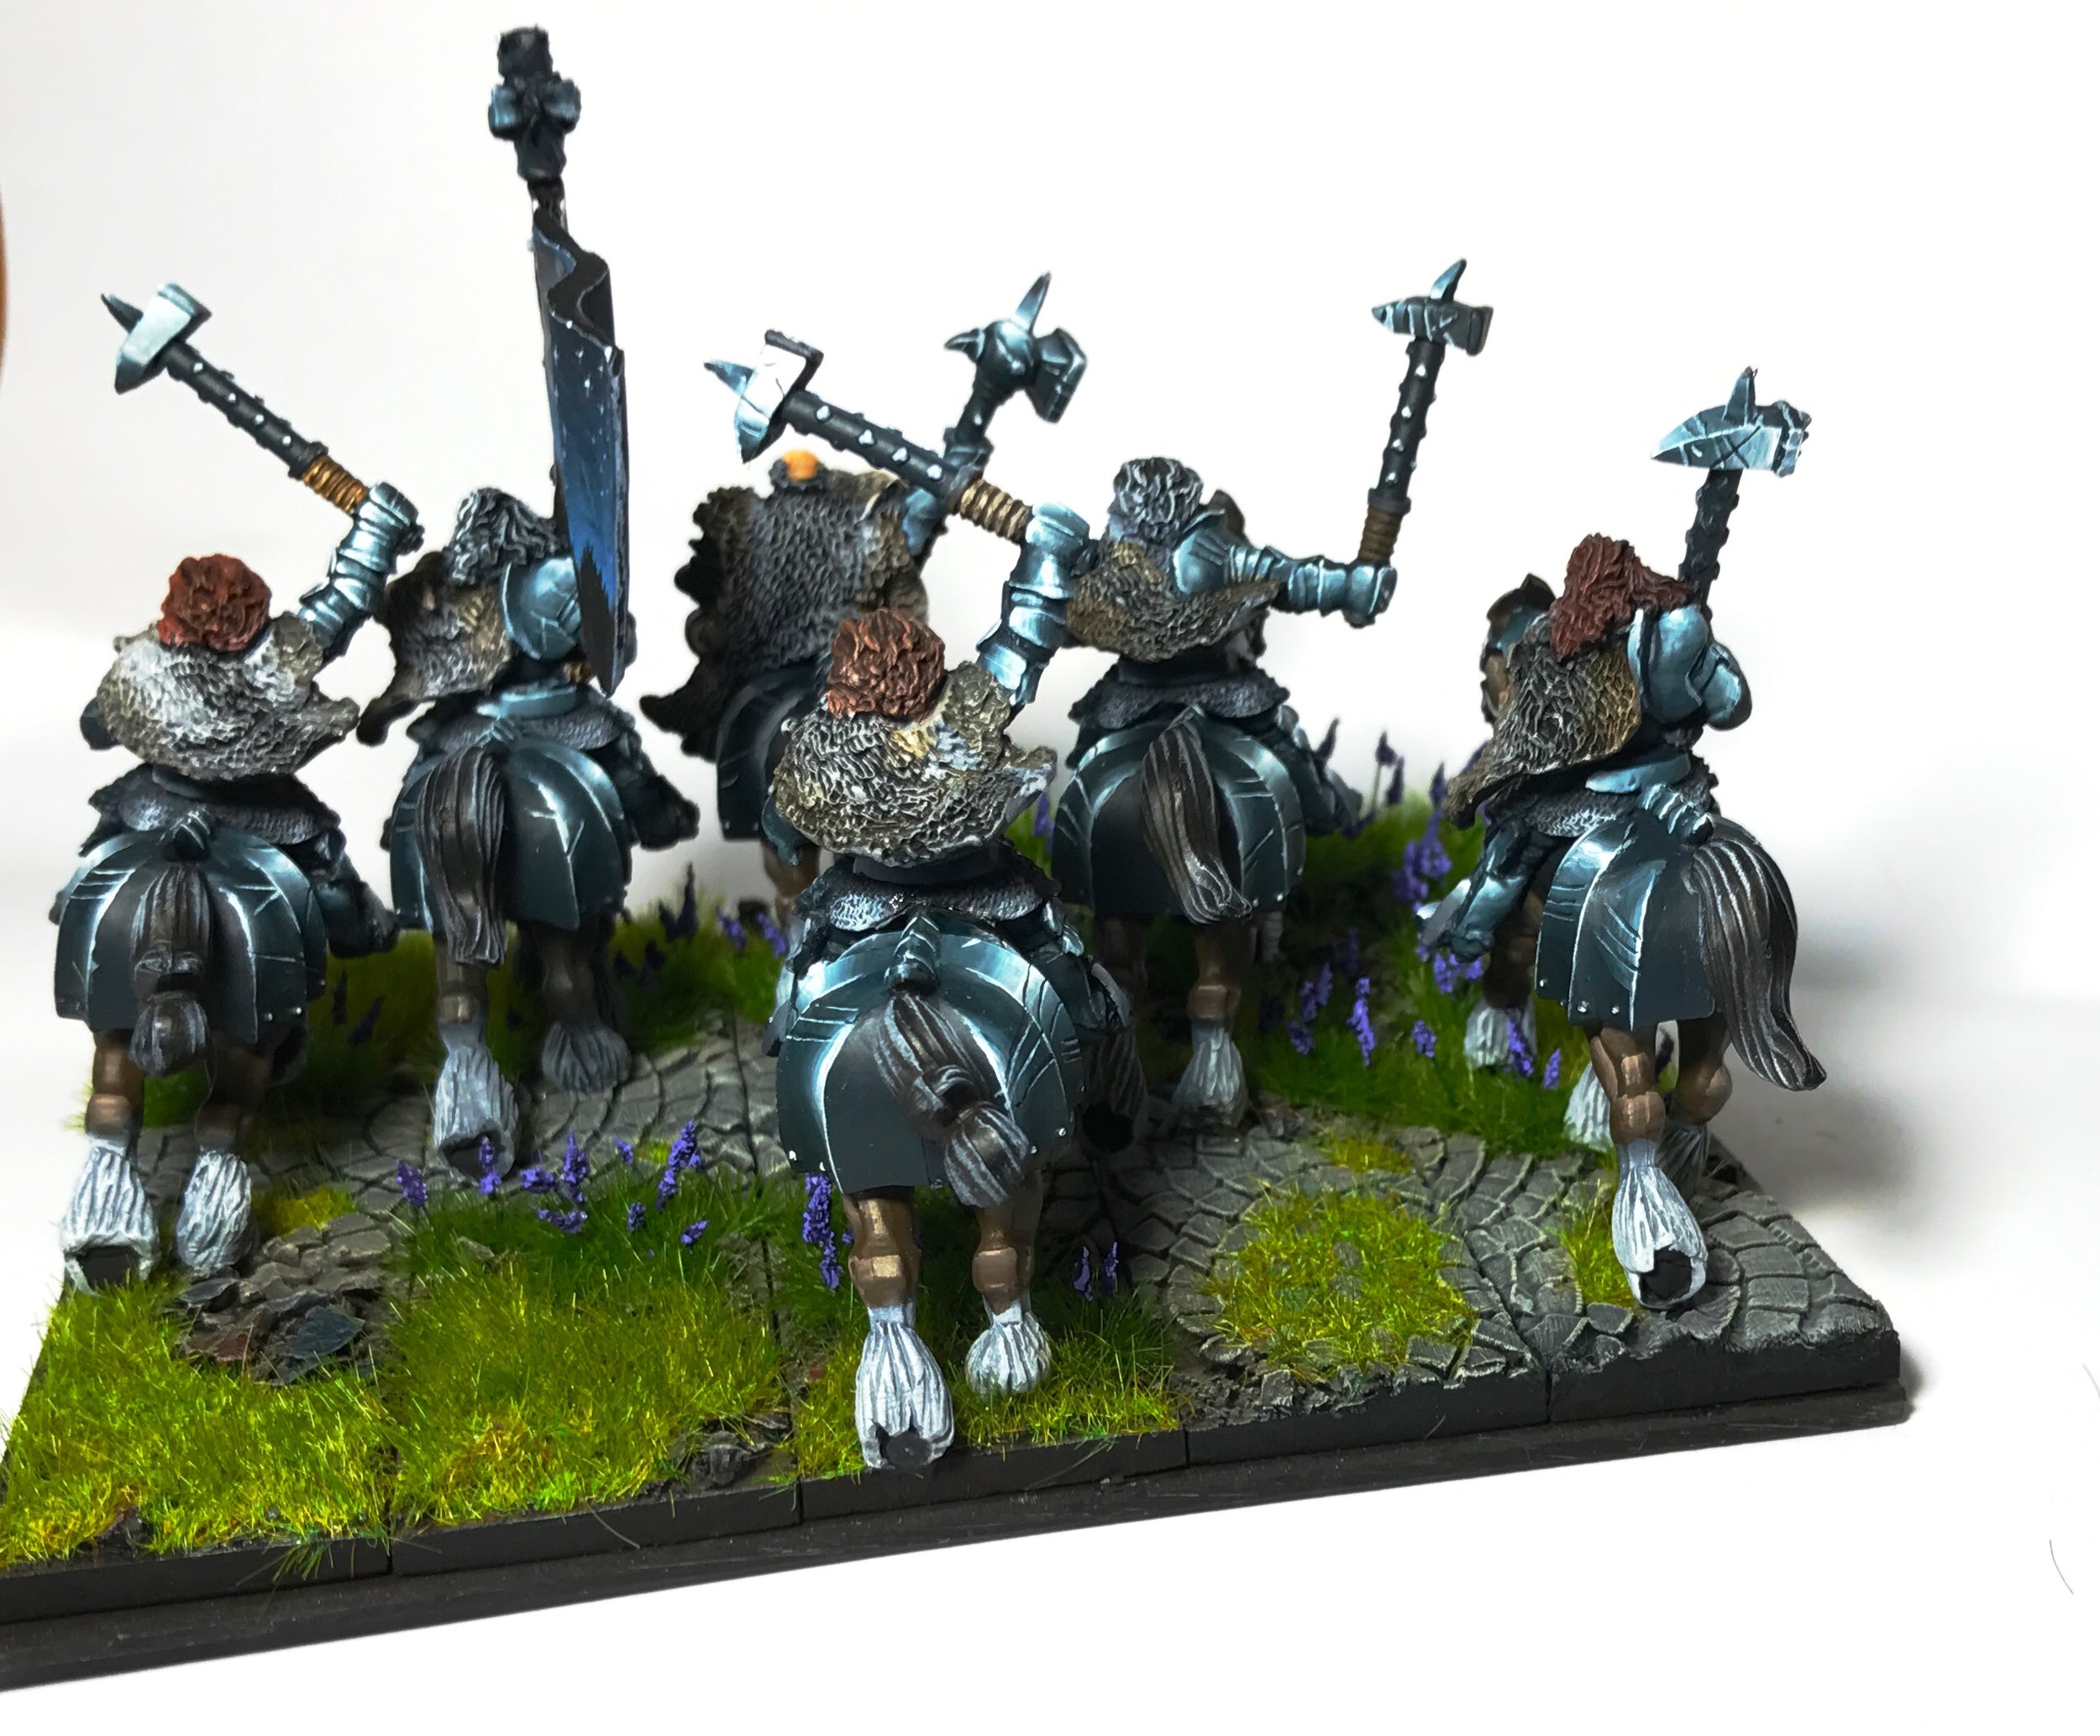
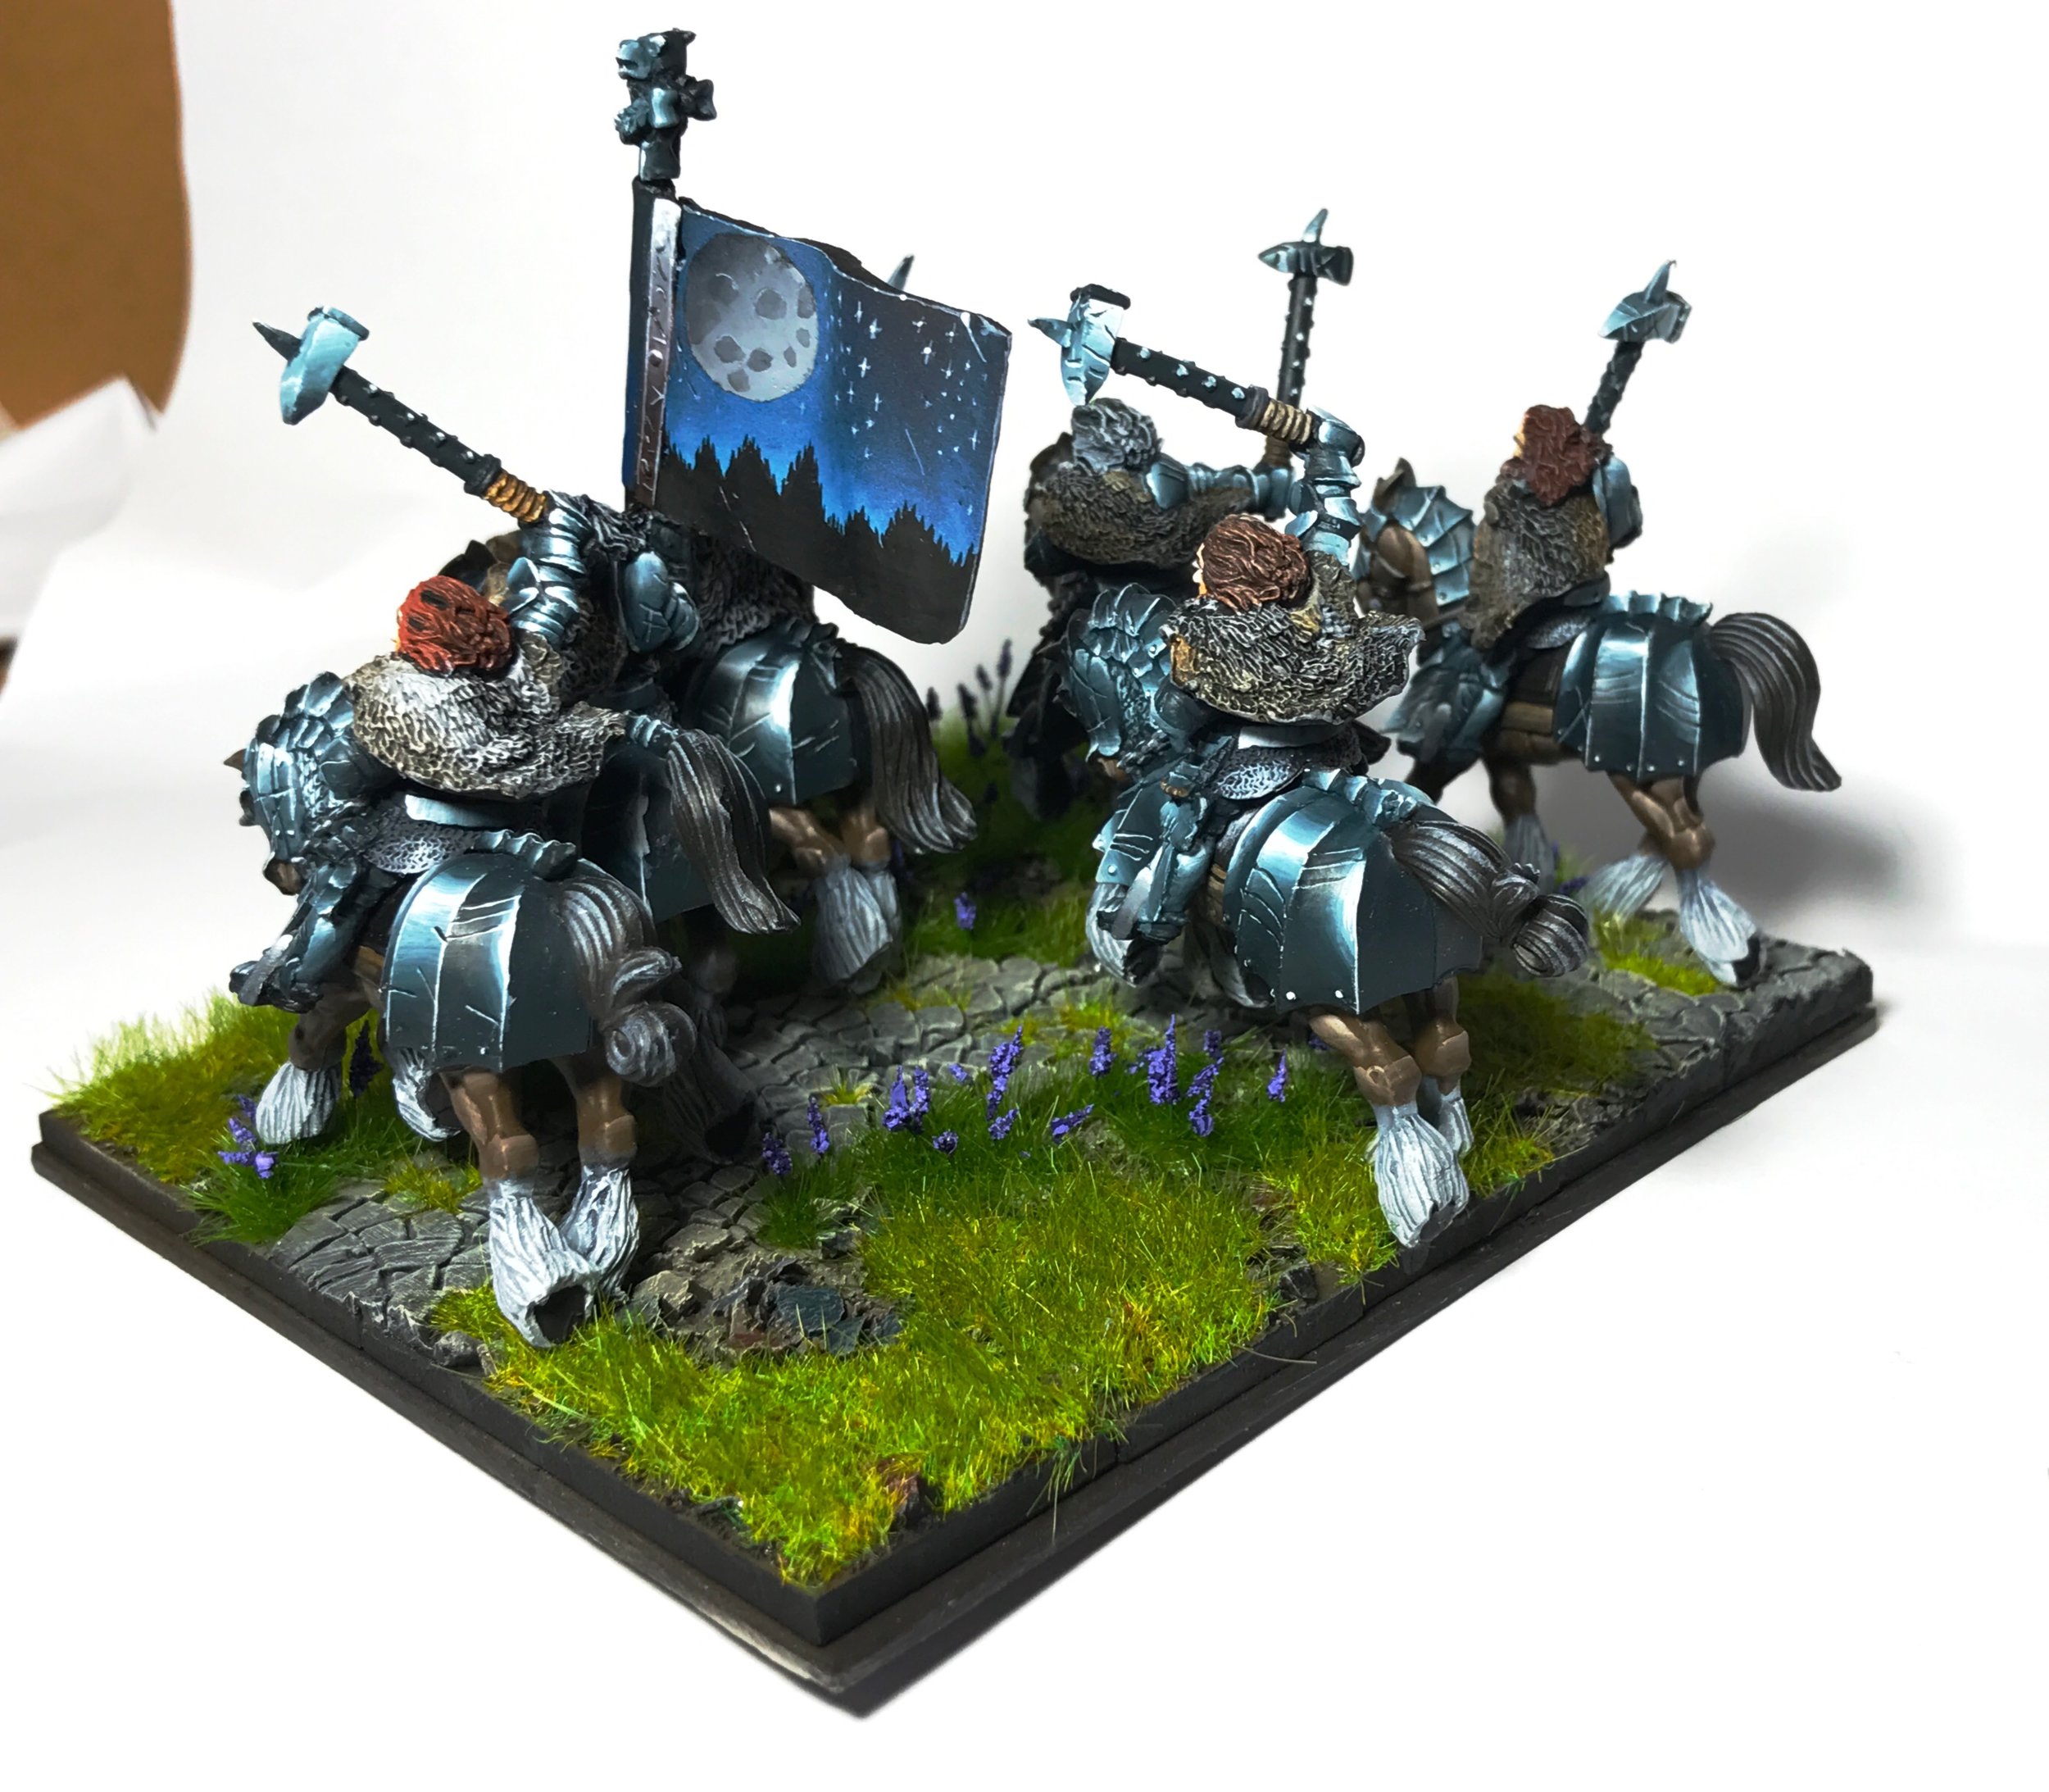
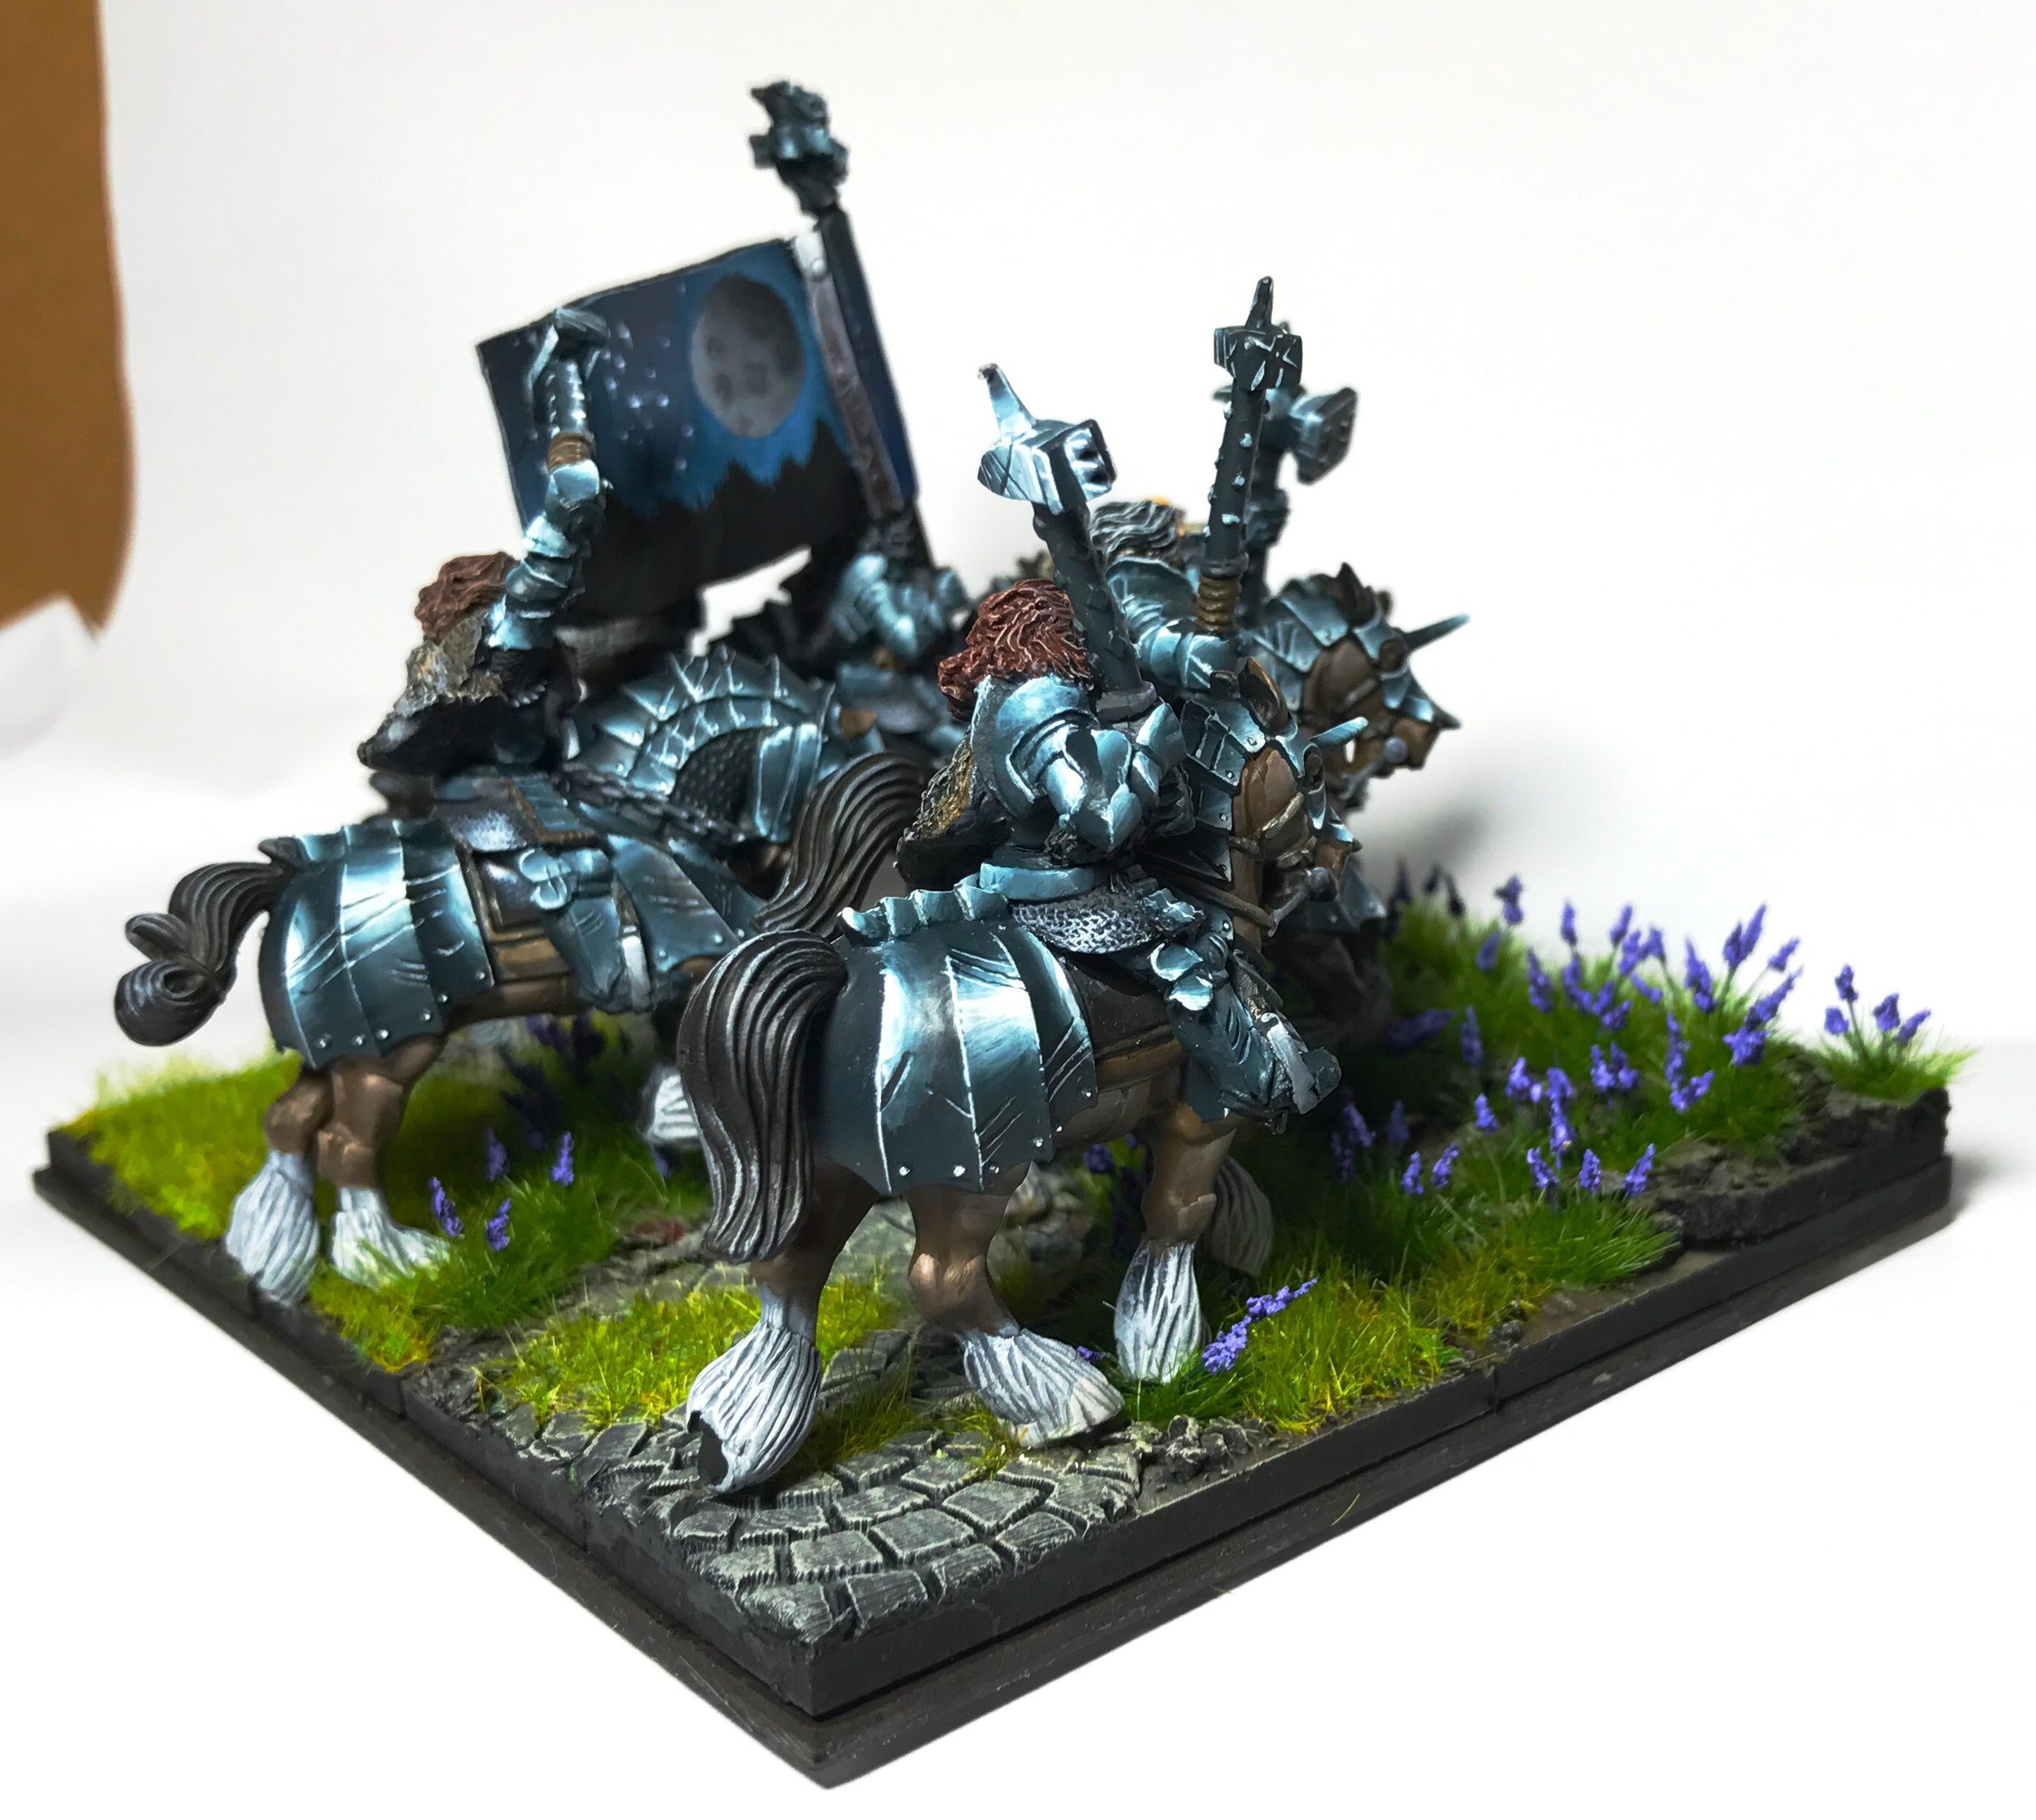
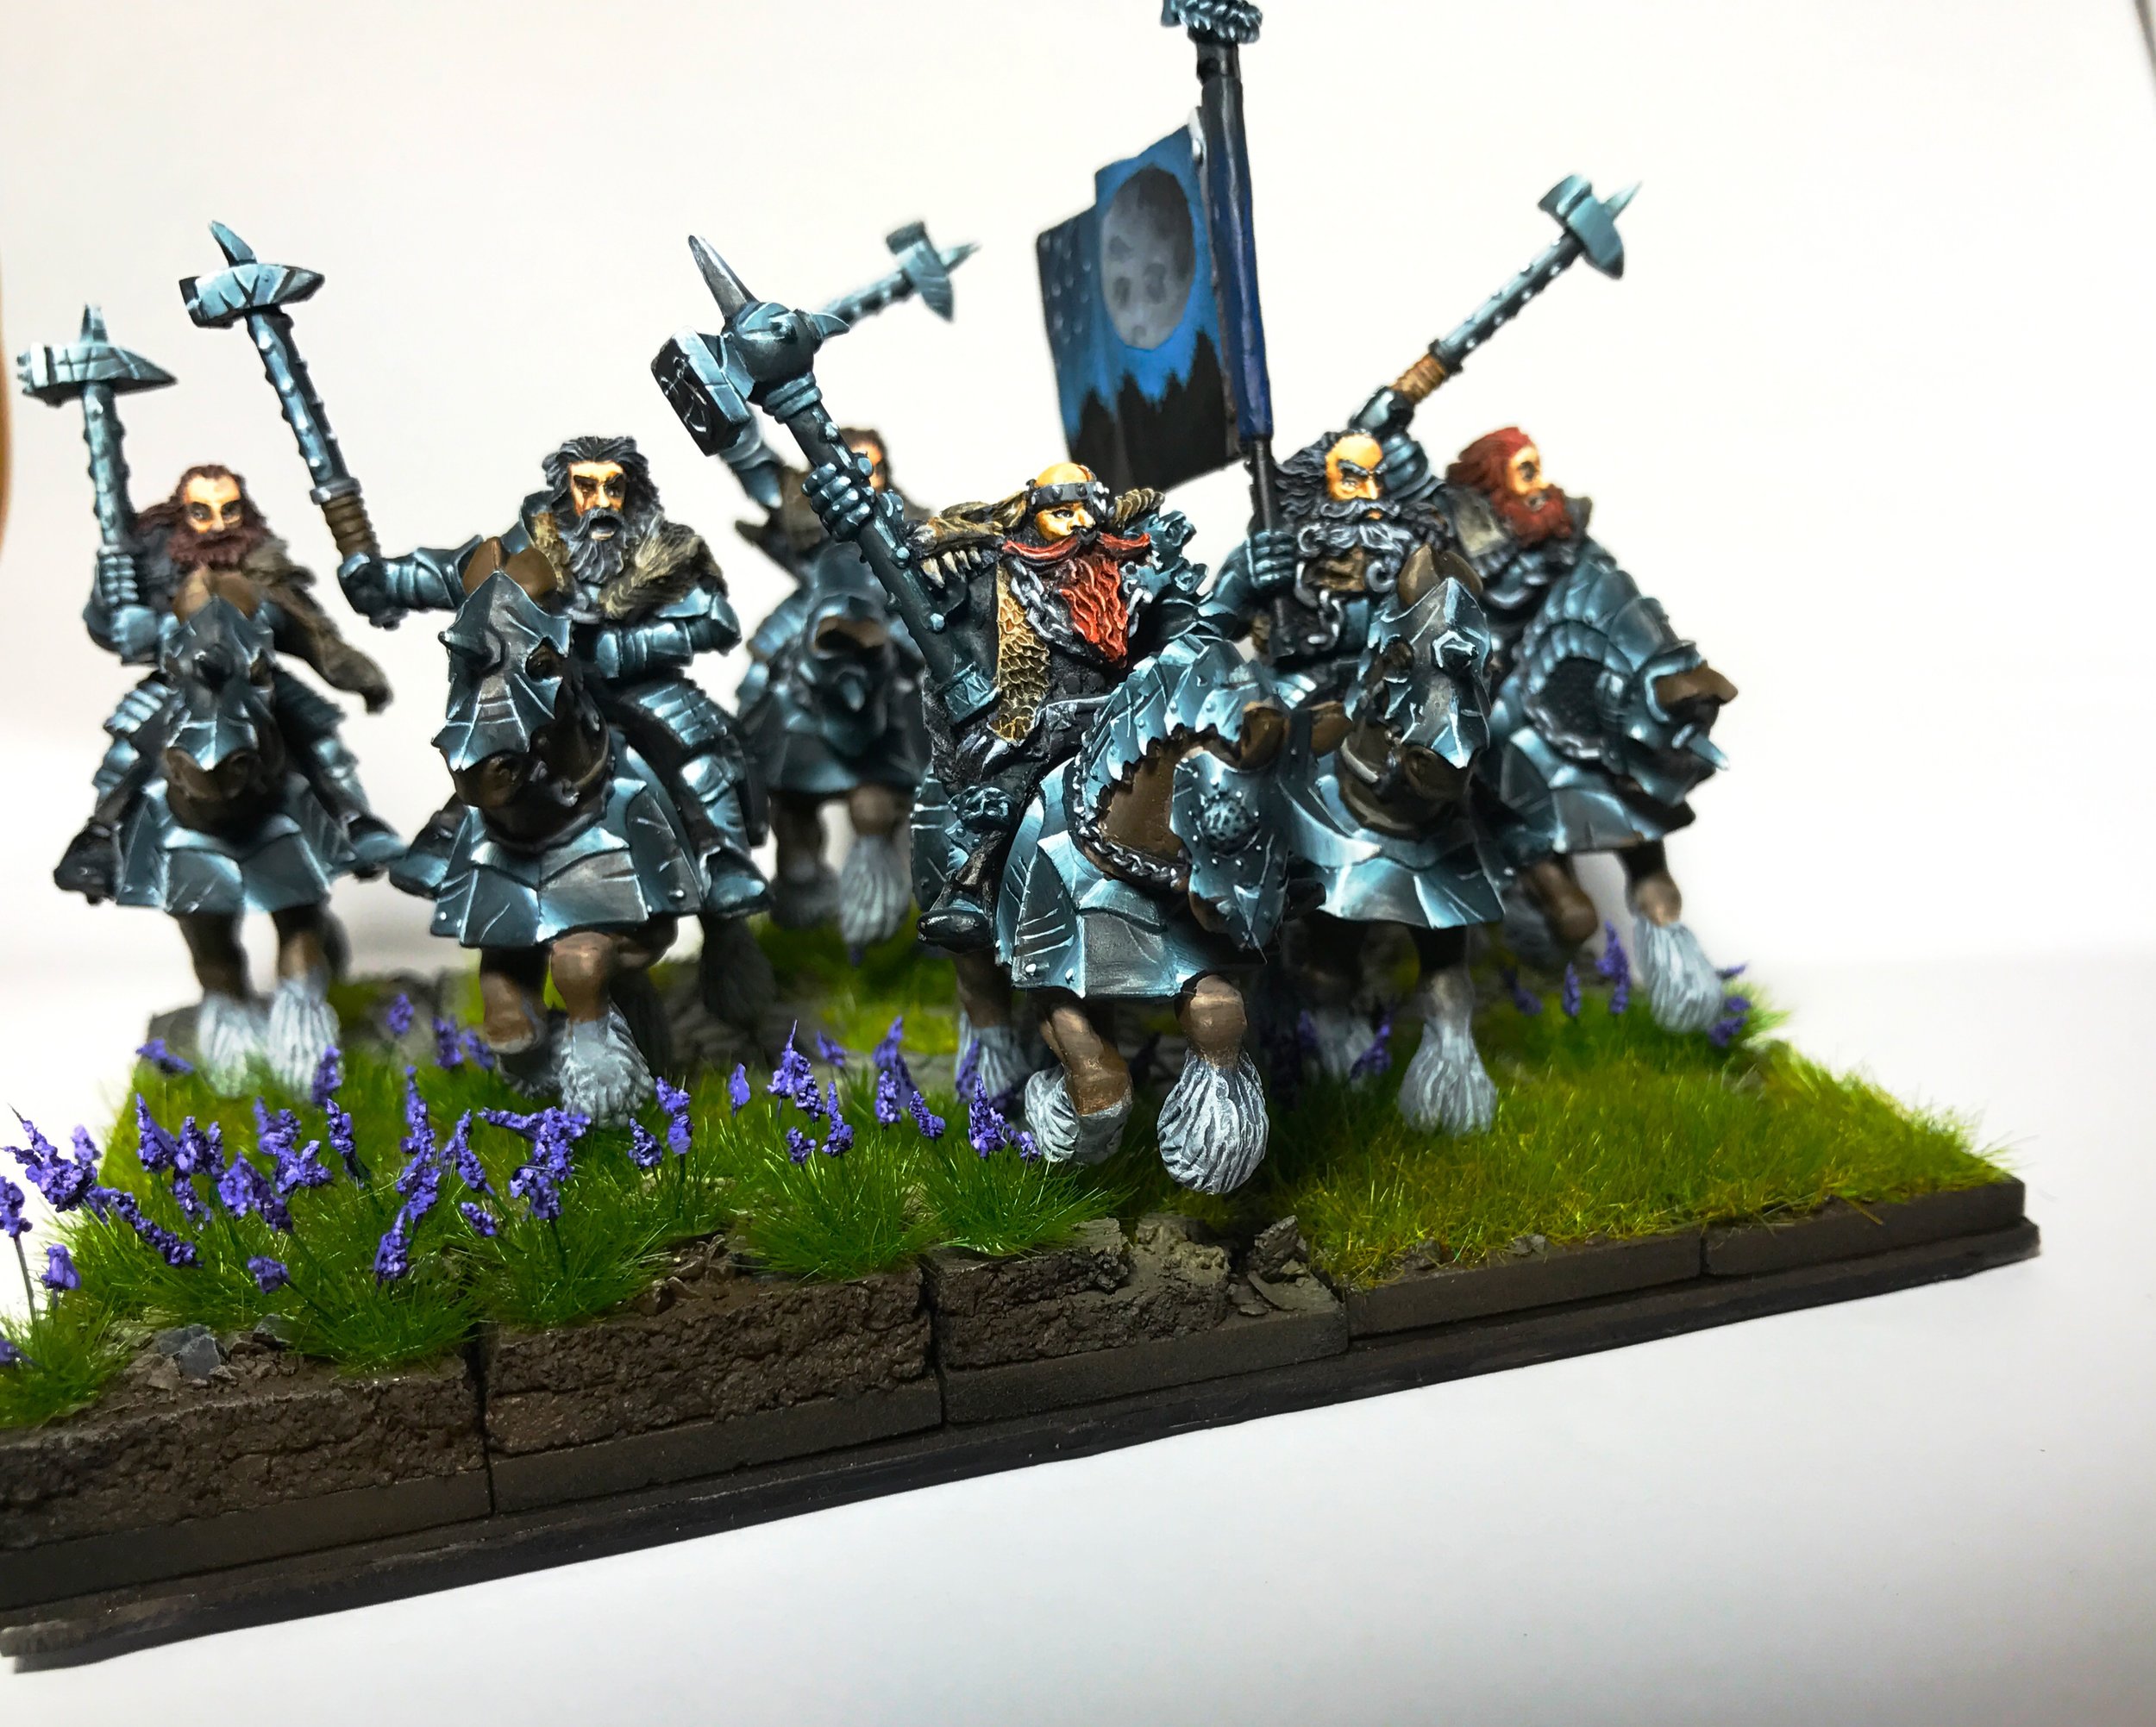
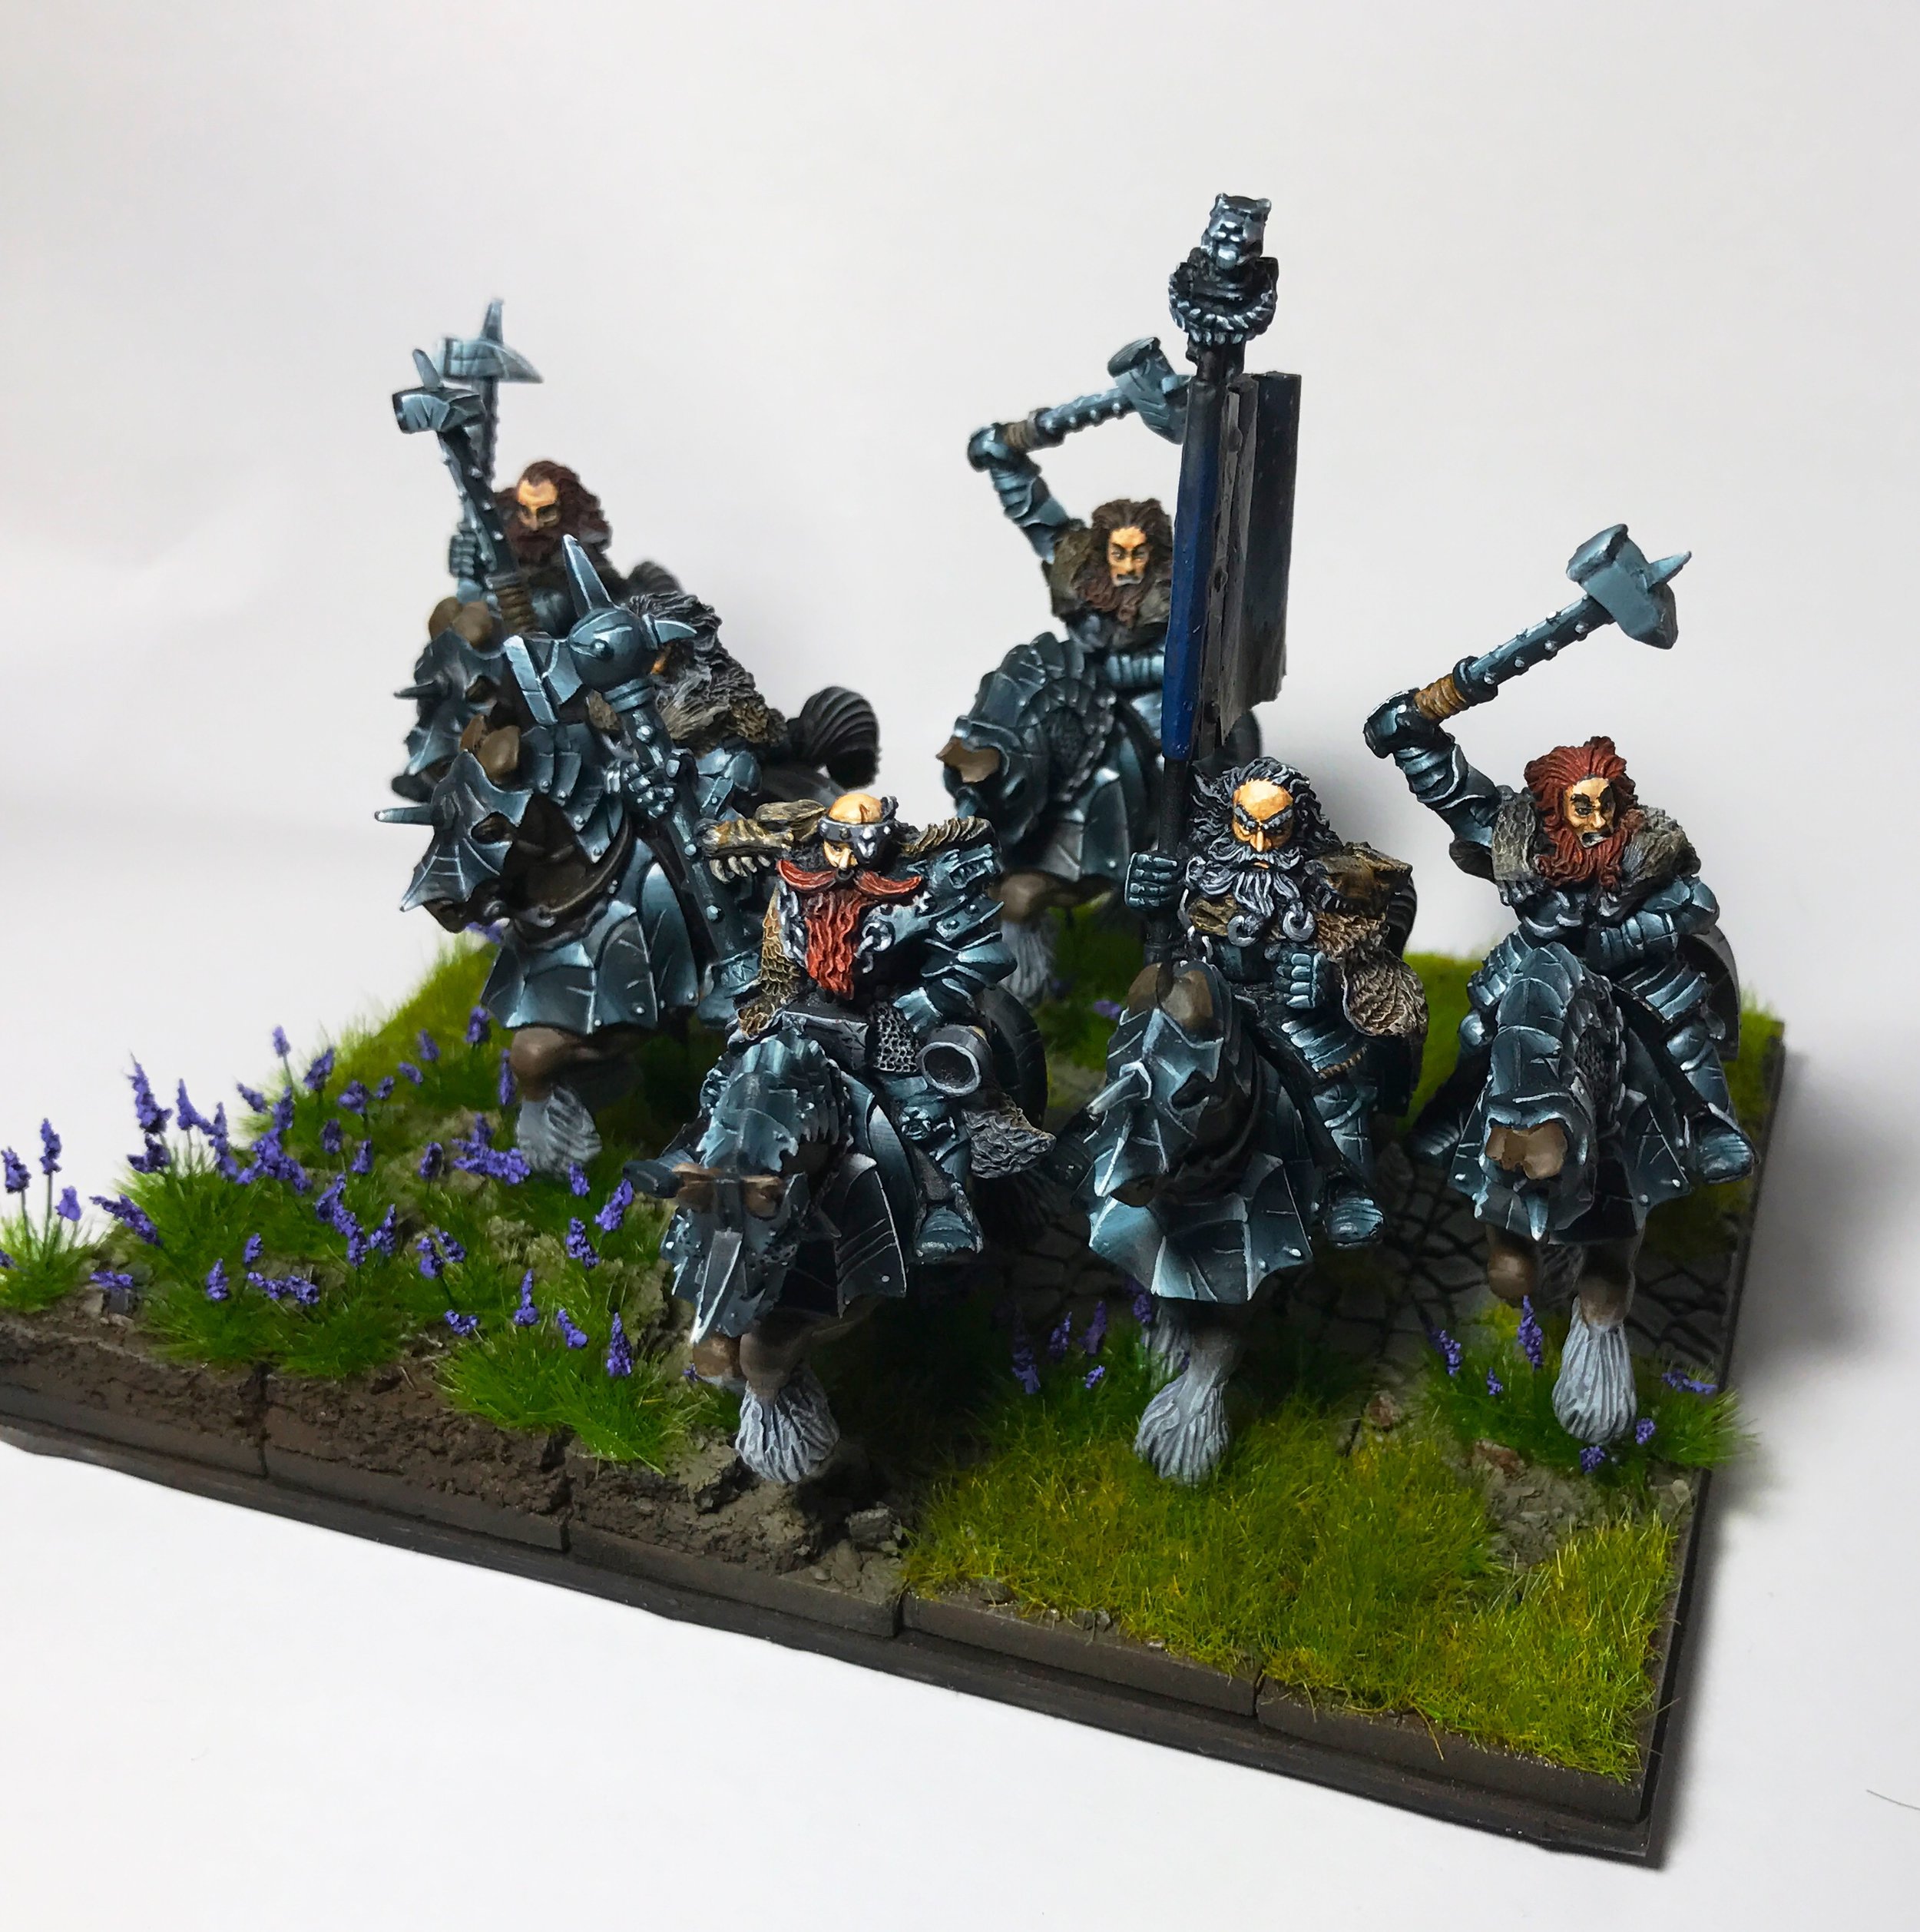
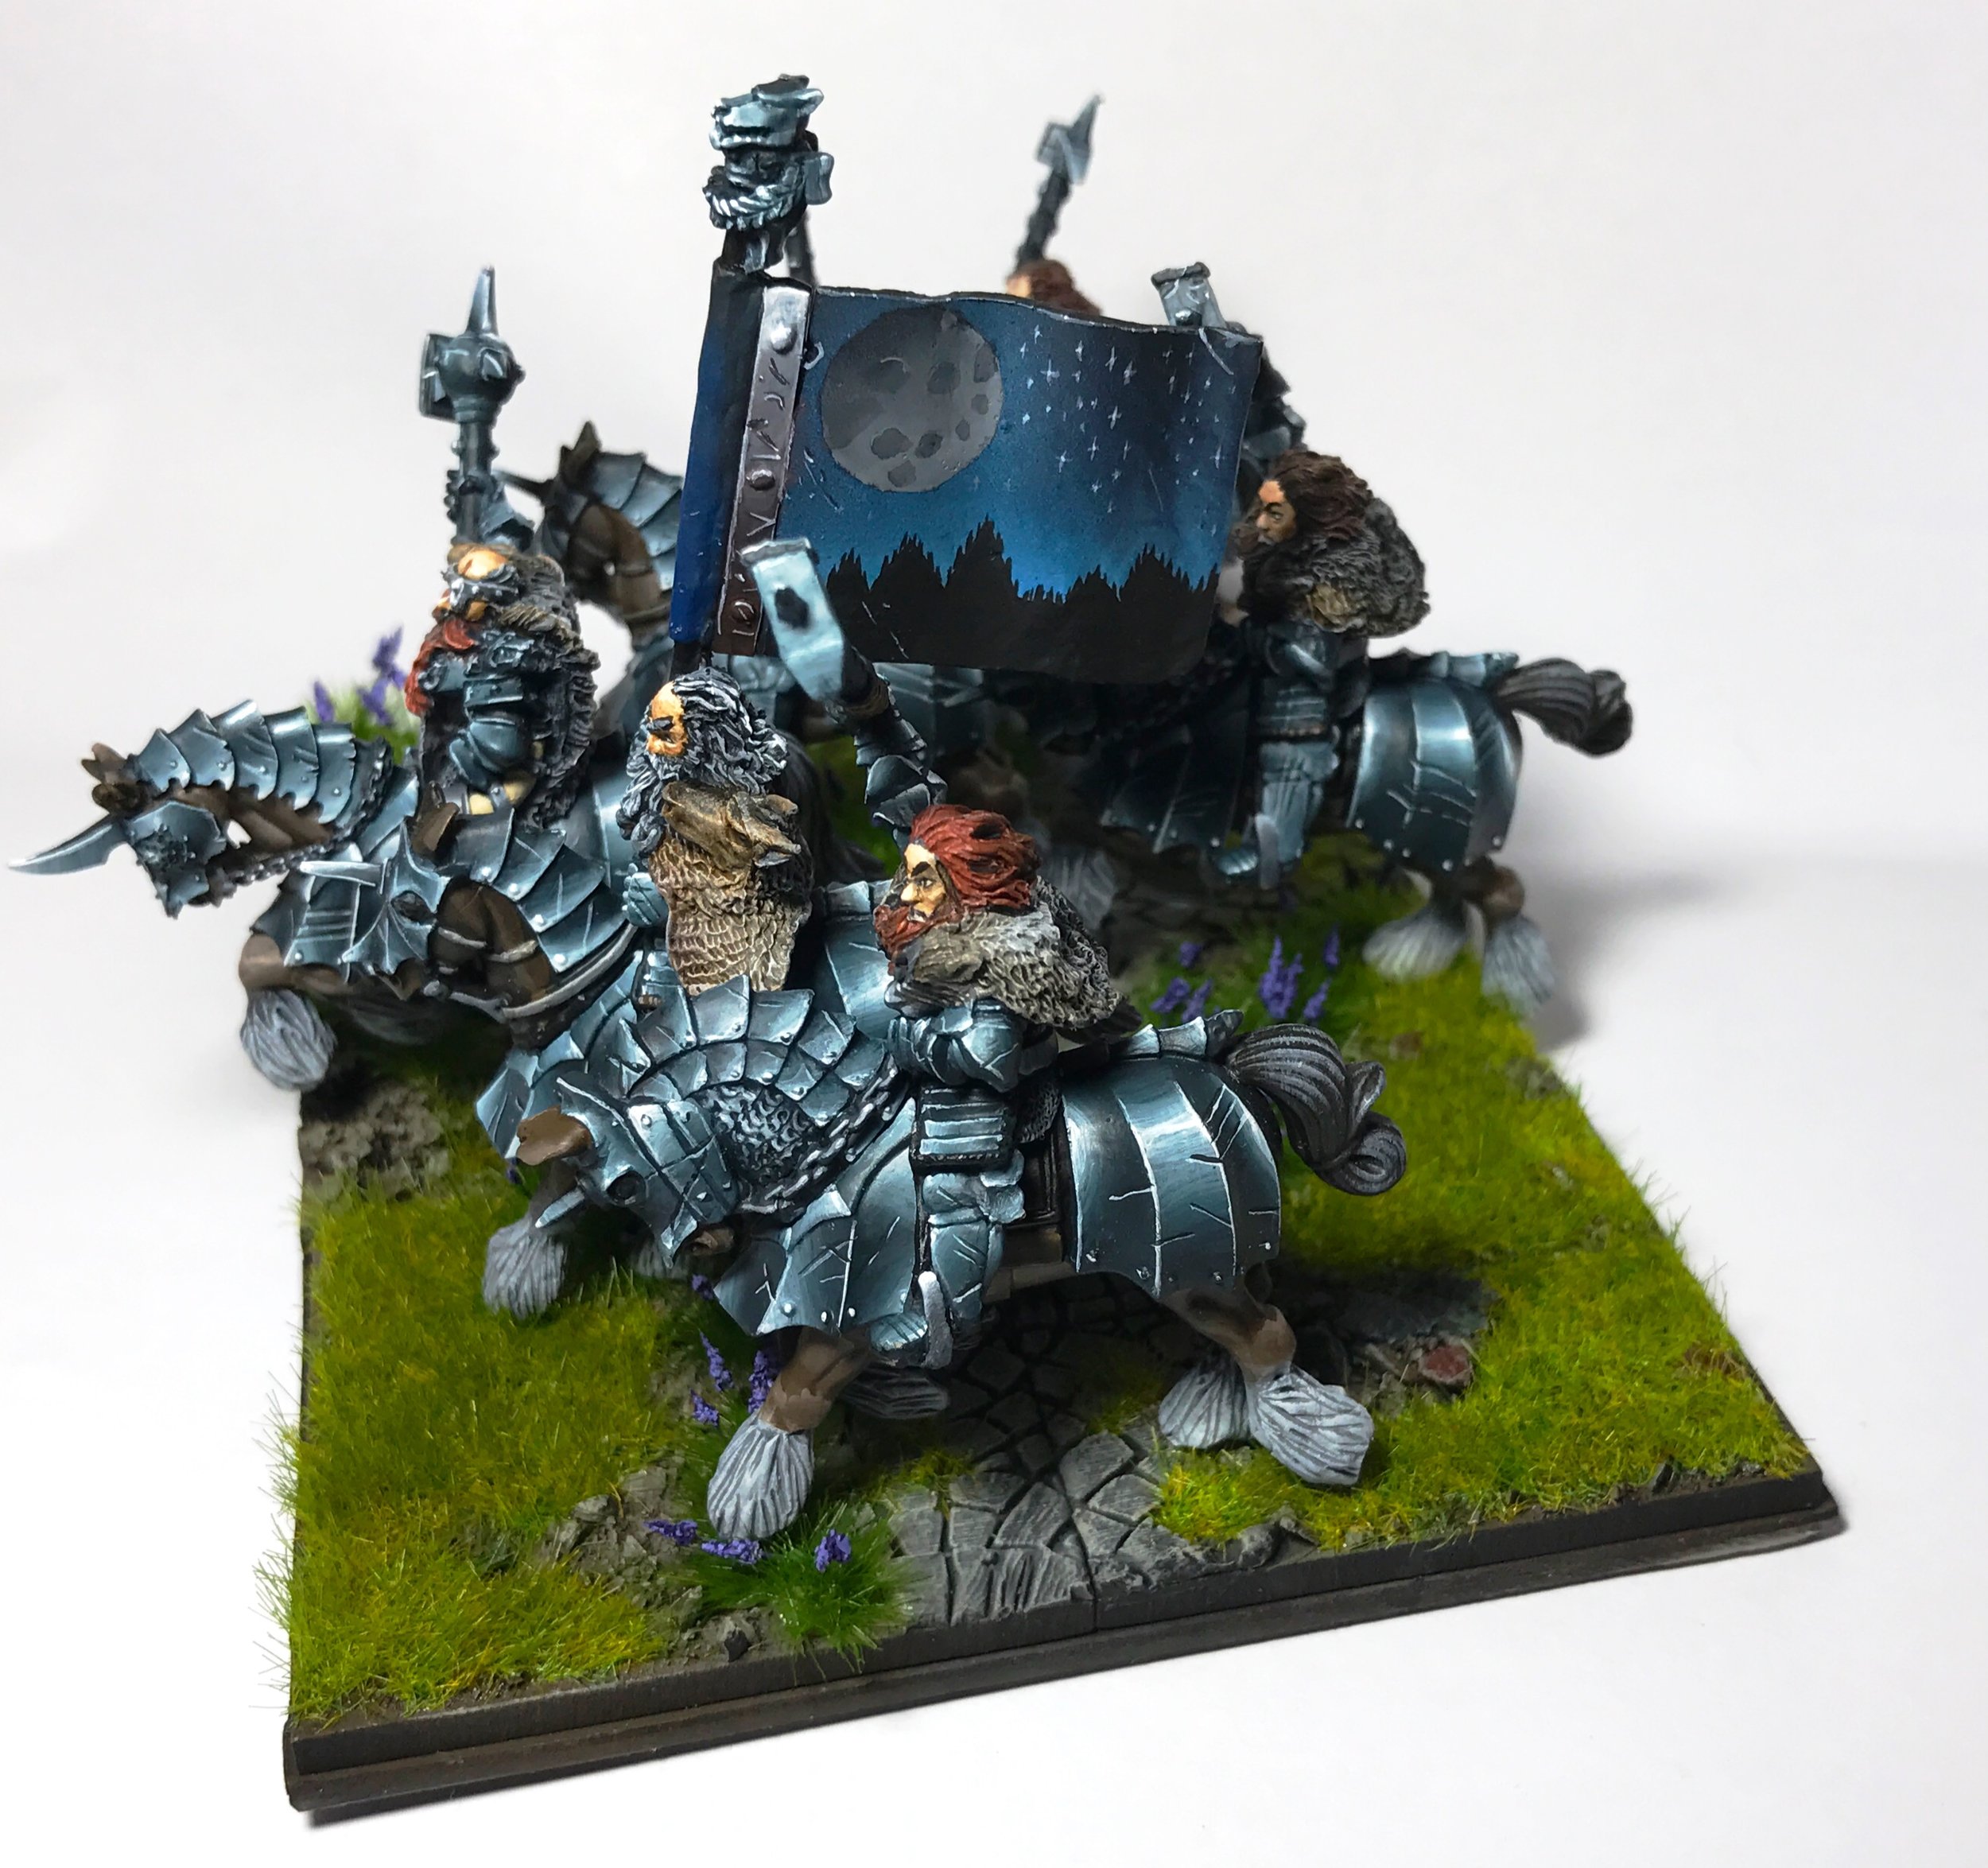
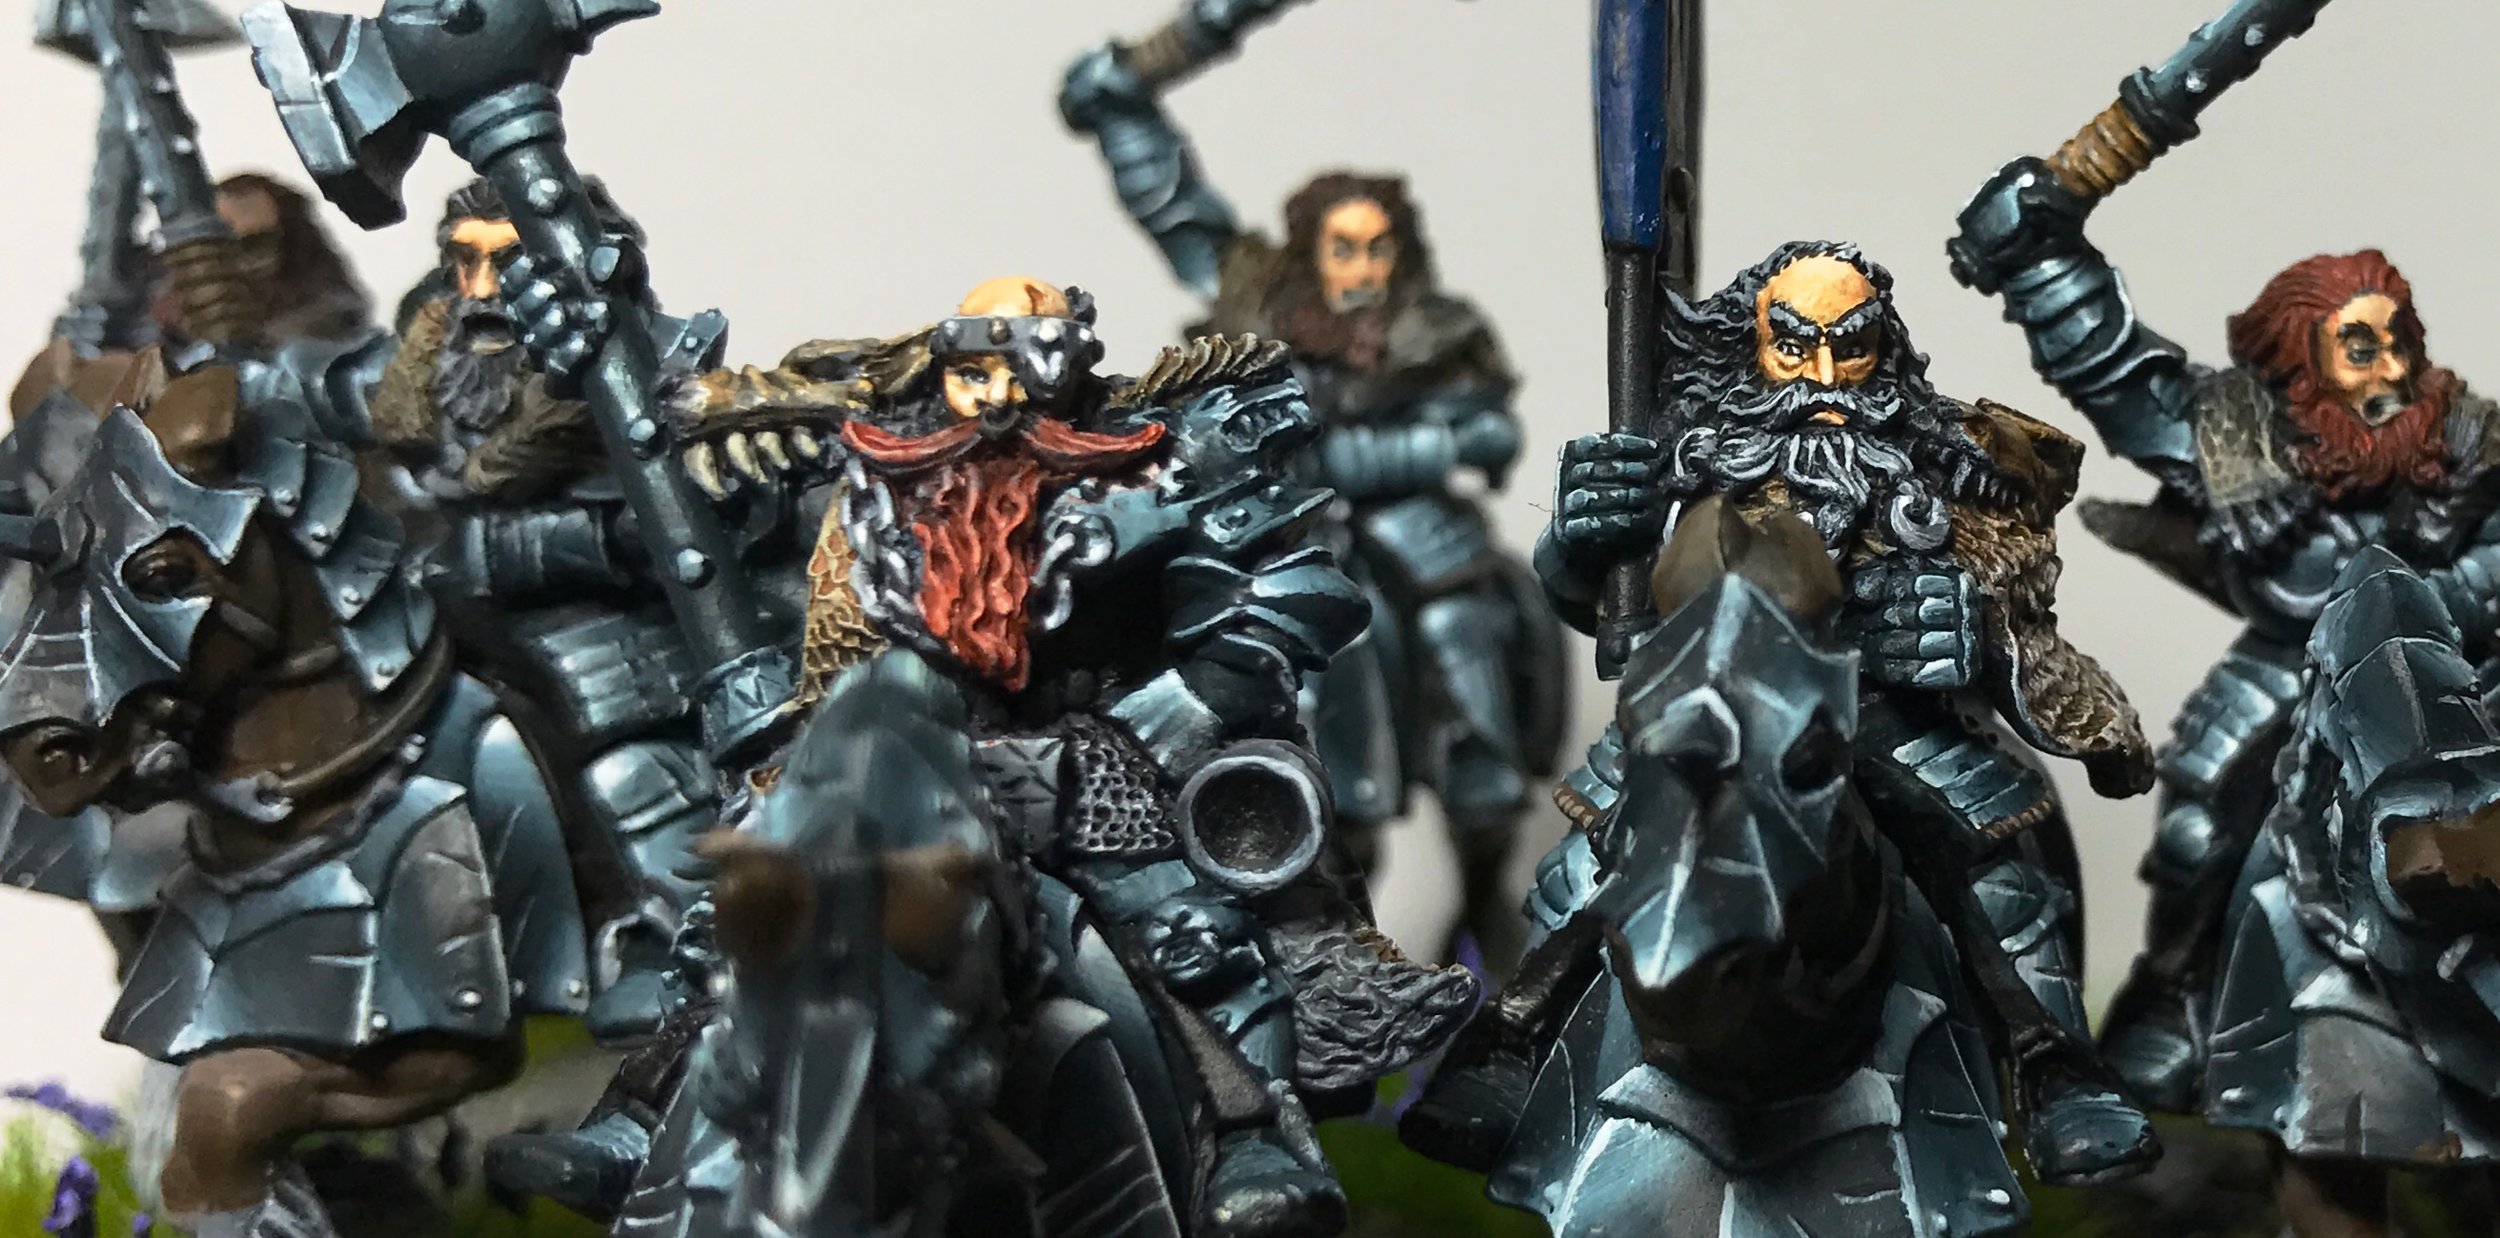
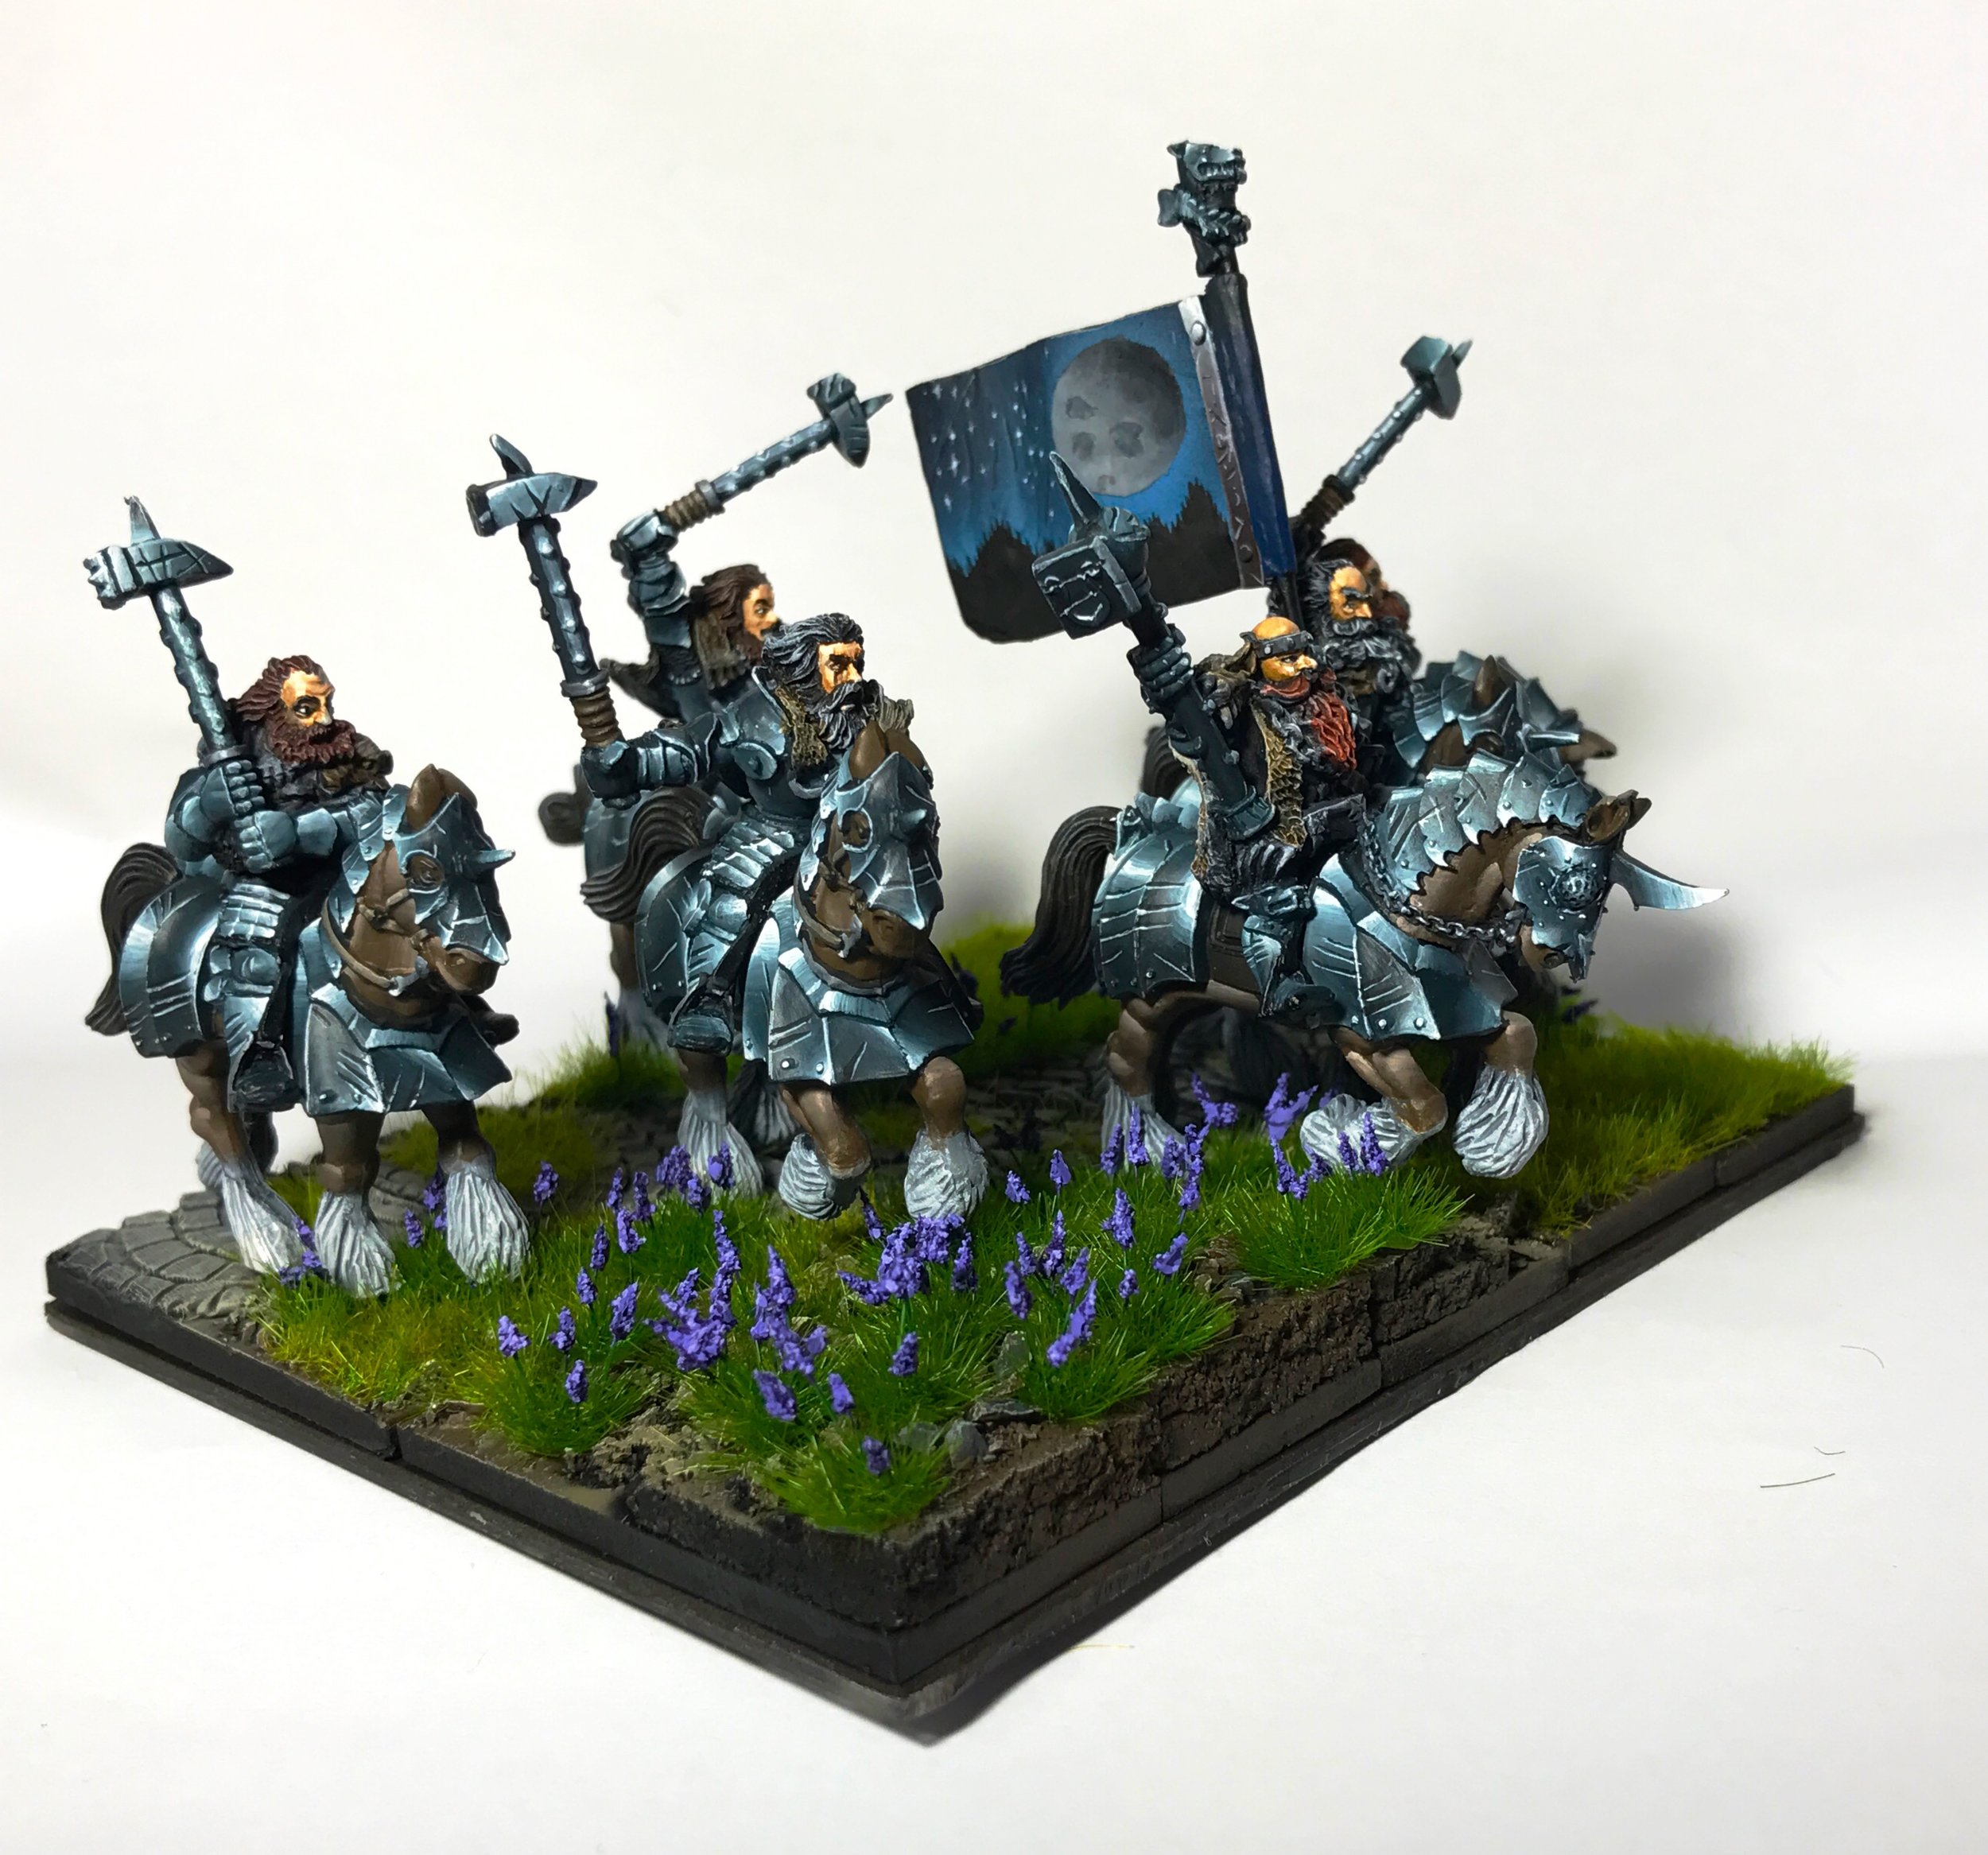
The Riddler

So it’s been 2 years since I put the brush down last. Undoubtedly the worst and best 2 years of my life, and here I am, finally trying to pick it up again. It’s not a great first attempt and but you’ve got to start somewhere. It’s amazing how much skill you can lose, but it comes back quick.

So yes, far from my best work, not well photographed and not entirely well polished, but I’m happy to be back into painting and trying again and I had a ball painting this even if it’s not my best work. Hopefully the next attempt will be killer.

On The Bench - 20th Feb

I've got two projects on the go at the moment.  

First up, Broly the Legendary Super Saiyen

Got this guy from 4 Star Minis, a small group of guys crowd sourcing their minis.  It might take a while to wait for the minis to be made, but totally worth it if this mini is any indication of the quality they're producing over there.  You can Find them on Facebook, join their group and get on board with up coming minis if you're interested.

Made the base myself for this guy (obviously).  I really wanted to push the contrast on my skin tone for Broly, and his hair had to be green just like the show.  Gotta clean him up a little, finish the base and I'll call him done.

Next up is a little experimentation.  I've heard that artists acrylics can be fun to work with so I bought a box of Jo Sonja starter paints.  For $30 I got 10 colours, about 2x the amount of paint as in a normal Vallejo paint.  I was worried that the pigments would be too course, I need not have.  They blend very well, paint very easily and dry a little slower (though that could be the humidity).  I'm only about 70% done here, still some smoothing on the light  and a few items like his helmet not finished, but it's been fun to paint.  The Dark Souls minis are great, though perhaps less depth in the detail than I'm used to it didn't turn out to be a problem.  I'm going to post about it, including pictures of my wet pallet and more detail about wet blending and paint consistency. 

Anyway, that's what's on the bench.

Demigods Evolution - Sentinel (Twocans Bowlass)

I've really got to stop letting my friends name my miniatures.  This is Twocans Bowlass, a Demigods Evolution model named Sentinel.  She was rather fun to paint, and not just because I'm a deviant who enjoyed painting a pinup model, but because she's well made and I really liked the expression.

This model was an attempt at a single light source in a dark room, diffused a little like the opening of a cave in the distance.  The shadows around her feed are painted on.  The photos, in hindsight, came out a little dark so I stylised a couple for fun.  Skin is a single dark glaze colour (applied over several layers) over the light flesh tone with highlighting to white to give a slightly dirty effect that I like.

I hope you enjoy it, this is my entry for the crystal dragon this year.

Danelliad the Impetuous, High Warden of Westralia

I've really got to stop letting my mates name my miniatures.  Say hello to Danelliad the Impetuous, High Warden of Westralia, as so named by my mate Alex who was to supply the shield in return for naming rights, but I ended up free handing one instead.

When I was last at my parent's house I stole this miniature from my father to paint for him as a gift for his birthday.  He's seen it already and is heading over soon for a trip and I'll give it to him to take home.  It's the first time I've painted a miniature as a gift, also my first high elf model and I don't feel nearly as clean as I expected to feel after finishing it up.

I had fun with the cloak testing out some techniques for textured material.  The NMM was really good fun on this guy too.  i think a little sharper contrast on the helmet and mail would have been nice but I'm happy with the result.  Most of all I'm happy to take away a first place at MOAB's painting comp in the single figure category for the 2nd year running.

Hope you like it.

On the Bench - 30 Nov

Ok it's been ages since I've posted, and it's not because I've lost all motivation, I've just been too busy to make any progress that I'm proud of.   I've been working on basing also, which is time consuming and not overly impressive step by step.  

Anyway I've been working on the Cursed Company.  These guys are an undead legion of cursed soldiers roaming the battlefield for remnants of fame and fortune.  I wanted to do some OSL as the standard beared is going to hold a standard glowing bright purple driving the dead across the battlefield.

FullSizeRender.jpg

I'm about 1/4 of the way throught he unit, but I've run out of skulls.  More are coming soon.

FullSizeRender.jpg

Most of the unit are old empire swordsman models with skeletal arms, heads and some weathering / cutting up of their uniforms weapons and shields.  All non metallic, but this time I've rusted it up with some hull red and rust pigments.  They are pretty quick to paint, so hopefully I'll get my skulls and smash out the rest over the next week or two.

And that's what's on the bench.

On The Bench - September 12

I went on a short holiday recently and stayed with my parents on the other side of the country.  My dad used to collect high elves and enjoyed painting them, but these days he's not able to find the time or patience for it, so I've stolen one of his models while I was there with the goal of painting it for him as a present for Christmas.  

He's still in progress, but coming along quite nicely.  All the metal is Dark Sea Blue and White from the Model Color range of Vallejo.

FullSizeRender.jpg

I've been working on trying to add a little texture to my cloth areas.  In this case, a few horizontal lights along the highlights to make it look more like textured cloth.  I think it's worked ok, but perhaps it's a little too subtle.  Added a little gold trim and a an elf rune free hand to test my free hand skills, something I've never really been very good at, and I'm happy with the result even though it's quite simple.

FullSizeRender.jpg

Not very forgiving photos for a 28mm model, but I'm pretty chuffed with how it's going.  Now to work on the base and find a good way to tie int he colours.

And that's what's on the bench.

The Pay Cart - Salvatore Gregorio, the Rotund

When the rich people fight a war, it’s only the poor people that die!
— Salvatore Gregorio, the Rotund, High Lord Exchequer of the Moot

It's easier to watch everyone else fight and die when all you care about is money.  But don't let this short, rotund and rather foolish looking fellow fool you with his pudgy appearance and stupefying grin as he'll sooner gut you than let you touch his gold.  Salvatore's guard captain, Mydas the Mean, holds the keys to the chest and is not so soft of body though perhaps not so quick of wit.  Together then protect the legion's earnings and the legion will give their lives to protect their gold.
 

I took a few weeks holidays so updates have been few and far between, but since returning I've managed to finish off Mydas the Mean, the paycart for the Dogs of War.  It's an old model and I'd lost a piece or two.  I had to craft the chest list from scratch using Fimo and Green Stuff and the saddle is new on the horse because I lost the original clasp.  I'm happy with the results of both those parts.  My basing and non metallic metal are covered in previous entries, listed below.

Mydas the Mean is removable from the base to run around separately depending on the game system I'm using this in, but in Kings of War this little chariot is going to be the battle shrine for my Rhordia army.  

Hope you like them.  Here are the links

Non Metallic Metal Gold

Basing

On The Bench - 5th July

I've recently been made aware of a painting competition over at Good Games at Top Ryde, and being a sucker for these things I've shelved my current work to give something a go for it.  I've started to paint one of my Giants of Albion, yep sticking with the retro figures.  I love this model and have always wanted to paint it.  The pictures here are mostly for the face.  I'm playing with new colours for faces at the moment, reds and purples on top of skin tones to give him a really gaunt and unhealthy feeling.

FullSizeRender.jpg

I've also been working on my eye process, dotting the pupils and colouring the iris to give him  more colour and make the eye a little more catching.  I'm quite happy with the result on this guy.

FullSizeRender.jpg

Finally, looks like I've lost the hands for this model so I'm trying my hand at sculpting a replacement.  It's only half way there, layering up small bits of green stuff at a time to get something that resembles a hand.  It's really hard to do and very new for me but so far I'm happy with my first effort.

IMG_1258.JPG

And that's what's on the bench.

On the Bench - 16th June

FullSizeRender.jpg

Now that Horatio is complete, I'm working on my next project, the Pay Cart.  In KoW I'll use this as a battle shrine as it's most appropriate for that role.  In 9th Age it works well as either an Arcane Engine or a Battle Altar.  It's a fun model, well at least the characters on it are.

First up is the Pay Master.  I've promised my friend that if he manages to defeat the Demon Price of another mate that smashed my army up then I'll let him name my Pay Master.  He hasn't come up with a name yet.

Edit: Salvatore Gregorio the Rotund, High Lord Exchequer of the Moot it is.

Every other picture I found of this fat little grubby man had him wearing a shirt, but I just didn't see it in the cast so I painted his top half naked.  I tried to give the impression of shiny silk wrapped around his ample belly to lather him in opulence, he does of course control the money for my lustful army after all.  

I used some different shades on his face to give him the red faced look of a man who spends too much time with drink and heavy foods and I'm really happy with the outcome.  I wasn't impressed with the cast issues around his eyes or his hands, but I love the rest.  His beard, hands, shoes and necklace are not finished yet.

FullSizeRender.jpg

Then there's Mydas the Mean.   I've posted a few photos of this guy already as i did a non metallic gold photo shoot and tutorial with him.  He's done, but still needs weapons, I haven't' decided what to give him yet.  Not sure what went wrong with my photo here, it came out rather overexposed.

FullSizeRender.jpg

Finally I have the chest.  I'd lost the lid so I thought I'd try my hand at green stuffing my own.  The lid is made with Fimo, and green stuff for the surroundings.  I molded a half cylinder for the base, then etched otu the wood grain finish.  It was pretty easy to do.  Then just added in green stuff for the metal bindings and rivets.  Pretty happy with the result, not a master piece, but then it's just a lid.  I'm not good with green stuff so I'm pretty chuffed.

Finally, here's a group shot of what's in progress.

FullSizeRender.jpg

Not forgetting Mr Ed in the background, he's going to get some attention for this piece too.

And that's what On the Bench.

Horatio, Magus of Glee

I think he must be happy on the inside
— Anonymous


Horatio, famous Magus of Eugedral, is best known for his unusual gait as he apparently skips across the battlefield earning himself the nickname "Magus of Glee".  Don't call him that to his face though, his apparently joyful progression masks an insincere and grumpy persona more likely to fry your entrails as a game than to offer a helping hand, well at least not without the right amount of gold.

This guy is a Guild Ball model that I have been meaning to find time for for a while.  I wanted to give him a cold persona so I've blended the purple colour all throughout the shadows of the model, most clearly seen around the face.  

The first thing my wife said when she saw this completed model was, "Why is he skipping and look so angry?".  Thus he was named, Horatio, Magus of Glee.

The glowing pink orb on his staff was an experiment, and I'm very pleased with the subtle results.  I used fluorescent paints from Vallejo to produce the effect, layering up from red, to fluorescent pink to white.  The highlight is just glazes of red and fluorescent pink mixed over the already highlighted cloth in areas that would likely be hit.  The fluorescent paint was also glazed over the pre-shaded metal to highlight and indicate reflective surfaces.

He's on a 20mm base but it's slotted in a 60mm holder to allow transport without him falling over, he is metal and quite heavy after all.

My other blog posts cover my basing if you are interested. 

Painting Gold in Non Metallic Metal

After my recent post on the Alcatani I've had a few people ask me about my formula for gold, so I thought I'd do a post about it as I've got a few more gold models coming up.  It's really very simple and all it requires is patience and a little practice.

From left to right:  Model Air Armour Brown, Model Color English Uniform, Model Color Sand Yellow, Game Color Dead White.

From left to right:  Model Air Armour Brown, Model Color English Uniform, Model Color Sand Yellow, Game Color Dead White.

First up, the paints.  I use 4 paints for gold metal, same for silver metal.  They are all warm shades and they blend together quite well.  You can mix and match the colours without any problem, just aim for a similar lightness of colour in your 4 choices.  You can get away with 3, but it looks better with 4 in my opinion.  Your darkest hue should be a very thin paint.  I use Model Air because it's thinned down and smooth, but you could just adjust the density of the paint with some water or thinner.  

Before you start you should identify the light source for your model.  I would normally take a photo of the model base coated with my painting lamp where my light source is.  Don't worry if you get it wrong, if you look at any picture of armour in natuarl light it can be hard to identify a light source because it reflects everything.

Here is the 4 step process used when painting the helmet beaver:

IMG_1096.JPG

Step 1 - Base Coat

Using your base colour, English Uniform for me, paint the surface. I normally like to finish each segment before moving on to the next, but in this case I base coated the whole armor.

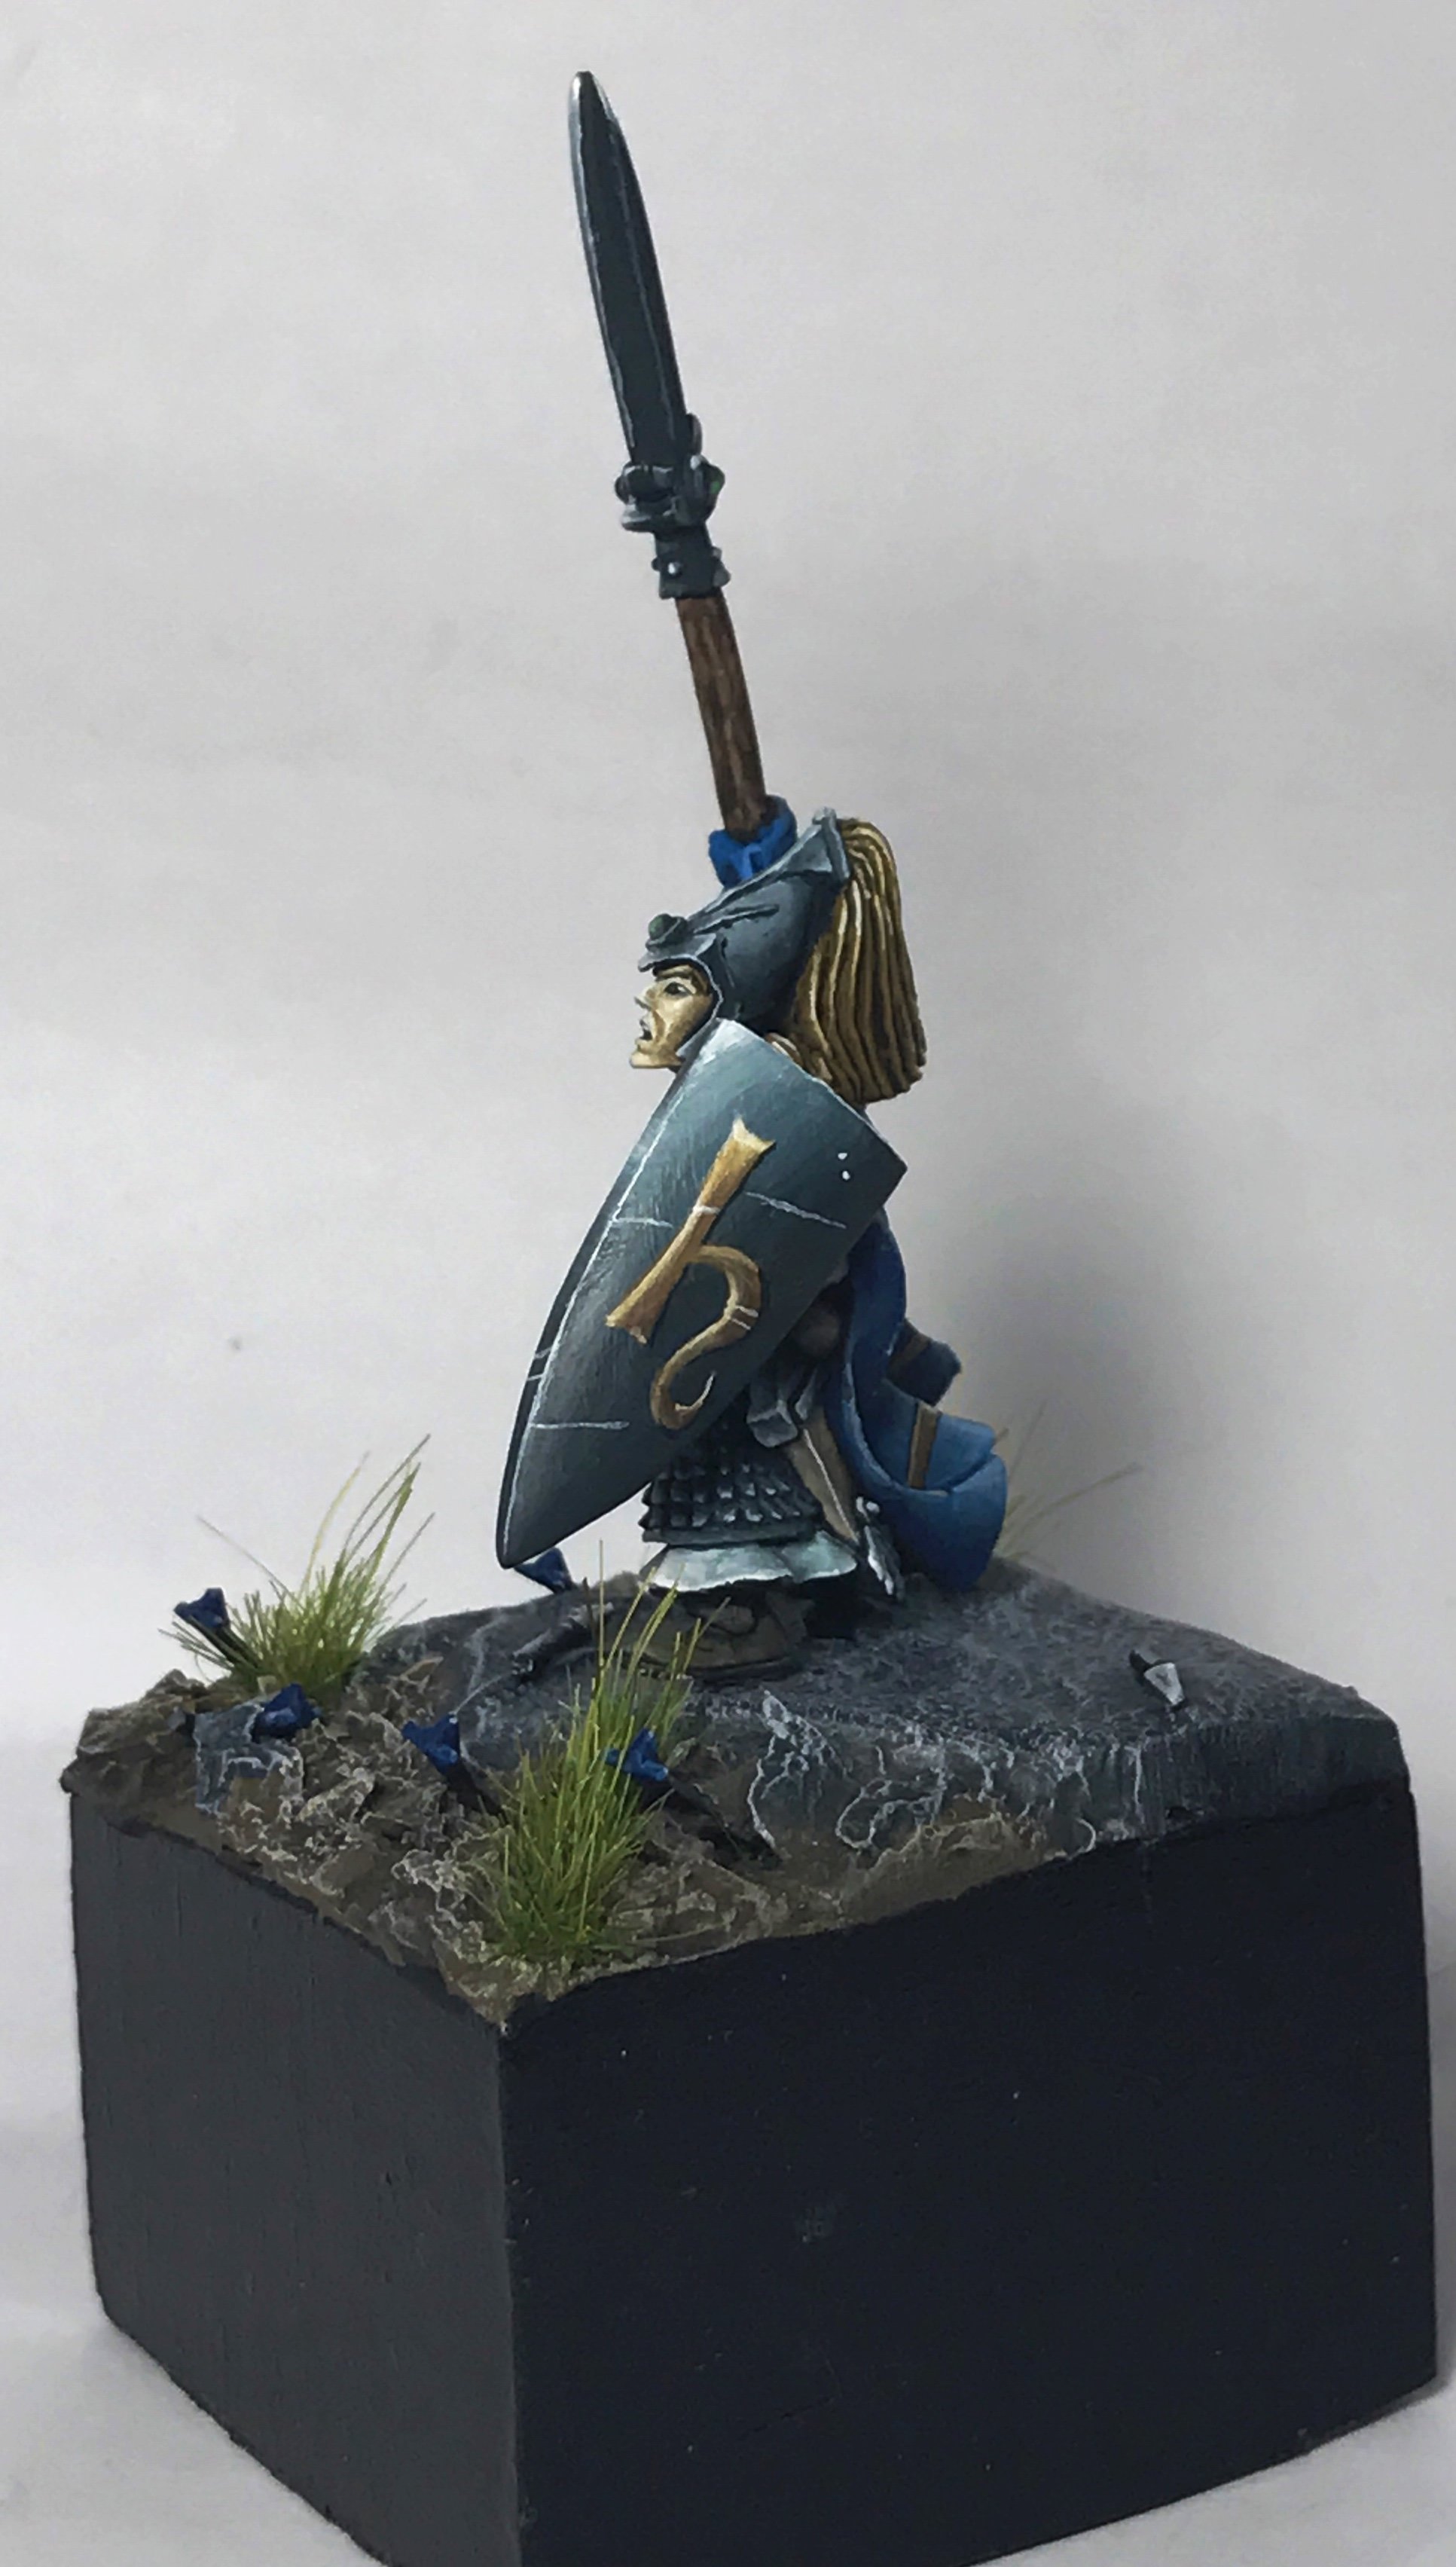
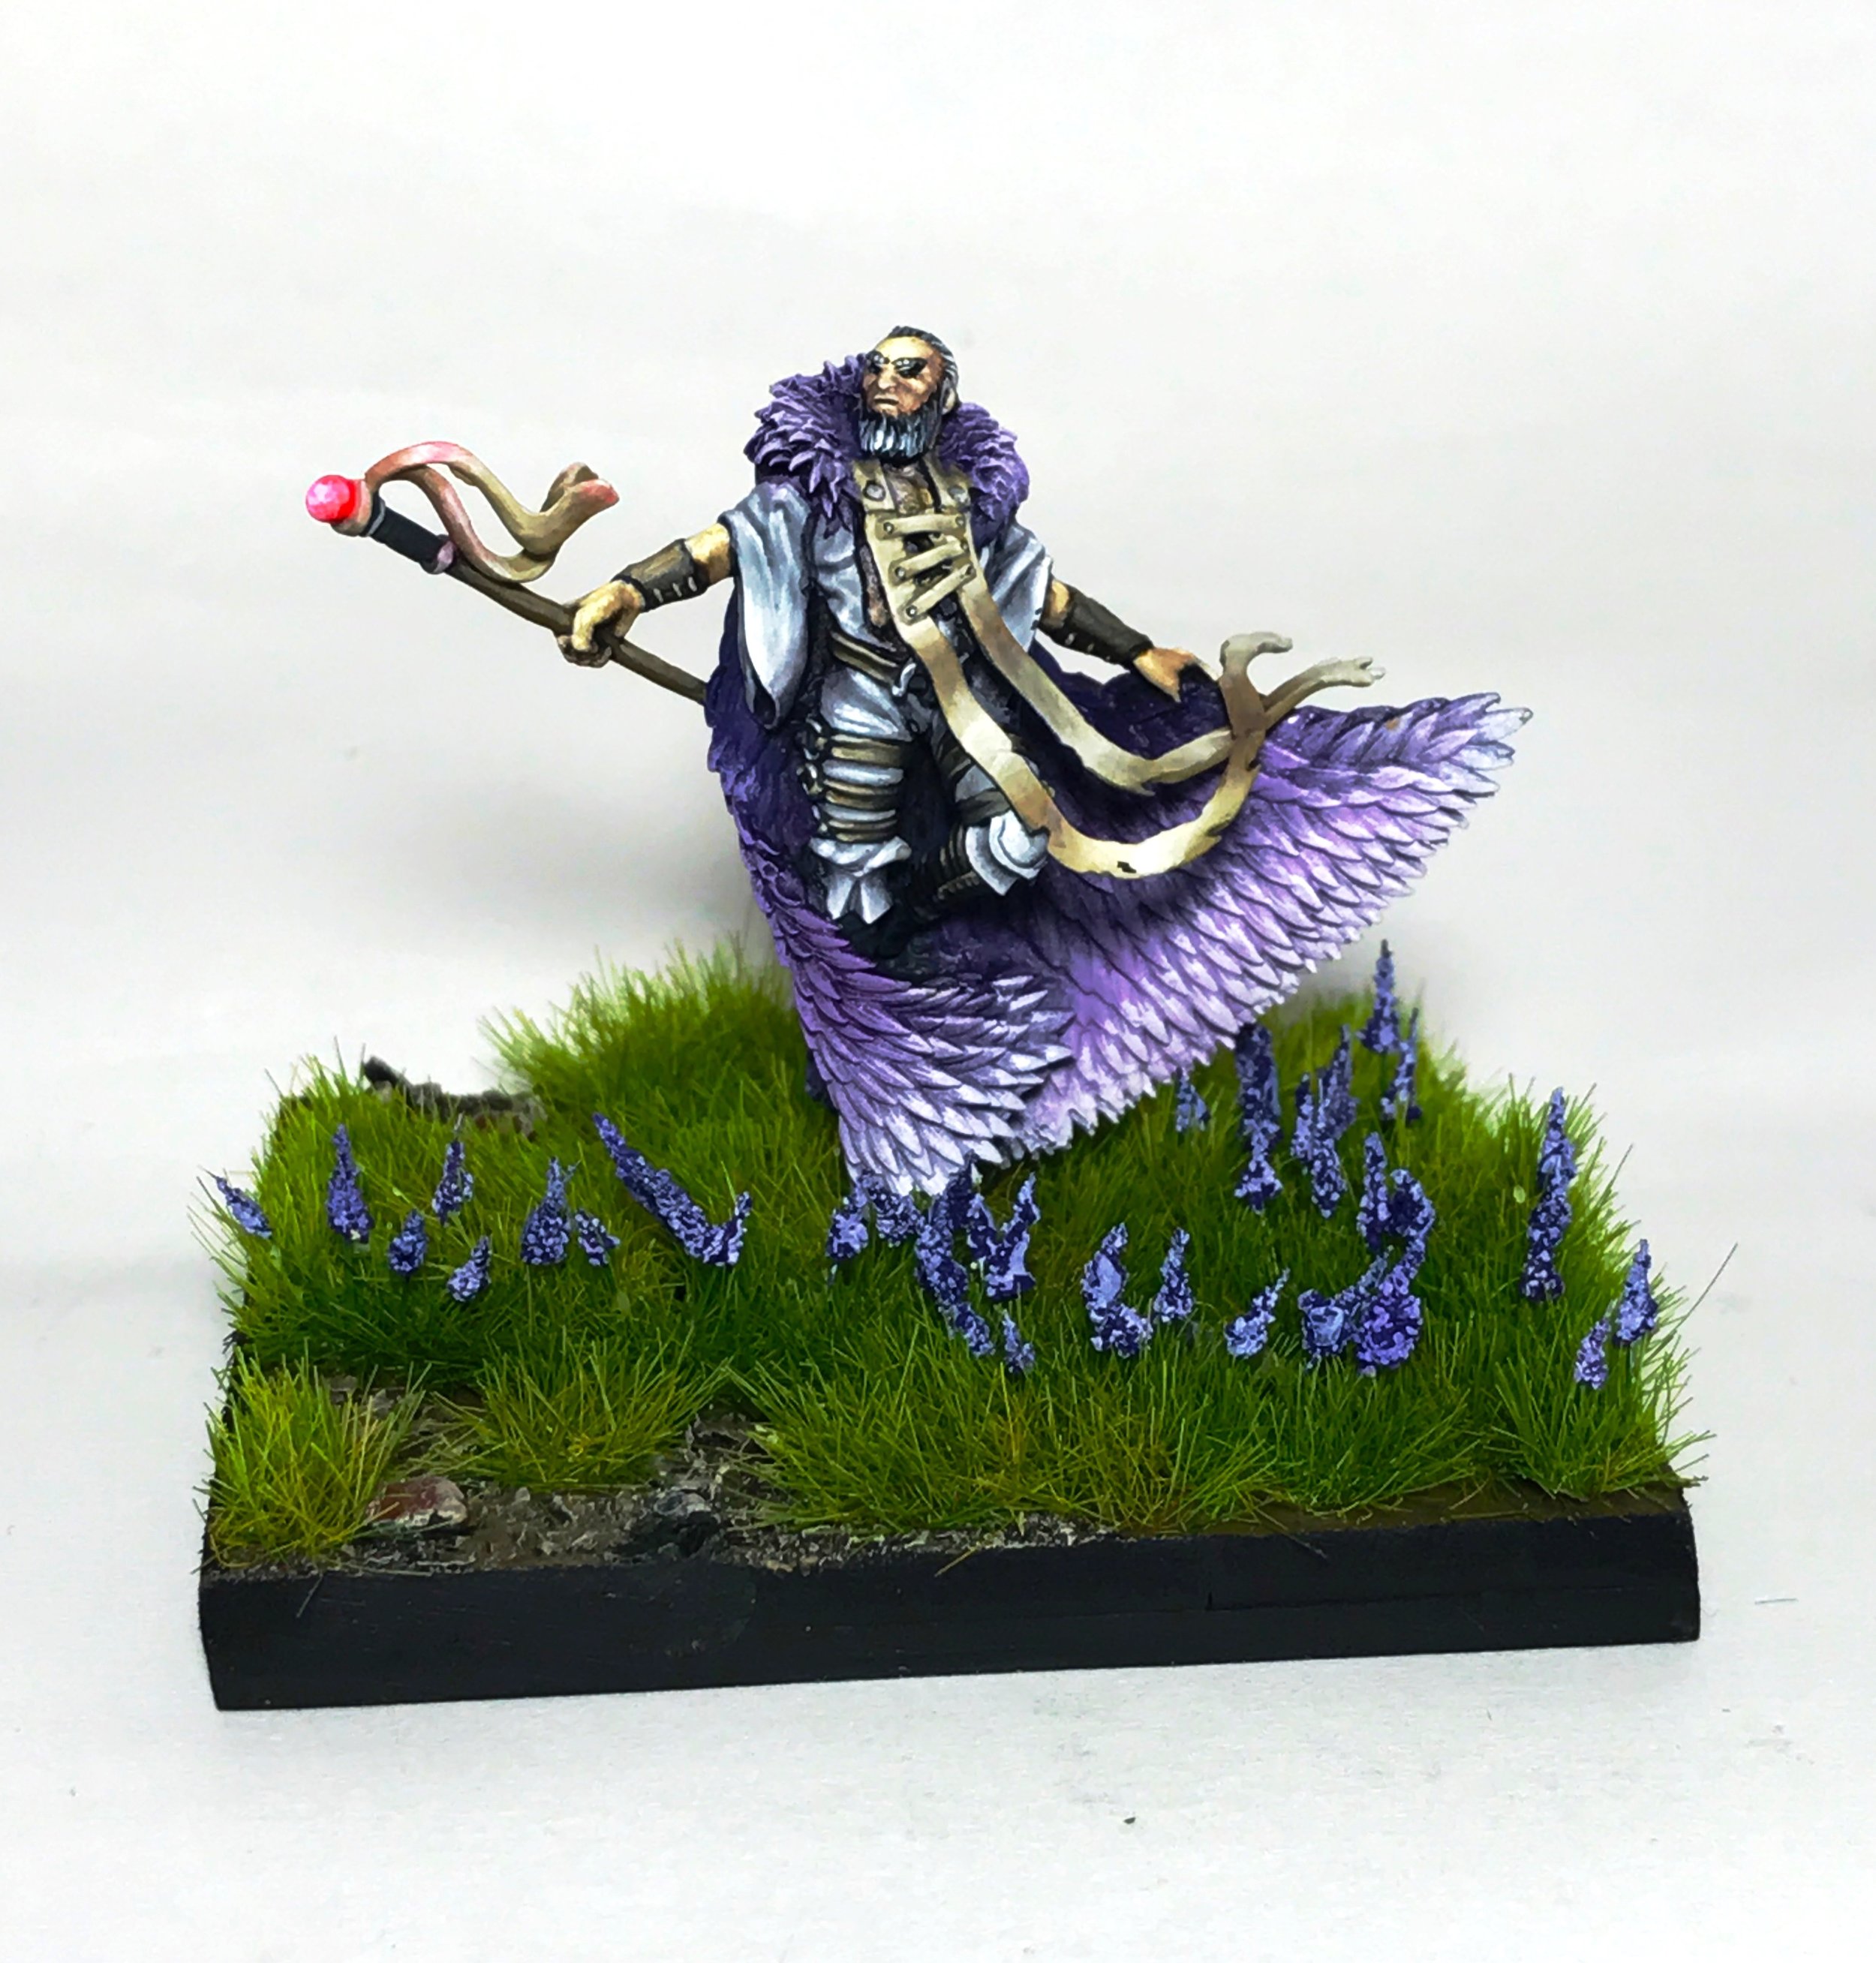
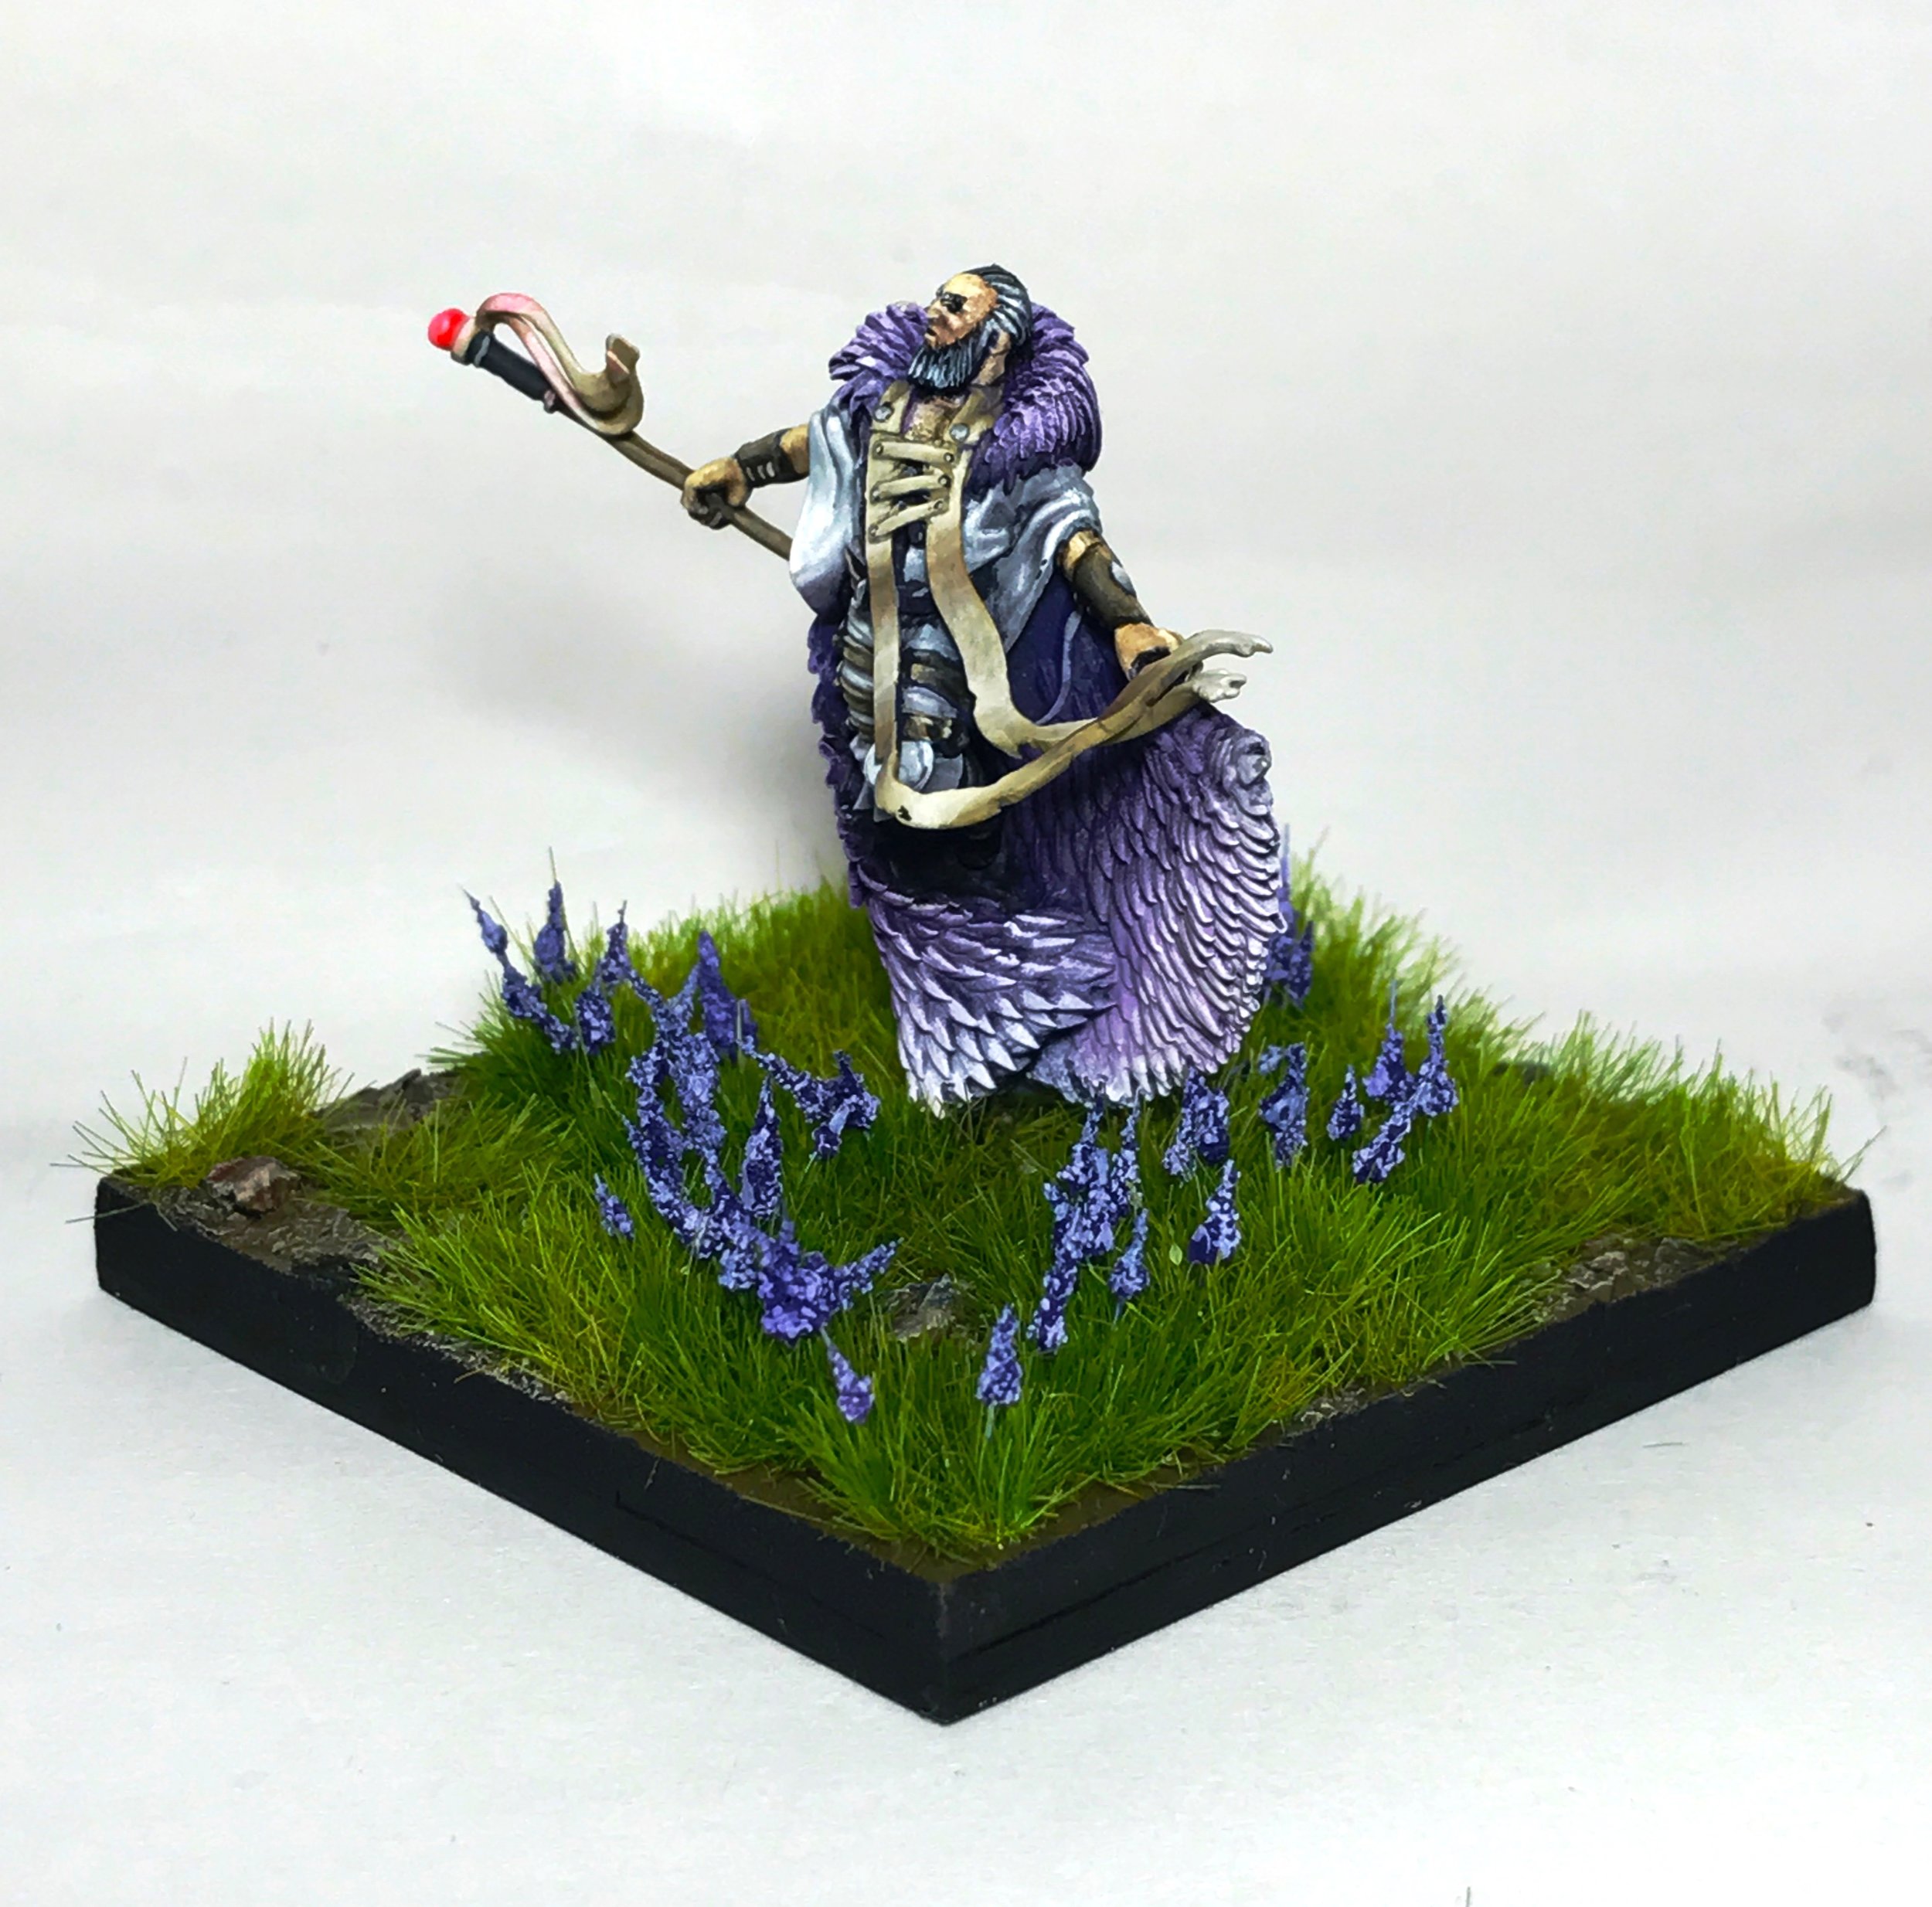
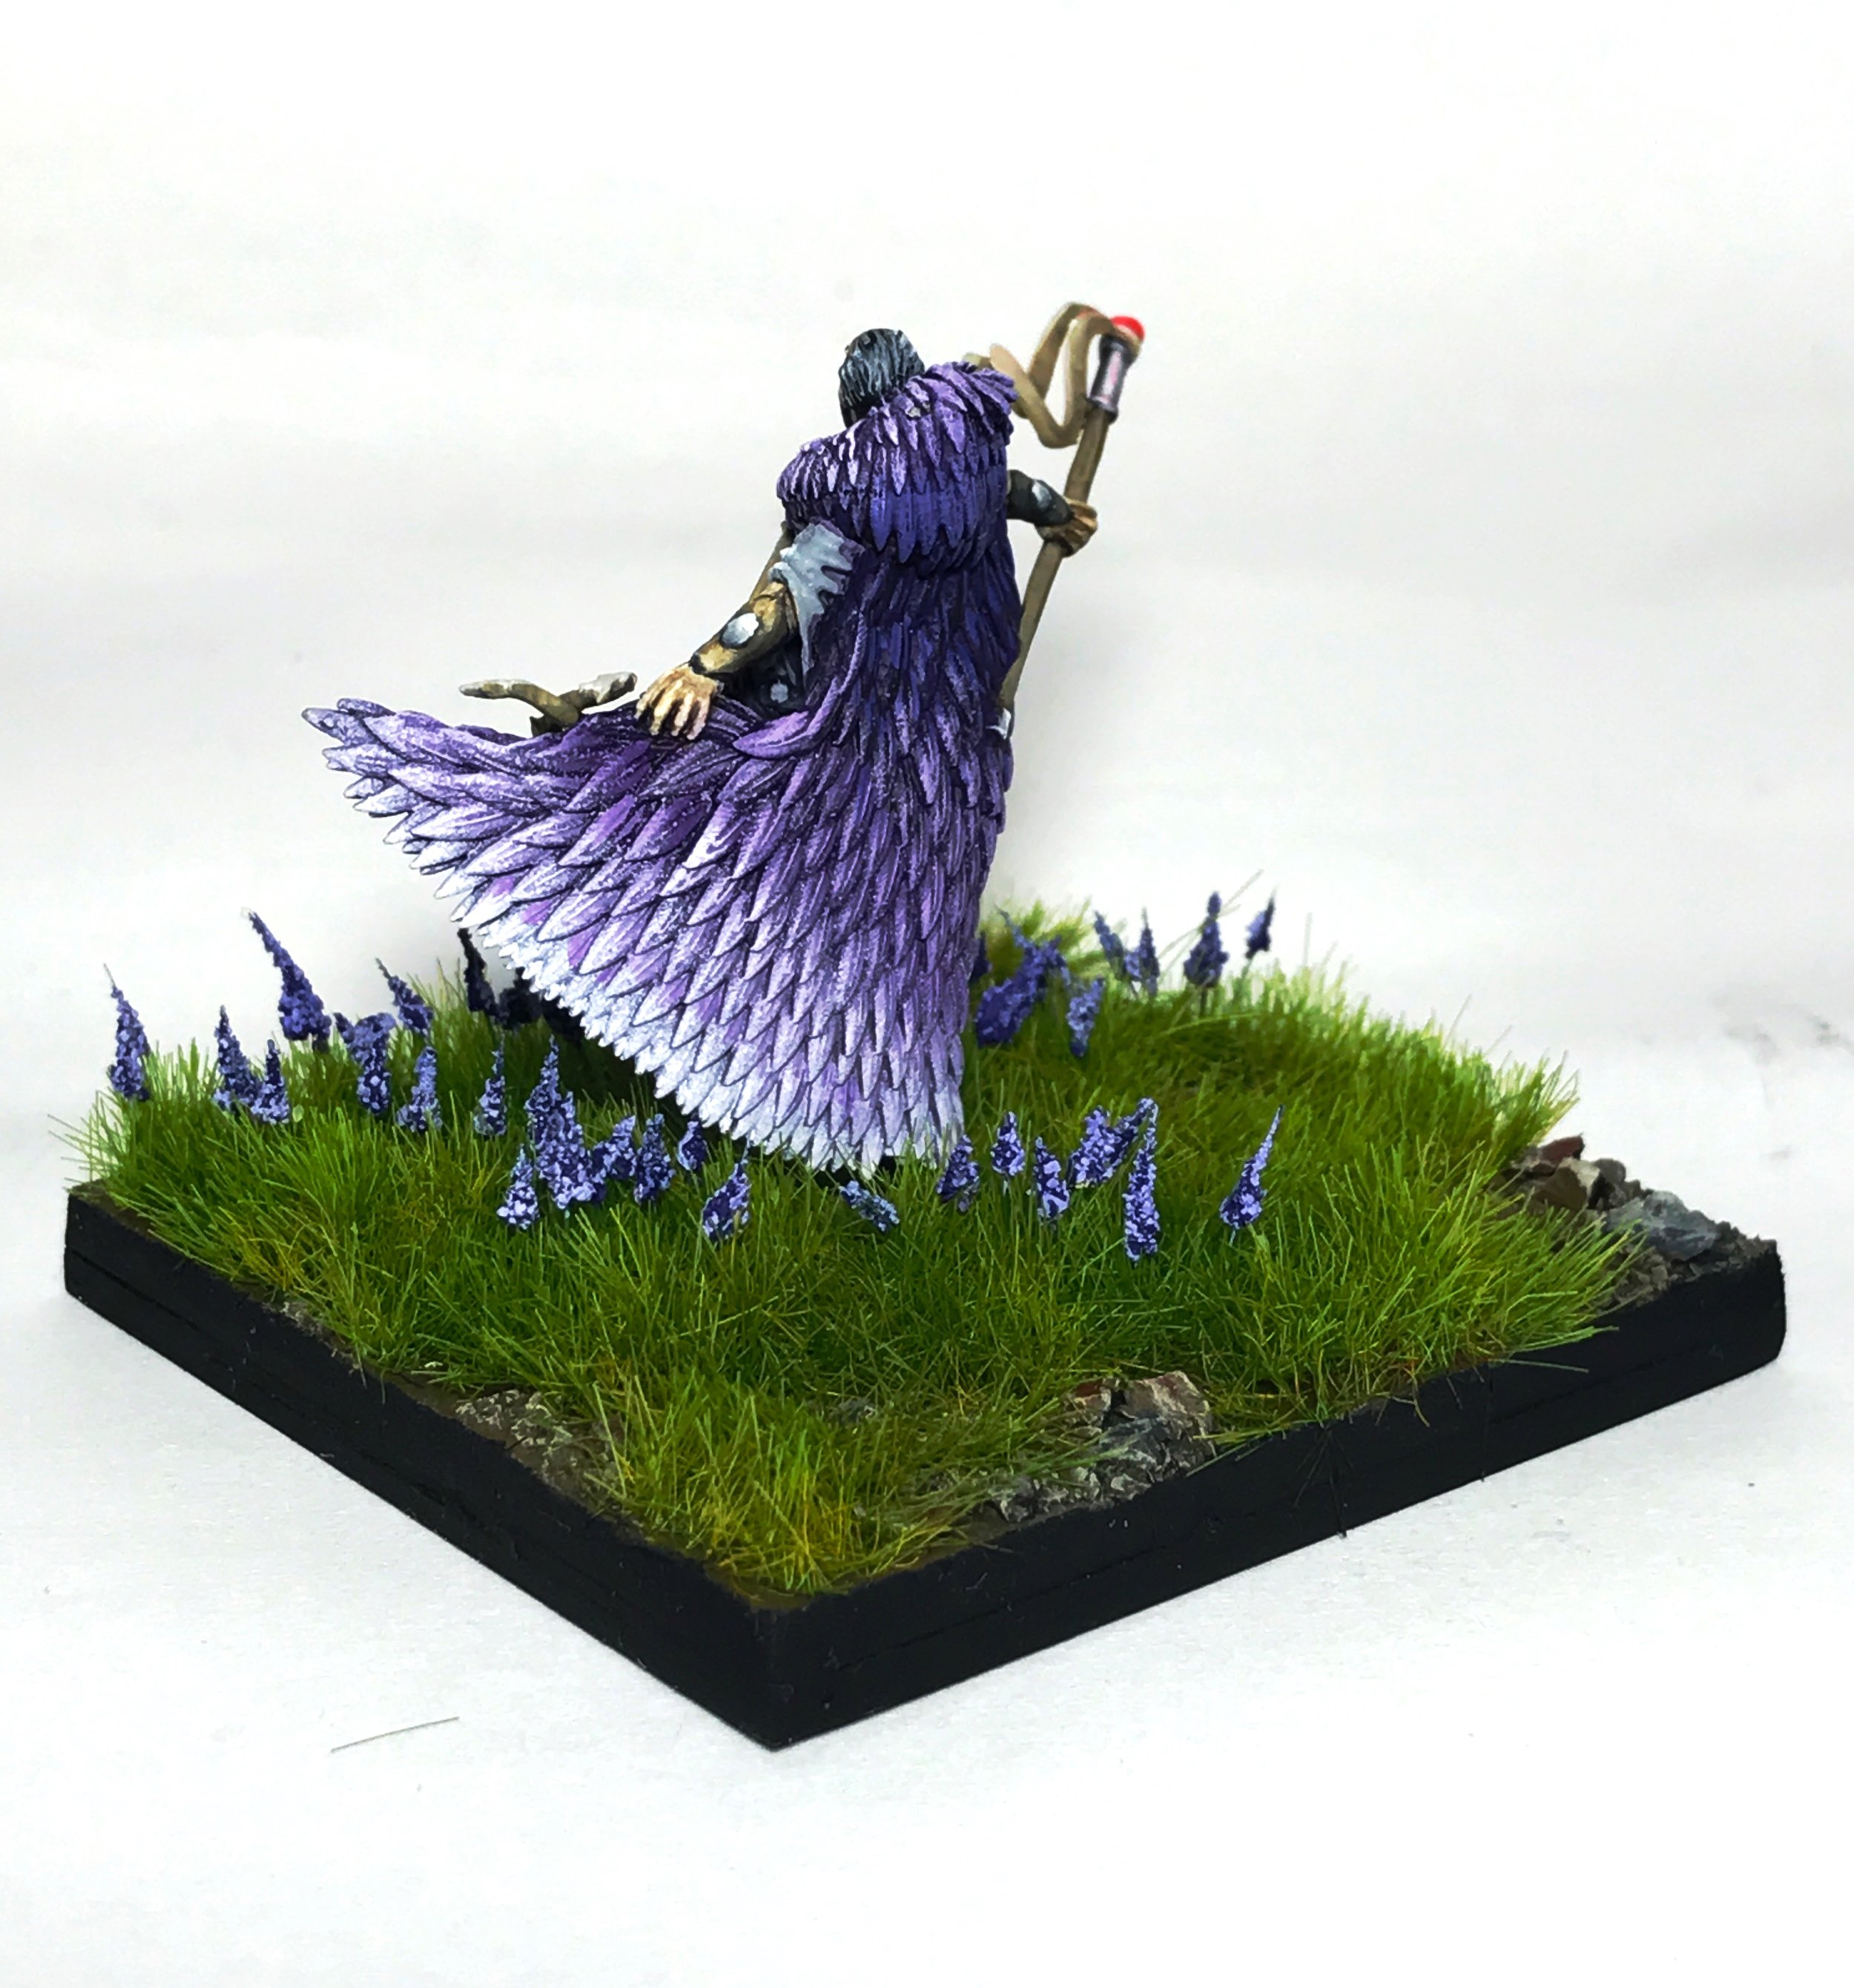
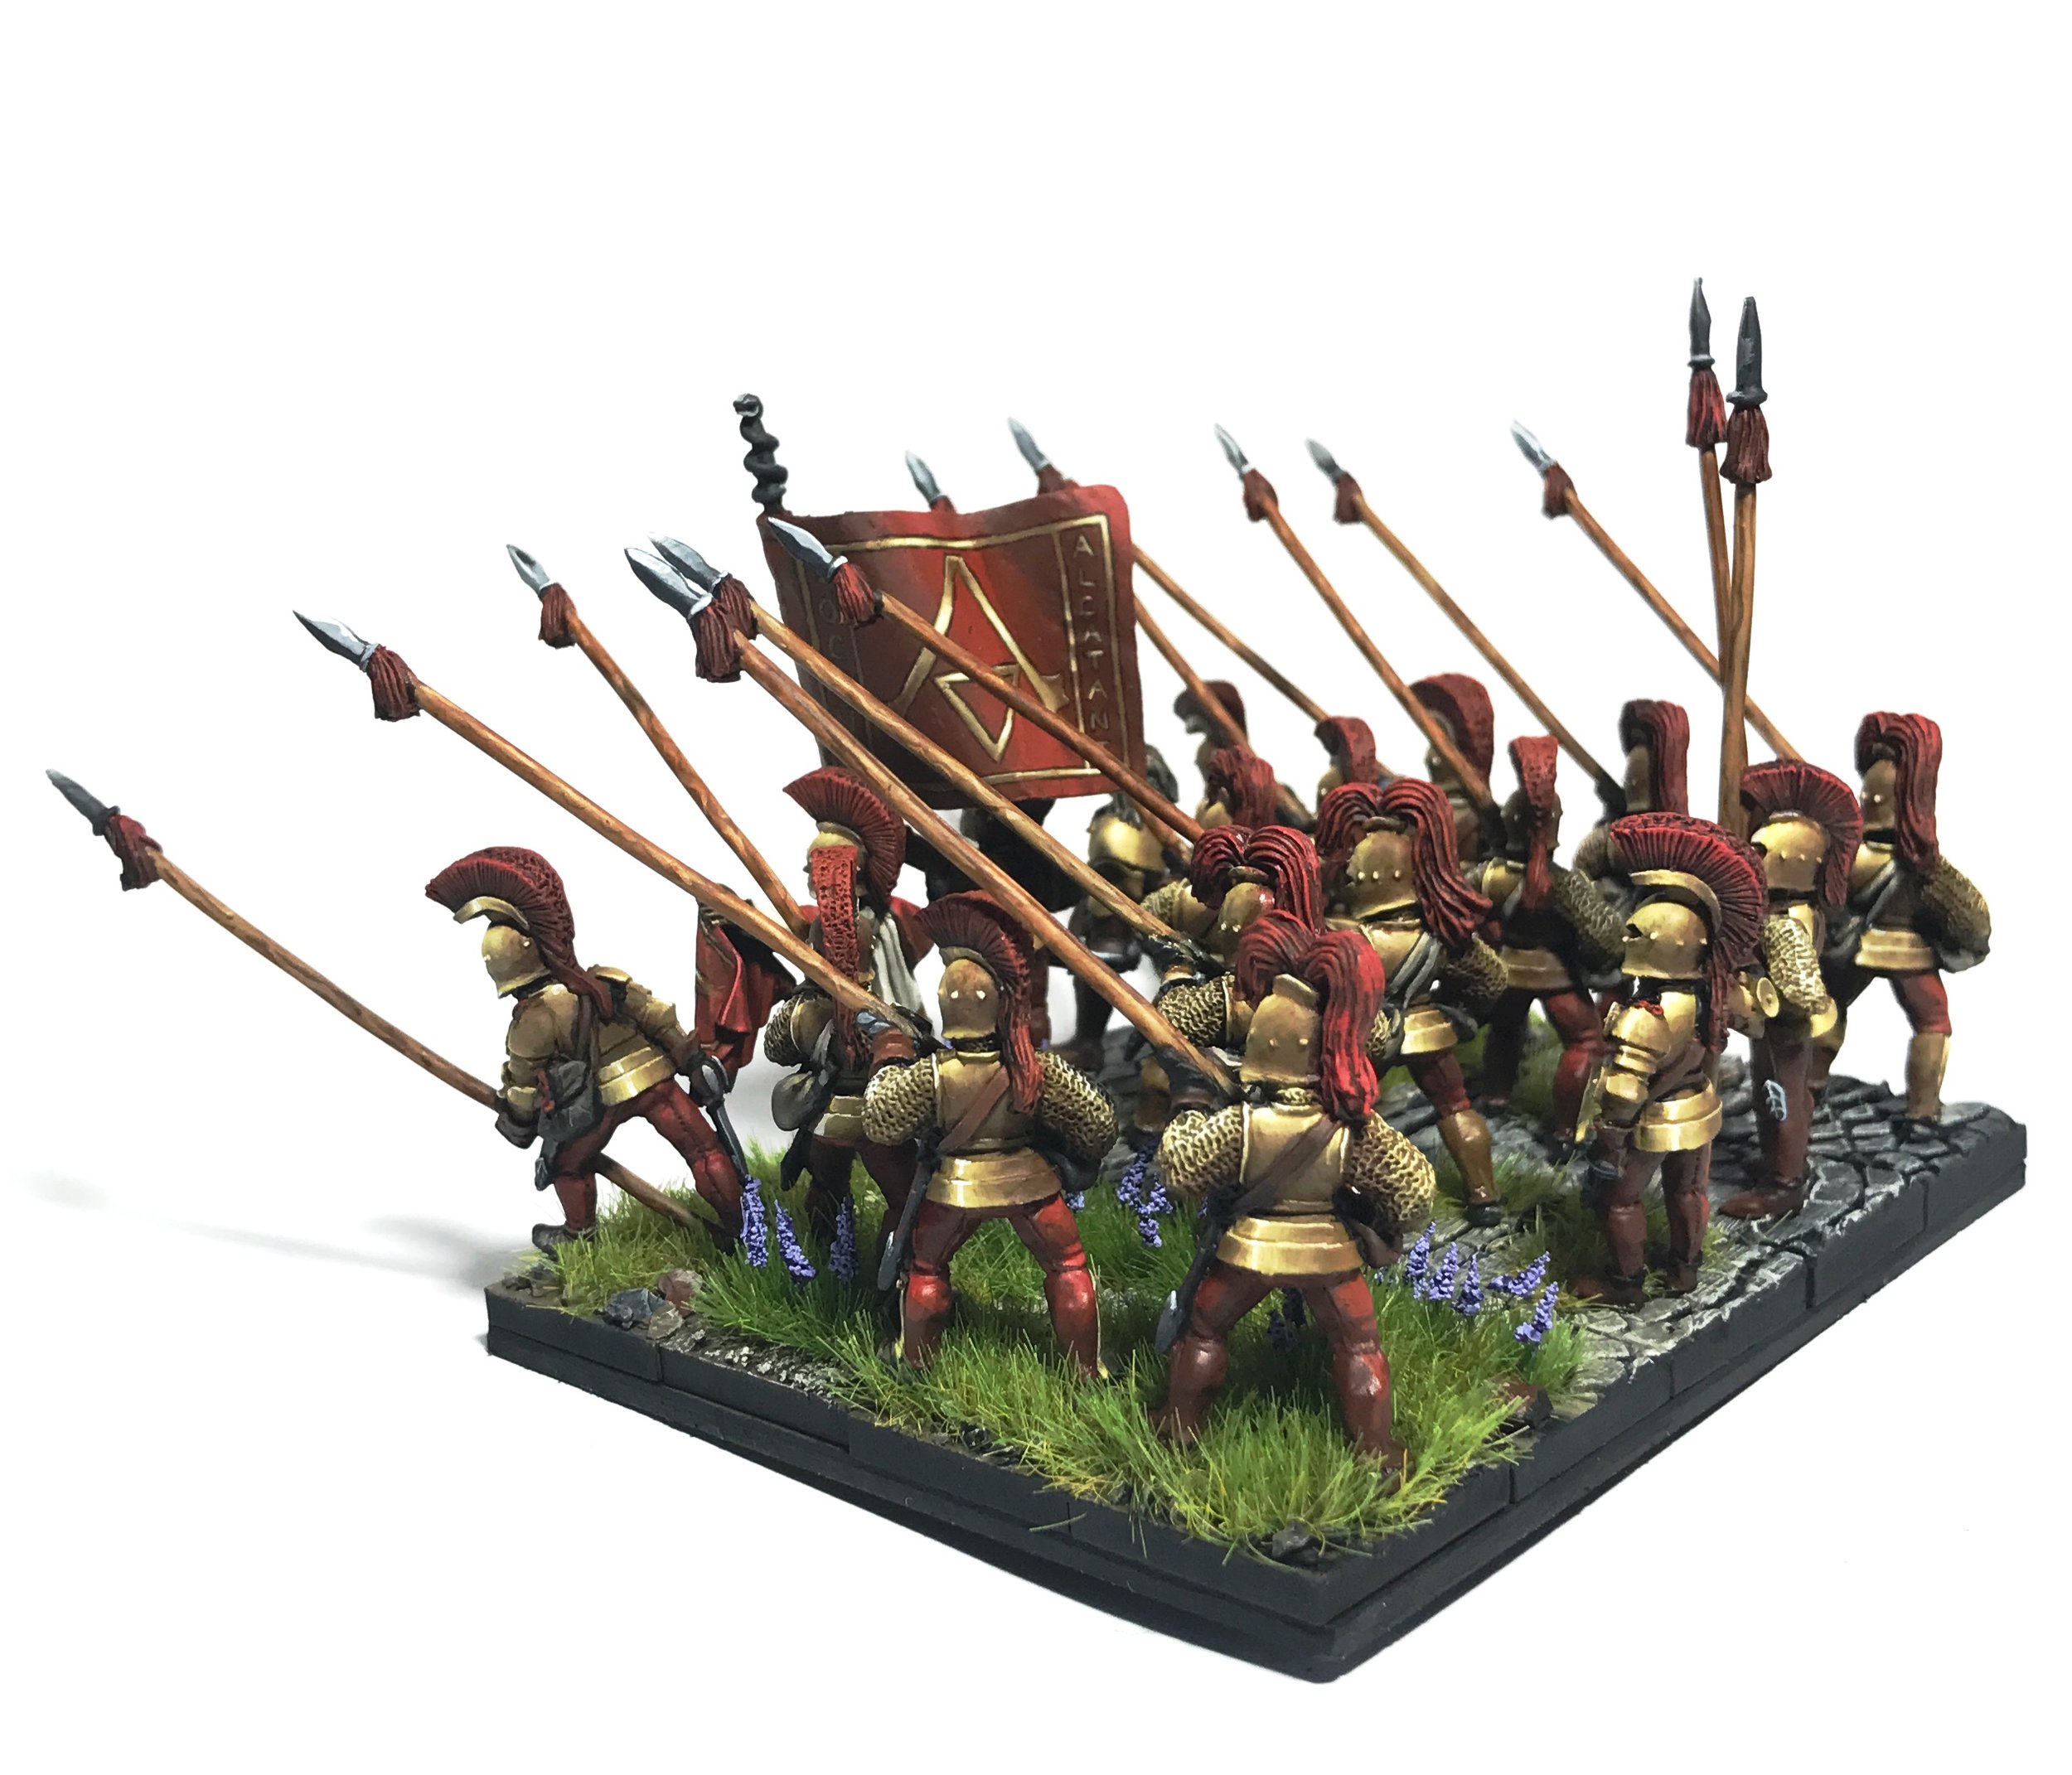
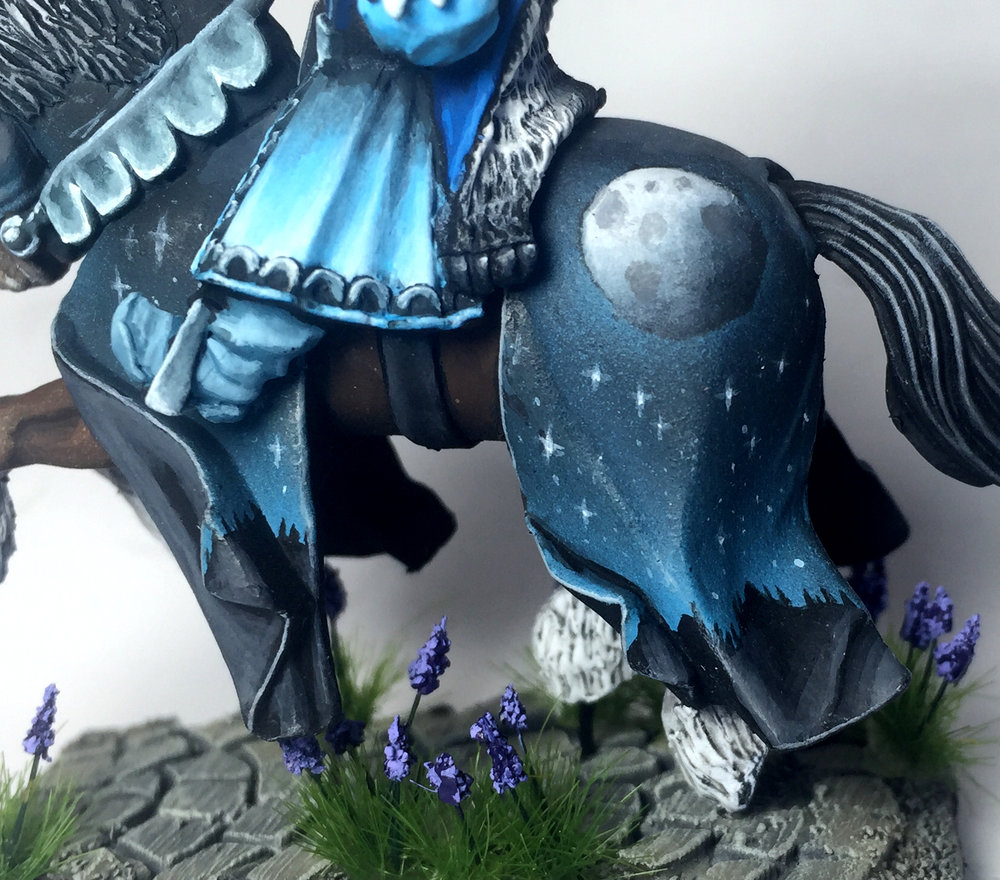
Step 2 - Wet Blending

Once you have identified the point that will have the lightest colour, you're going to need to create a smooth transition of your highlight colour (Sand Yellow for me) to the base colour.  I use a process called the loaded brush technique.  You can use glazing or layering, but they take longer and in my opinion once you're good at the loaded brush it produces better results.  If you don't know this technique, there are a bunch of videos linked at the end that will show you how, I highly recommend learning it.  If you're after a shinier metal, make the transition faster, smaller bright point will look shinier than larger surfaces of bright metal.

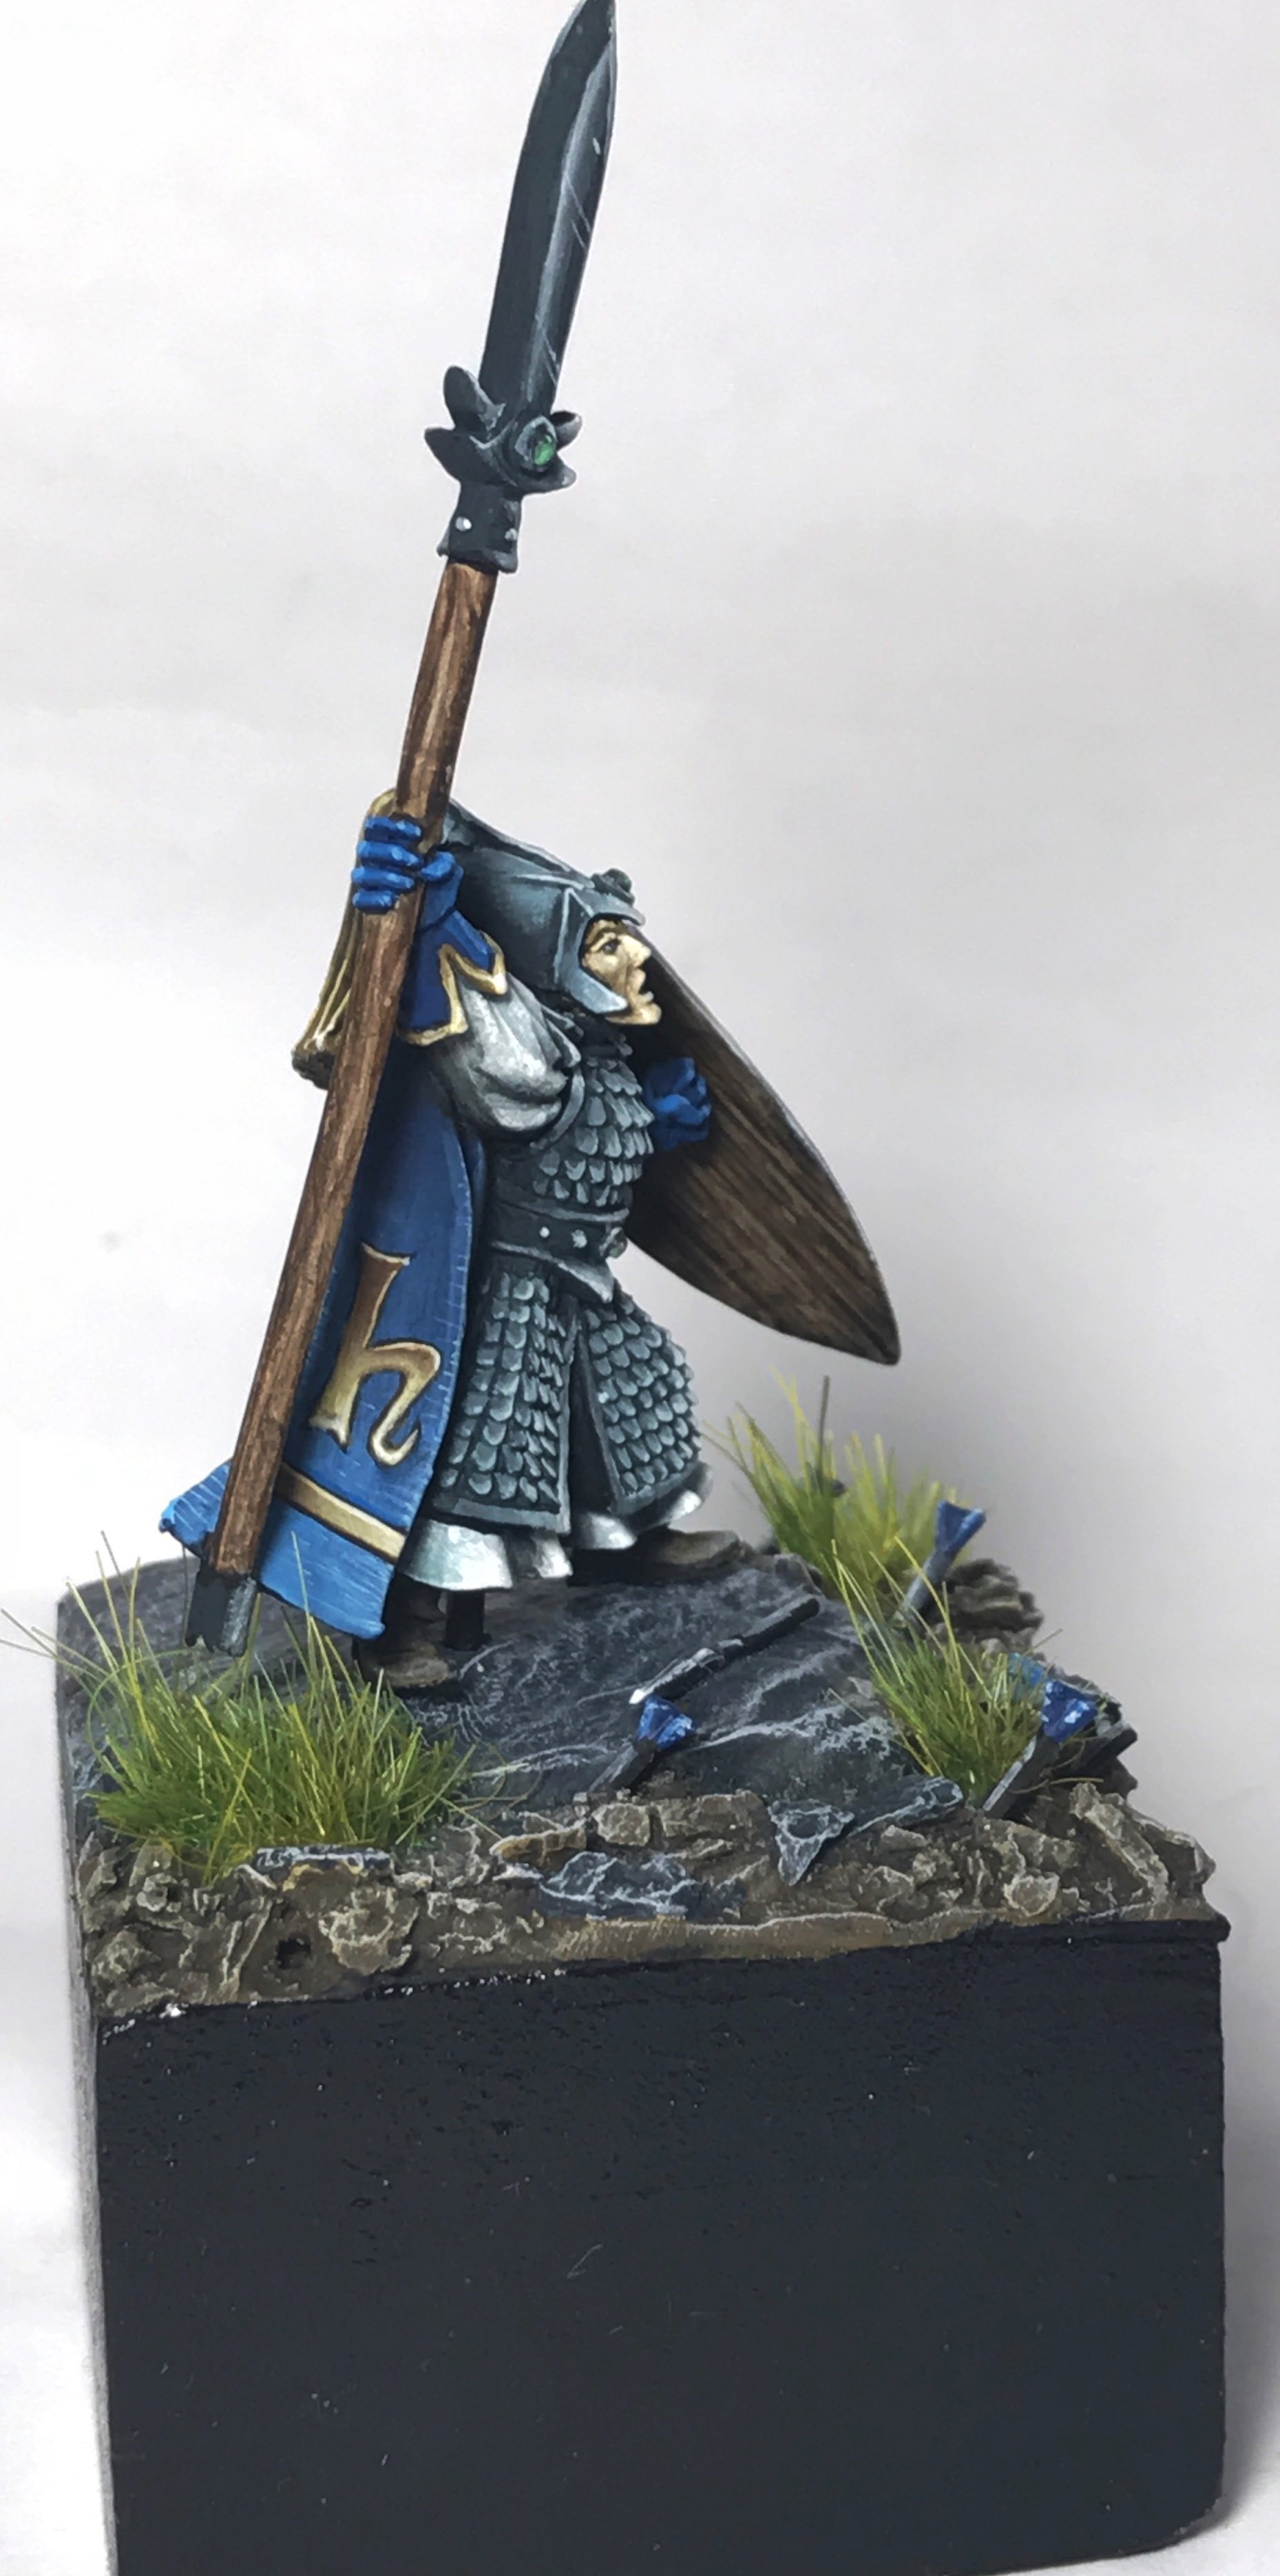
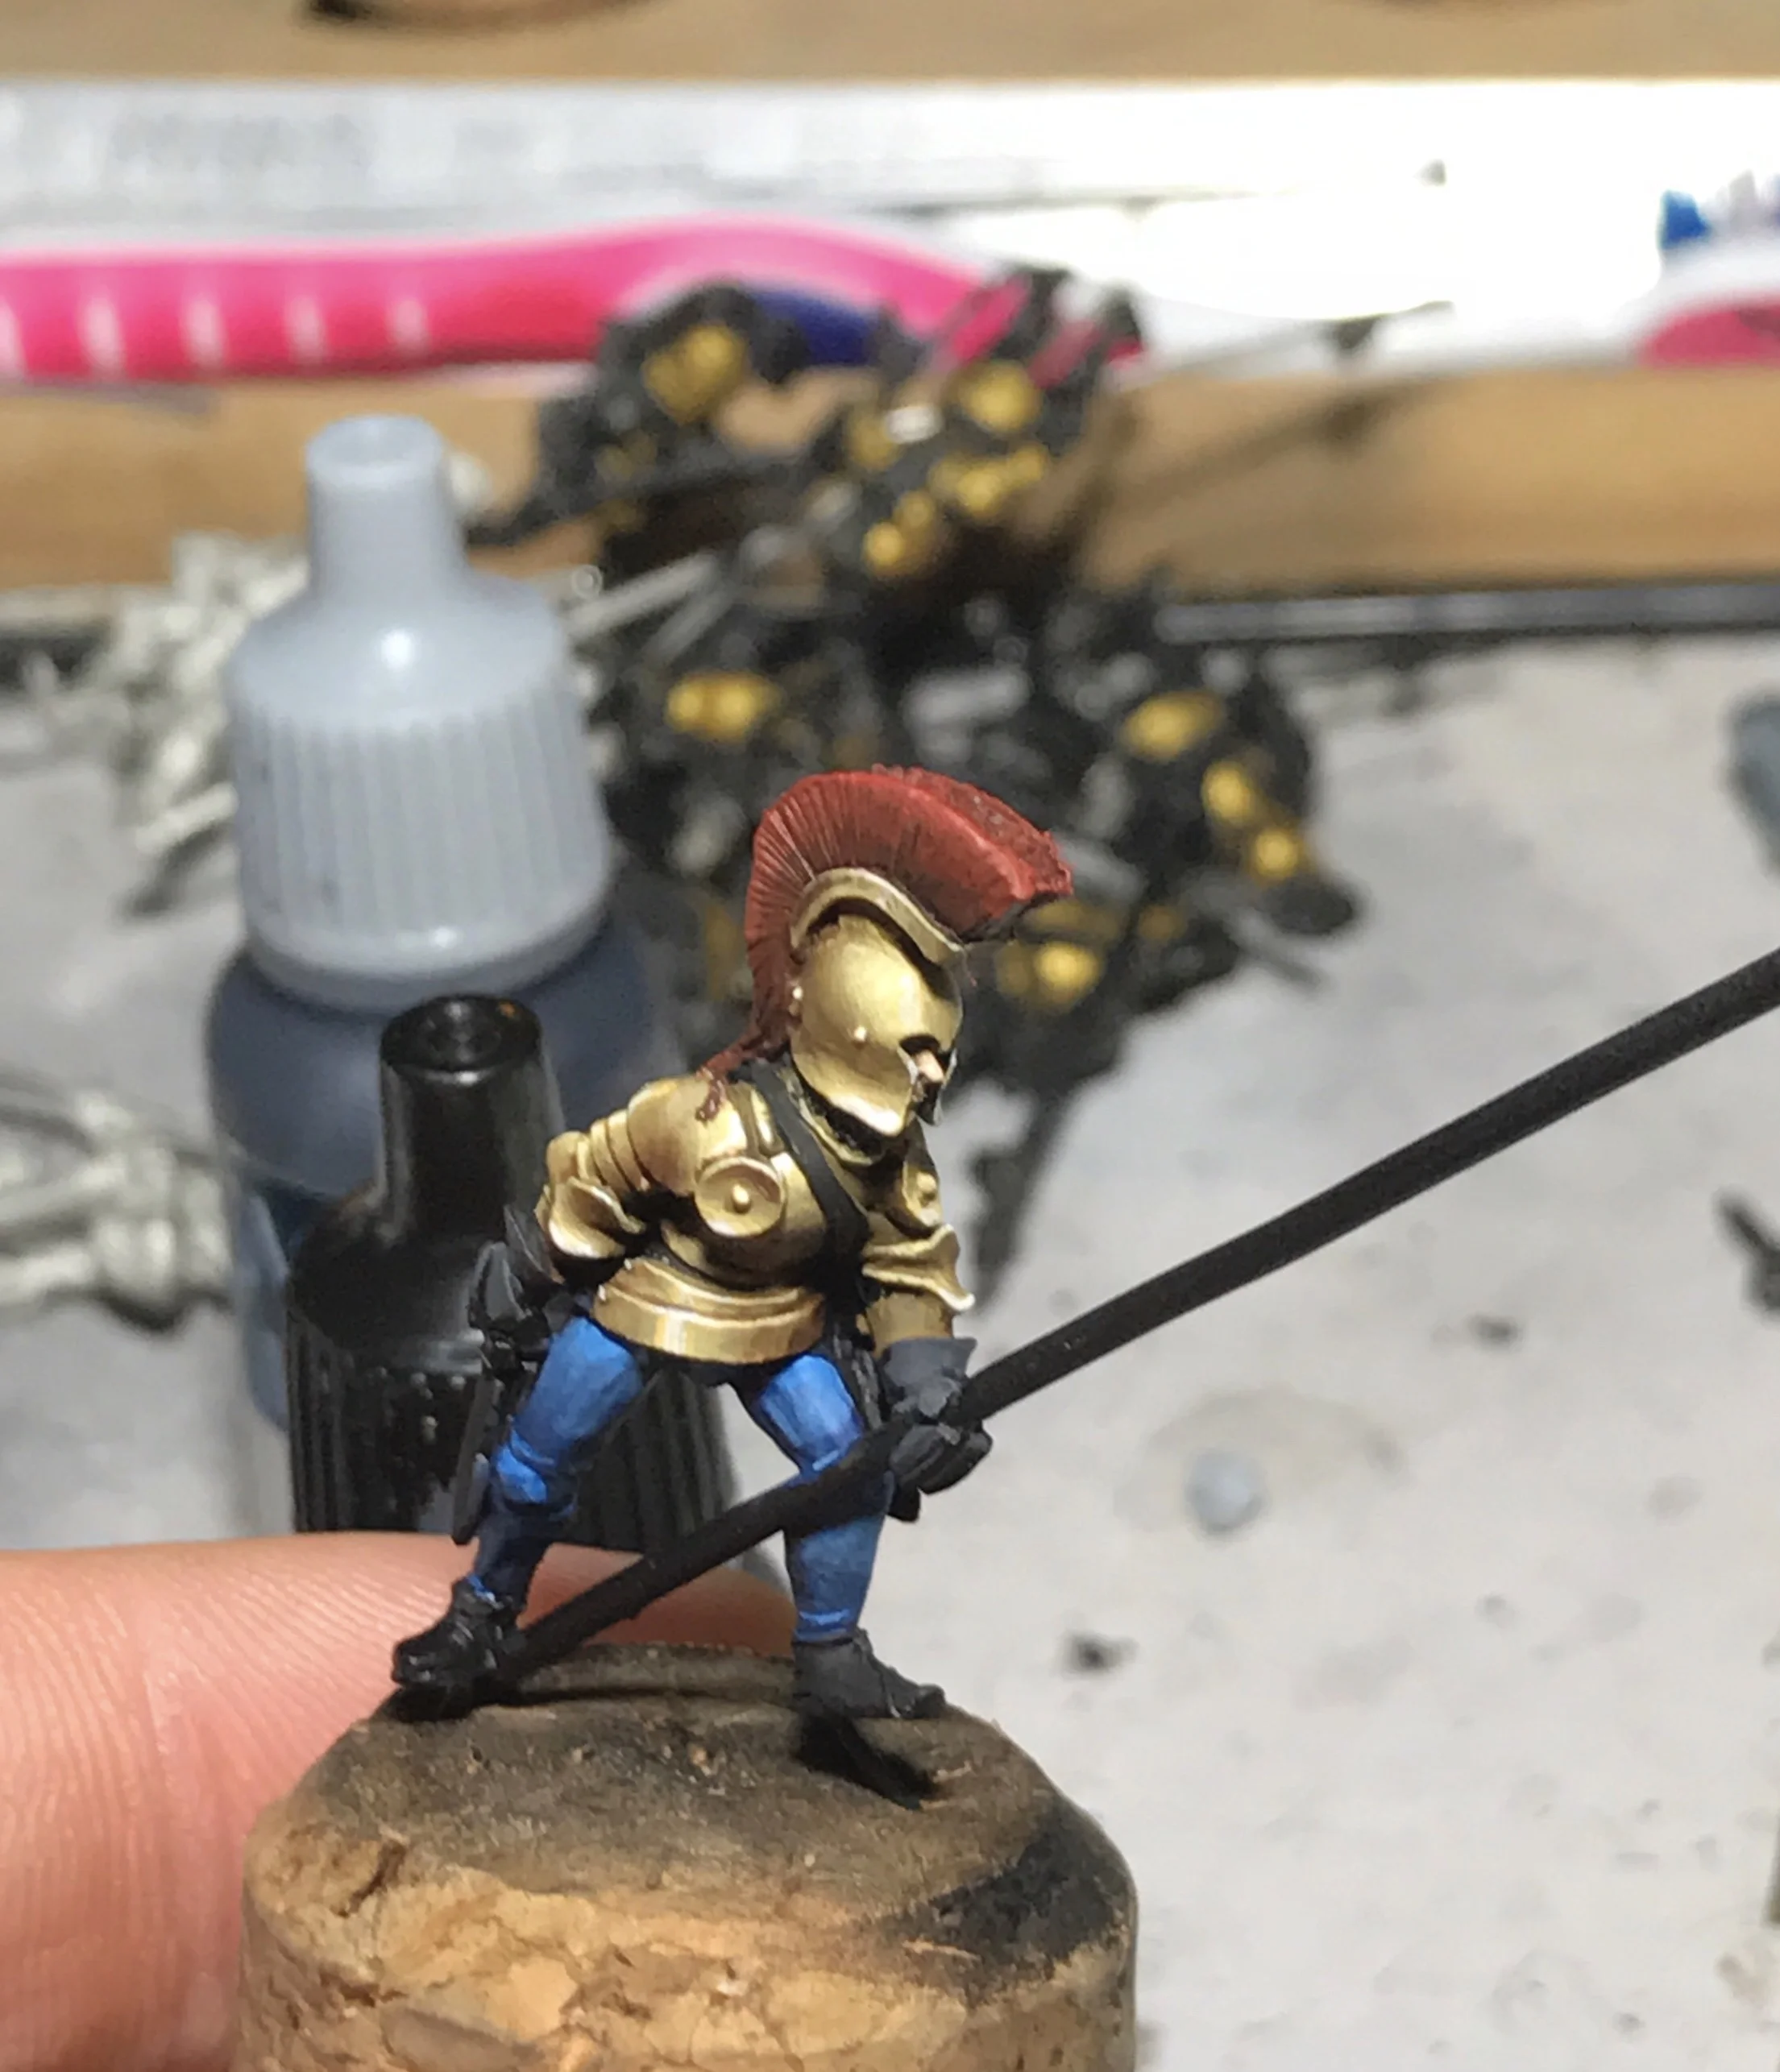
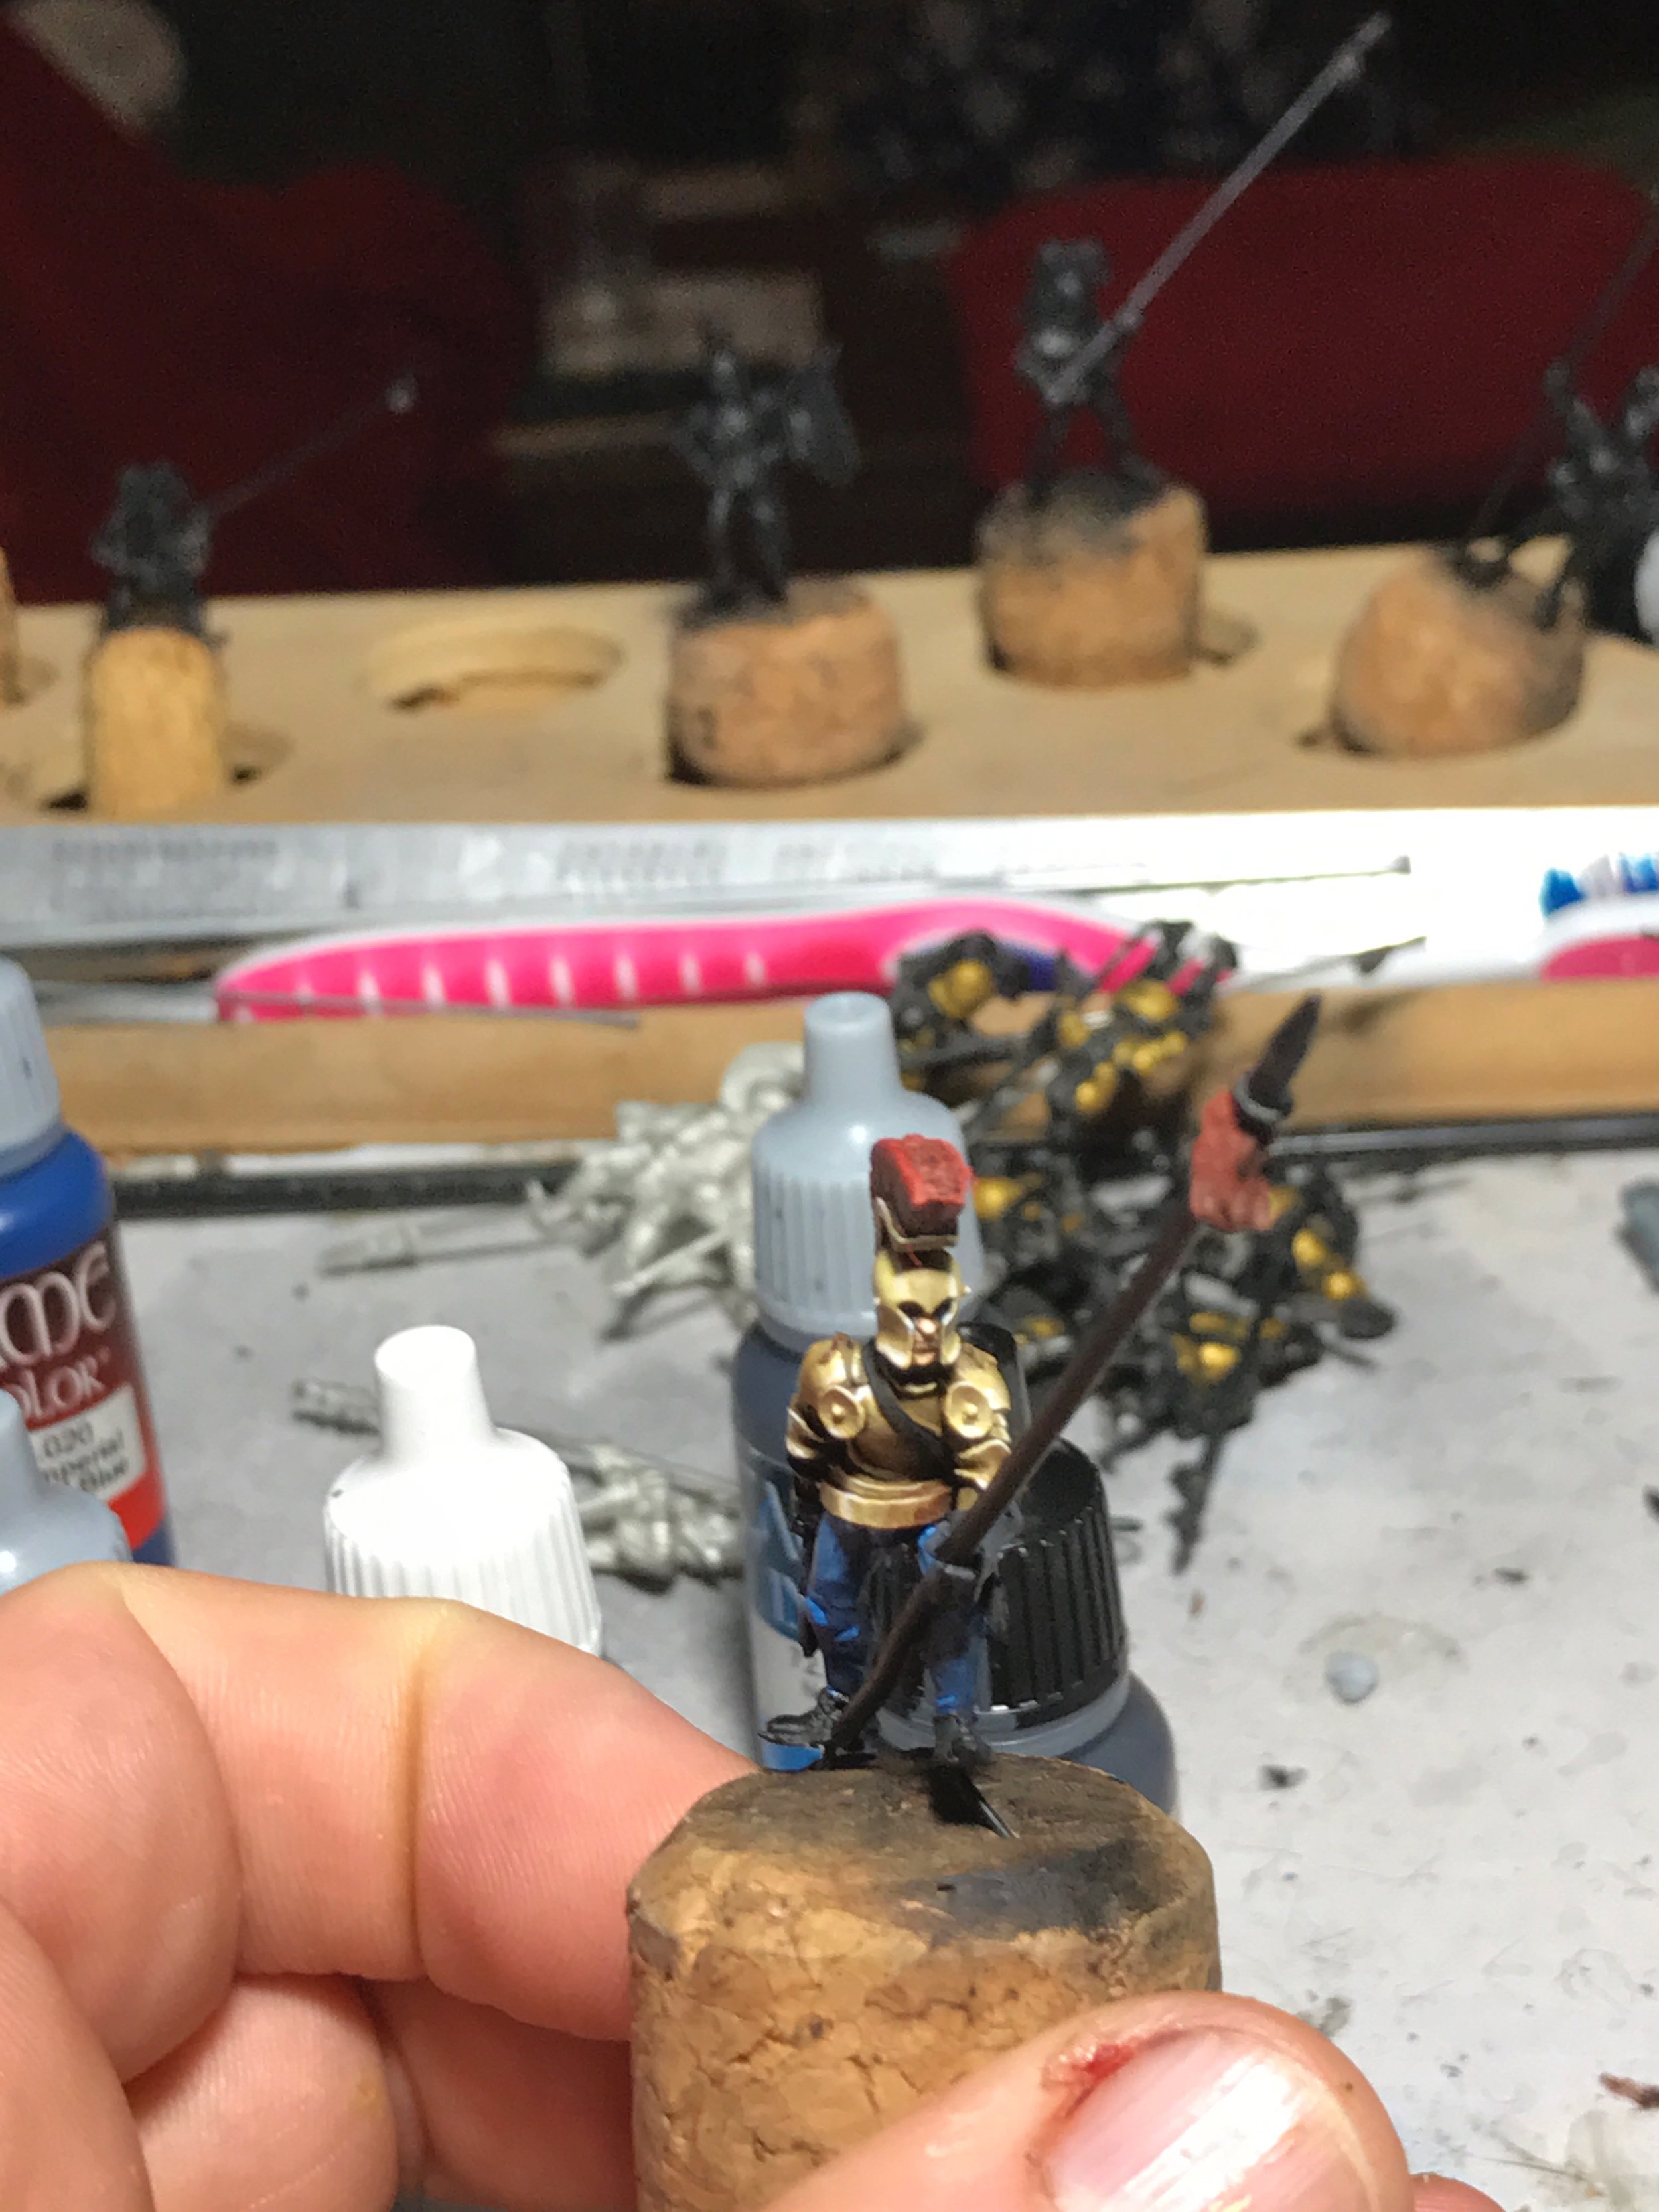
Step 3 - Edge Highlighting and White Points

Once you're happy with the blend, dry your brush, load up in the highlight colour and run it along the edge of any surface pointing towards the light source.  Do not edge surfaces pointing away from the light, it won't look right.  Then with a tip of thinned down white, put points against any areas that you thing should stand out.  The brightest corner of your highlight colour, any corners pointing towards the light, the edge above your brightest point of highlight colour.

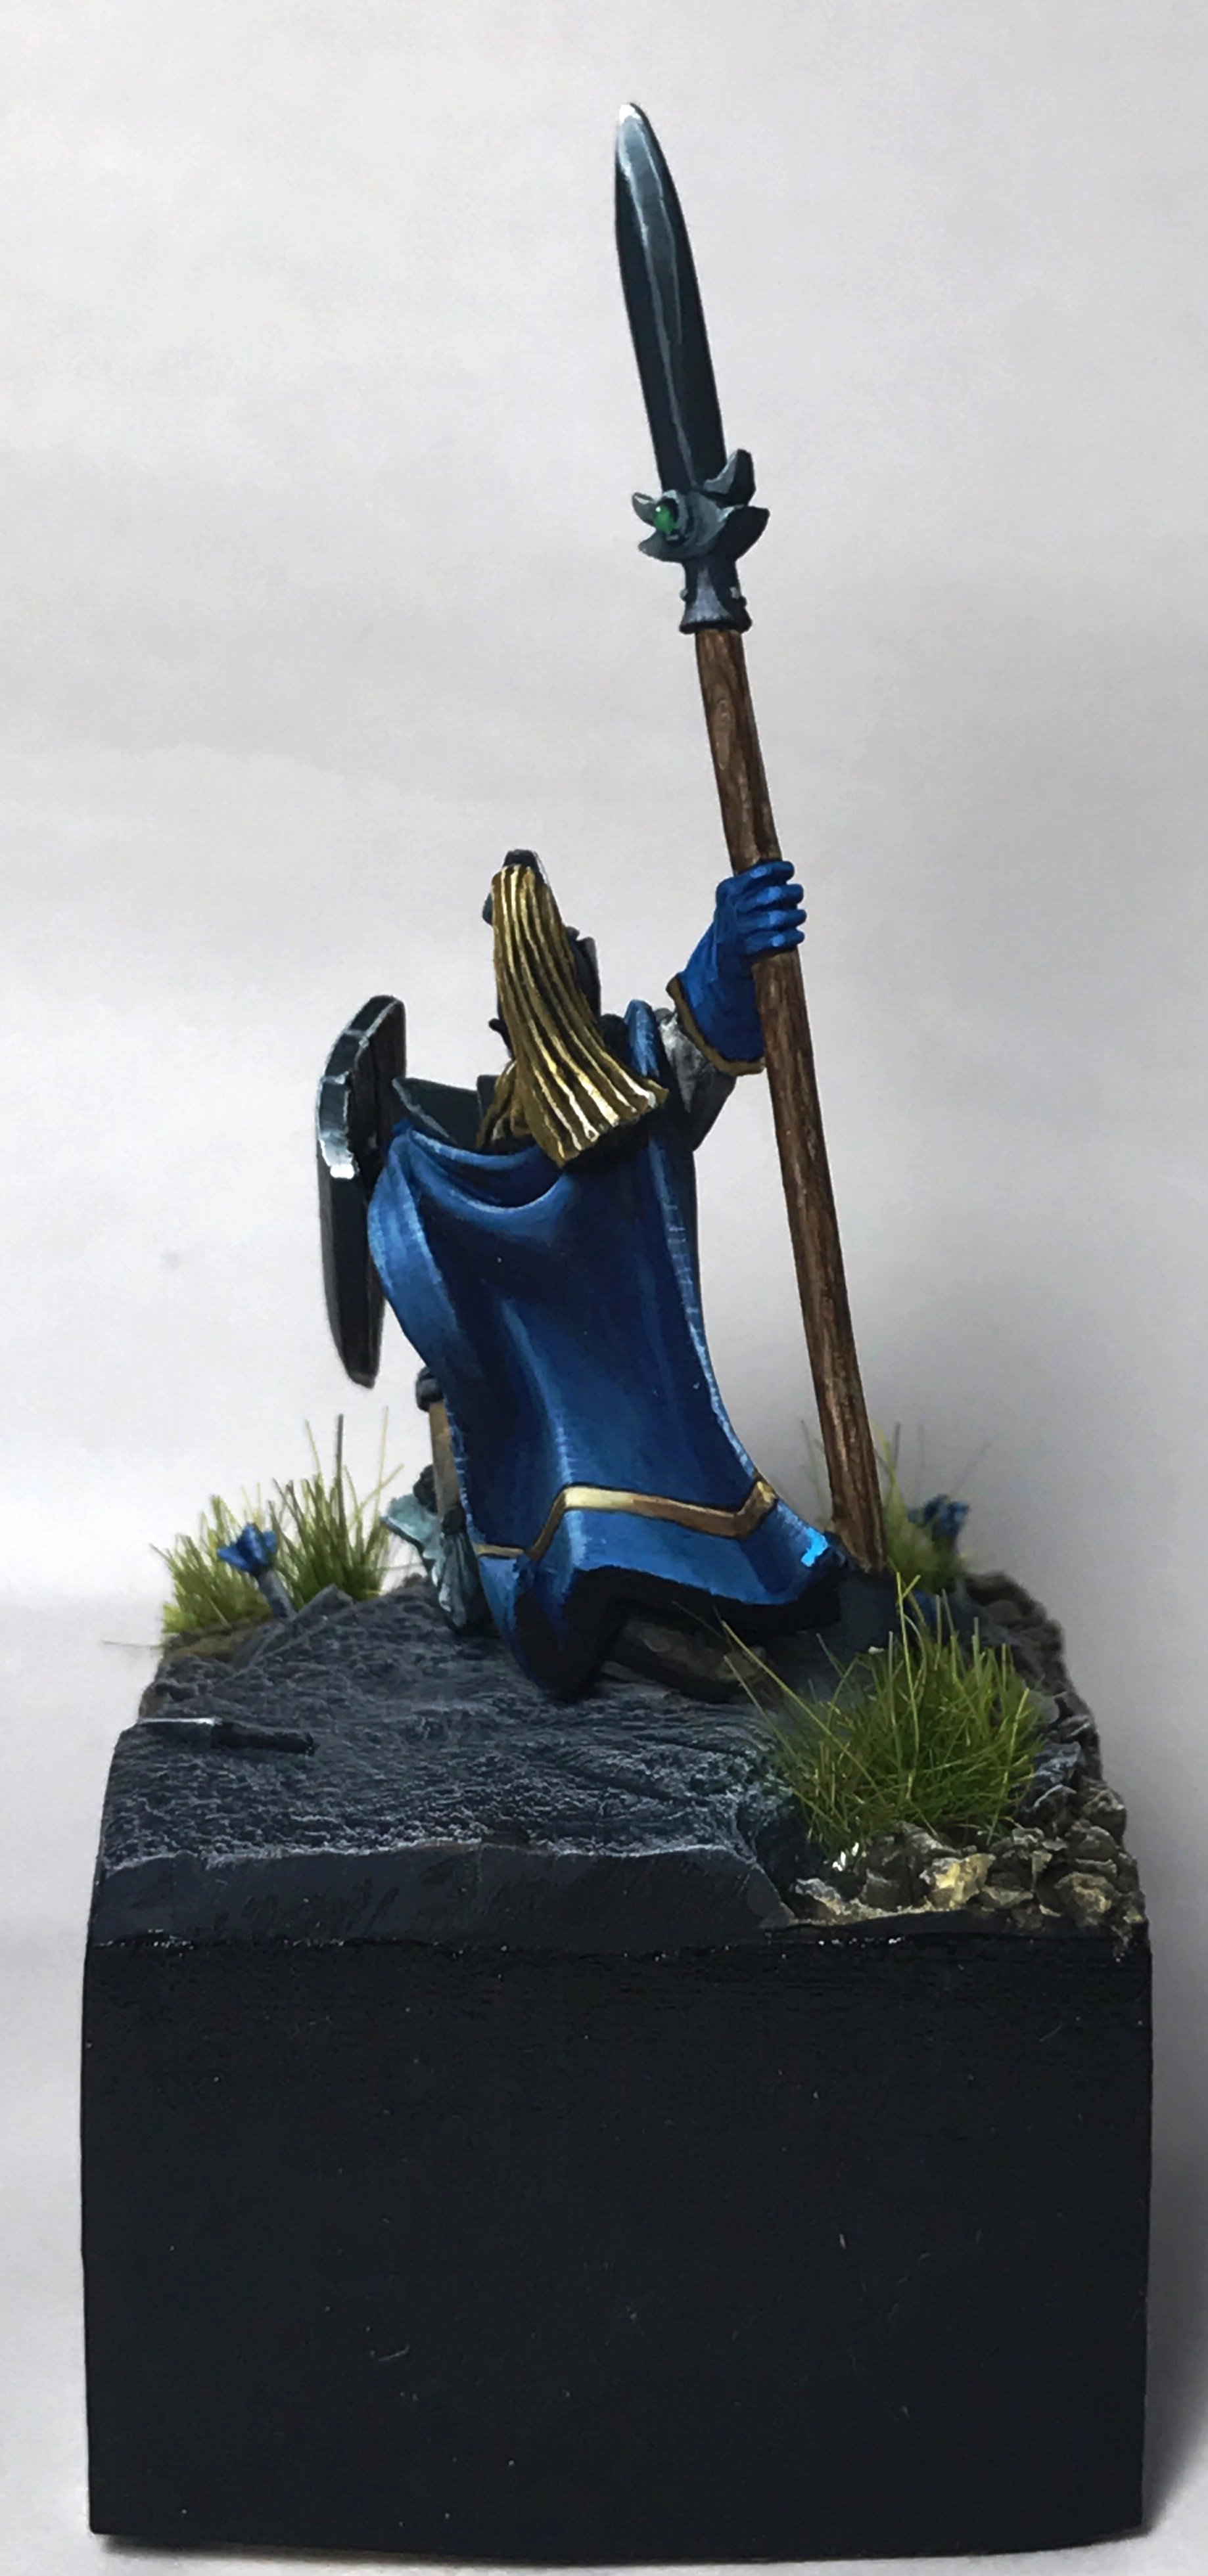
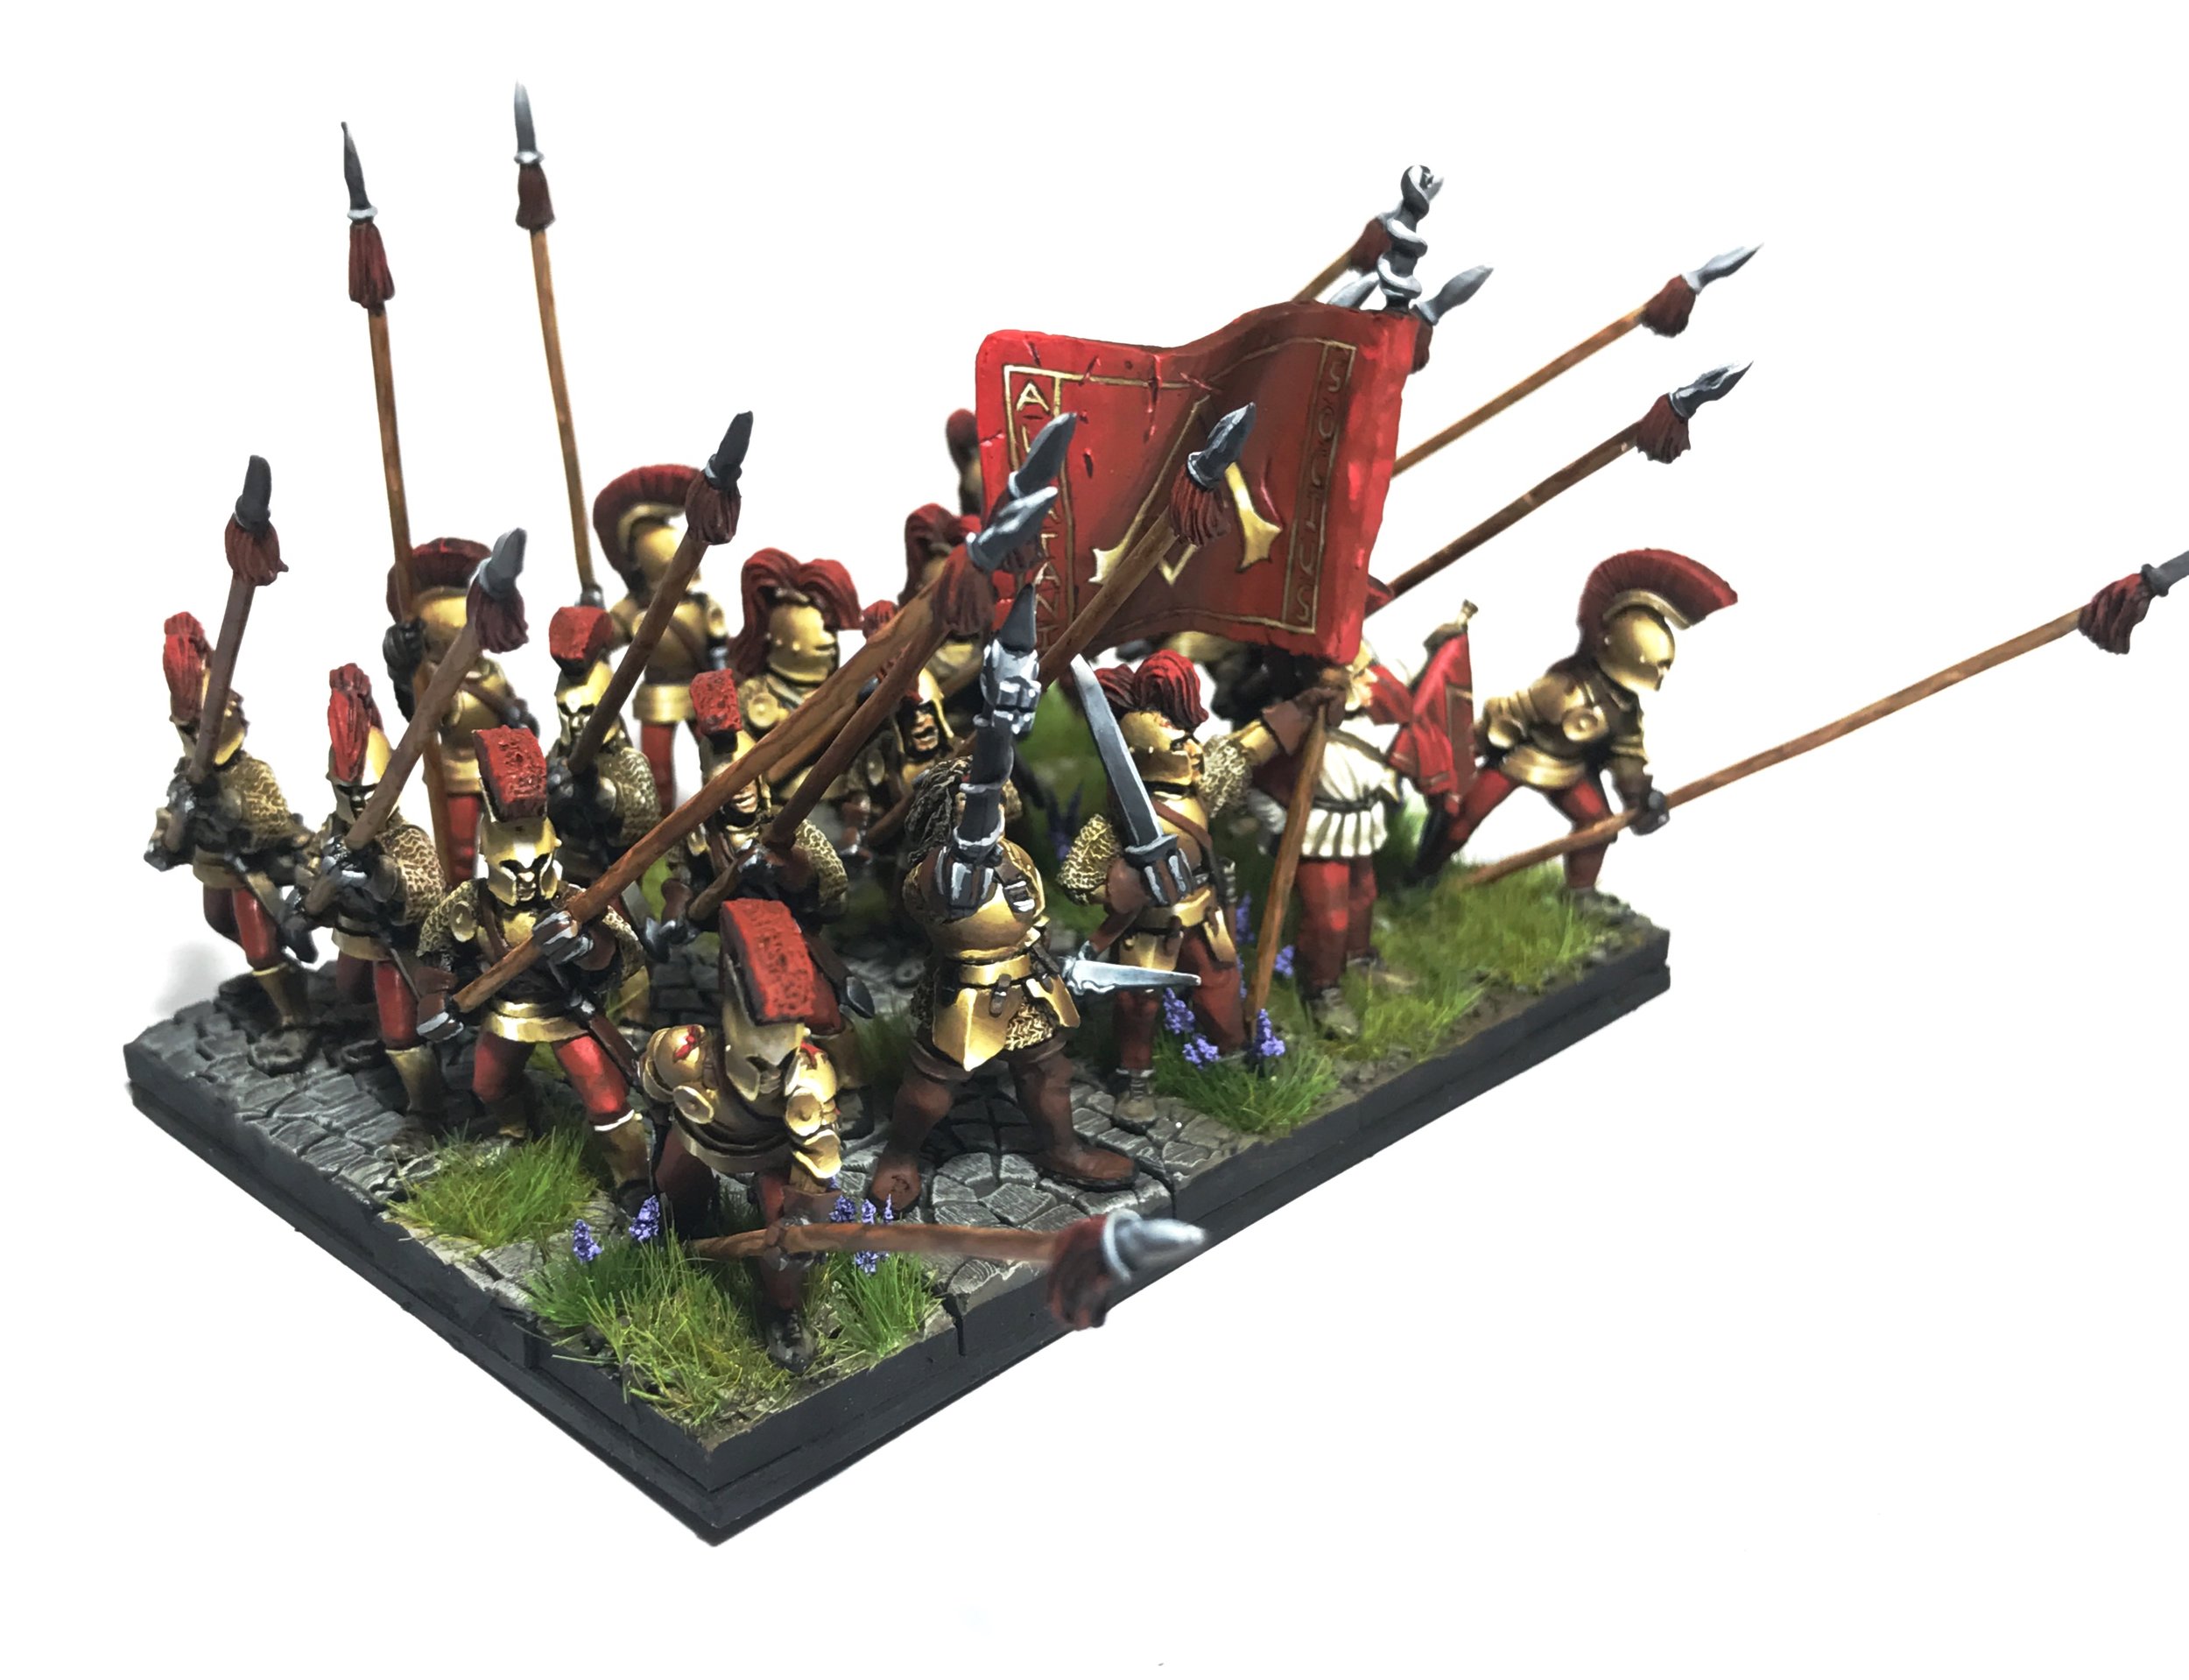
Step 4 -  Shadows and Rivets

With your shade colour (Armour Brown for me), thin it down (thinner is better because you can always do it twice if you need to) and focus on any areas pointing away from the light source.  If you keep it nice and thin you shouldn't have to worry about creating a sharp edge of paint between your base colour and your shade.  Make sure you also put some shade around each rivet in the armor to make it really pop.  Put a drop of highlight on the top of each rivet to make it shine too and add to the effect.

FullSizeRender.jpg

And the finished armour result.  I'm pretty well practiced now, so this guy took me about an hour, maybe an hour and a half because I was stuffing around with this or that.  The first time I did it it took me a whole night just to do one horse's barding.  There is no doubt about it, this technique takes some practice to get it right and a decent time investment, but I think the results are totally worth it.  

If you have any questions, just ask me on facebook or in the comments below.  I hope you find this useful.

Here are some of my completed non metallic works:

And before I forget, here are the video links on the loaded brush technique:


Painting Buddha Loaded Brush Tutorials

Adrien Leloup - Loaded Brush Technique Tutorial

Socius Alcatani - The Alcatani Fellowship

I have finished my latest project, the Alcatani Fellowship.  

What is this world coming to! You can’t even deal with your own lazy good for nothing serfs without someone sticking their dirty rotten good for nothing noses into busi... NO I DON’T HAVE ANY LAST WORDS!”
— Baron Lorthrac

There are few mercenary outfits with a fame quite as large as the Alcatani, a renown earned through the defense of the defenseless, though perhaps not the penniless. Rodrigo, their one eyed leader, would rather take a contract to defend a bevvy of farmers oppressed on their land than a rich merchant's caravan on route through the bad lands.  Of course everyone pays, but we don't talk about that.  "Socius Alcatani" is their cry, it means "Fellowship of the Alcatani", a band of brothers, fiercely loyal to their brothers and their gold.

I've had these models for years half painted.  I've finally gotten around to restarting them and completing them.  I used the same basing technique I've been using across my army.  Every model in this unit is individually based.  Grass is applied using a static grass applicator I made myself and the flowers are all made by hand.

All the armour is non metallic metal done with the loaded brush mostly using English Uniform as the base, Armour Brown for the shade, Iraqi Sand for the highlight and white for the tips.  The spears I'm particularly happy with.  Their Khaki, then lined with Armour Brown and White, then inked with Brown ink.  I'm pleased with how they turned out.

Some freehand on the banner.  I'm not overly happy with the banner itself, making a banner with sculpy is harder than I thought, but I was please with the outcome when painted. My new Windsor and Newton brushes are worth the cost that's for sure.

Hope you enjoy them.

My take on the Alcatani Fellowship. All non metallic metal oldhammer fun. Hope you like it. http://oddianhobbies.com/modelling-blog/2017/5/15/socius-alcatani-the-alcatani-fellowship

On The Bench - 9th May

FullSizeRender.jpg

The Captain of the Alcatani Fellowship.  I've been pushing my painting speed a little and developing techniques to get quickly painted non metallic metal and facial tones.  So I put aside an hour to finish a single model, the captain of the Alcatani Fellowship.  To be fair, I have already practiced the method a few times on the rest of the unit, which definitely helped.  I took 3 20 minute sessions with this guy.  One for the armour, took closer to 30 though.  One for the face and leather, easily within the 20, and the last one for the rest of the bits (sword, hammer etc).

FullSizeRender.jpg

I'm not 100% happy with the hammer, but I'm pleased with the rest.  I think I still have a little work to do on my gray NMM technique when I'm not using the loaded brush.

Anyway, the Socius Alcatani is nearly done, just a few models to complete the unit and some clean up and banner work.  I don't have a lot of time to paint right now, only 4-5 hours per week, but I'm really enjoying this unit and pleased with the results so far.  Hopefully my next update is a completion post.

That's what's on the bench today.

On The Bench - 25th April

FullSizeRender.jpg

Life has been a little in the way recently so these guys are taking much longer than I'd like.  The base is done and the first 10 or so models are done with 7 placed on the base.  A bit of touching up is required on each model and then a matt varnish coat.  The polished bronze armour is all done with NMM loaded brush technique, it's pretty quick to do actually now and I still hate working with metallic paints.

I am a little worried about how well the army is going to tie together.  Common colour theme doesn't work well with a money grubbing out for themselves dogs of war army.  I have blues and greens and grays and reds and golds with plenty more to come.  Here's hoping the bold basing colours are enough to tie it all together.

I did manage to get myself two new brushes.  The ever popular Windsor and Newton Series 7.  They are great, easily as good as the Raphaels I've beeen using.  If you are looking for a great brush at a good price, checkout www.discountgw.com.au .  Good site, easy to order and fast delivery. 

On the Bench - 11th April

Well this is the second attempt at posting this update.  I guess I pressed something wrong and published a draft and overwrote the finished post.  Oh well, I blame the cold.  It's just turned into winter here in Australia.  The only good thing about the cold weather is that winter is Hobby Time.  I get more games, I paint more and hobby more.  Winter has to be good for something other than freezing your ass off right?

FullSizeRender.jpg

Started the base for my Alcatani Fellowship.  The cobblestones have been laid and the sand stuck down.  Next is the paint and then tufting, flowering and grassing.  Hopefully I'll finish it this weekend with the extra holidays.

FullSizeRender.jpg

I'm half way through painting the pike men also.  Here are 5 finished models in the shiny non metallic metal and red pants.  I decided against the blue pants, they didn't look uniform enough and I really like the red/brass look.

FullSizeRender.jpg
FullSizeRender.jpg

Finally I have a new hero on my bench.  This is the free model I got at Clash of Kings AU from MOM Miniatures.  MOM Miniatures really aren't known for their excellent casts, and this model is a shining example.  Lots of hard to clear mold lines, bubbles and cracks.  But after some greenstuffing around and hobby knifing it's not tooooo bad.  This model is a bit of an experiment in really pushing the contrast on the non metallic metal with mixed results.  Gloves, sword, feet and neck aren't finished yet though, also his Lion friend is still to come.

And that's what's on the bench this week.

On the Bench - 16th of March

Now that the Wolf Knights are all complete it's time to start something new.  I was going to do a single model, something high quality, but I'm on a bit of a high from creating a unit so I decided to do another one.  Keeping in the Dogs of War theme I decided to break out the Alcatani Fellowship.  Had these guys for ages and I will probably rename and theme them once the painting is further through. 

FullSizeRender.jpg


Keeping with the non metallic metal theme I was going for a polished brass kind of look for these guys.  Vallejo English Uniform for the base, Armour Brown for the shadows, Iraqi Sand for the highlight and white for the tips. Sounds like a lot but with loaded brush it is a quick 4 step process.  I don't know if I'm all that happy with the blue pants though and I'll probably change that. 

IMG_0735.JPG

Pretty happy with the helmet and plume.  There are two types of plumes, which is a shame because I like the Mohawk style one pictured here. 

IMG_0736.JPG

Going to do about 20 or so for this regiment, count them as dogs of war for KoW and EoS spear men for 9th.   A second regiment will let me make a horde in the future, but one at a time.

Thats what's on the bench today. 

The Wolf Knights of Tyris Gate

The tunderous north can be an unforgiving place, and so with it’s people. Dorak trudged his horse through the icy plains following the quickly dissappearing tracks of the elusive wolves of the bitter lands. Today would be a better day, today his hunt would bring him fame and fortune. With the pelt of the wolf he would be accepted into the order and the Ice Queen would know his name and the chance to behold her beauty would be his.

Had a great time painting these guys.  They are old hammer knights of the white wolf.  So much better than any of the new knights from games workshop if you ask me, at least the empire ones. 

All the metal is done with non metallic metal with the loaded brush (a quick form of wet blending).  The base follows the same style as my halflings fighting cocks and there are nearly 200 of those lavenders, phew. 

I play 9th age and Kings of War.  The bases are interlocking individual bases that are the right size for both games.  Individual models can be removed (should have taken a photo but you can see the lines between the bases).

The Wolf Knights of Tyris Gate are the body guard of the Ice Queen of Tyris.  Their banner is modeled after her horse barding.  They roam the land selling their services in the search for fame and fortune and building their brand as brutal and unforgiving killers.

Thought I would try something else here as well so I shot a video of the unit to get a more natural feeling of the unit.  Would love some feedback if you watch it. 

Project Complete!   Lastly, here's a few photos of the bases before I put the models on. 


FullSizeRender.jpg
FullSizeRender.jpg