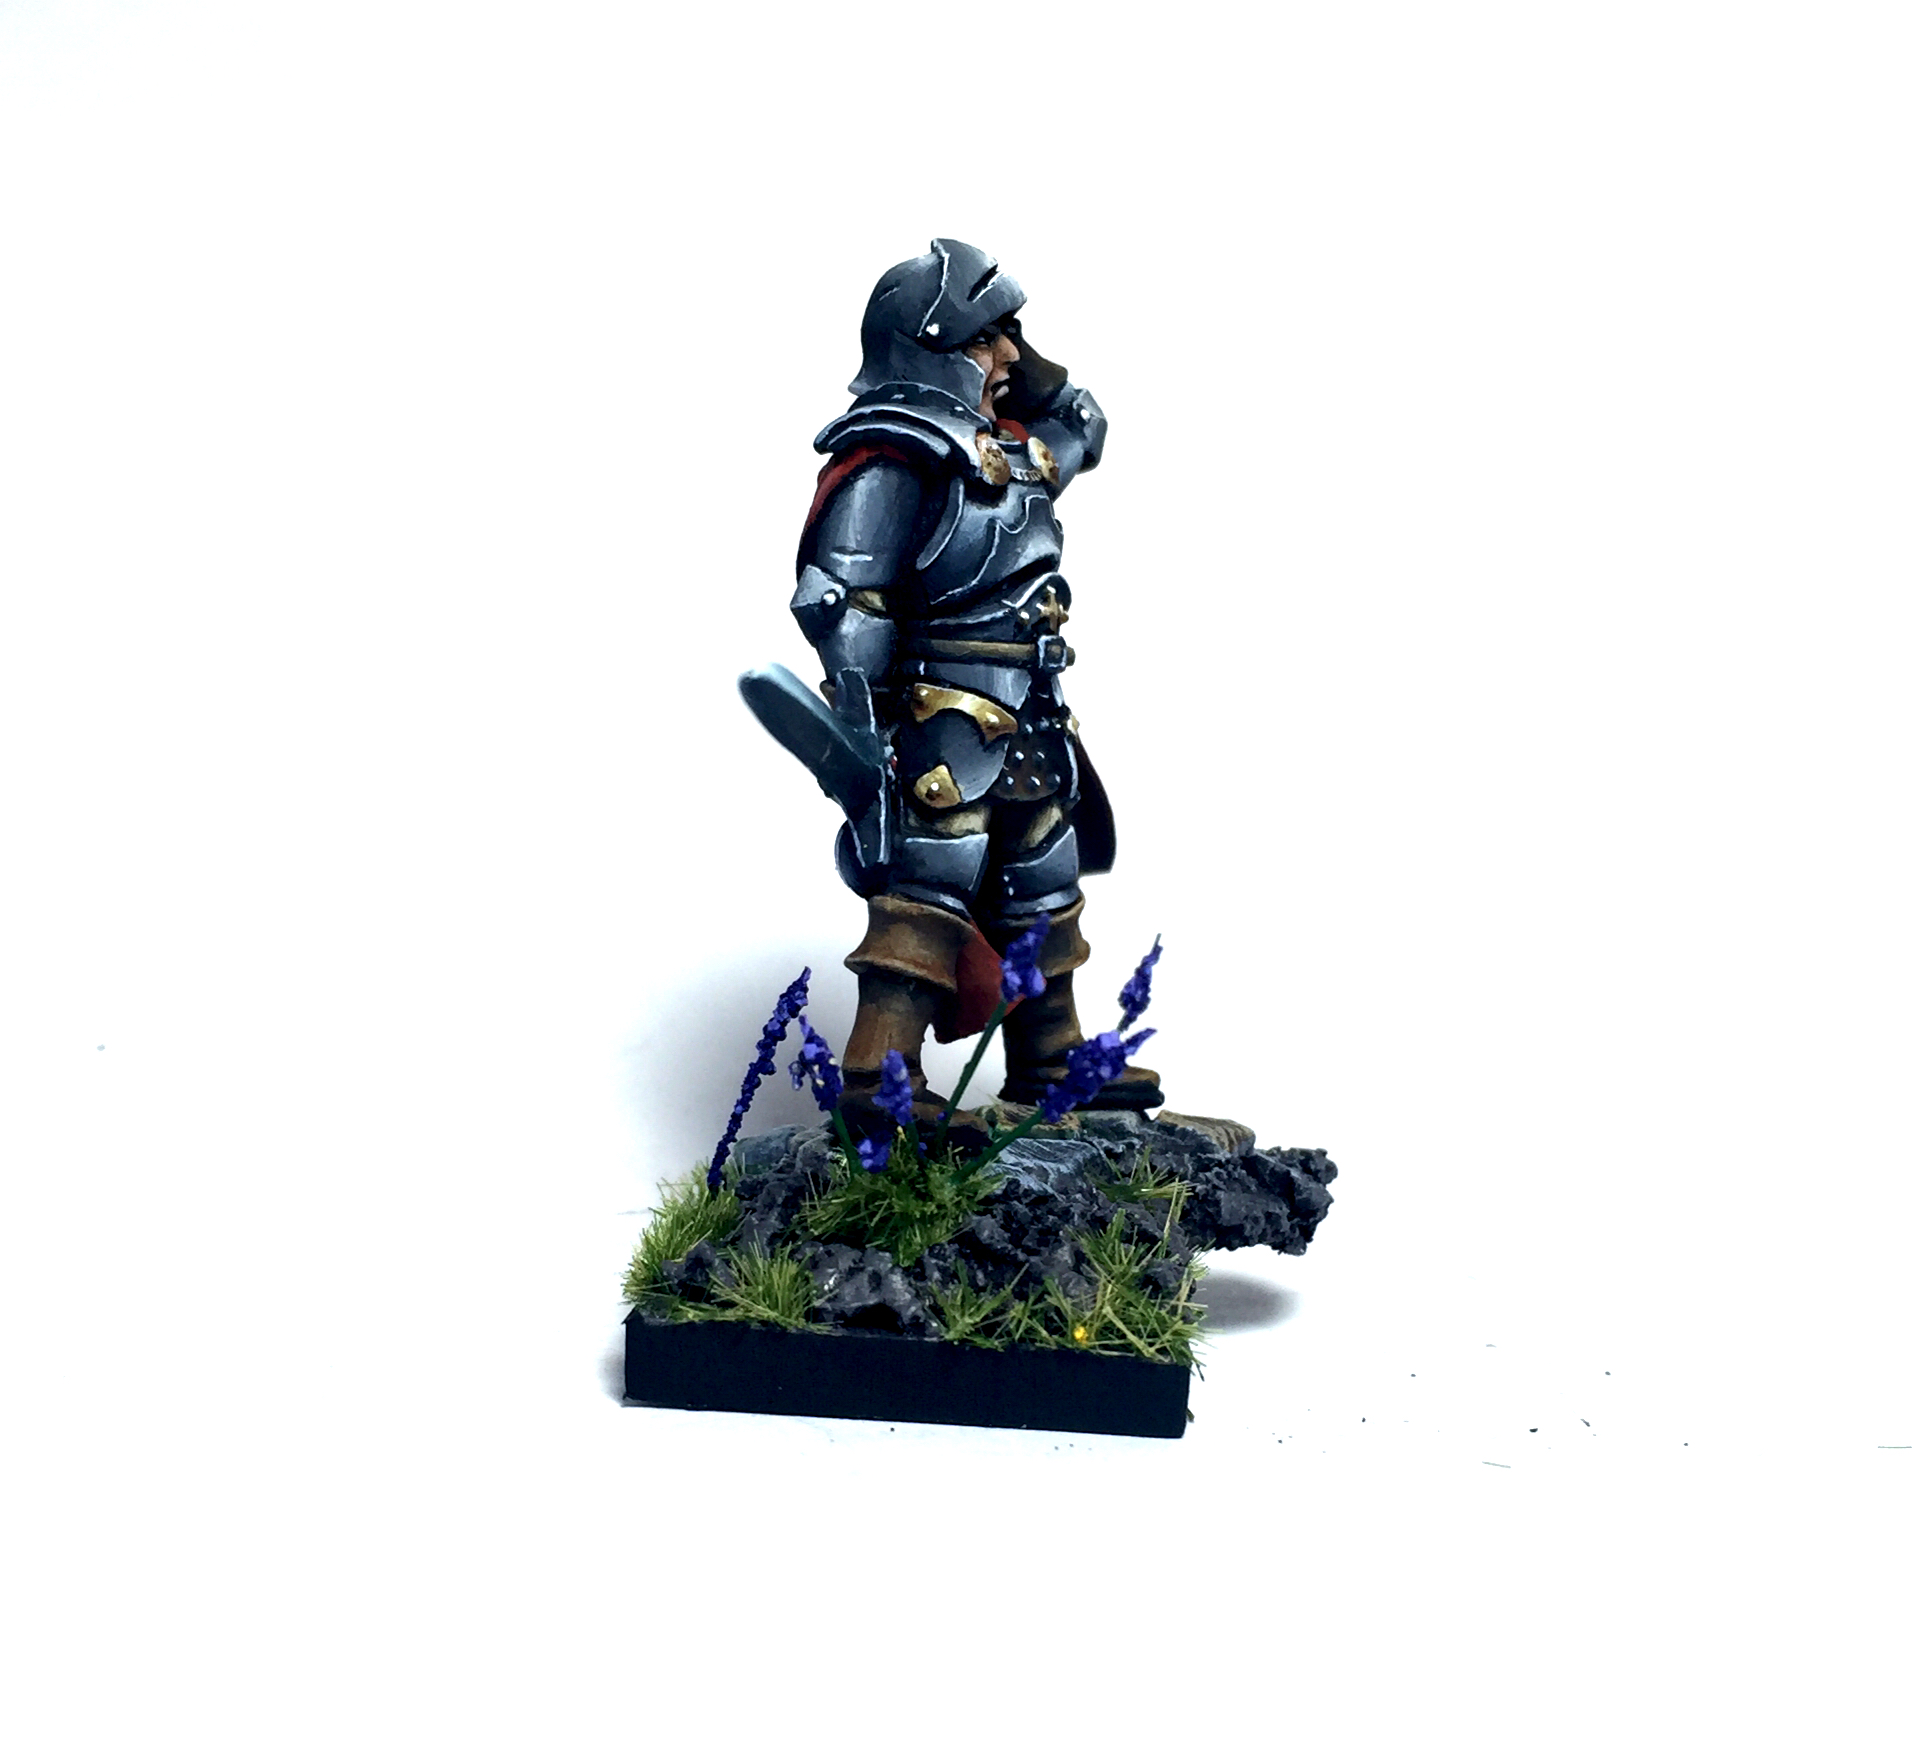
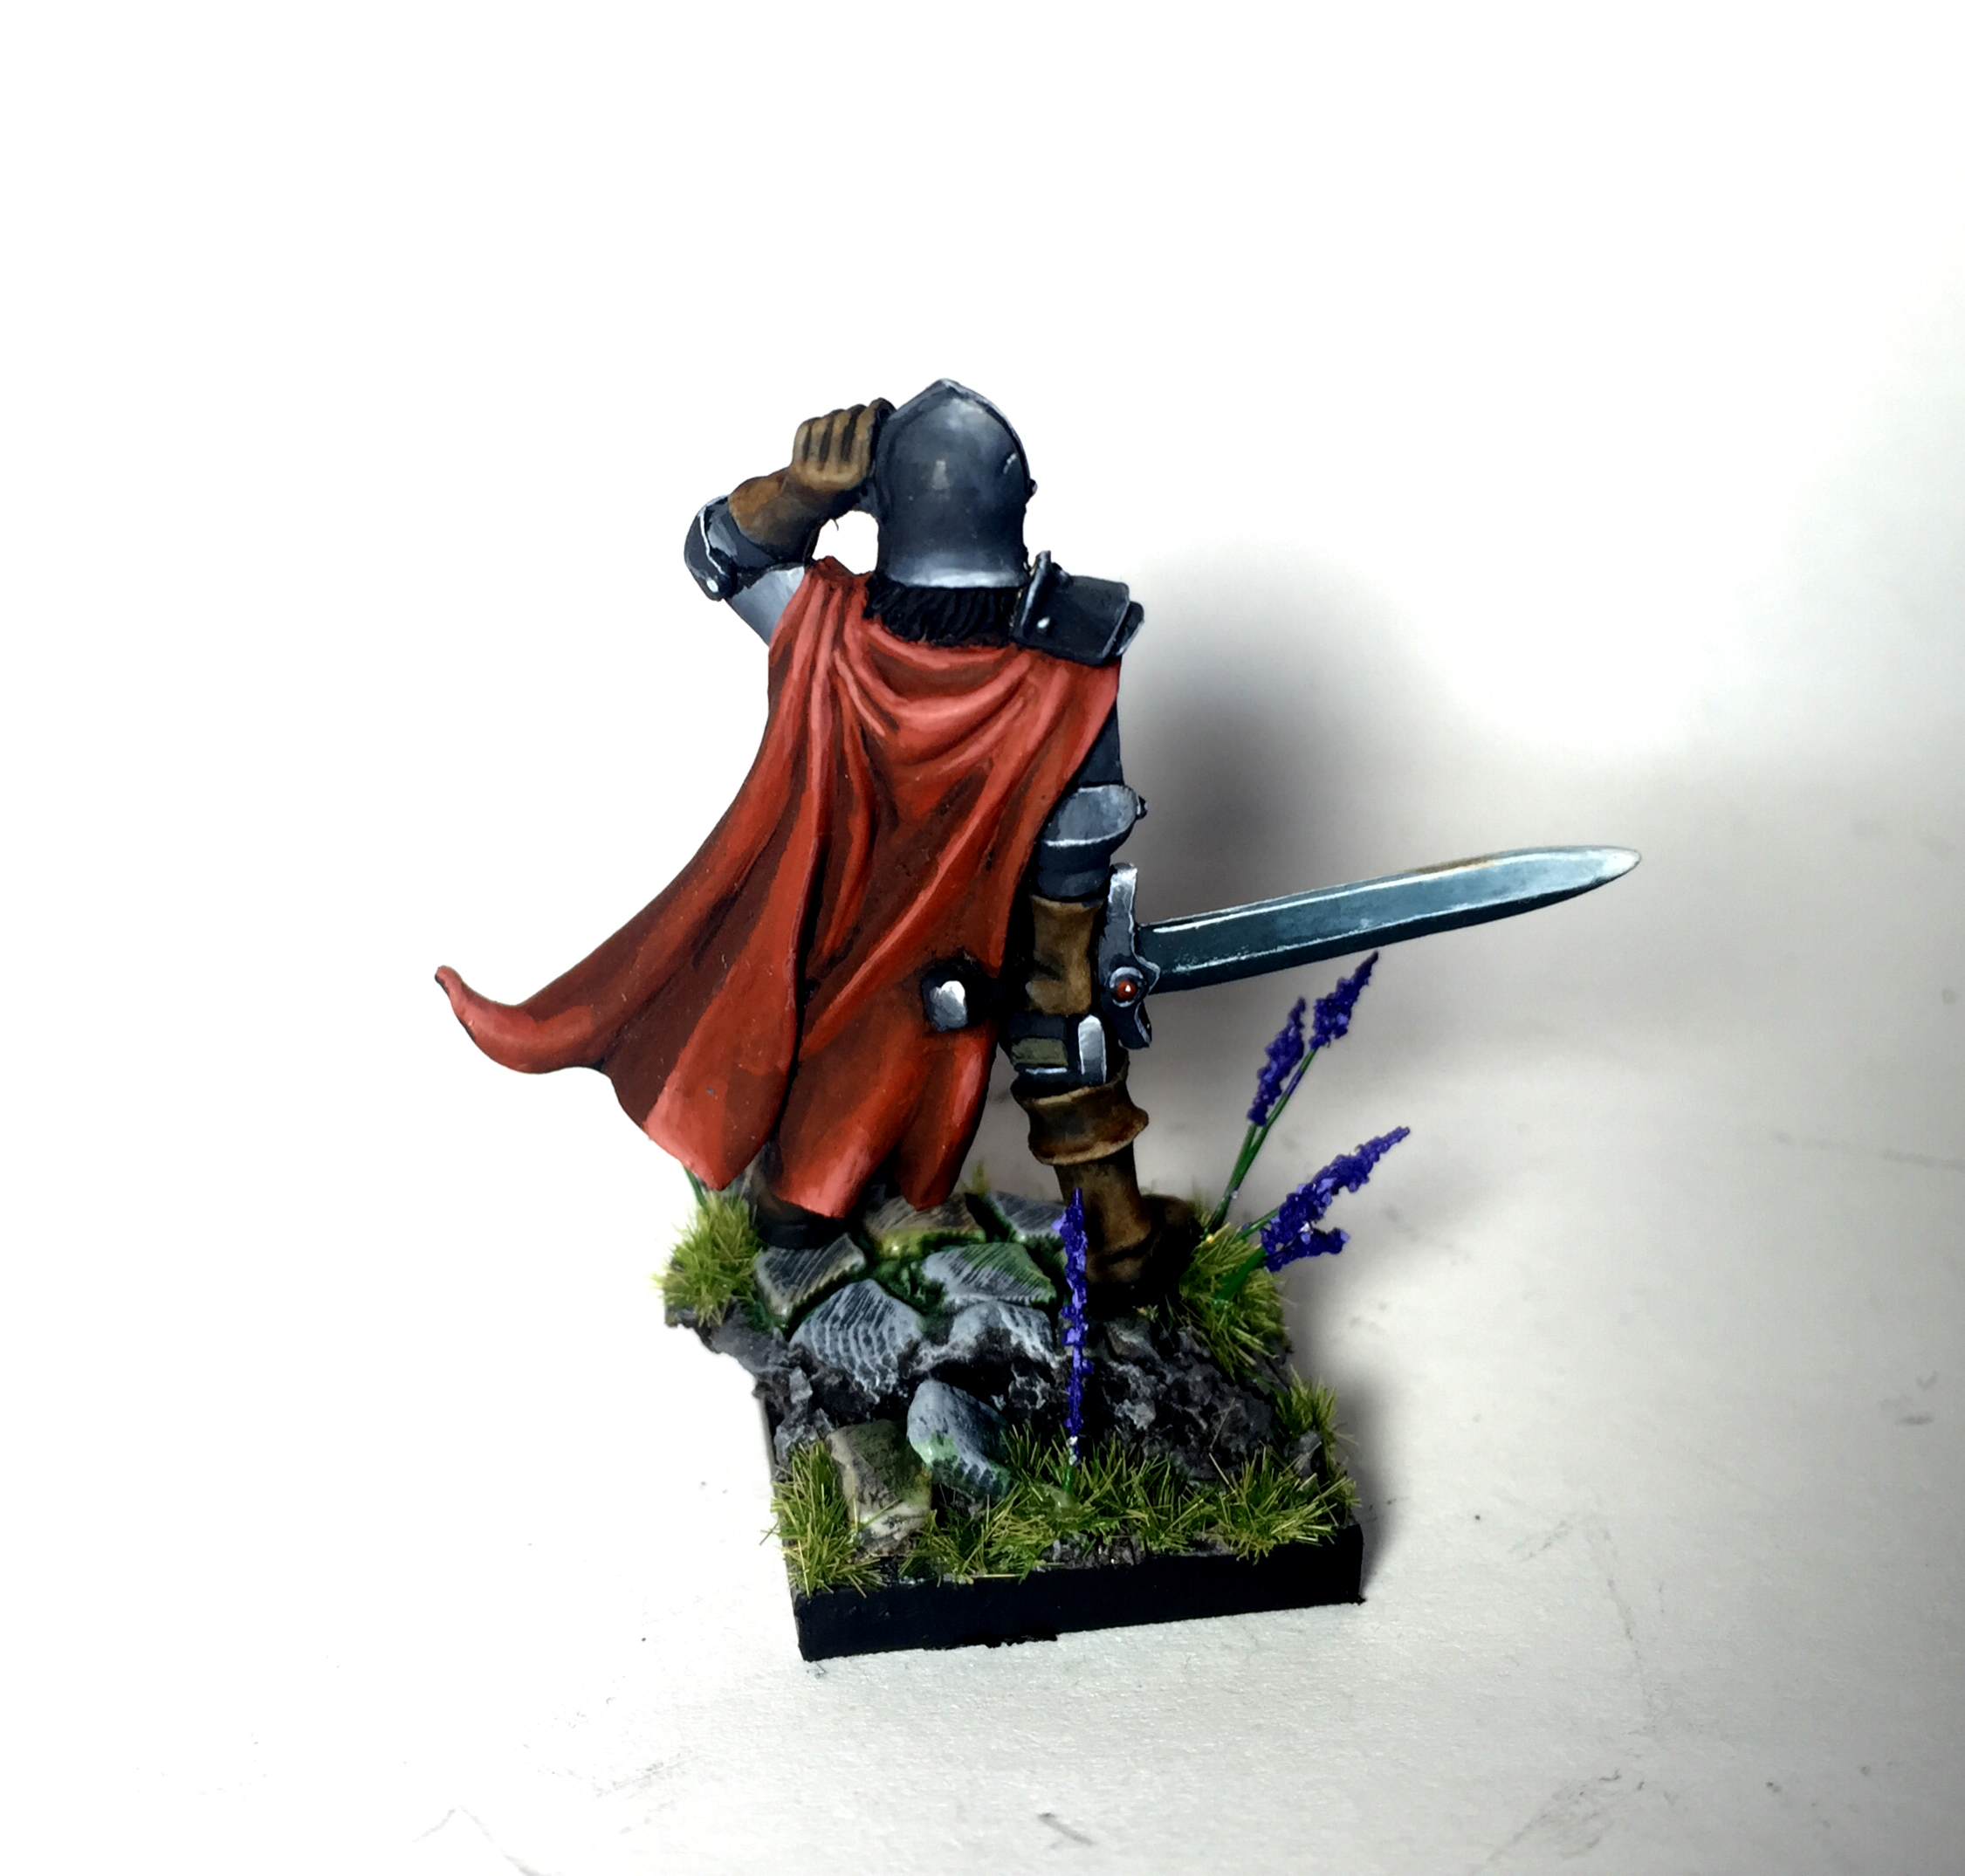
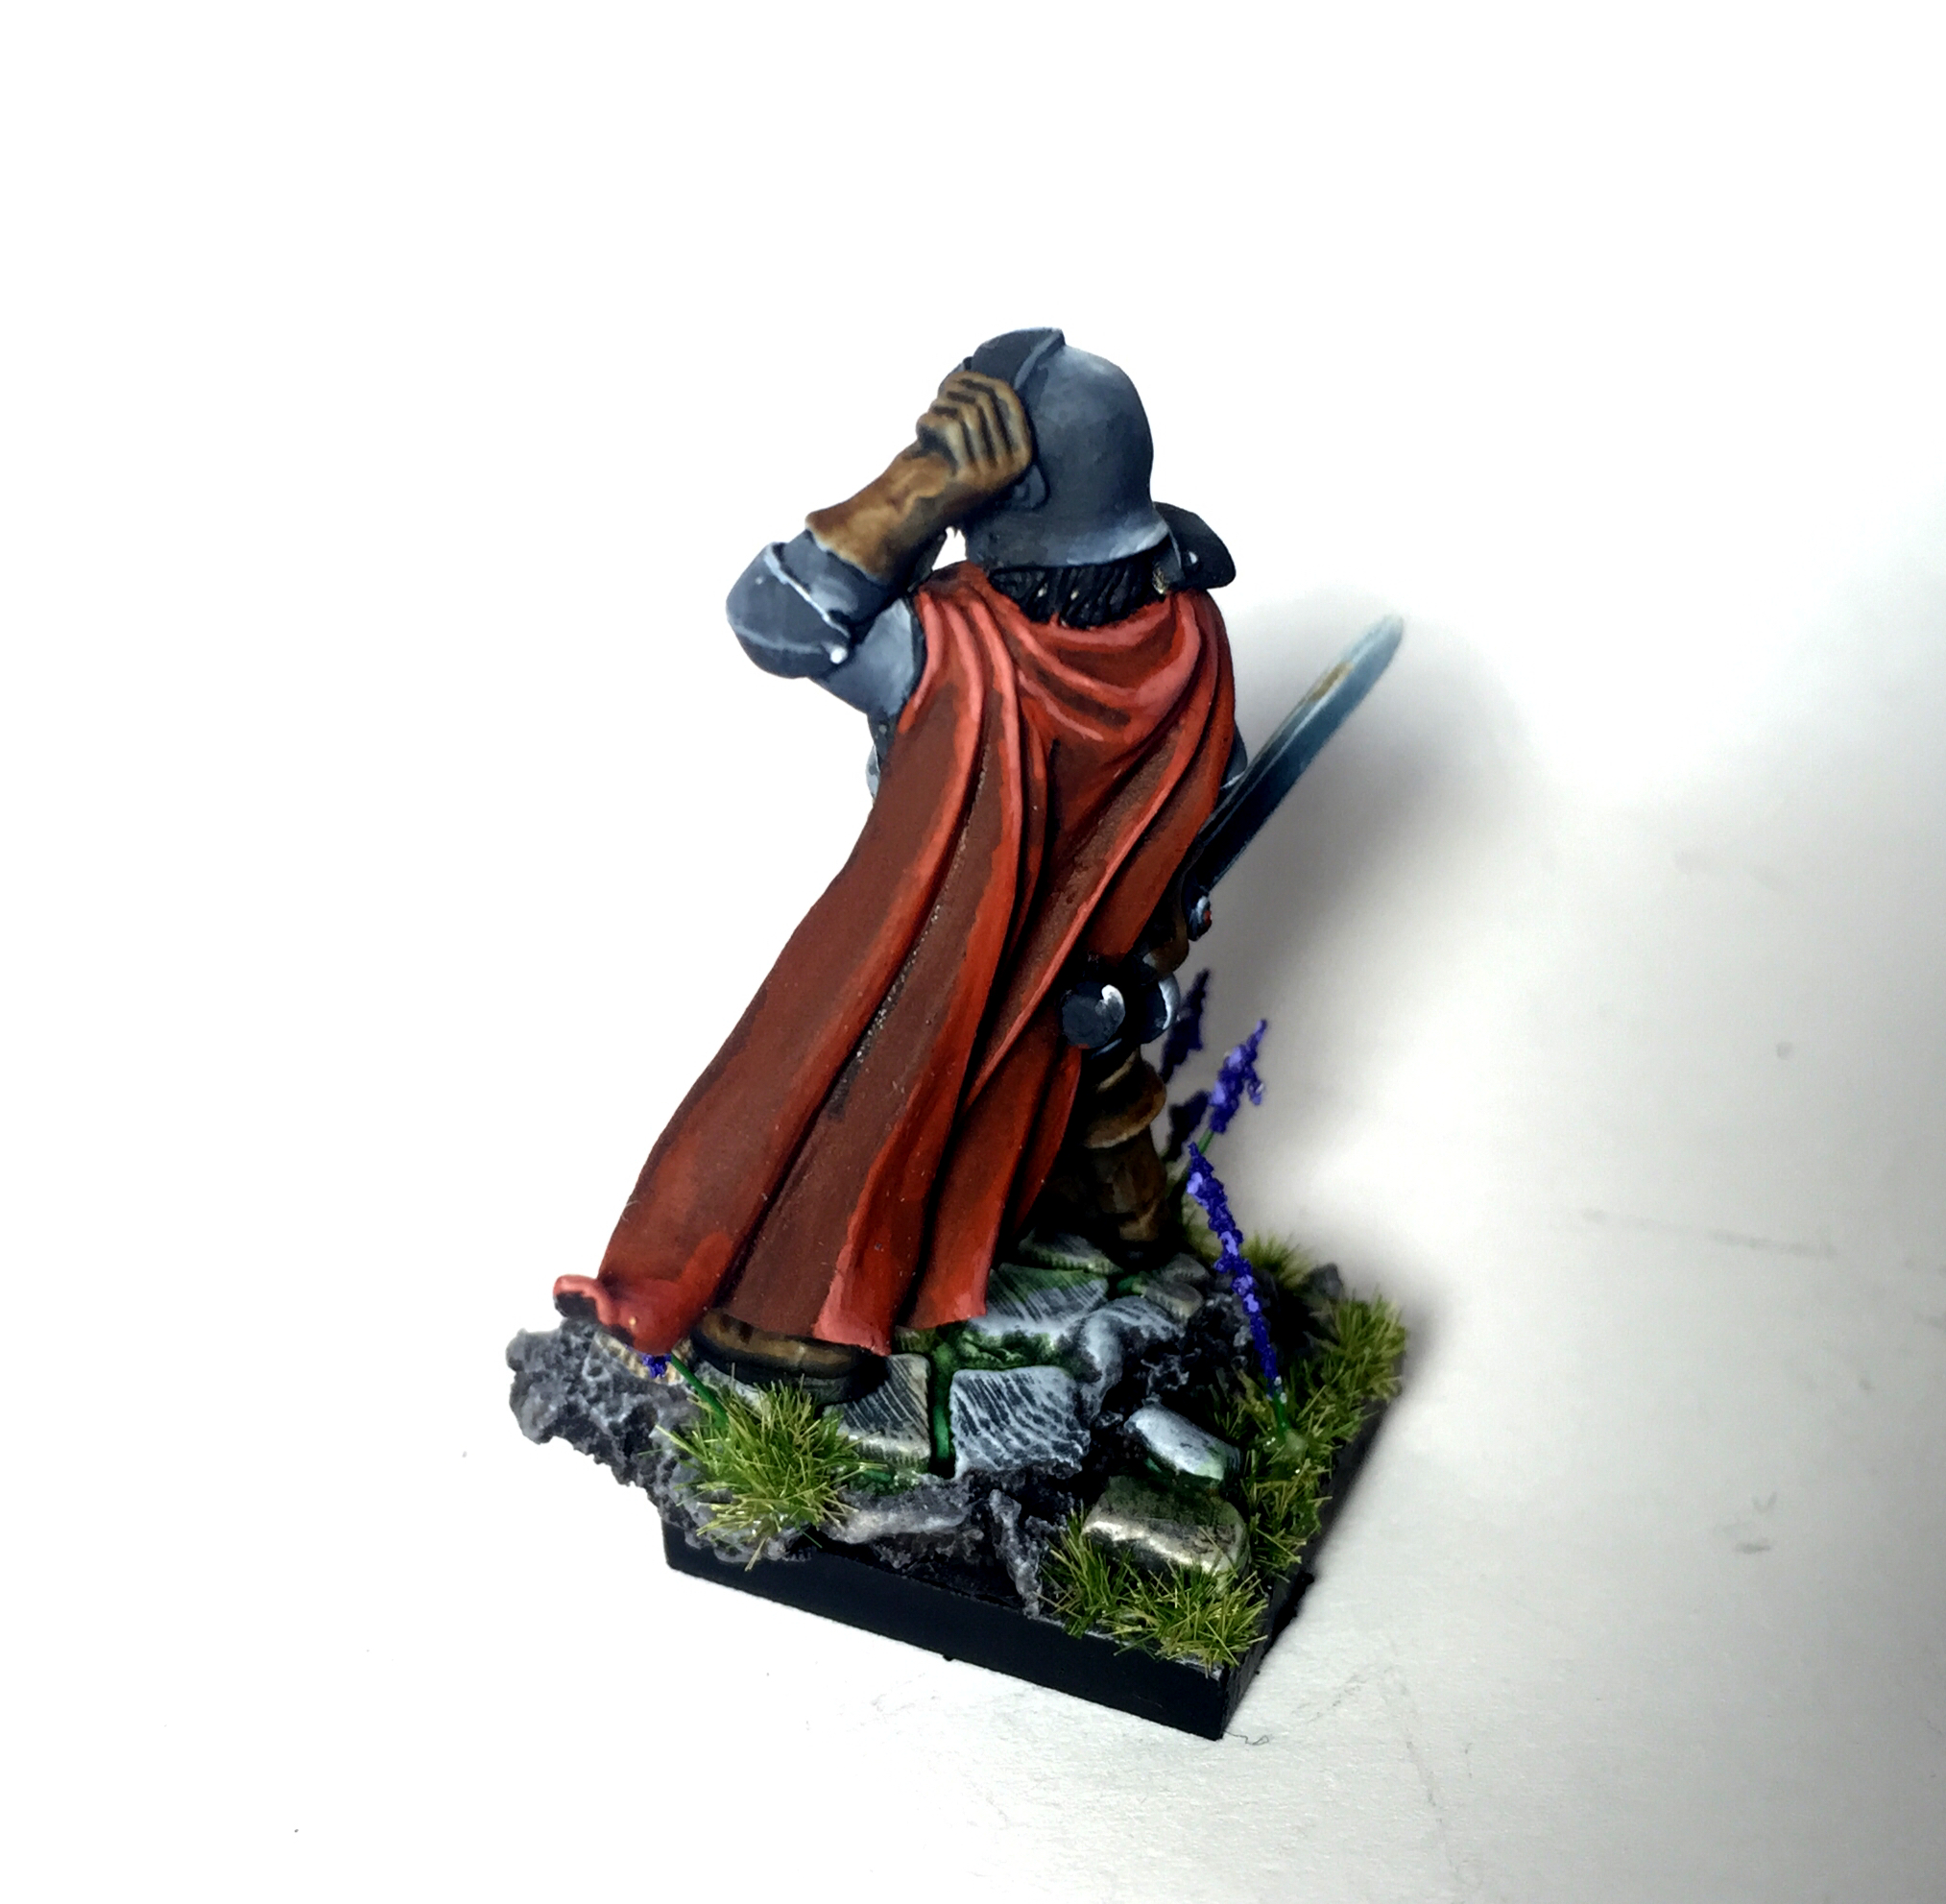
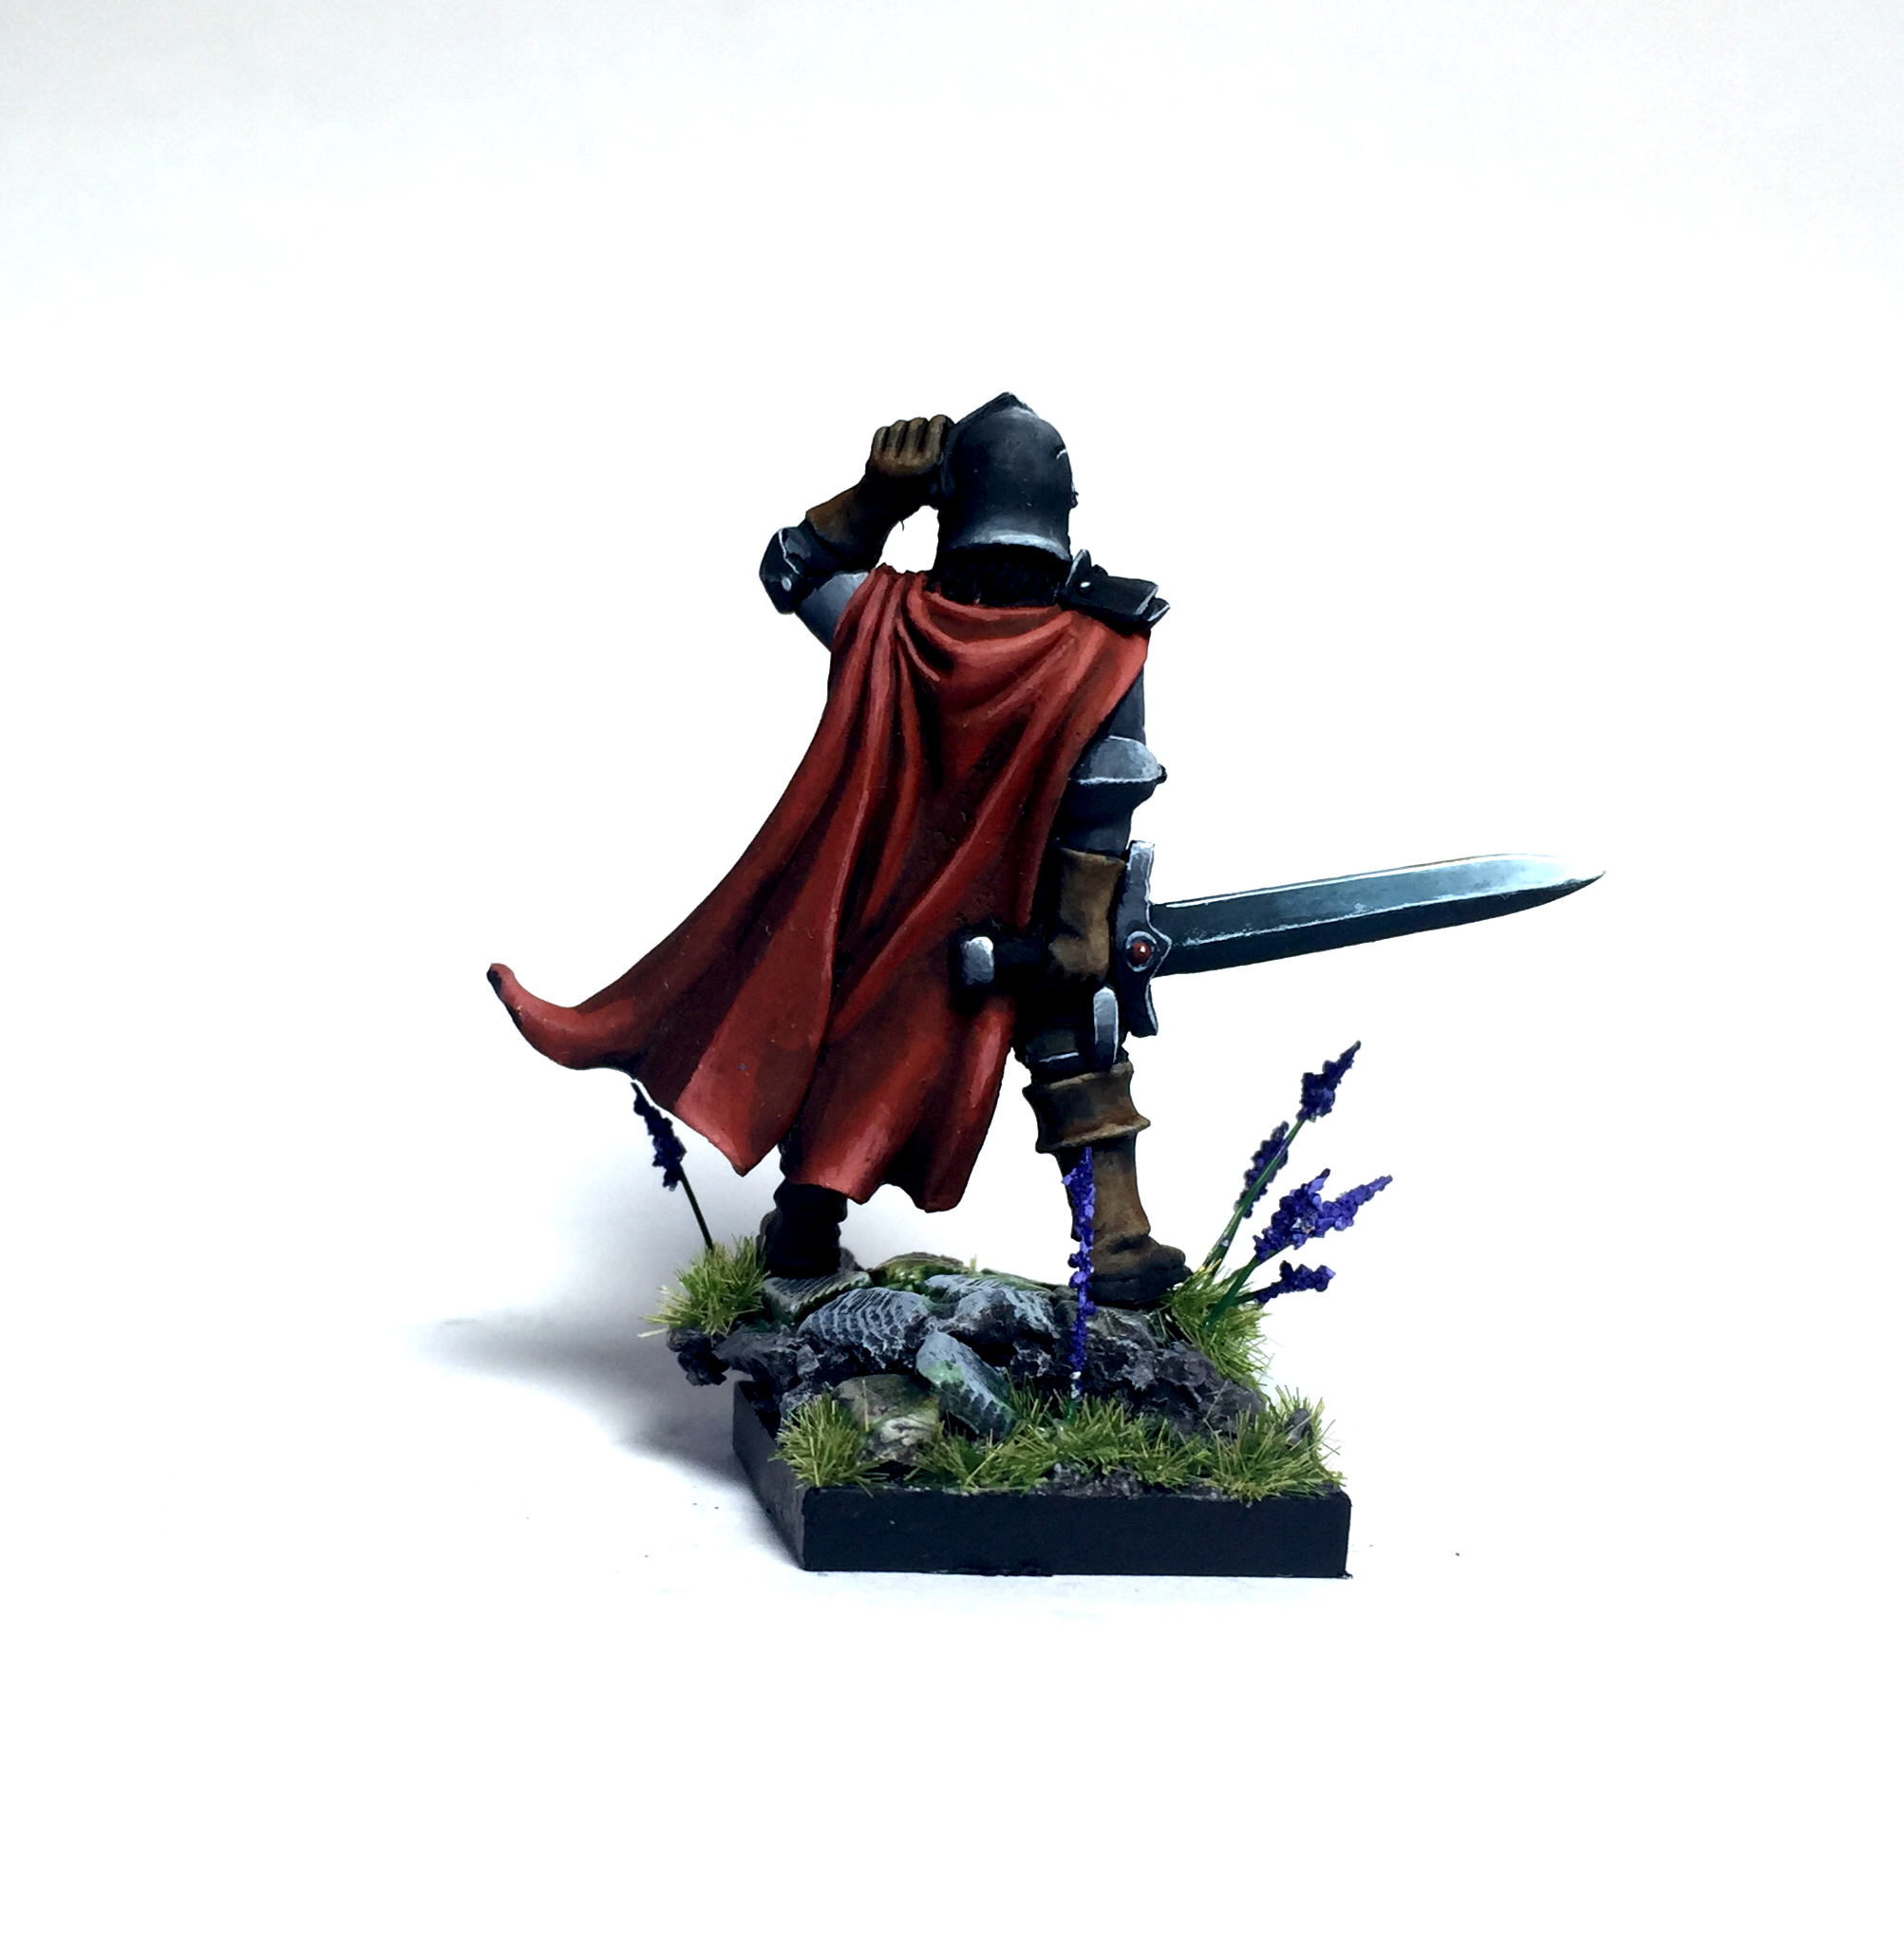
On The Bench - 1st March

Slow hobby progress for the last few weeks as I've been on a little holiday.  Had a great time but little painting done.  I have done a little now I'm back, and started on the base for my wolf knights

FullSizeRender.jpg

The flowers are easy, bur damn there are a lot of them!!

FullSizeRender.jpg

Same basing technique as the halflings, but not in a skirmish style.  Regiment of knights for Kings of war or 10 knights for The 9th Age.  Lots of flowers to finish up and then the grass to add. 

Four of the knights are done, barring a little weathering and cleaning up that I'll do at the end.   All done in non metallic metal mostly with a quick loaded brush.

FullSizeRender.jpg

Not a great photo but you get the idea.  Started working on the unit captain too, love the old model and quite fun to paint

FullSizeRender.jpg

Still quite a bit to go, hopefully he'll look wicked when I'm done. 

So that's what's on the bench today.

On the Bench - 6th Feb

I want to take a few more in progress shots now and then so this is the first of my on the bench posts. 

FullSizeRender.jpg

Getting close to finishing the first of my wolf knights.  It's a little sketchy and I'm not overly happy with the blending but I'm painting an army here and indoubt I'll go back and fix it up.  I do have to weather and scratch it up though, that will blend it in well.  I've done all the horses though and I'll get through the rest of the knights over the next week or so. 


IMG_0520.JPG

My bits finally rocked up, lion knights!  I don't like the warhammer chicken knights, but I do love these wolves.  Not sure about the rider, I'll be work on that. 

And that's what's in the bench.

CanCon, Clash of Kings and the Crystal Dragon

IMG_0488.JPG

Ok so it's been a very long time between posts.  This is mostly because I was working on the above two entries into the Crystal Dragon painting competition at CanCon this year.  I feel very lucky to have achieved a bronze for both these entries and had a blast both painting them and at CanCon.

Crystal Dragon

Primarily I went for this competition.  I didn't enter in any other events, mostly because I wasn't sure I was going until a few days before, but I got to observe one or two and they looked like great fun.

Entry 1  - The DUELIST

MOM Miniatures is a small miniature company out of Spain that produces great miniatures if you love Kings of War or The 9th Age.  I got a bunch of stuff from them, including this guy.  While their casts are poor, I do love the character of their blanks and was keen to paint one up.  He took quite  lot of cleaning and fixing to make him presentable, lots of bubbles and bad joins, but in the end I was happy.  The Non Metallic Metal steel is the same formula I've been using for a while, but I added some Iraqui Sand into the gold as well to make it more  yellow and pop out a little more.  You can see my other blog posts for how to do the basing, it's the same as the halfling unit.

Entry 2 - Smug Sniper

Demigods Evolution is a miniature line I stumbled across when looking through a gaming store.  They looked like fun, 48mm, so I bought a couple.  This is the first of two, and he looked fun to paint, so I did him first.  I liked the smug look on his face, the armor and gemstones in the model.  The cast was good, though the hands were lacking detail that I had to paint in.  The base was just a carved out wooden block and the NMM was done int he same fashion as the Duelist.  A lot of this model was done in monochrome and then glazed into colour (the pants and straps, the undergarments), which was a new process for me and I liked the result.

All in all they were both super fun and I'm super chuffed with the results.  Here's the album with both entries

Clash of Kings

I was lucky enough to get a drop out position and late entry just 1 week out from the comp.  Massive thanks to the TO and his posse for putting this comp together, it was amazing fun.

Game 1

Nick Prosser was first up with a 10 -10 draw against one of the nicest guys I've played in a while.  We were within just a few points of each other and a really fun way to start the tourney.  Forces of Nature are very hard to kill!

Game 2 

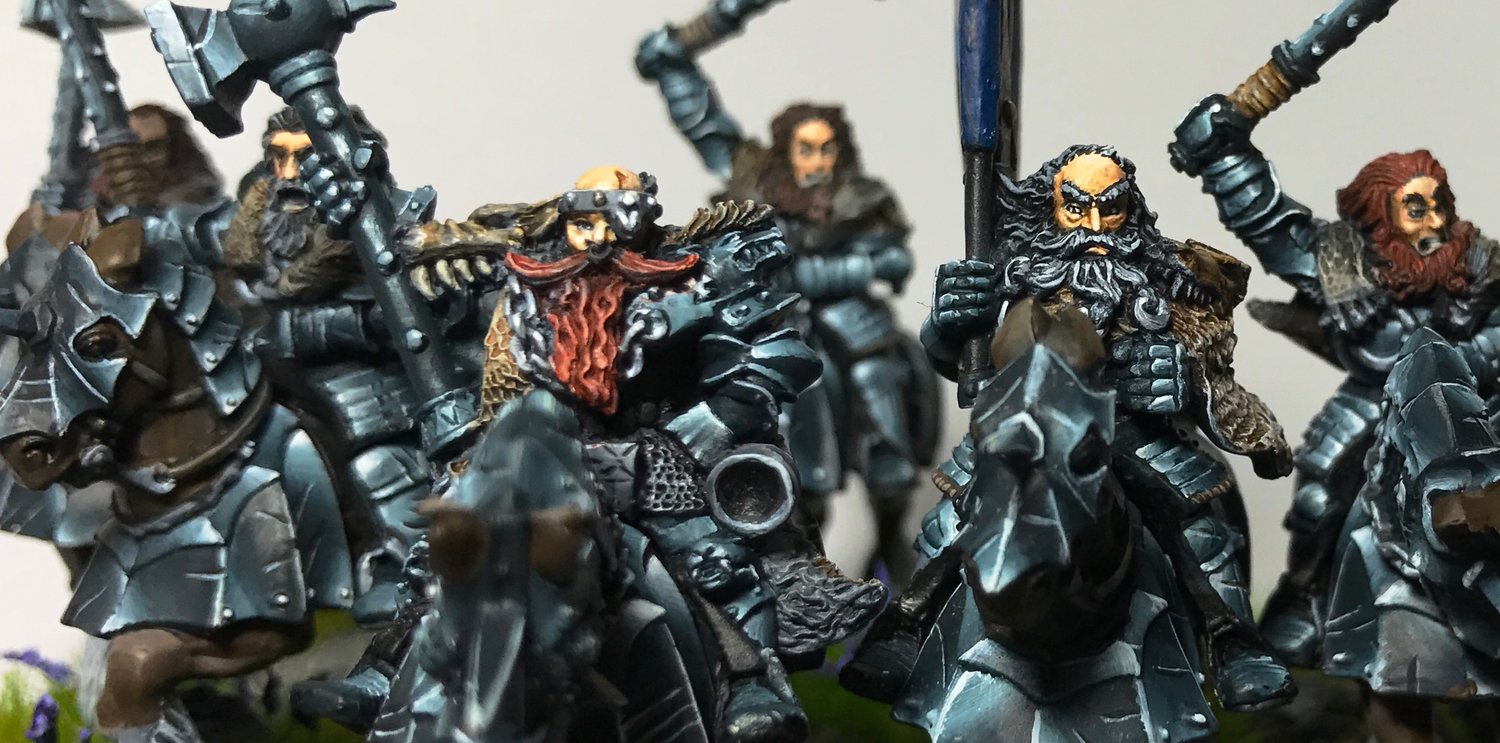
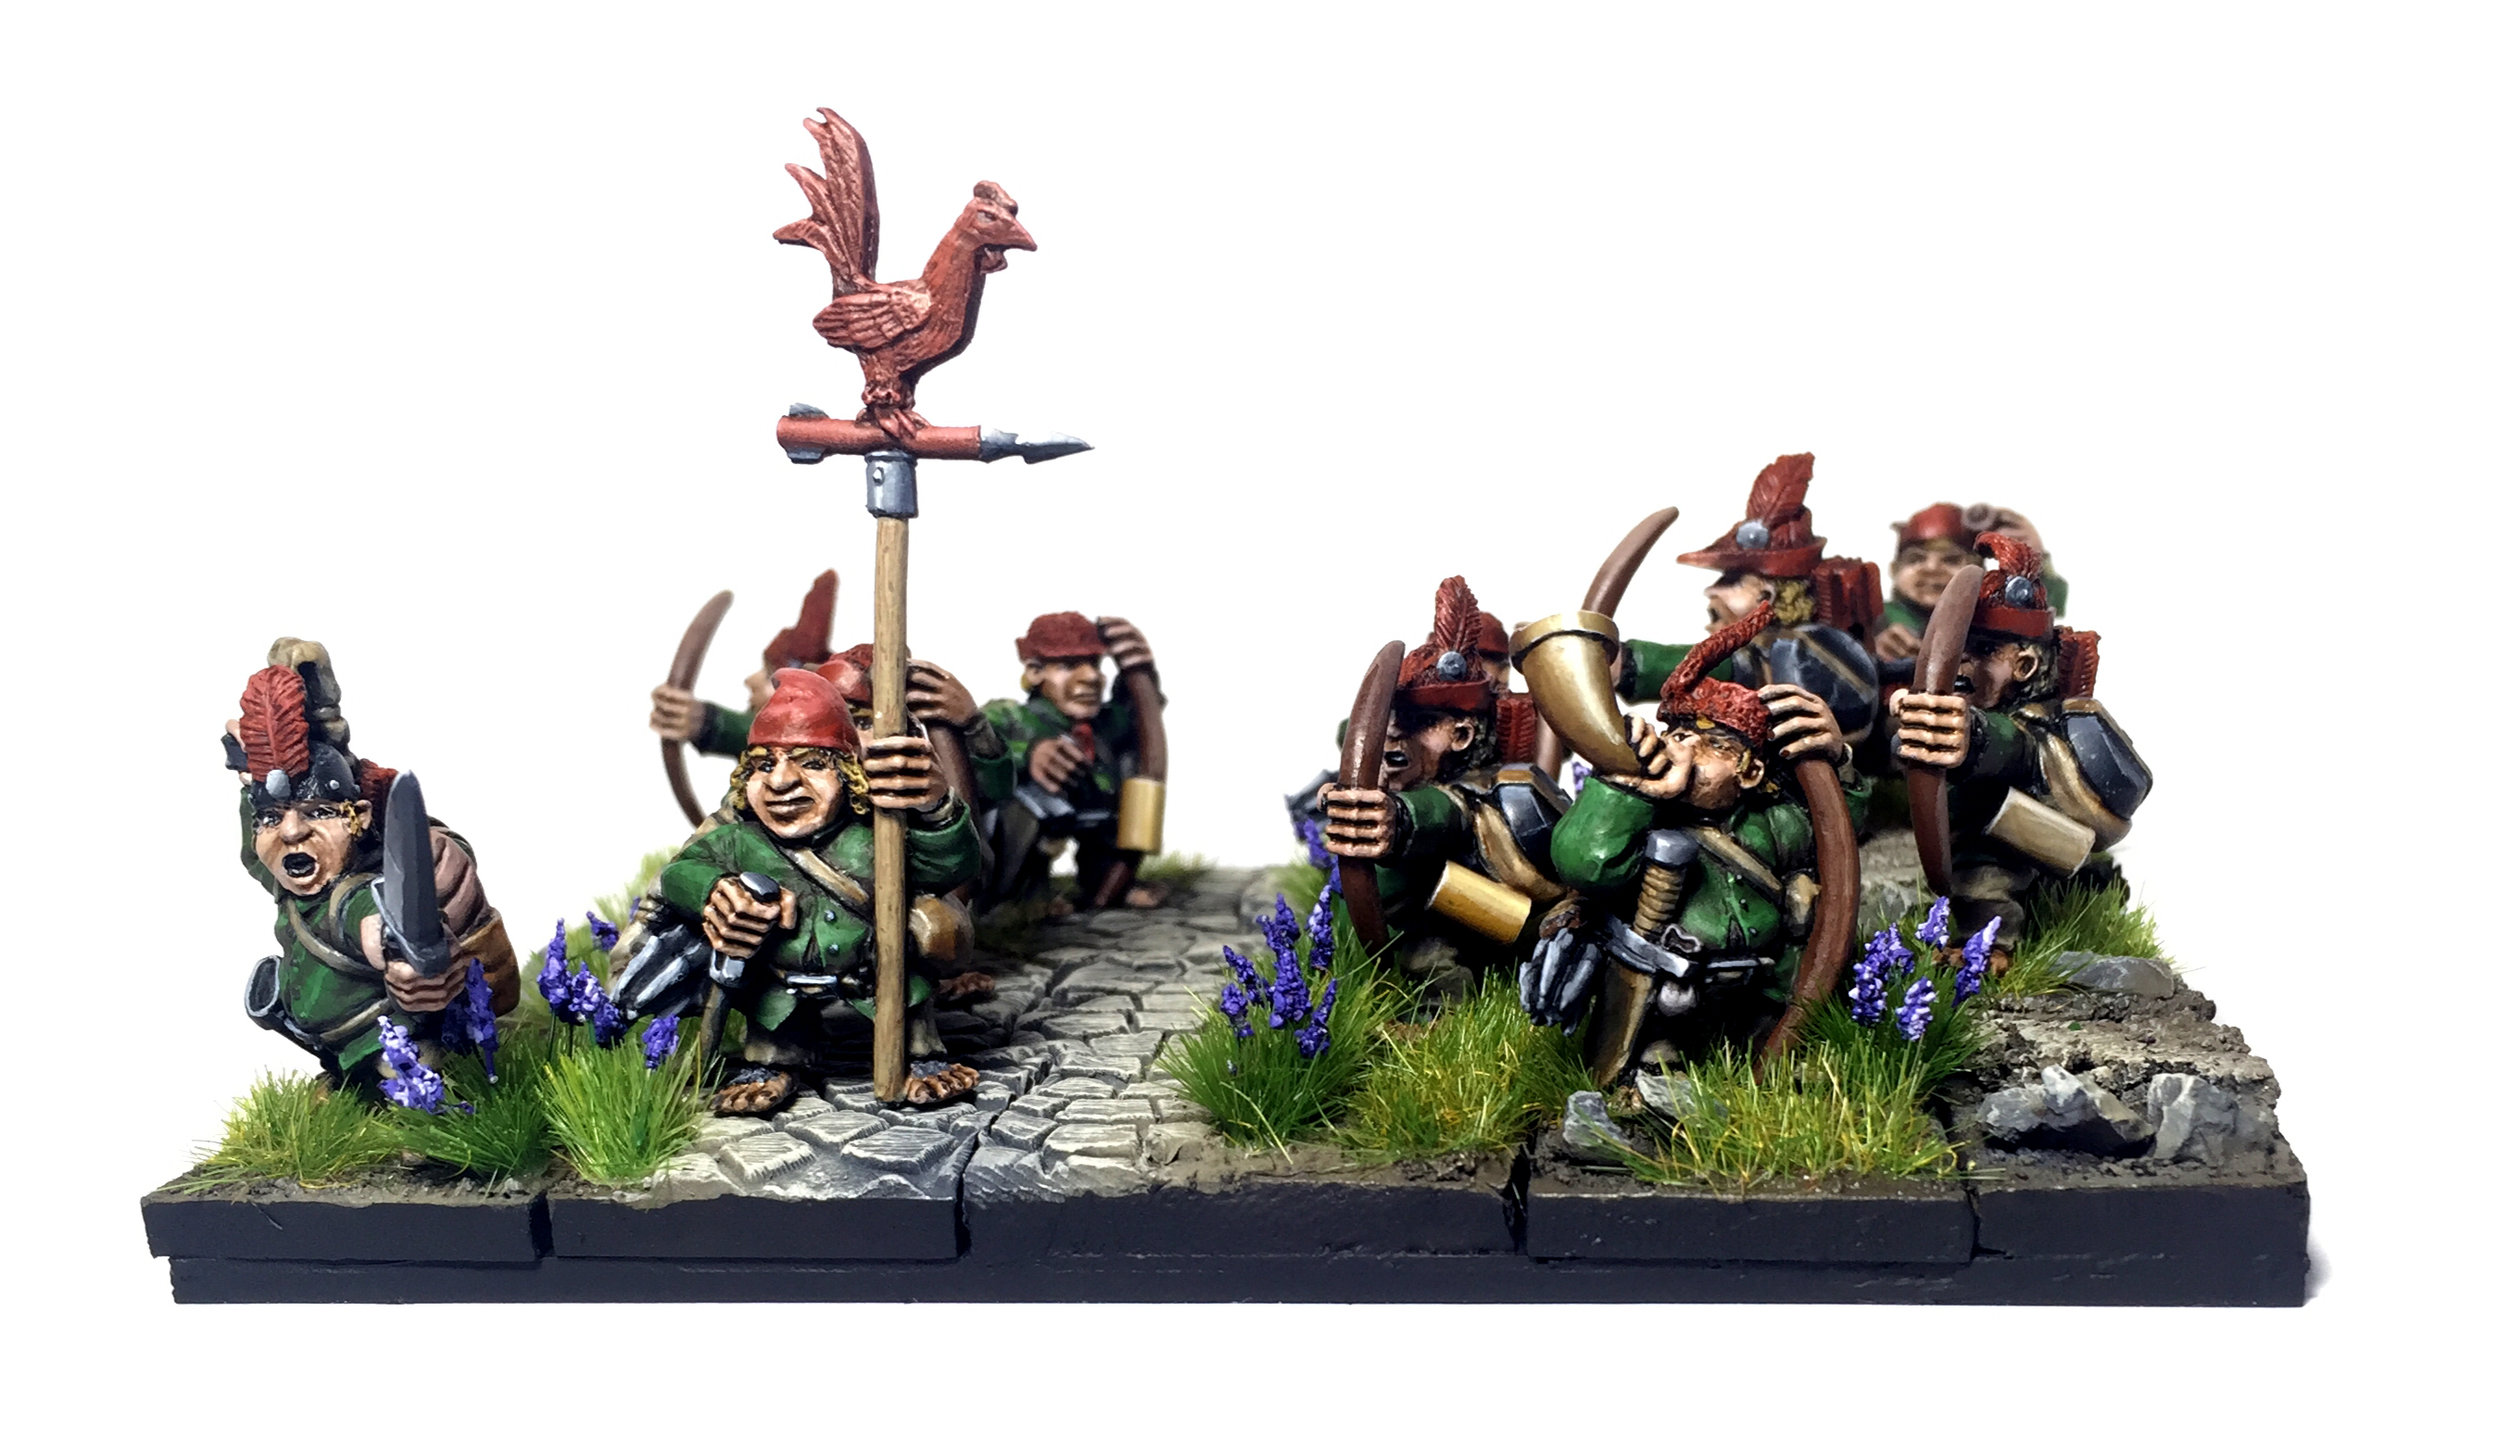
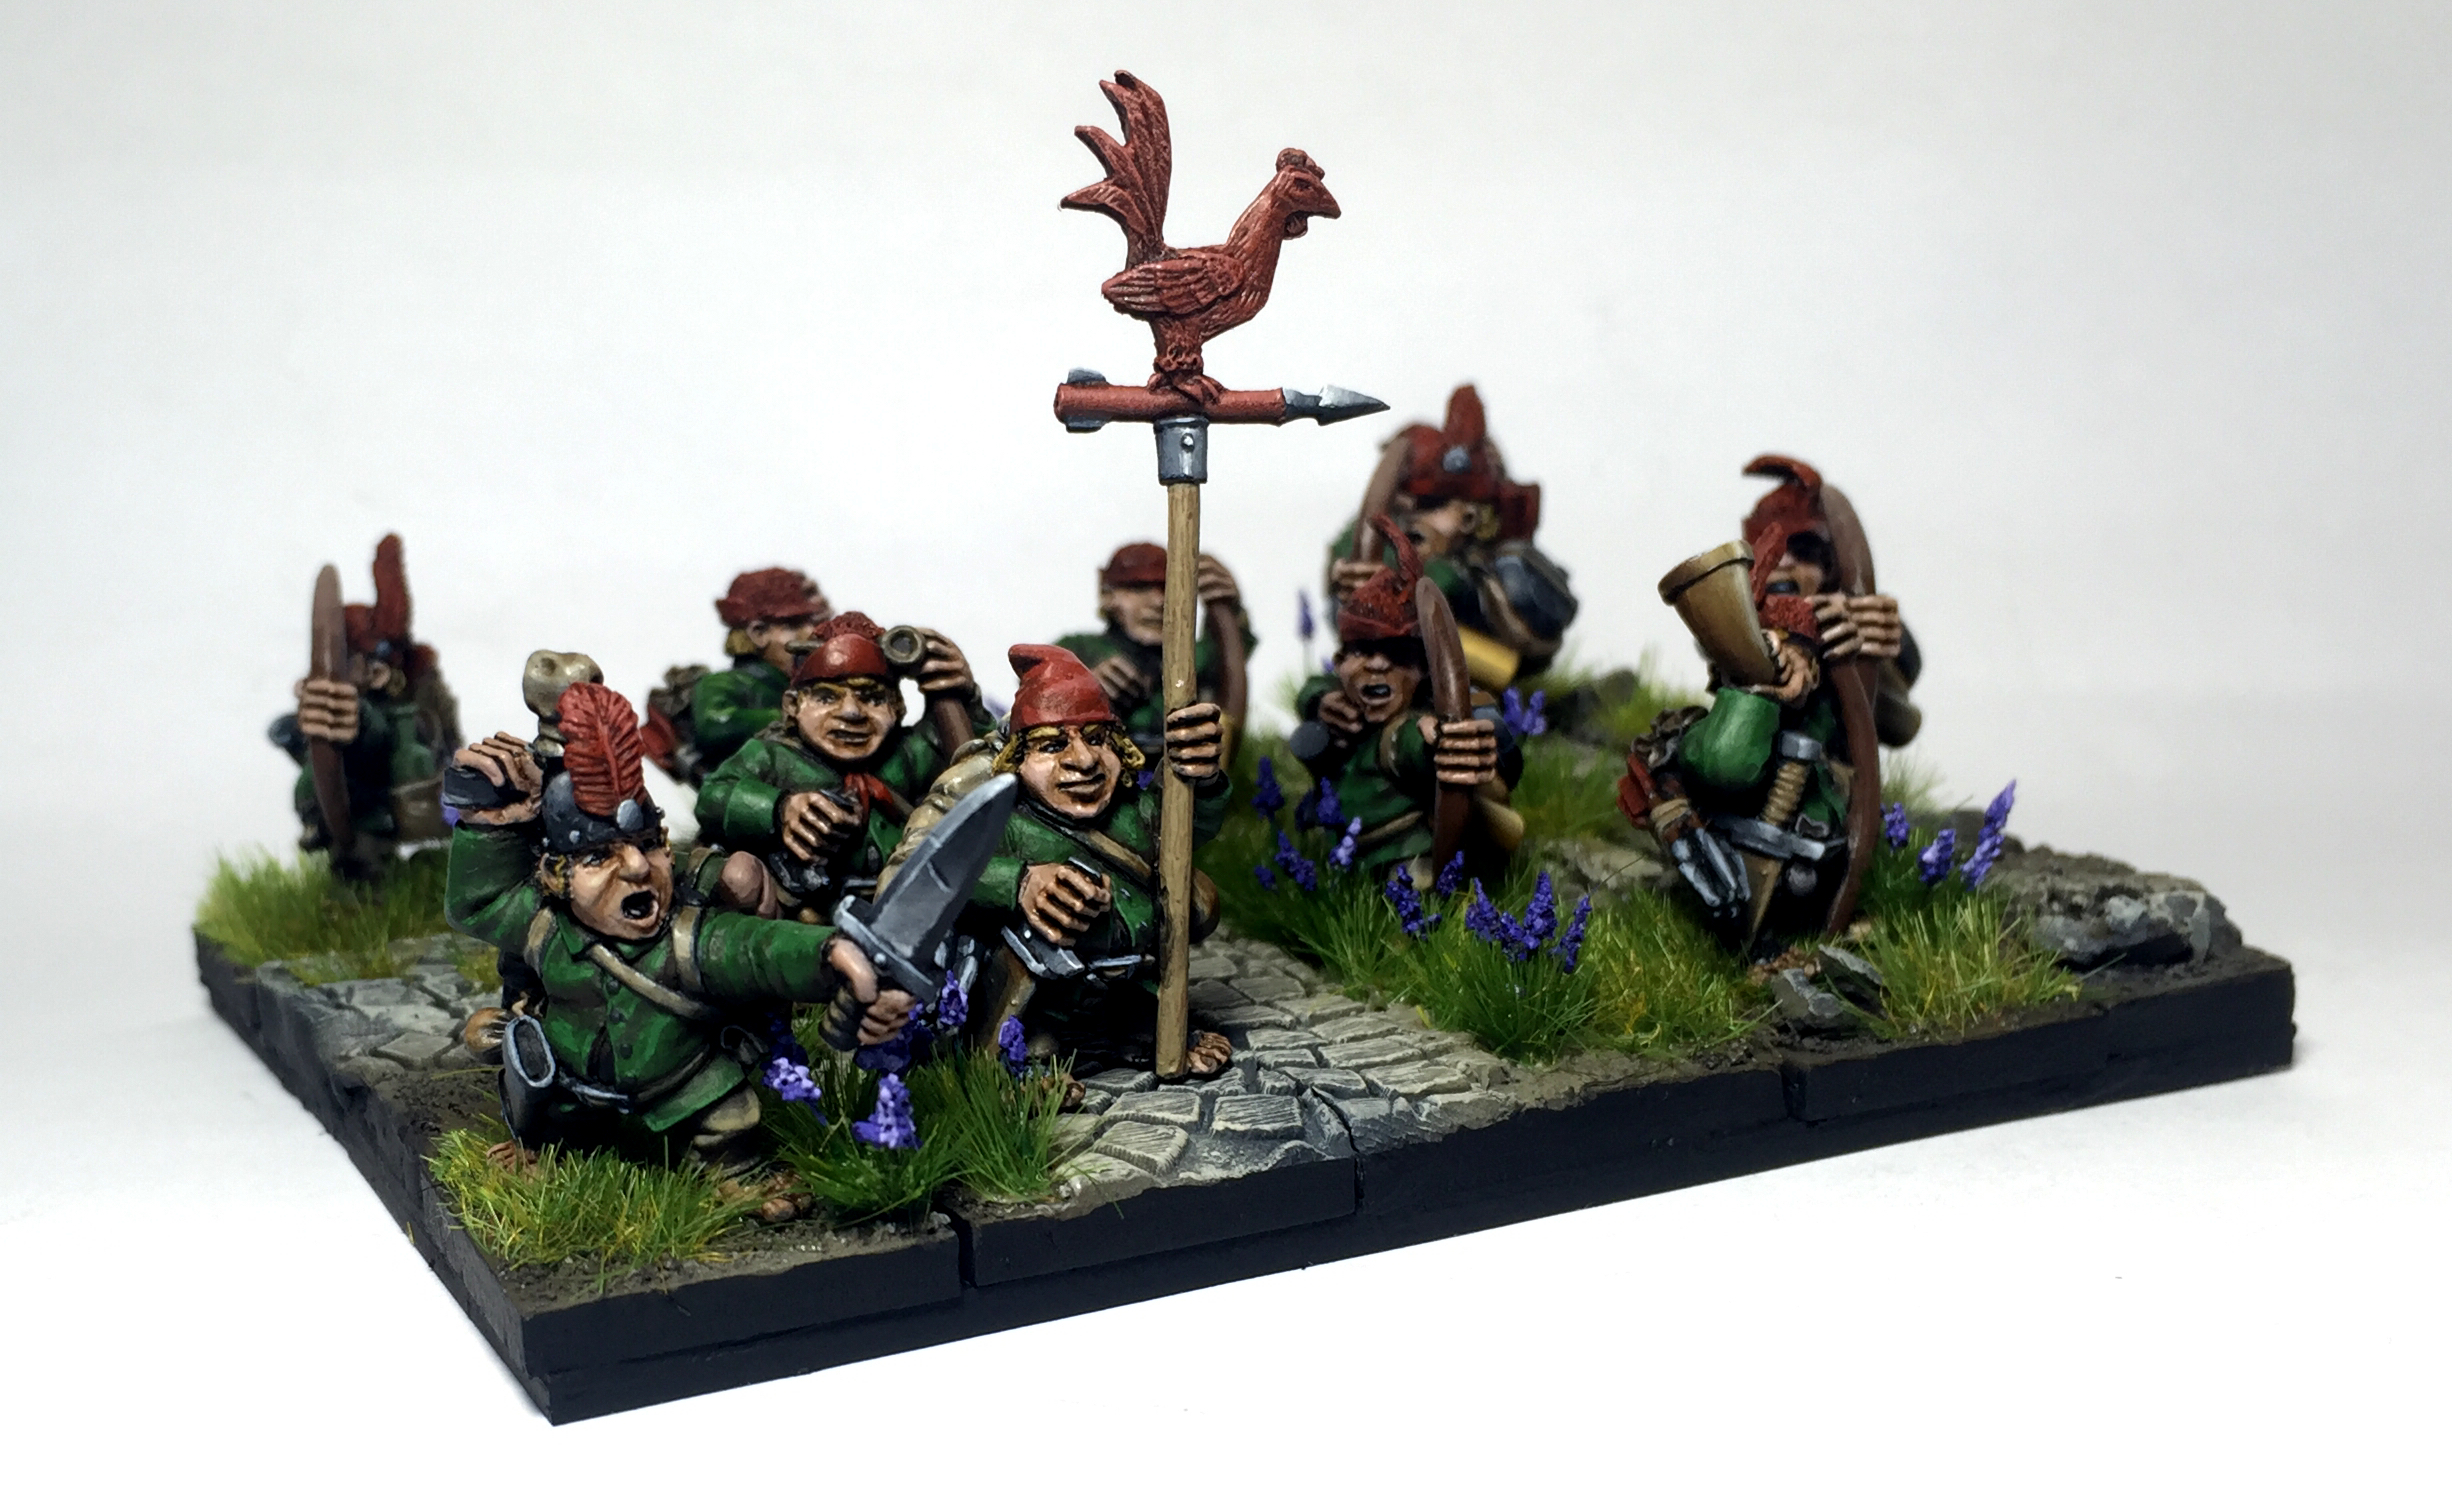
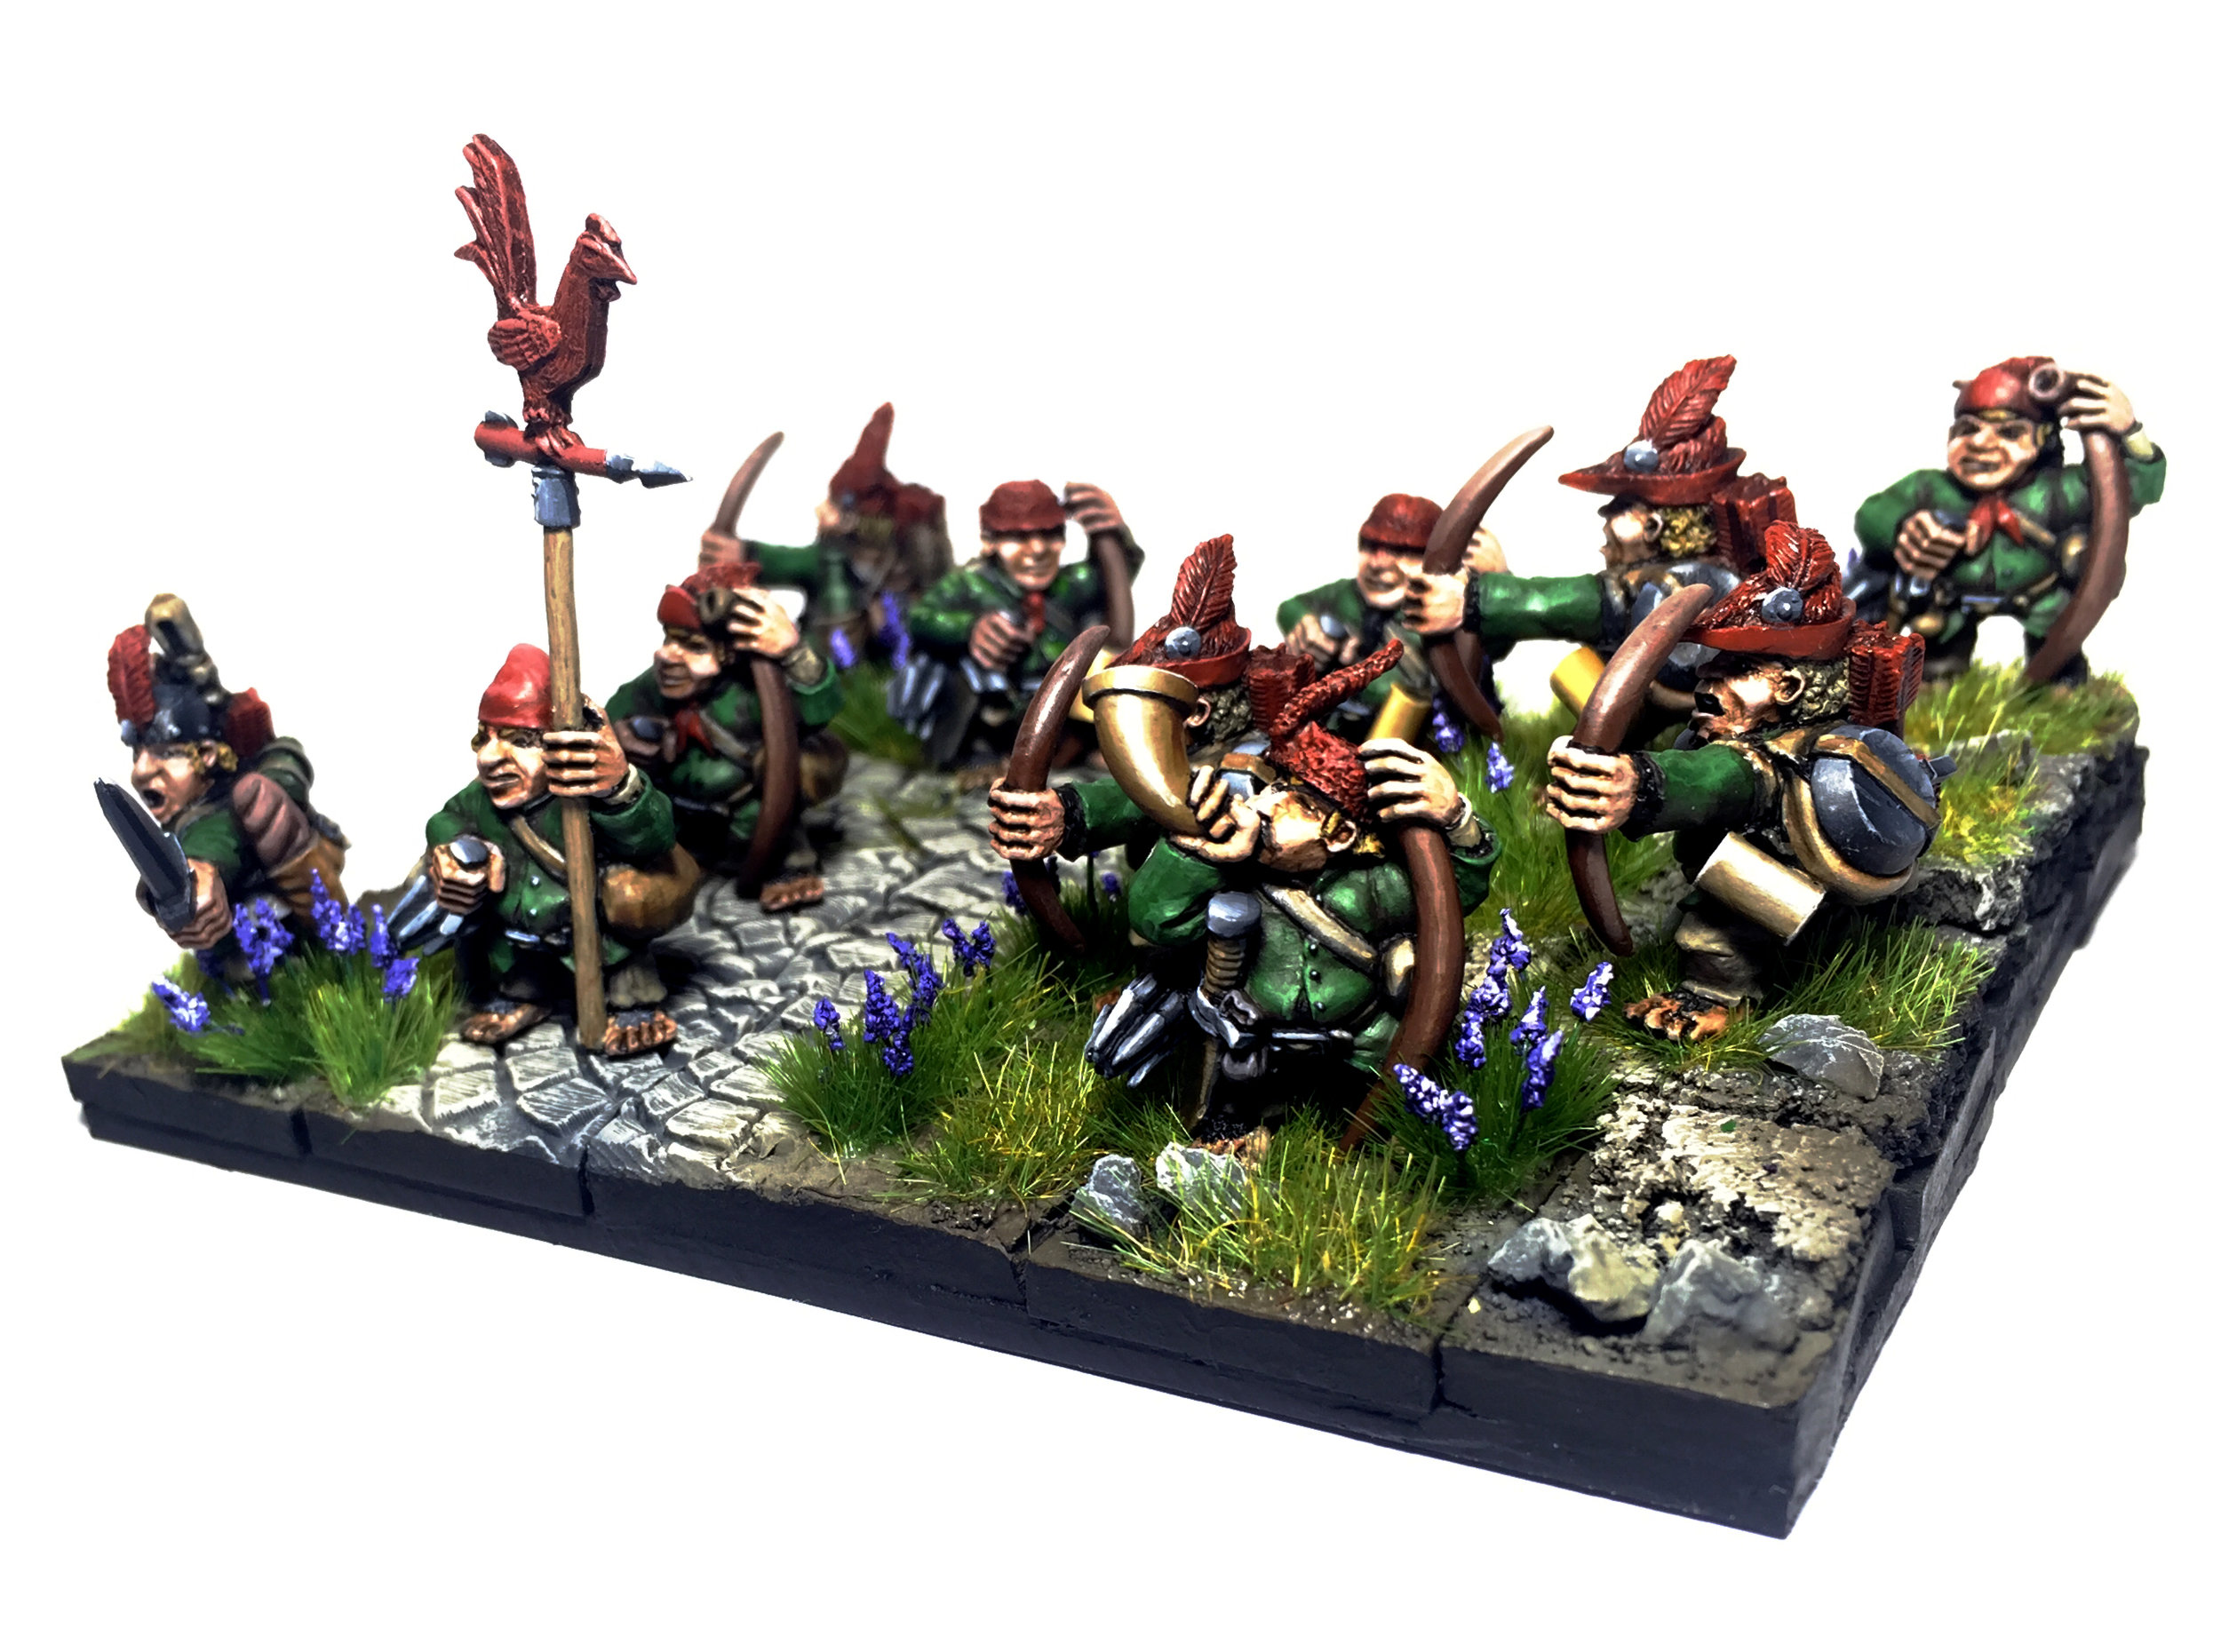
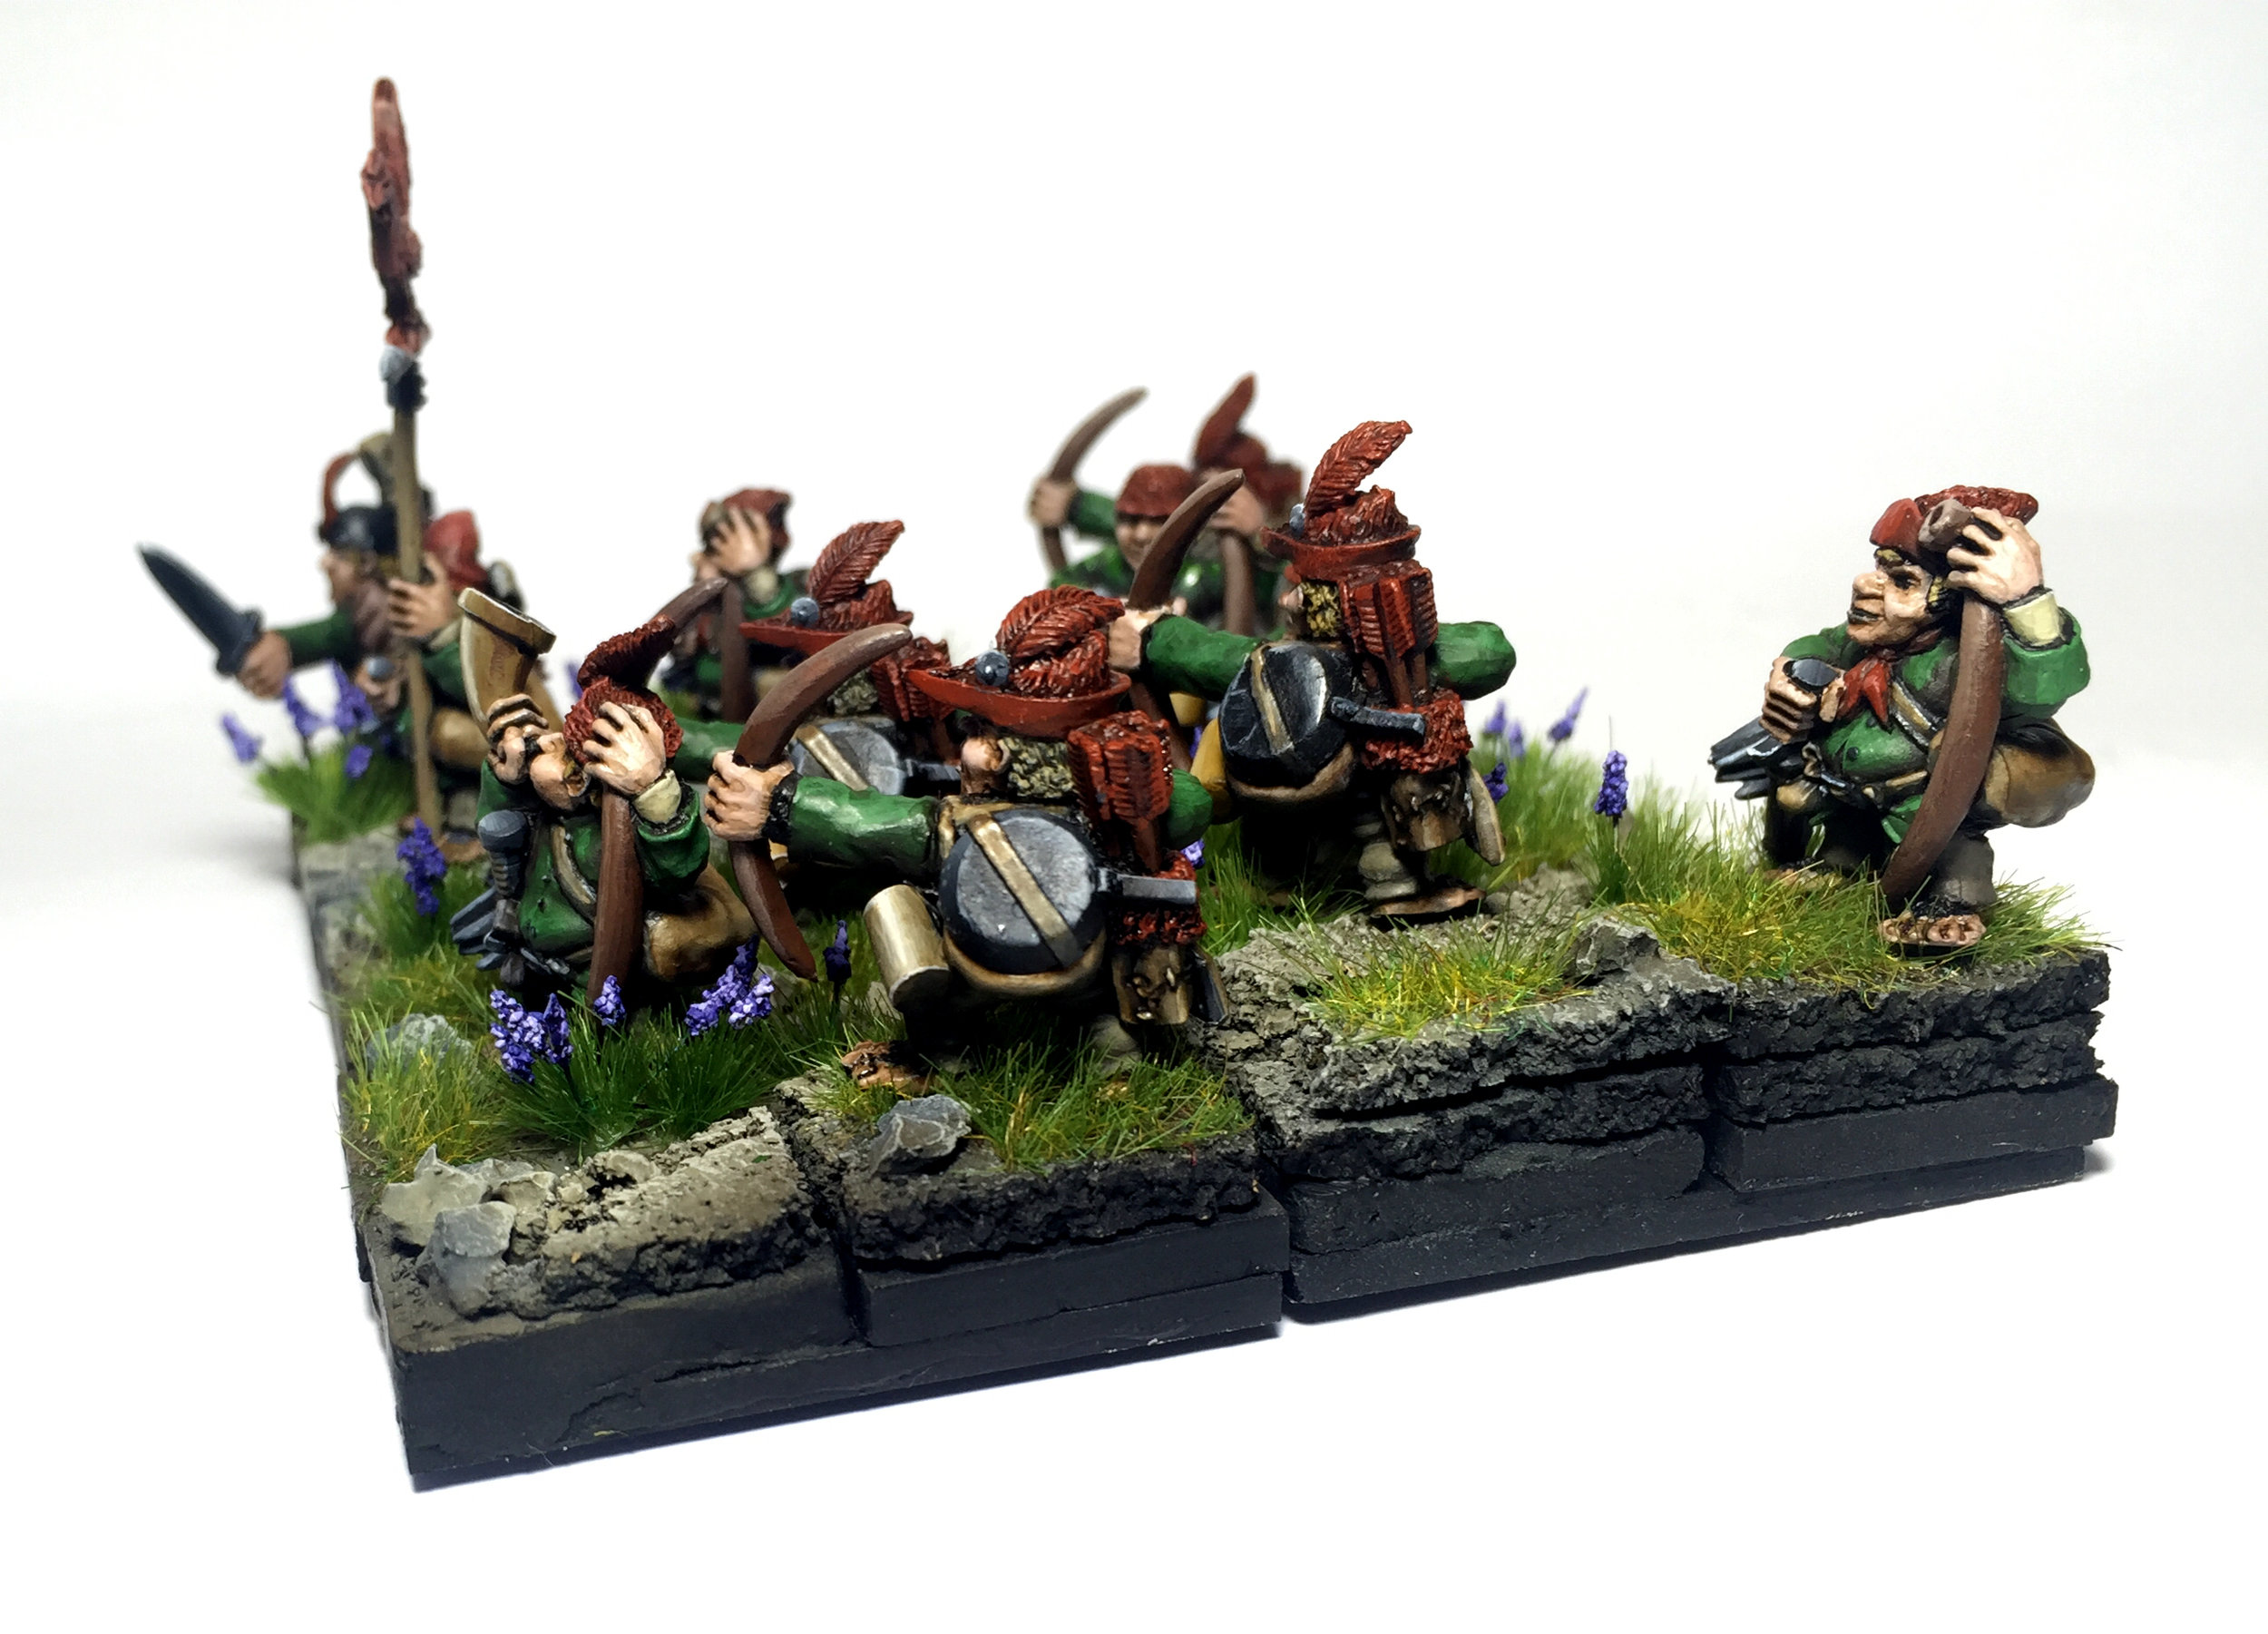
Played Drew Mclean's beautiful goblin army with custom white cloaks on each of the models and a while lot of hand made modelling.  I got lucky with the win tying on victory points but killing more stuff.  Great opponent and fun game.

Game 3

I got Traished.  Jeff Traish is a great player.  His undead army, while simple, just posed questions I didn't have answers for.  He wiped the floor with me 19-1 and then humbly congratulated me on a good game.  Really enjoy playing Jeff, one day I'll beat him though.

Game 4

Nothing like finishing up the first day with two massive losses.  Lost to Jay Neilson 18-2.  Not a great way to end the day, but a humble and excellent opponent out played me as I made several mistakes against his elite Varungar army.  

At the end of day 1 I was 48th of 62.  I'd like to note that my brother rocked up for the last 2 games to watch and I still blame him for my losses, he is terrible luck.  He made up for it by buying me the most awesome miniature from one of the stands. 

Game 5

Ok no chance of placing so time for some fun.  We had a member of the rules committee at the game and I got to play him and the TO's beautiful Scibor Dwarf army.  Loot scenario and very little was killed as we stalled each other.  In the end I sacrificed most of my units to get the tokens and wondered off with a 13-7 win.  Quiet guy, Sami, but great sport and a fun opponent.

Game 6

Ogres in control.  I don't usually do well against Ogres, especially not the standard shooters, boomers, warriors and 2 boom wagon list.  But my opponent made a deployment error and I blew up a wagon 2 inches from 3 of his units.  He also charged my chaff screening for my doppelgänger unit and let me have a front charge on a warrior horde with them.  I also needed a double 6 to break his goblin unit, with a reroll, and got it.  The dice were just coming up trumps for me.  Cleaned him up by the end of turn 5 for a 19-1, but he took the loss well and was a great sport. 

Game 7

Last up was Darren Holme and his Ogres.  Basically the same list as my last opponent but kill and pillage instead.  Close game, really fun trying to jostle for position on the tokens.  In the end he gave me a flank on his siege breakers with my doppelgänger unit and that made the difference.  Dead even on kill points but I got more tokens for the overall win. 

Ended up 24th of 62, which I was very happy with after the first day, and most importantly had a ripper time.  

Final Thoughts

I was never in contention for a placing and, other than Jeff, none of my opponents were either so each of my games was relaxed and fun.  I played Ogres twice, and twice prior to this tourney in the last tourney and I'm a little disappointed to see that every Ogres list is largely the same.  1 unit of shooters, 1 unit of boomers, 2 (or 3) boom wagons, Wizard with lightning bolt and one or two hammers (Horde of warriors once, Seige Breakers and Bezerkers the next, chariots once too).  The good thing is that I know how to beat it now, but some variation would be good to see.  Maybe the new tournament pack will help with that.
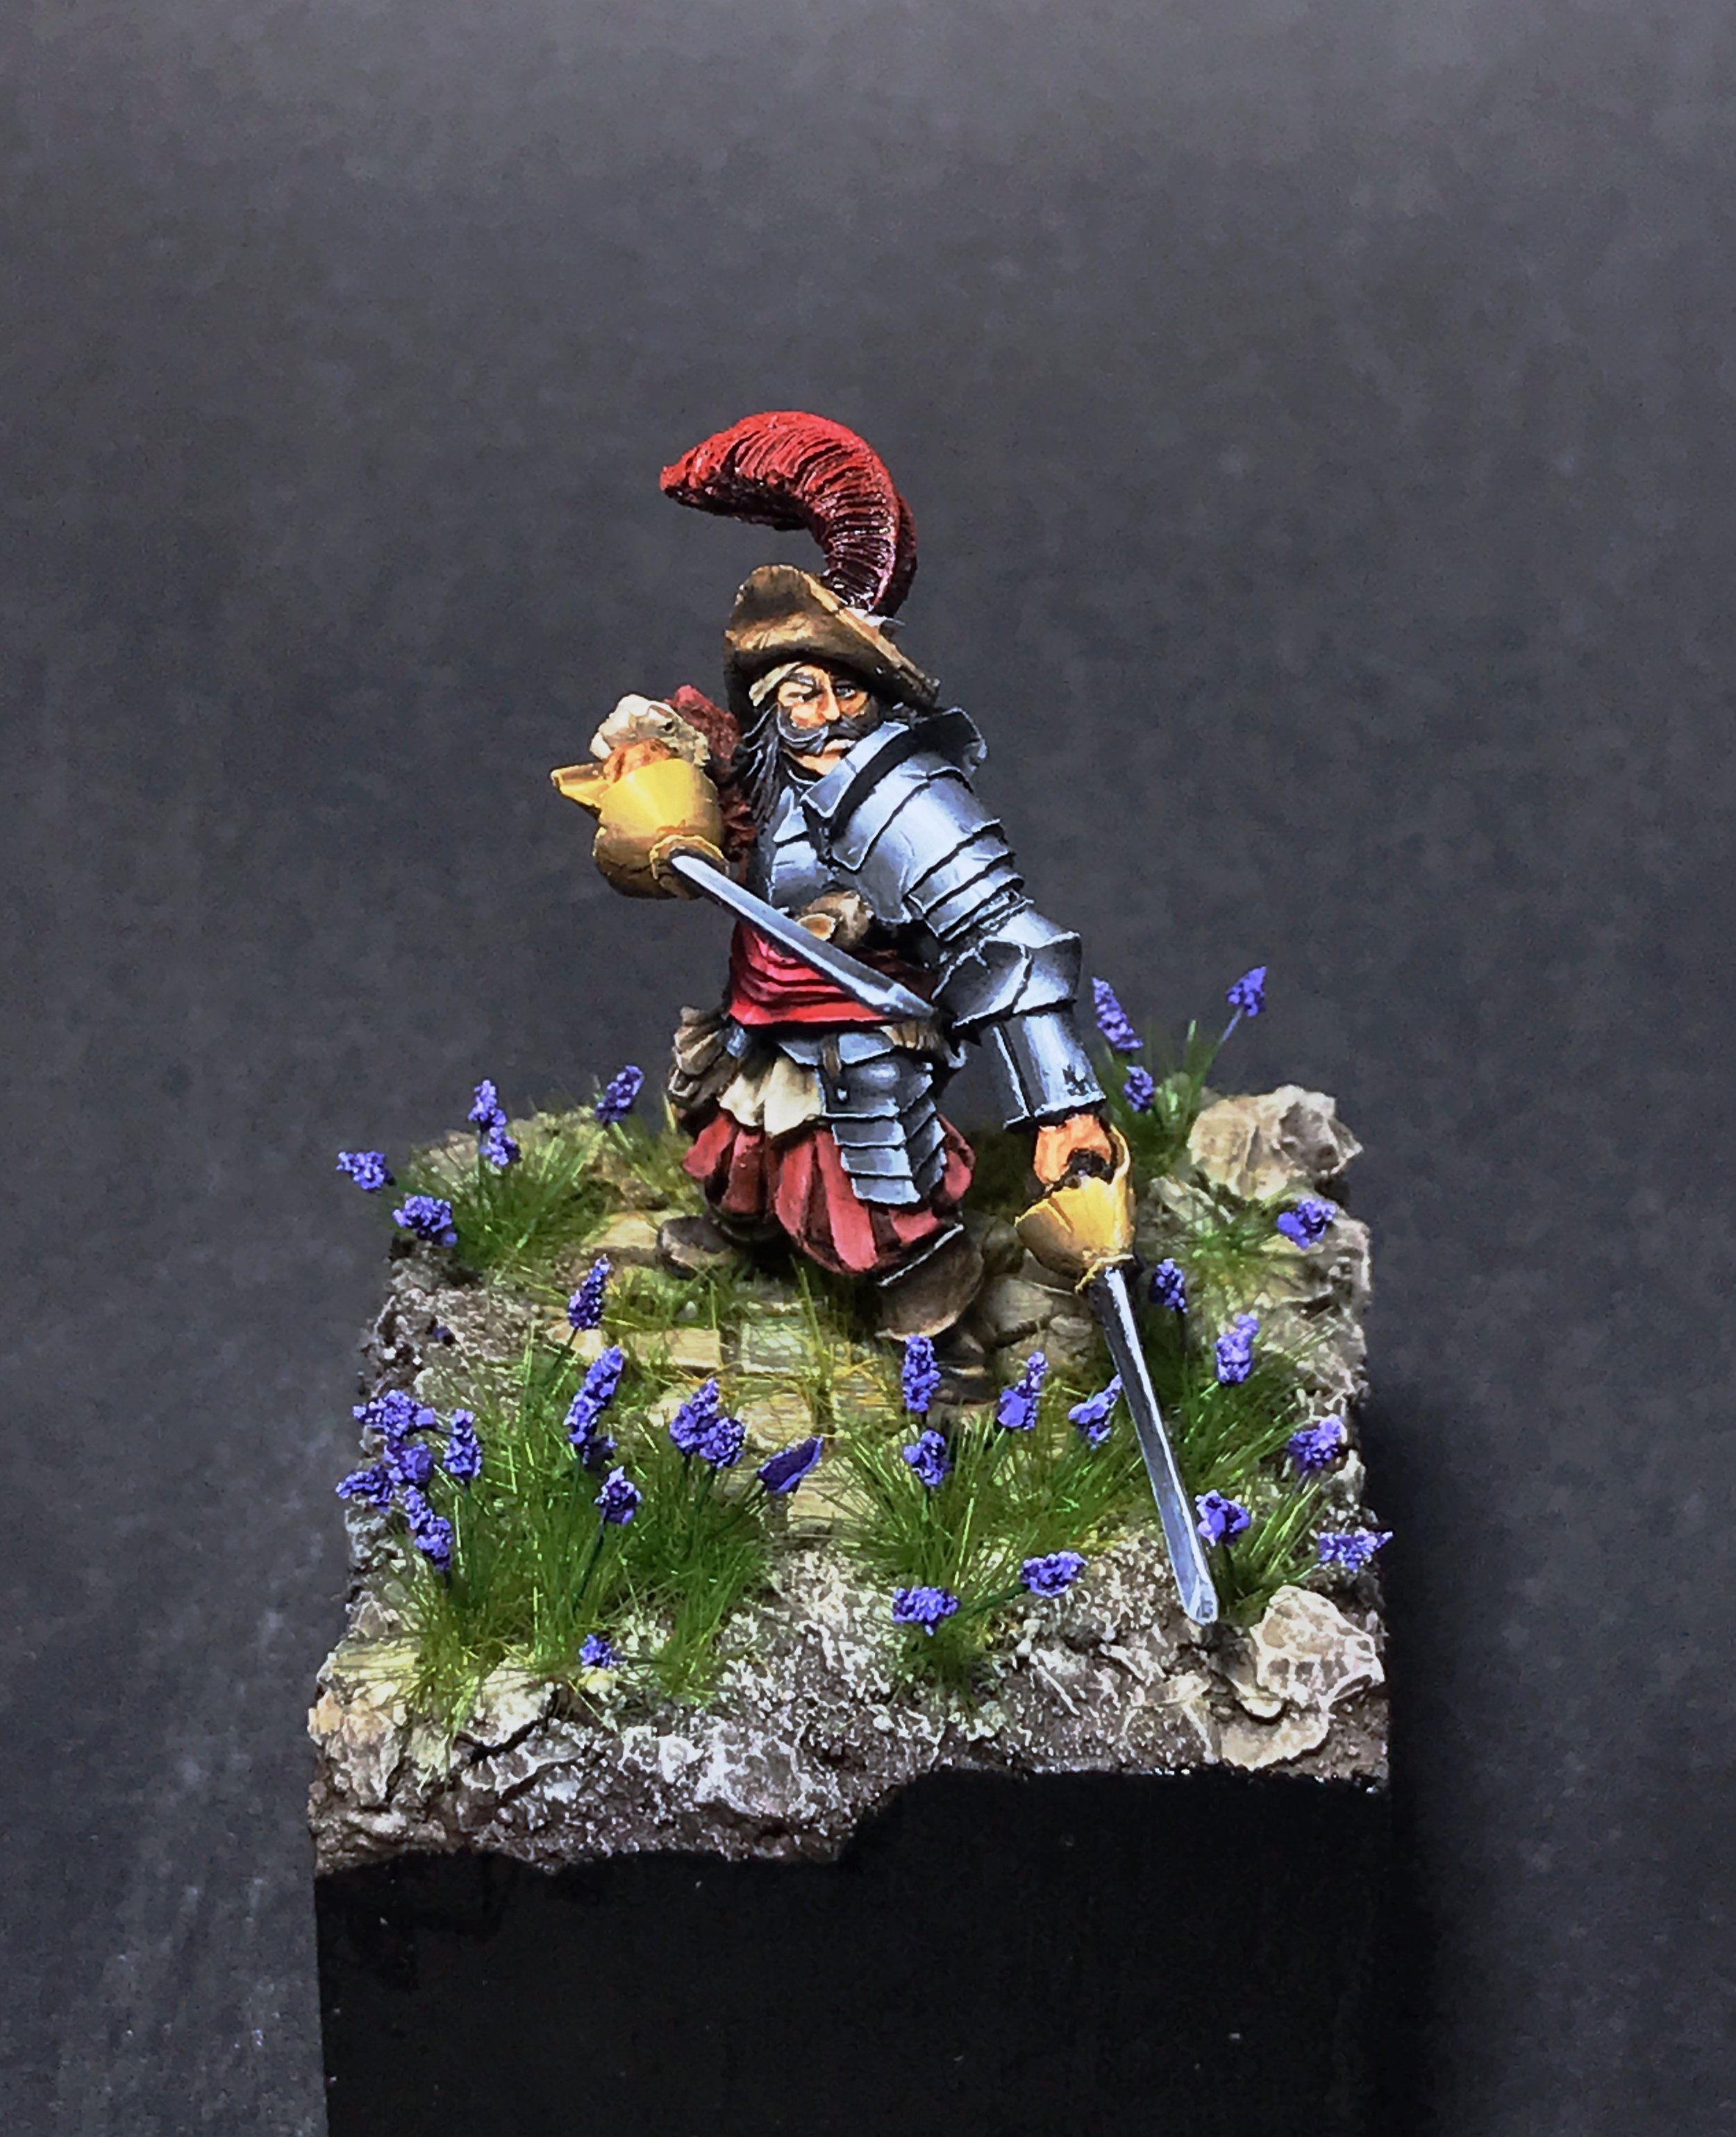
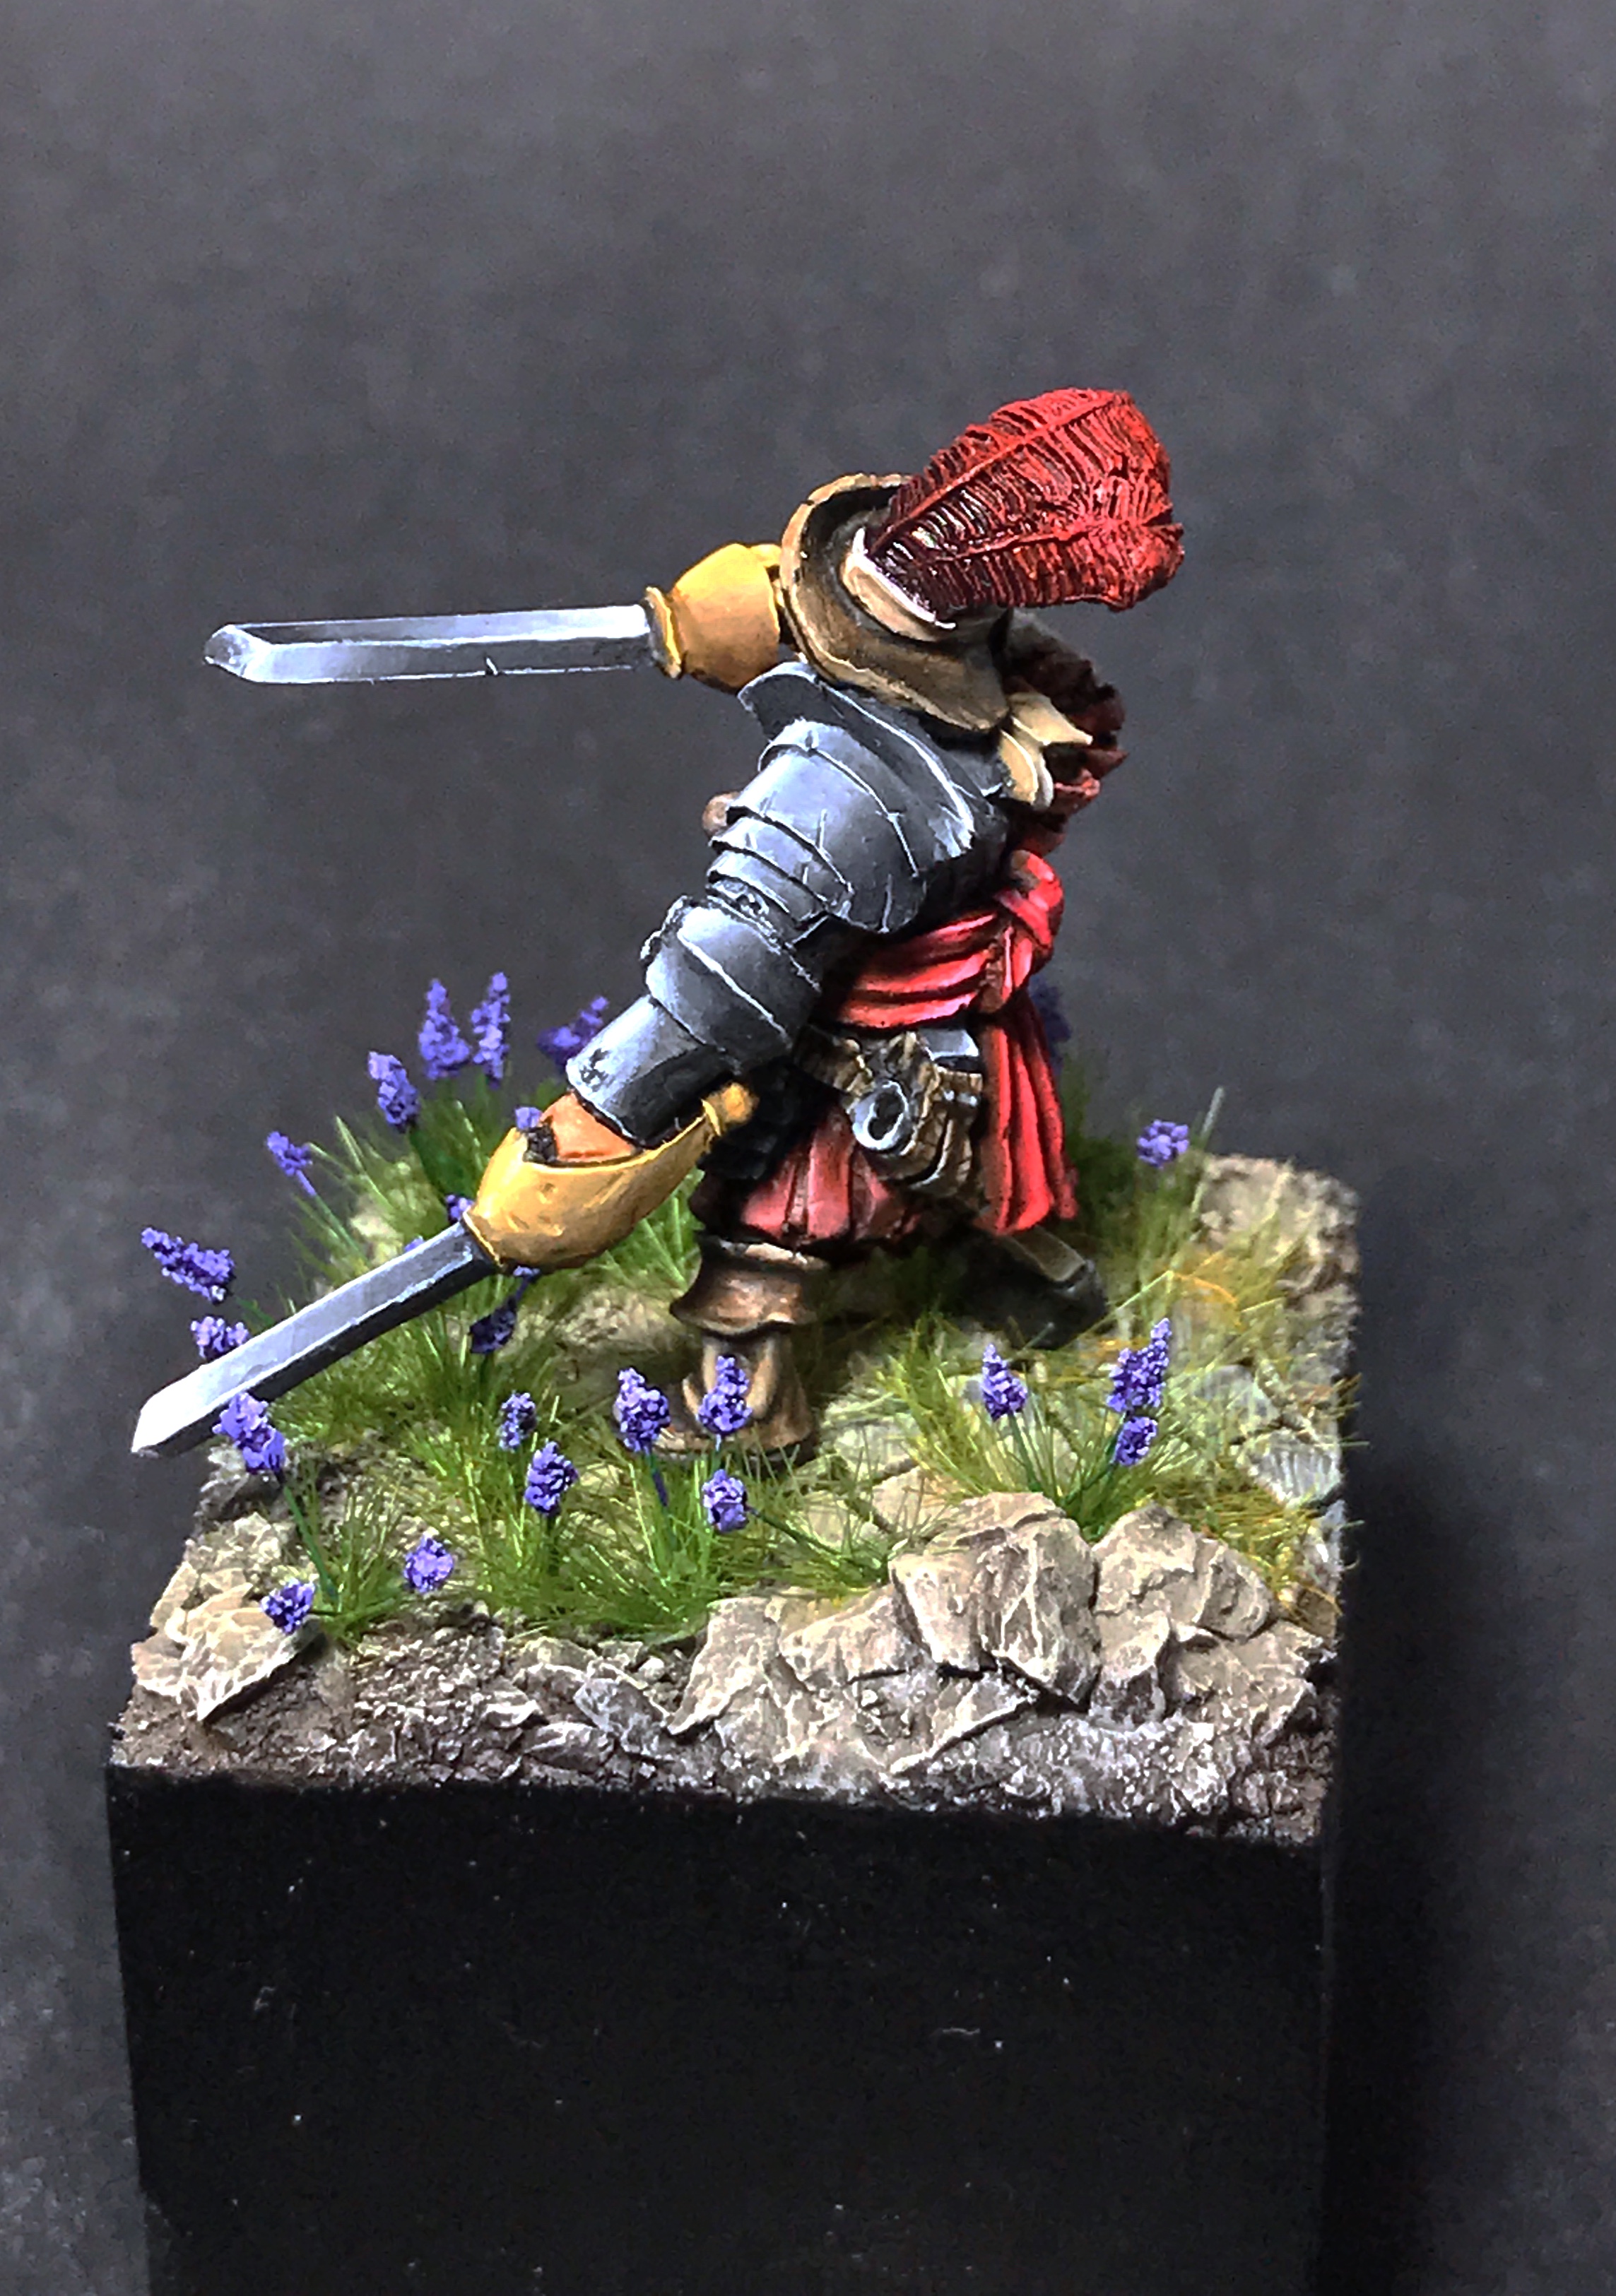
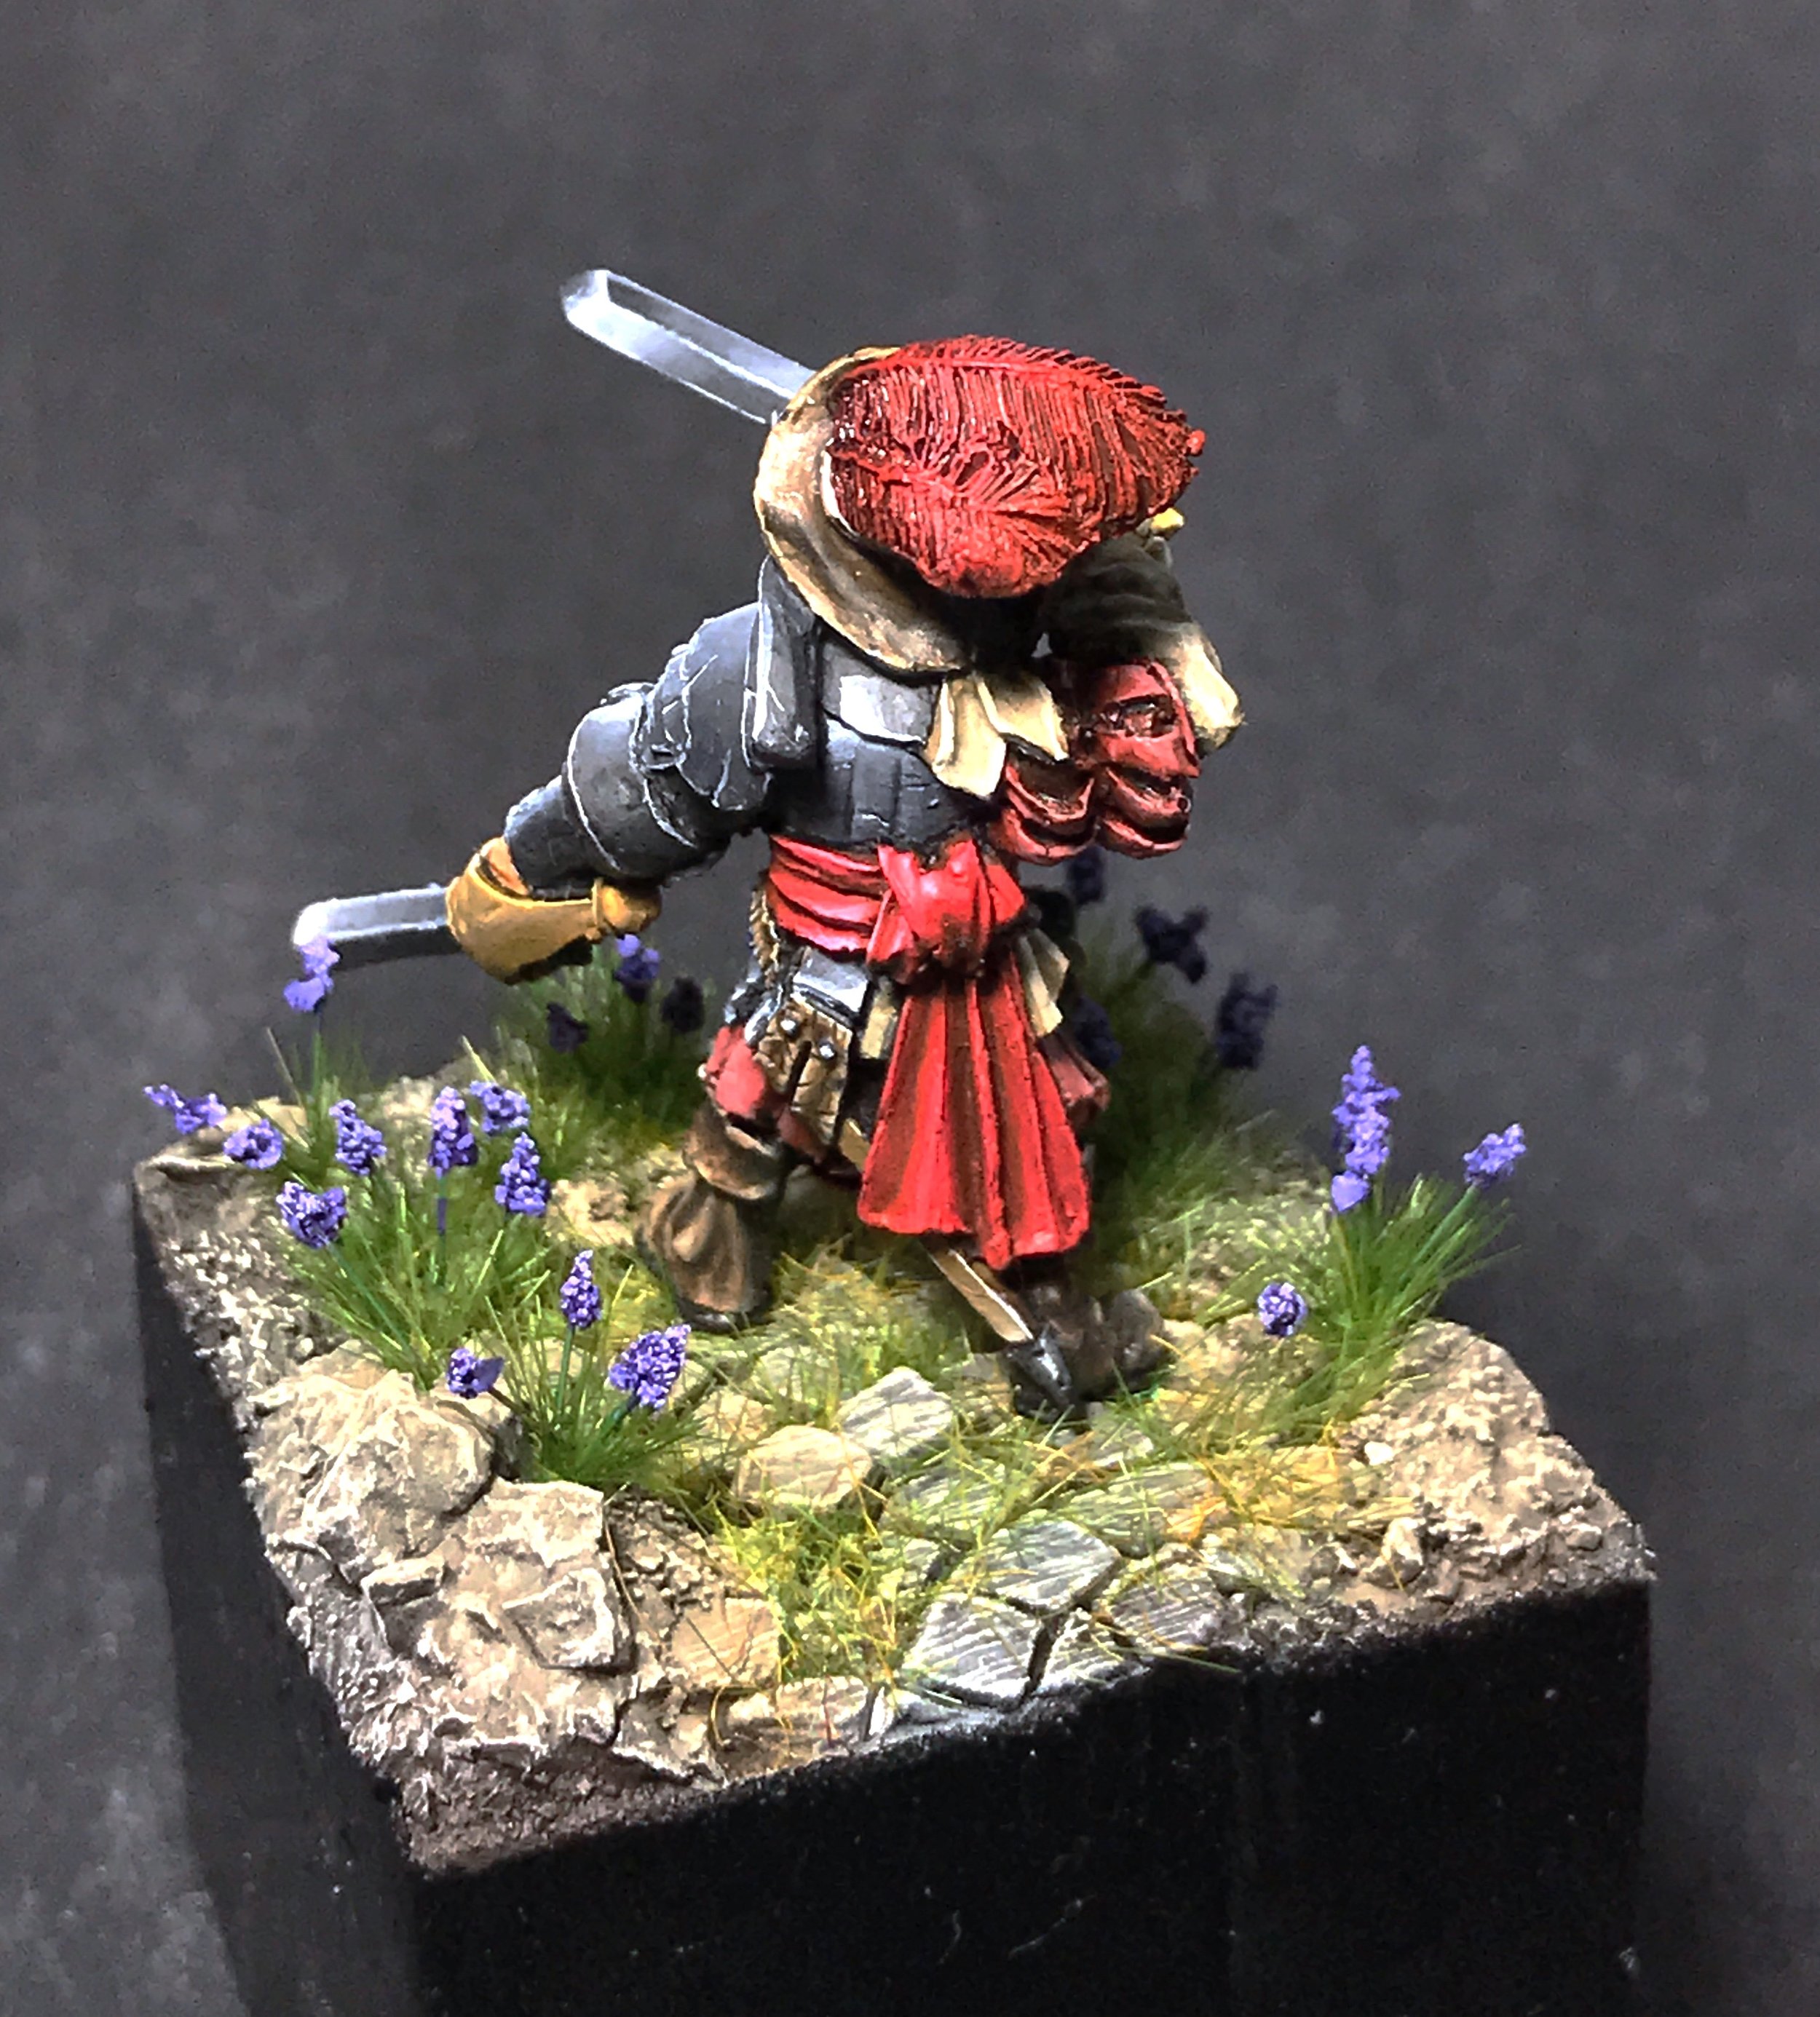
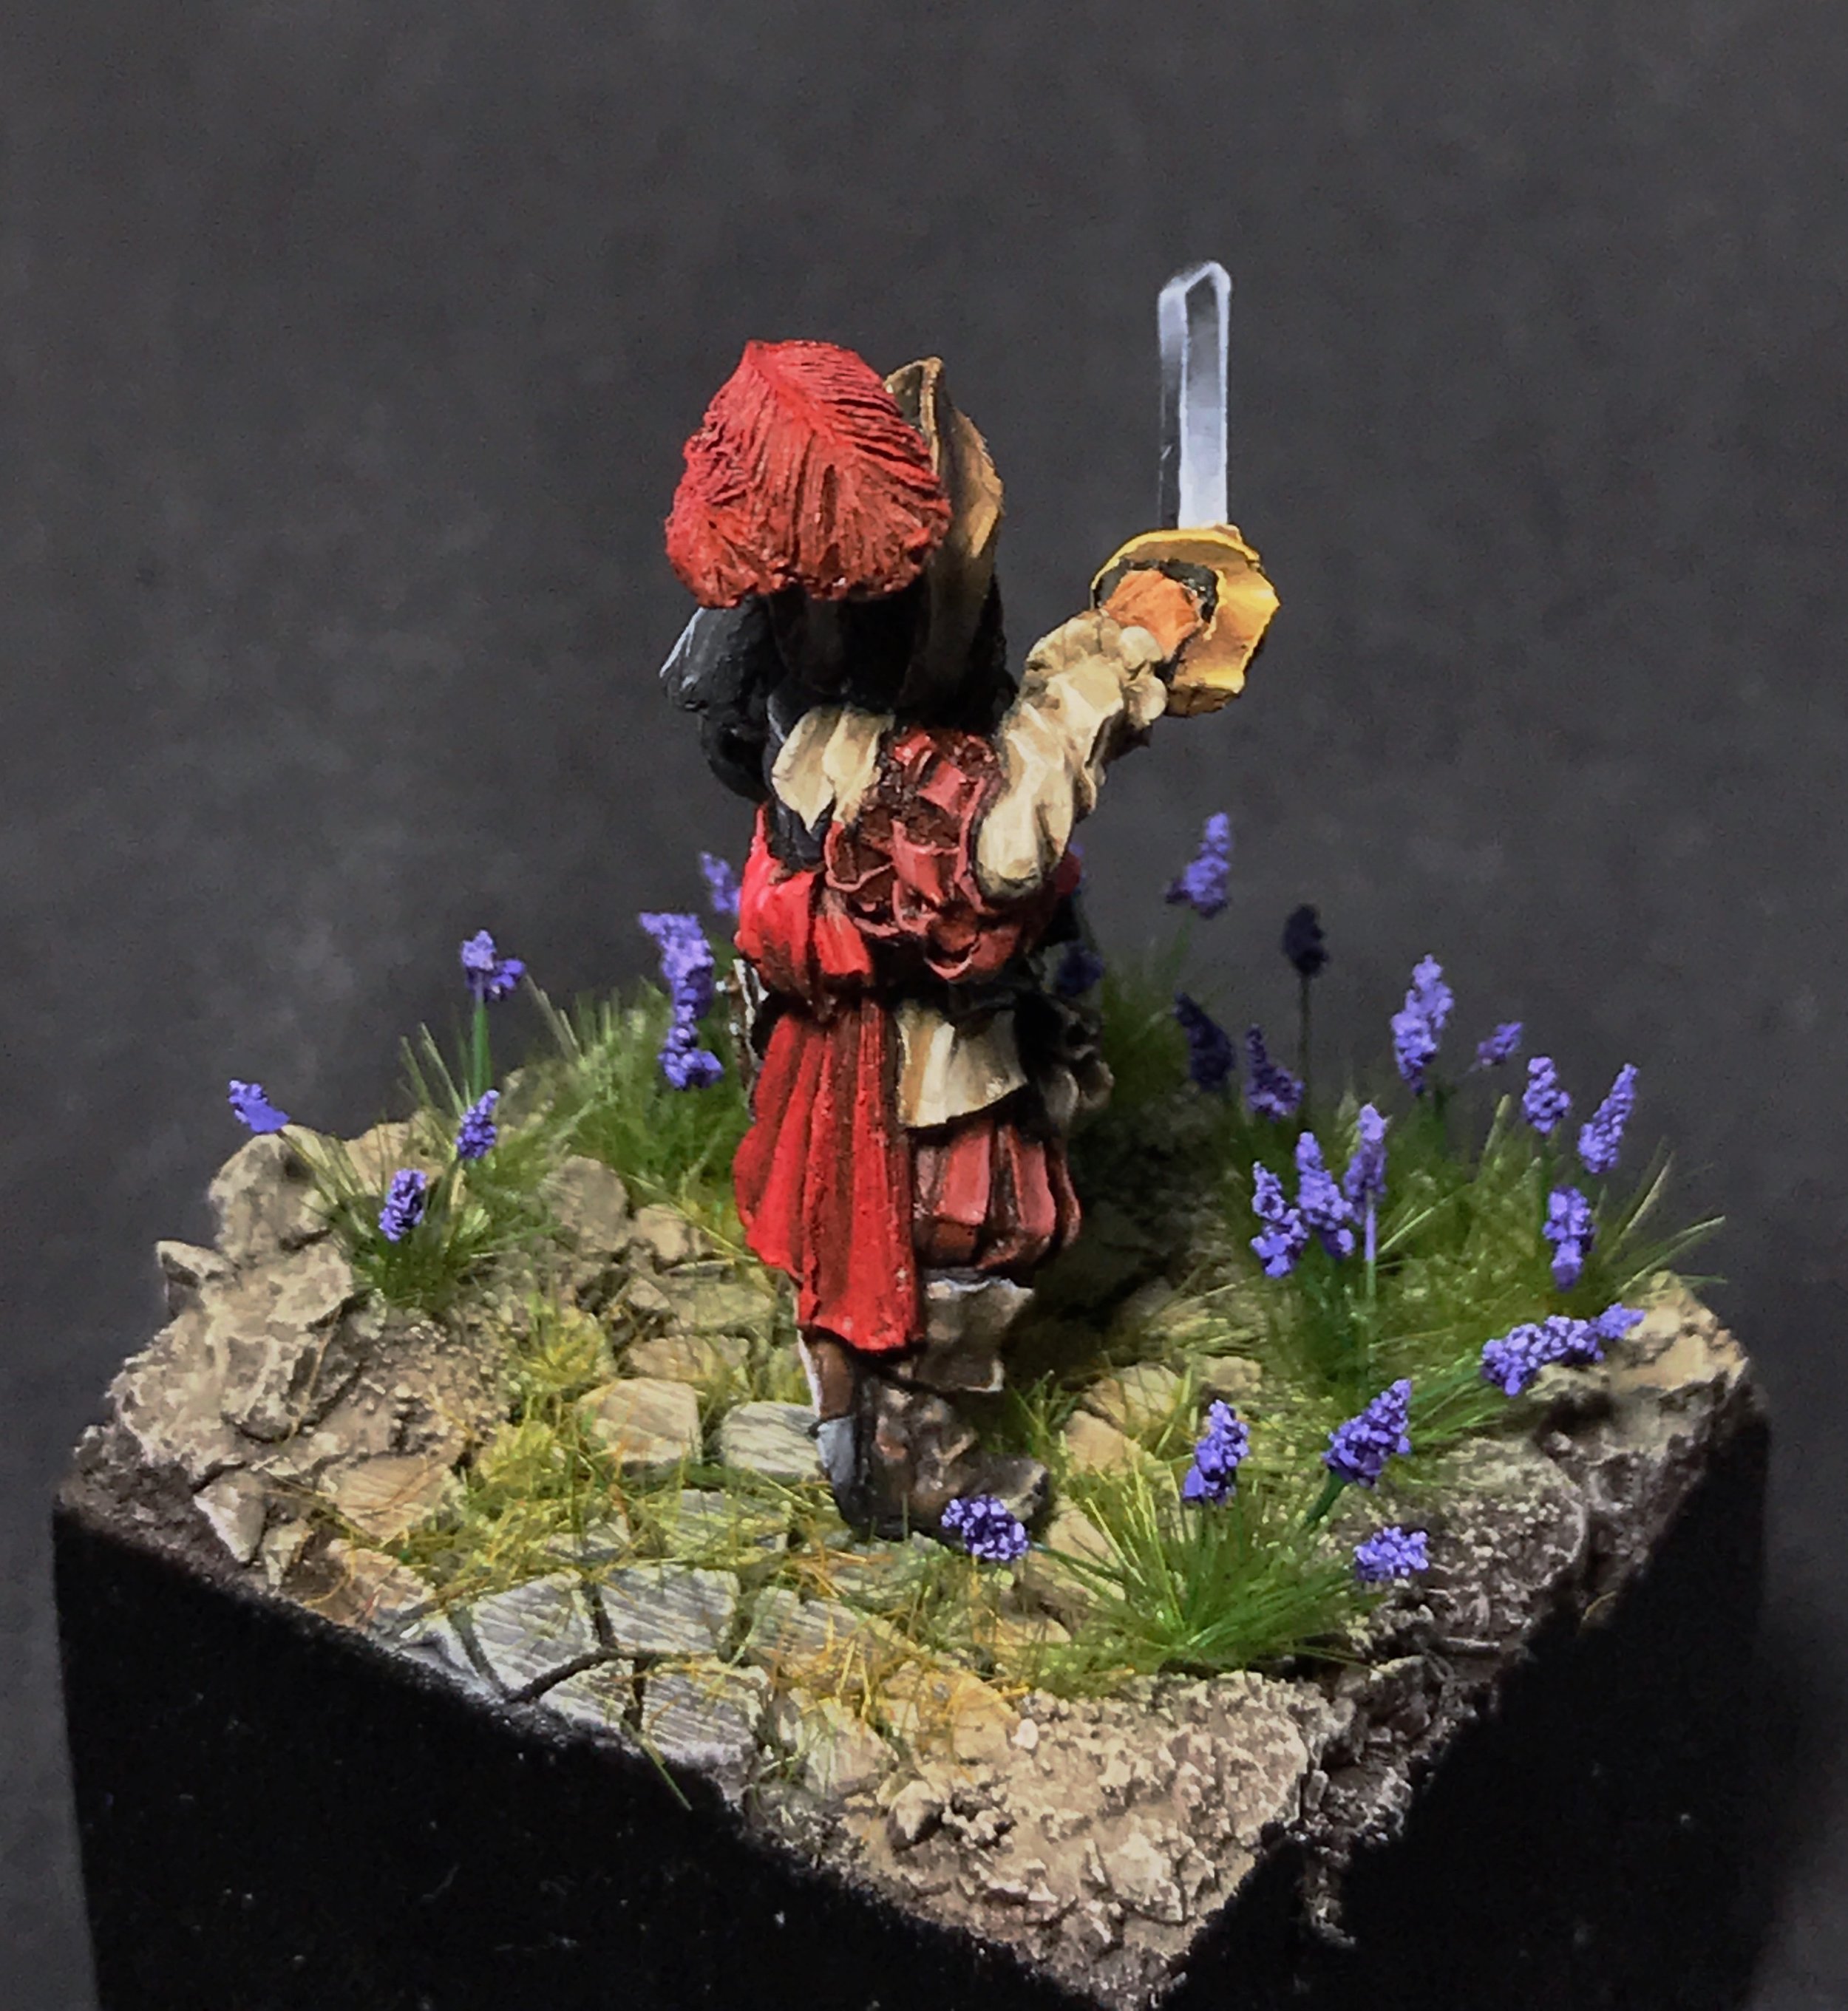
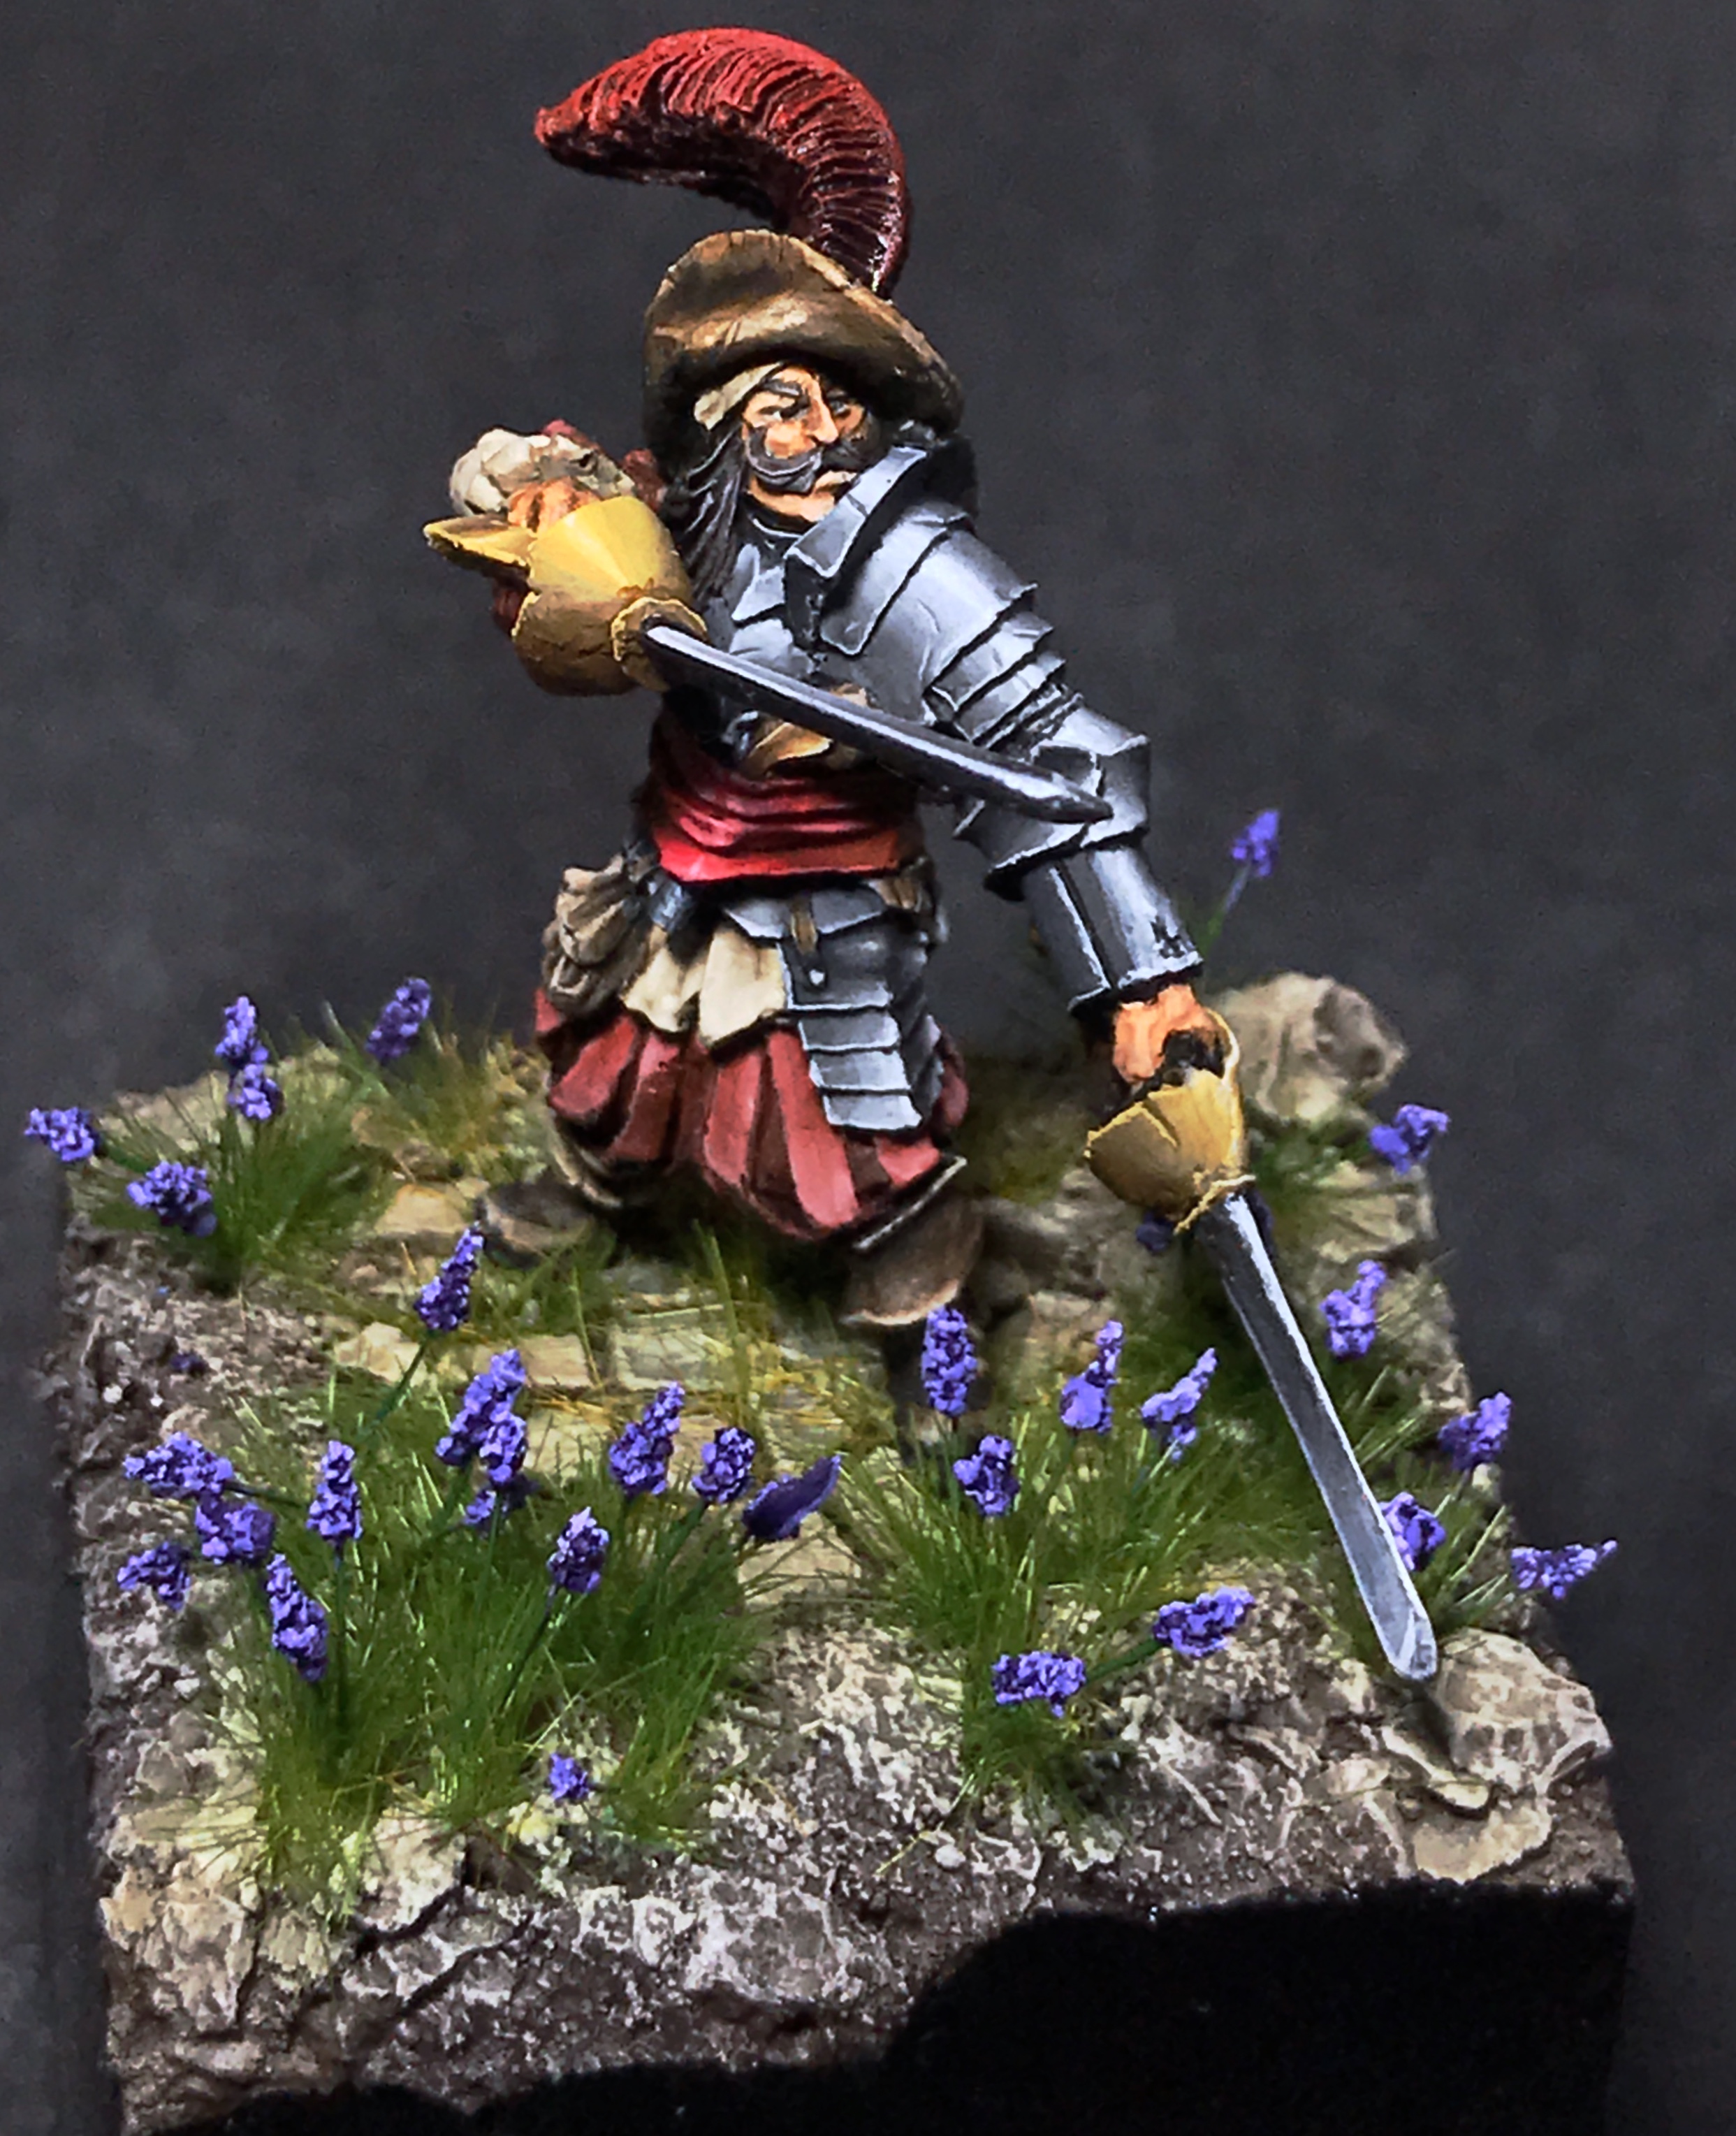
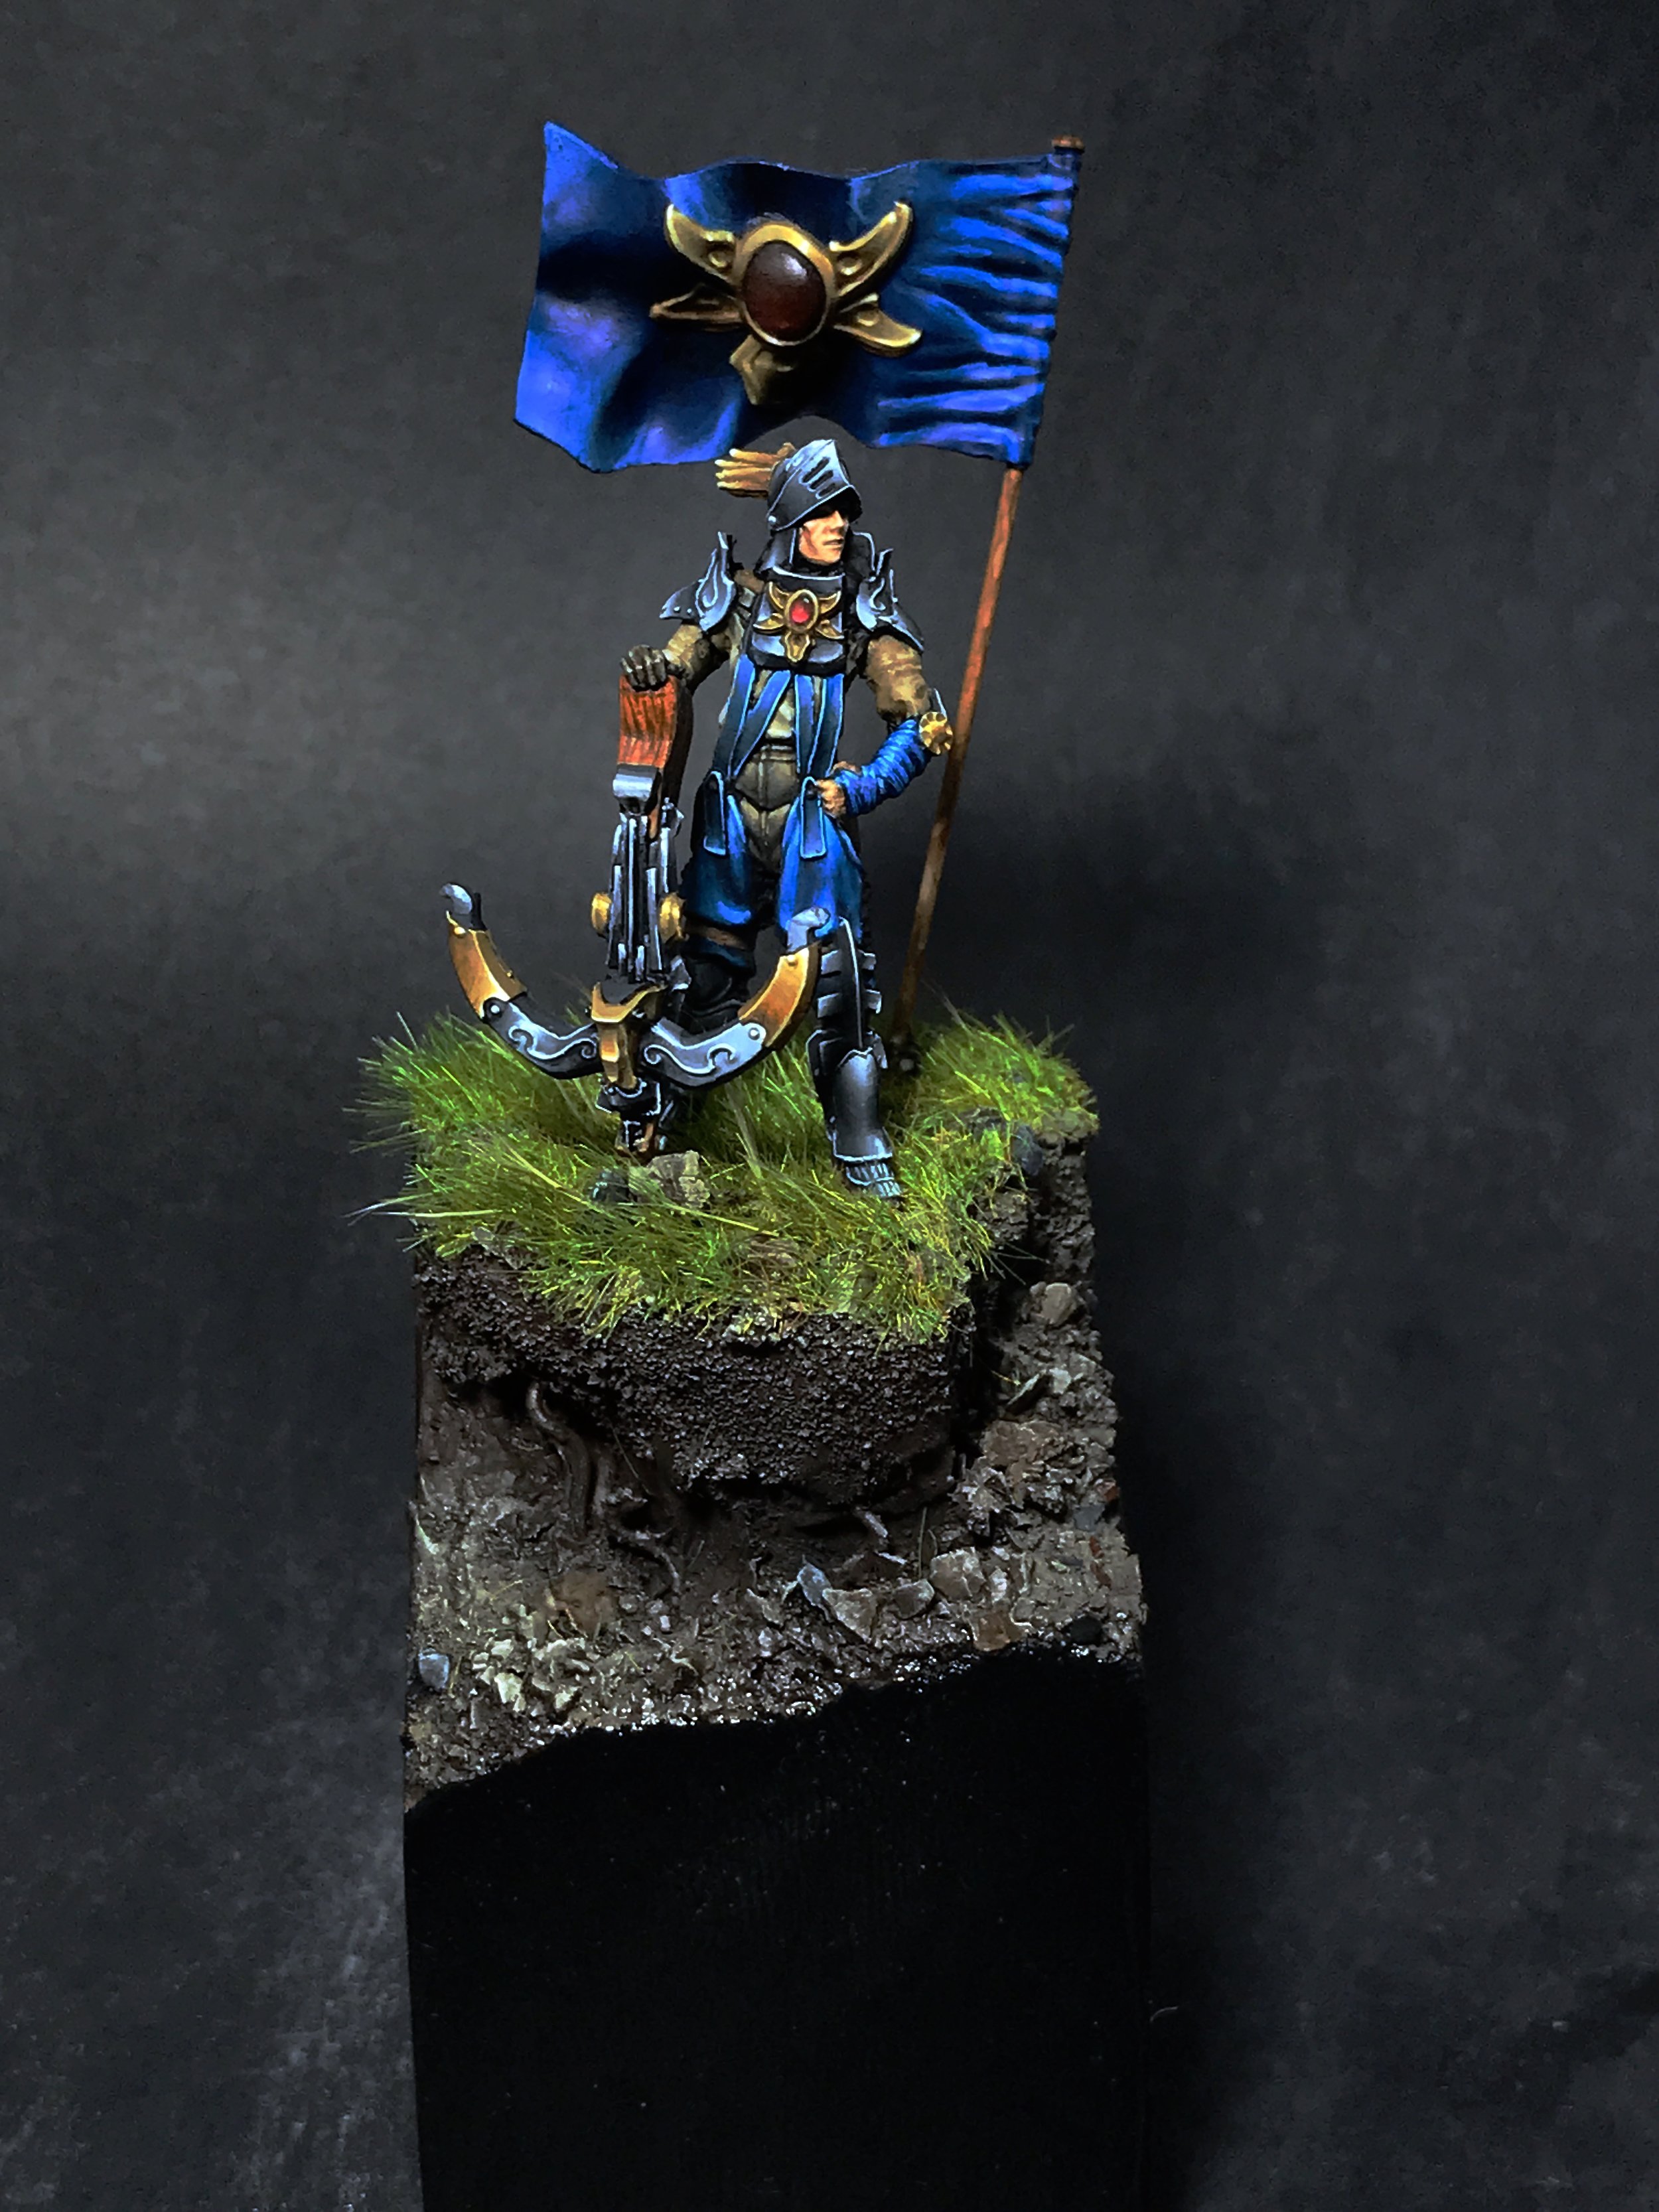
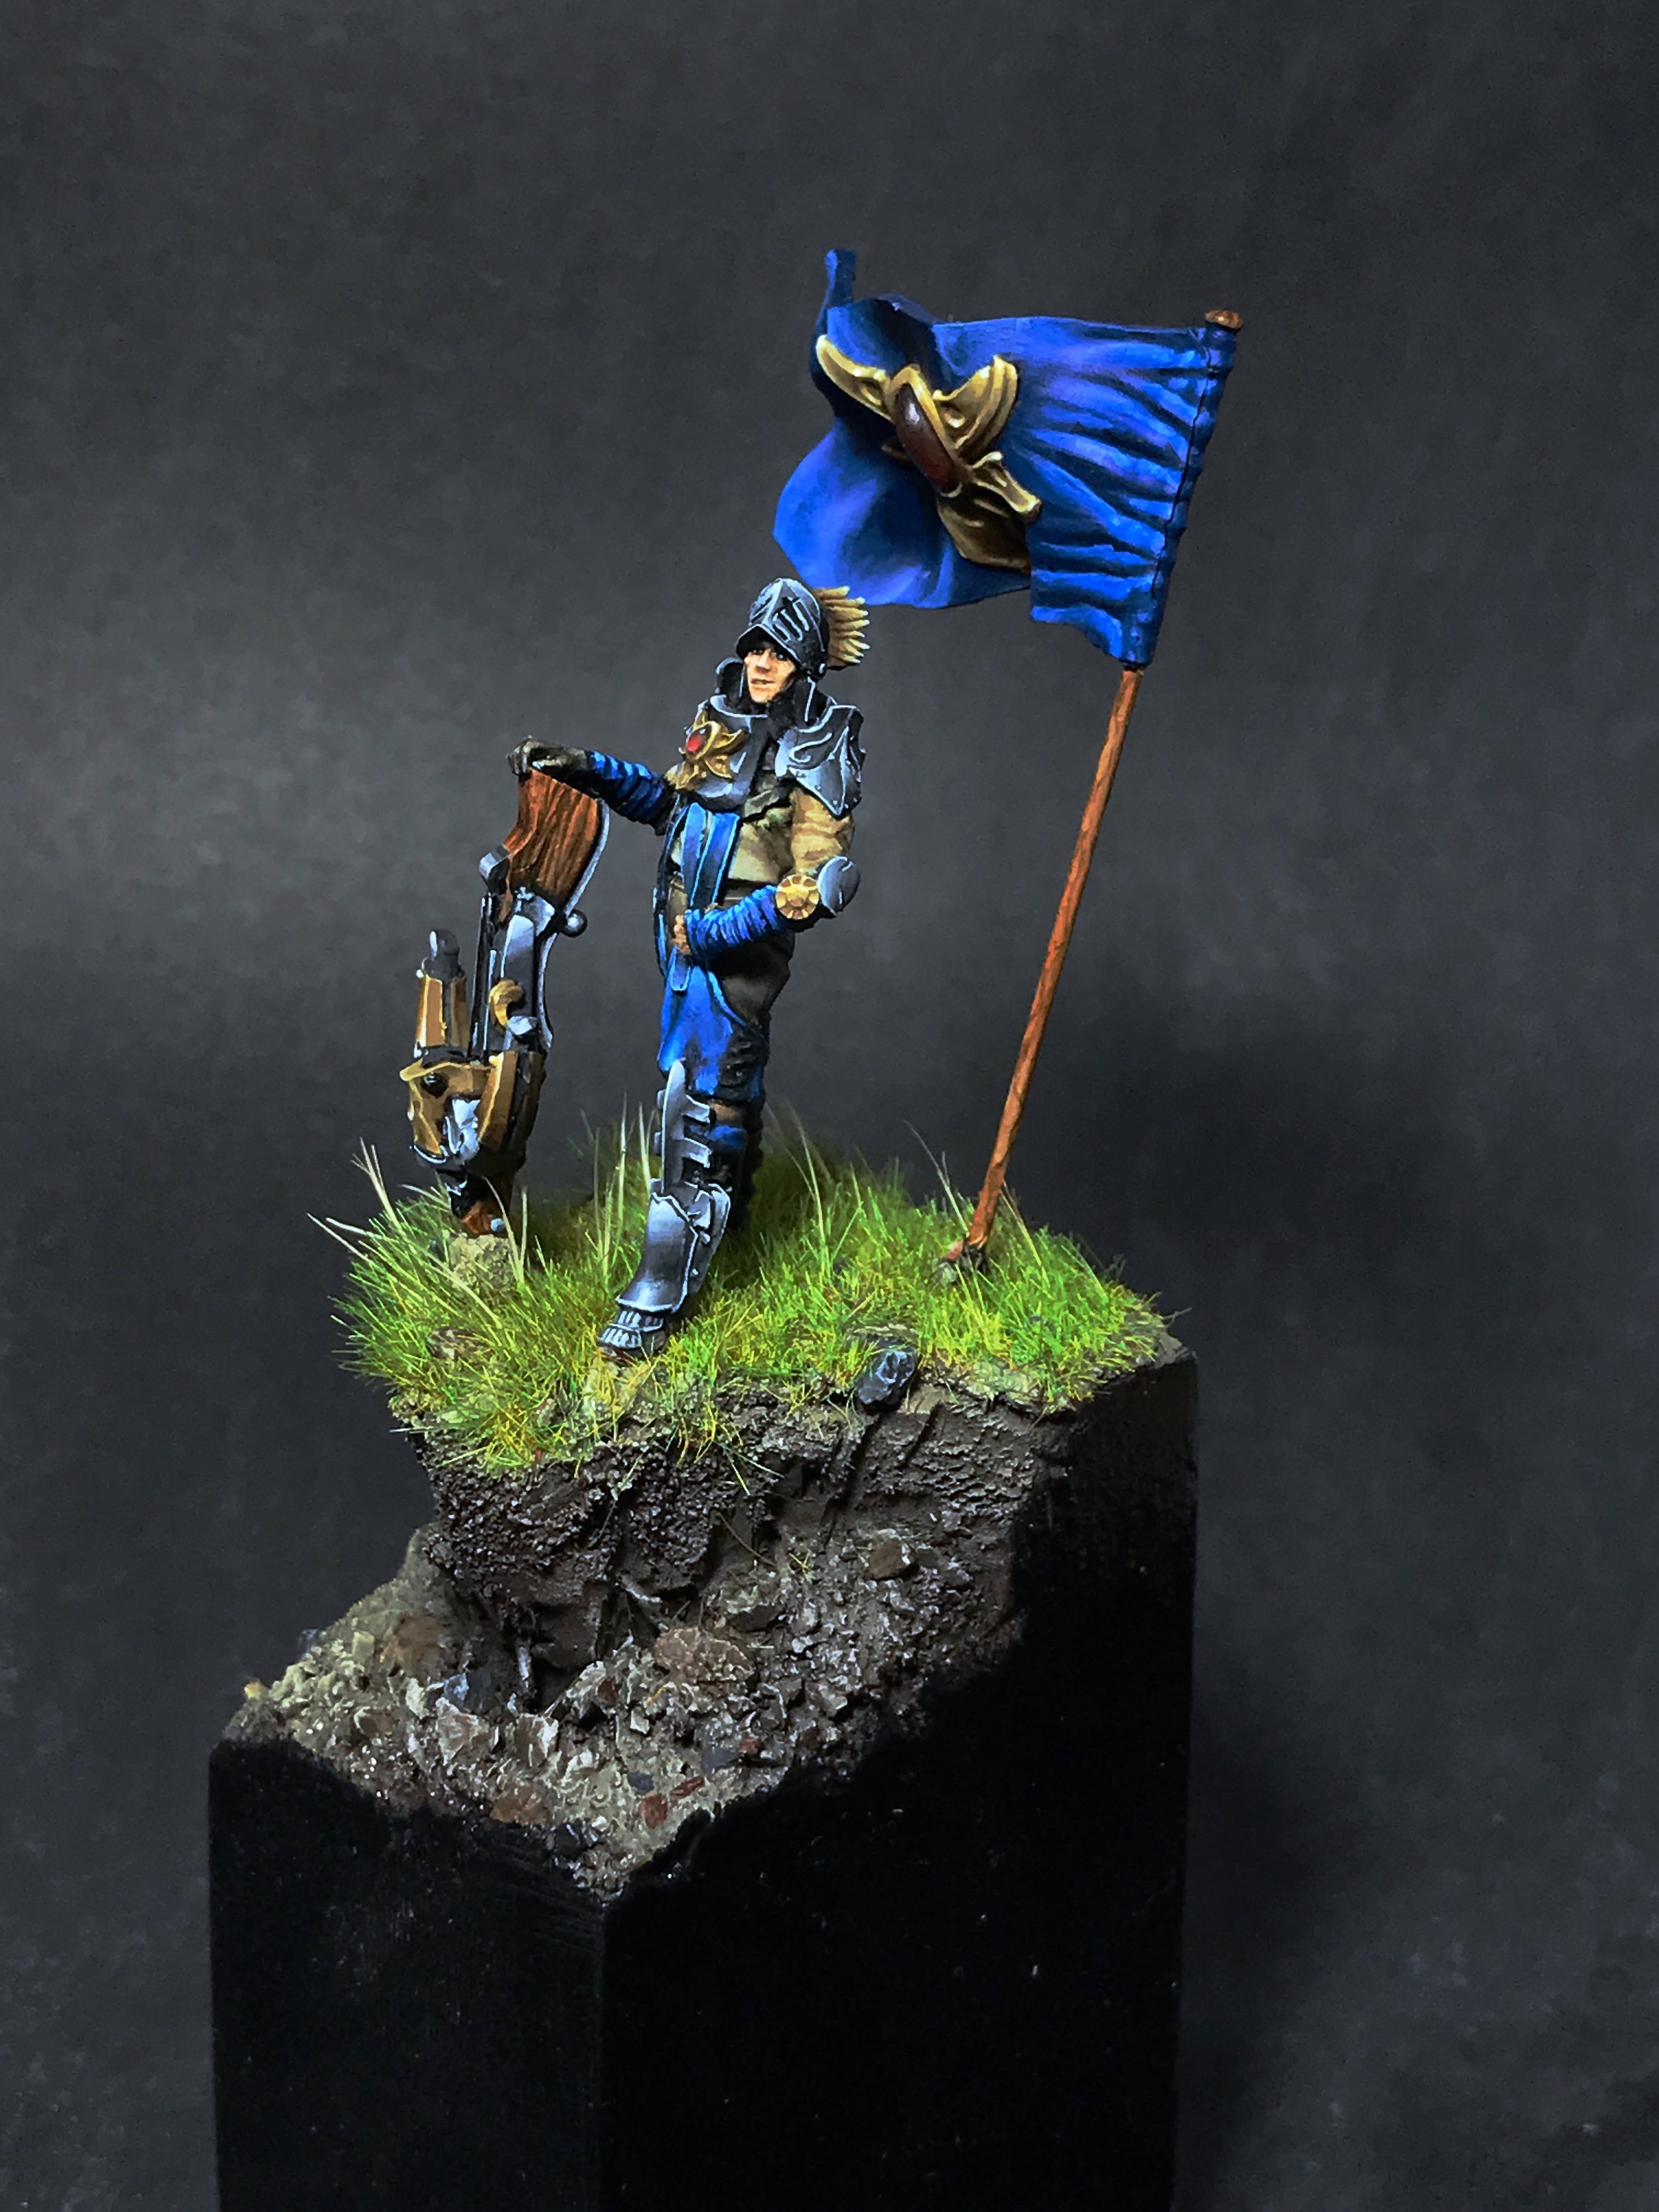
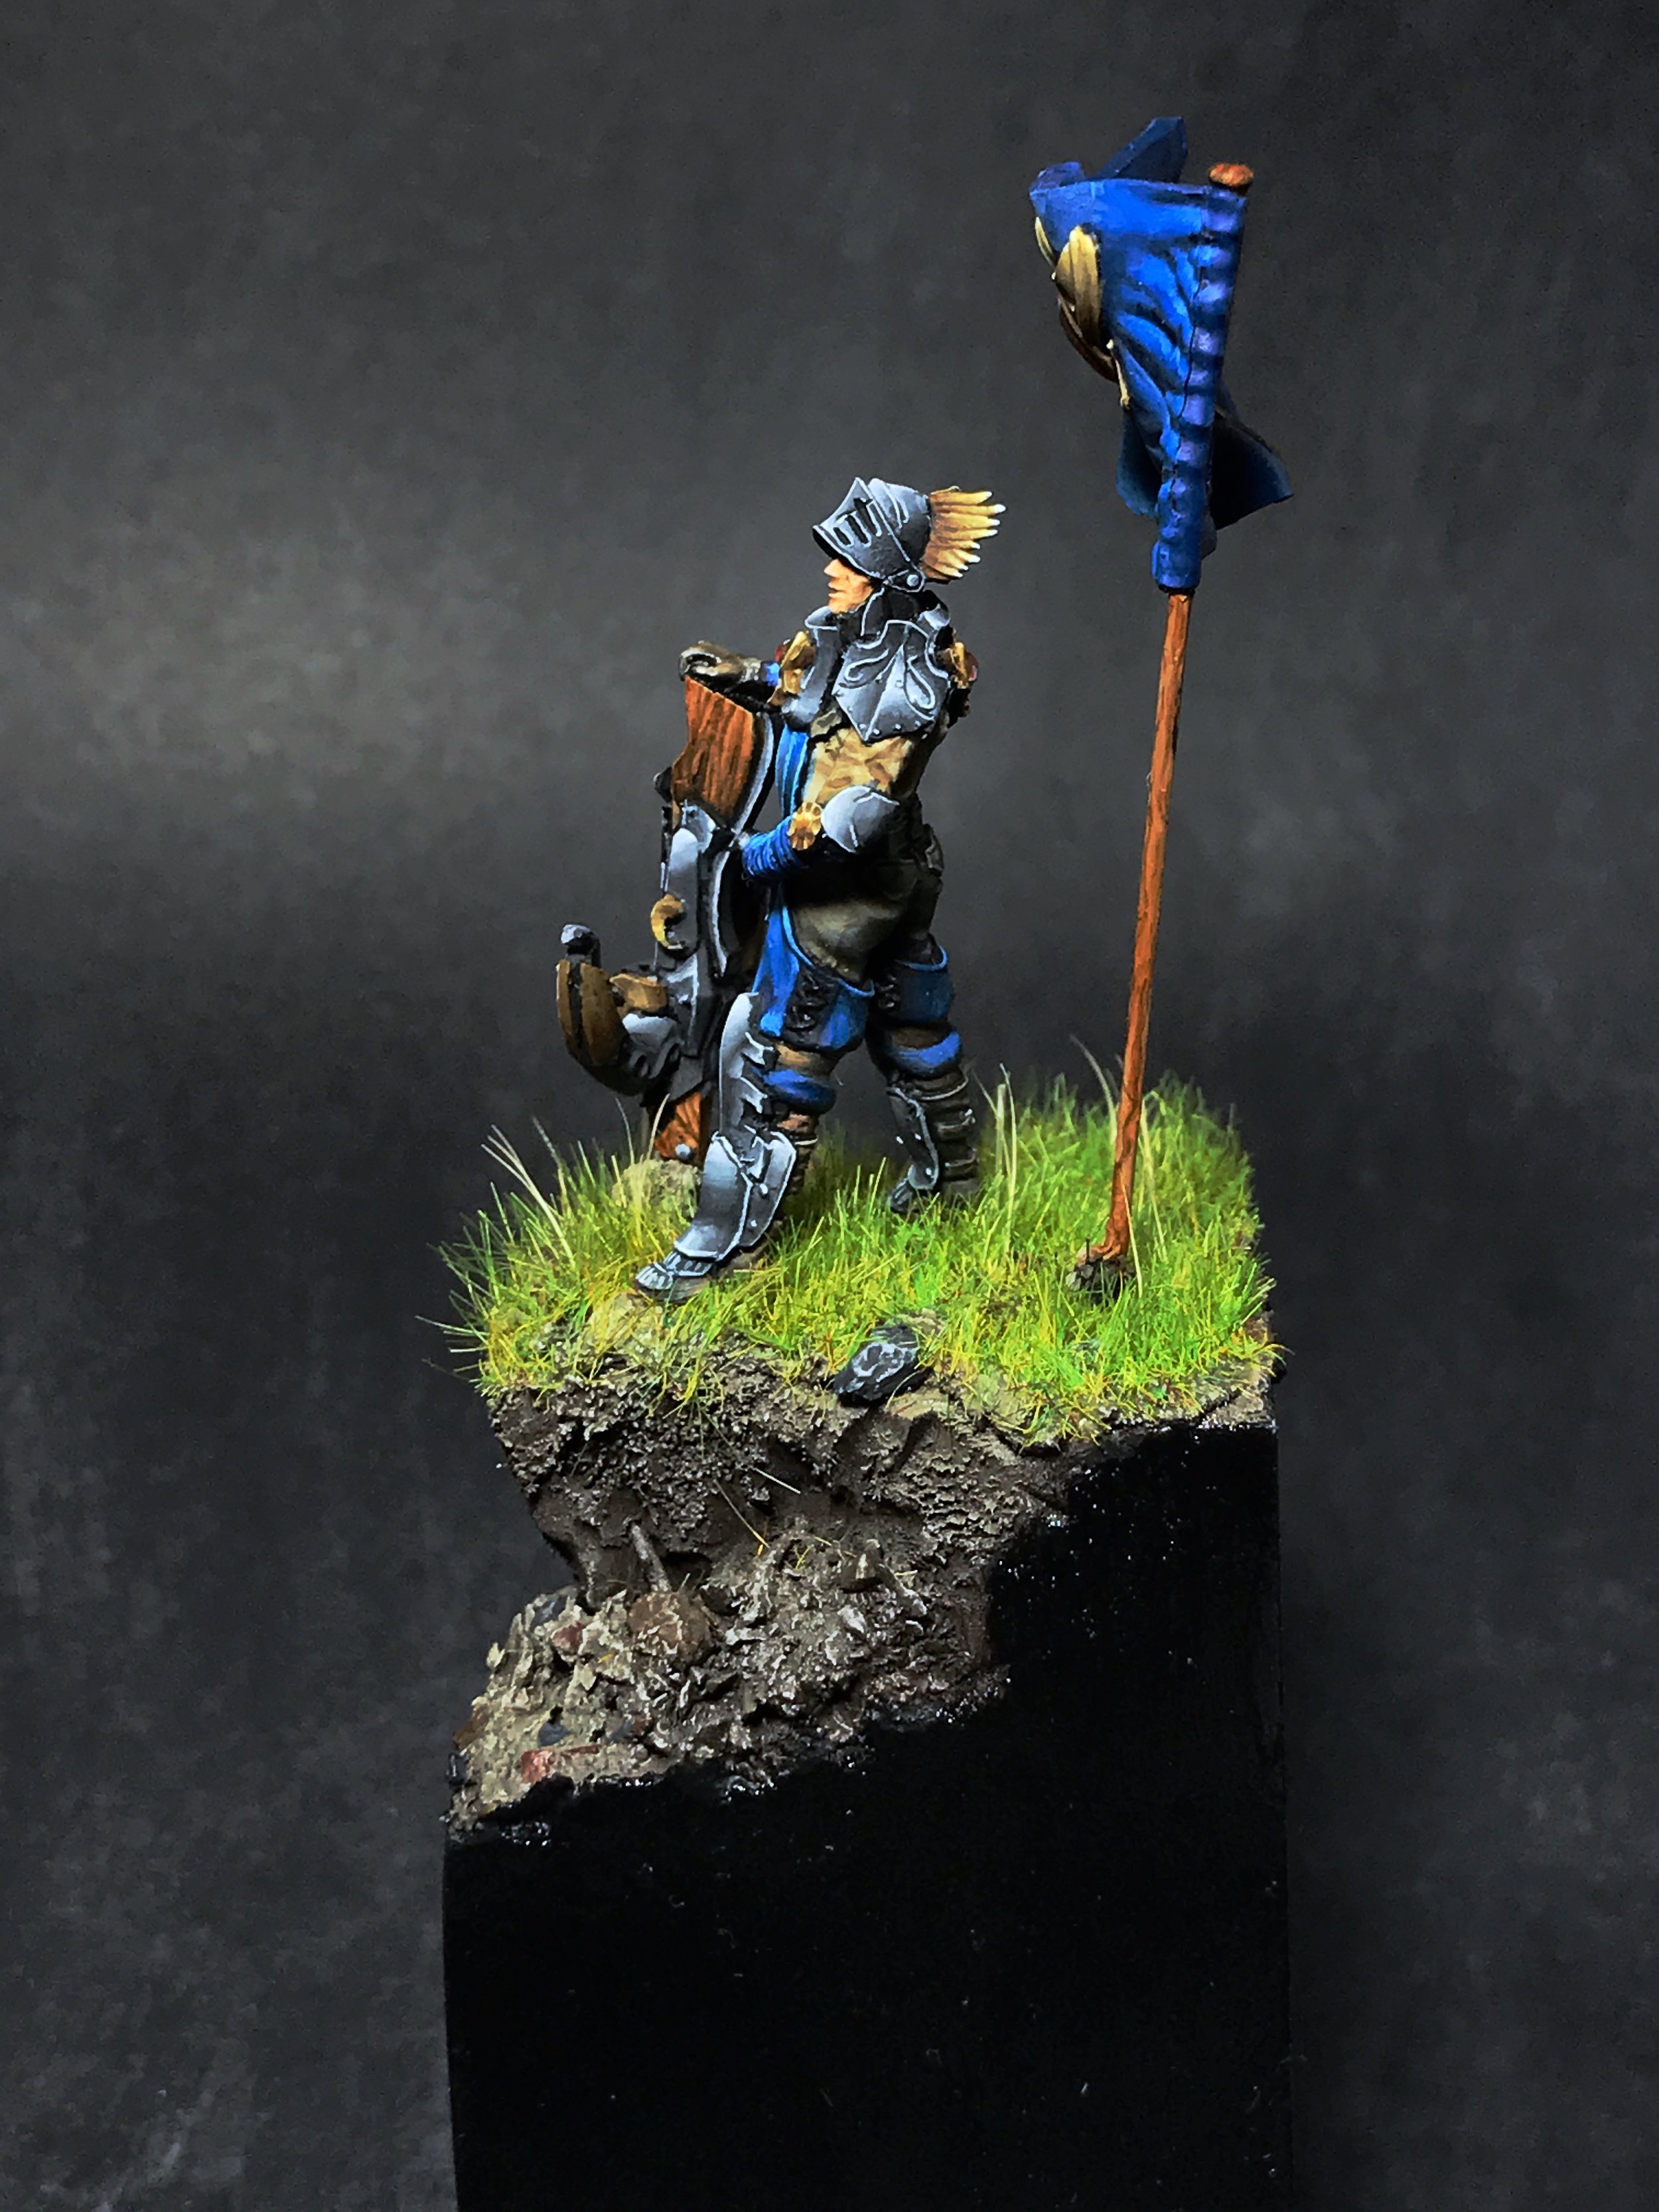
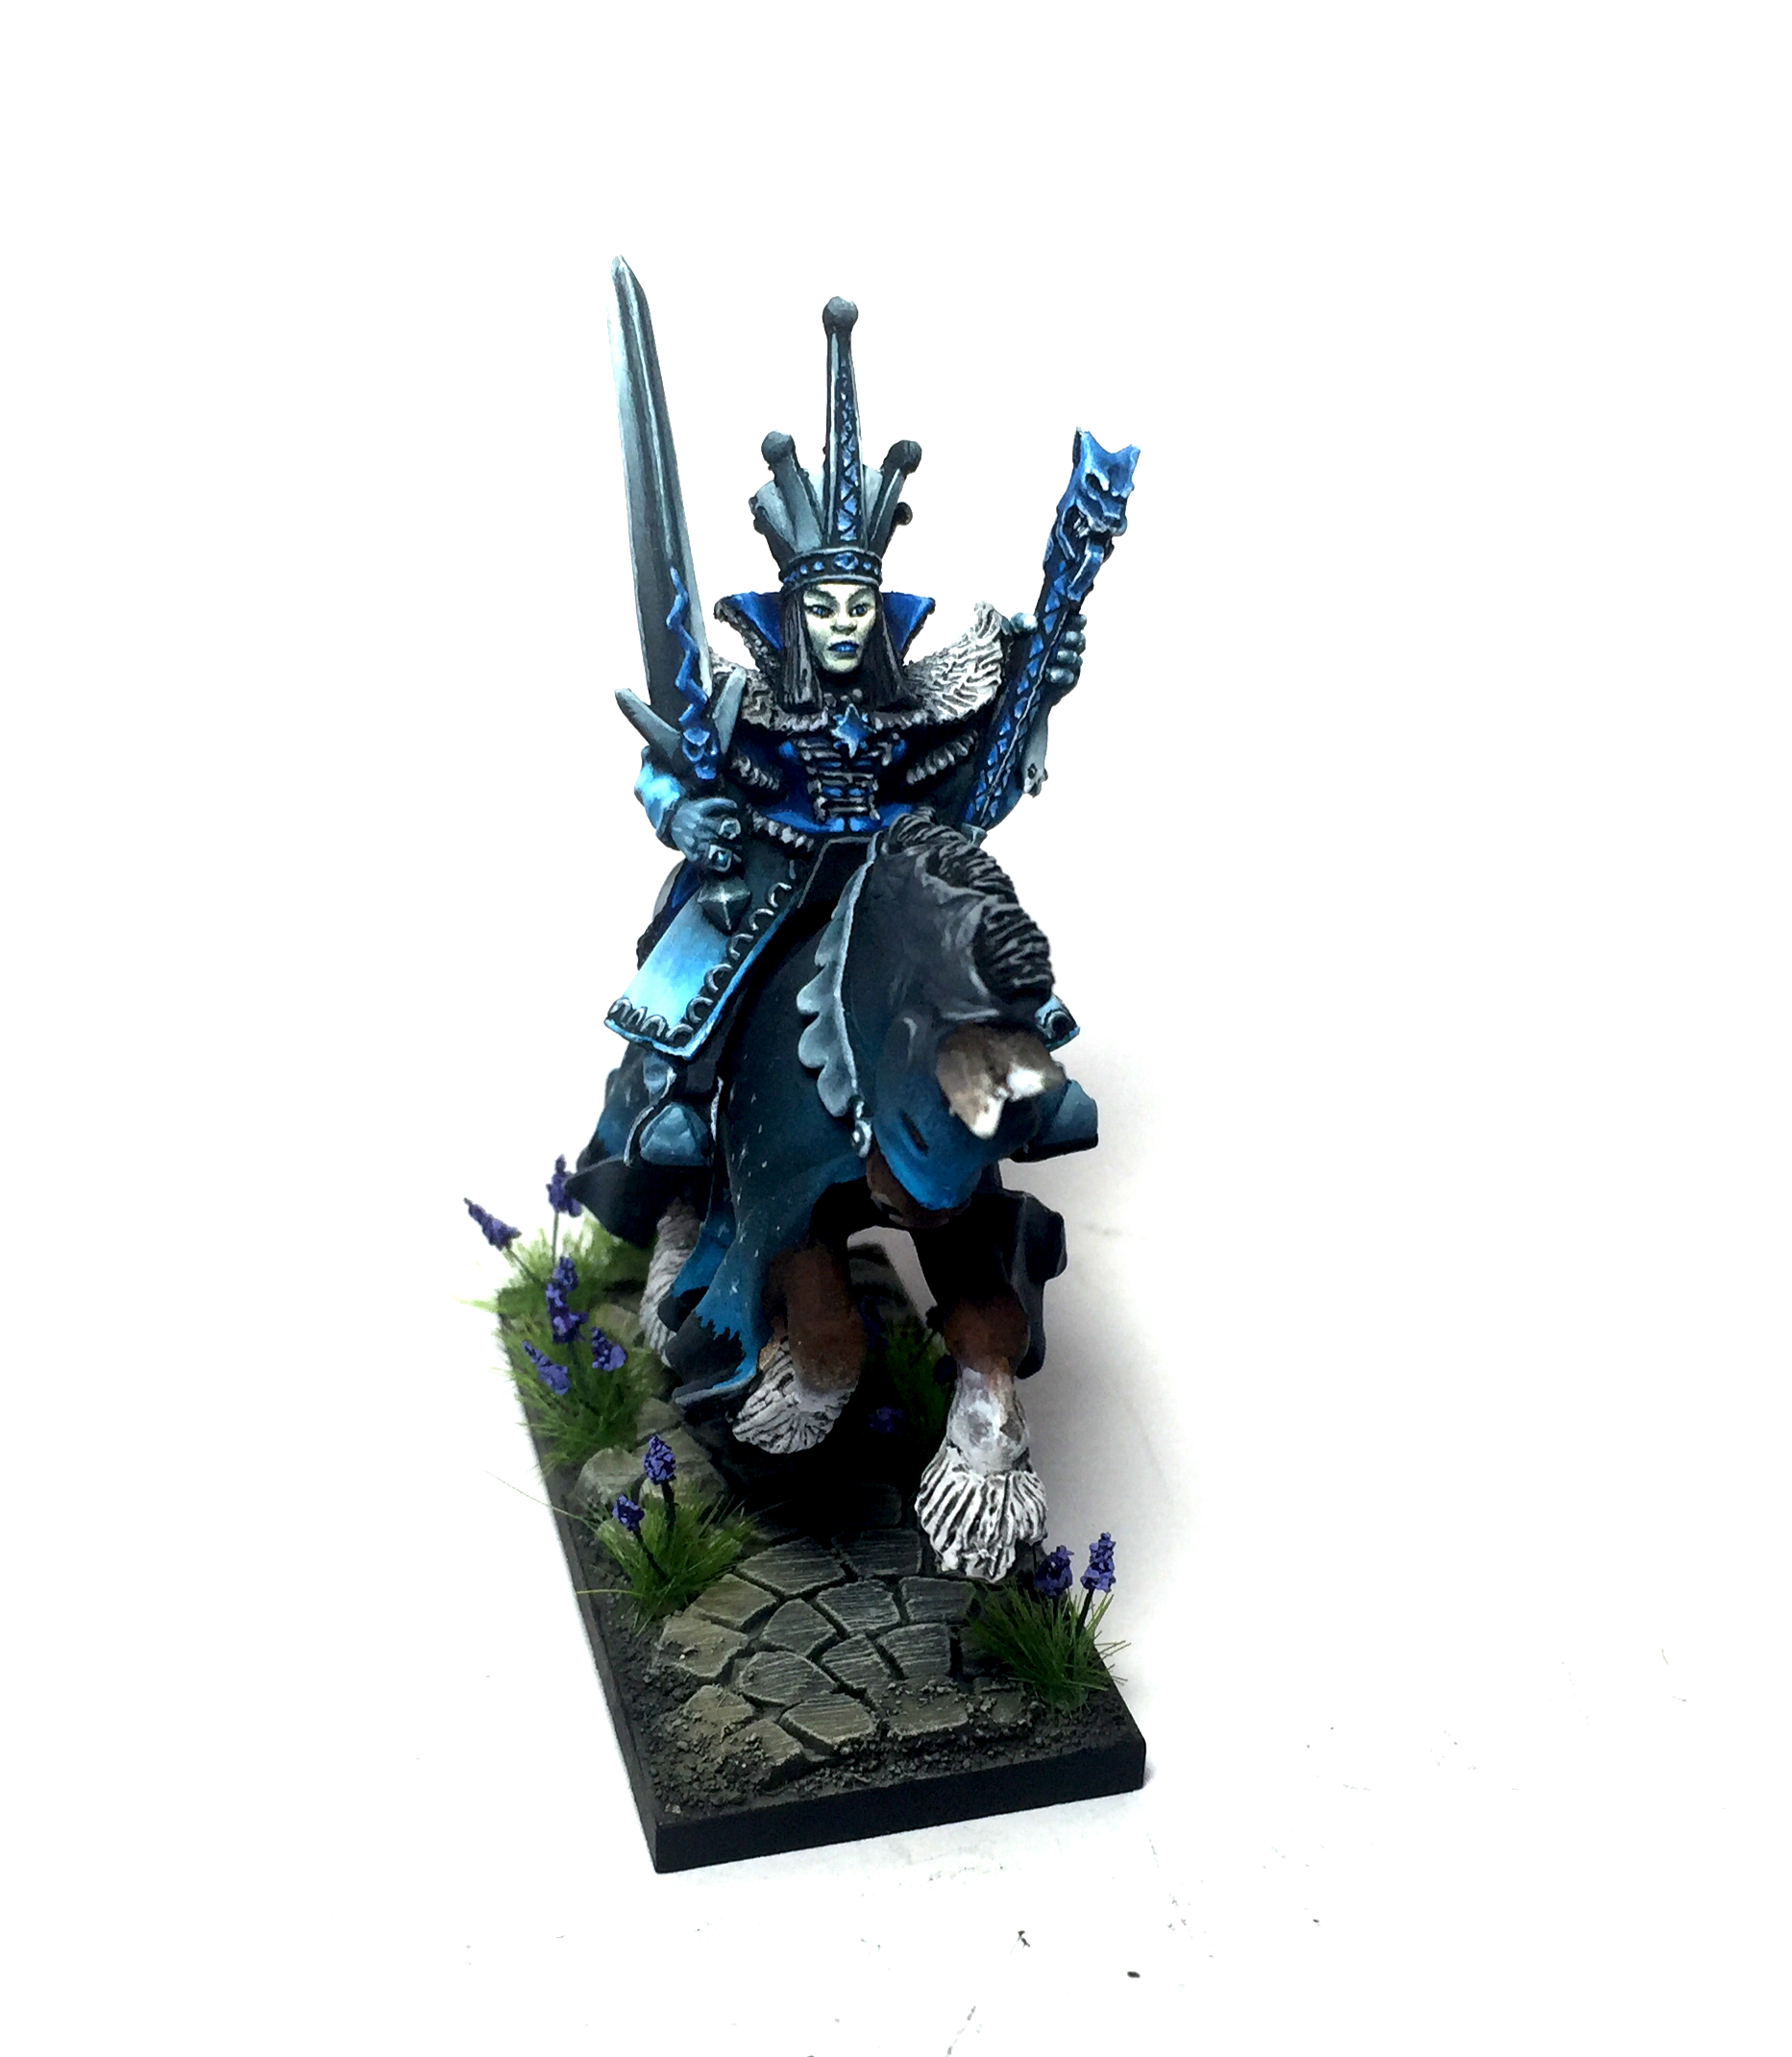
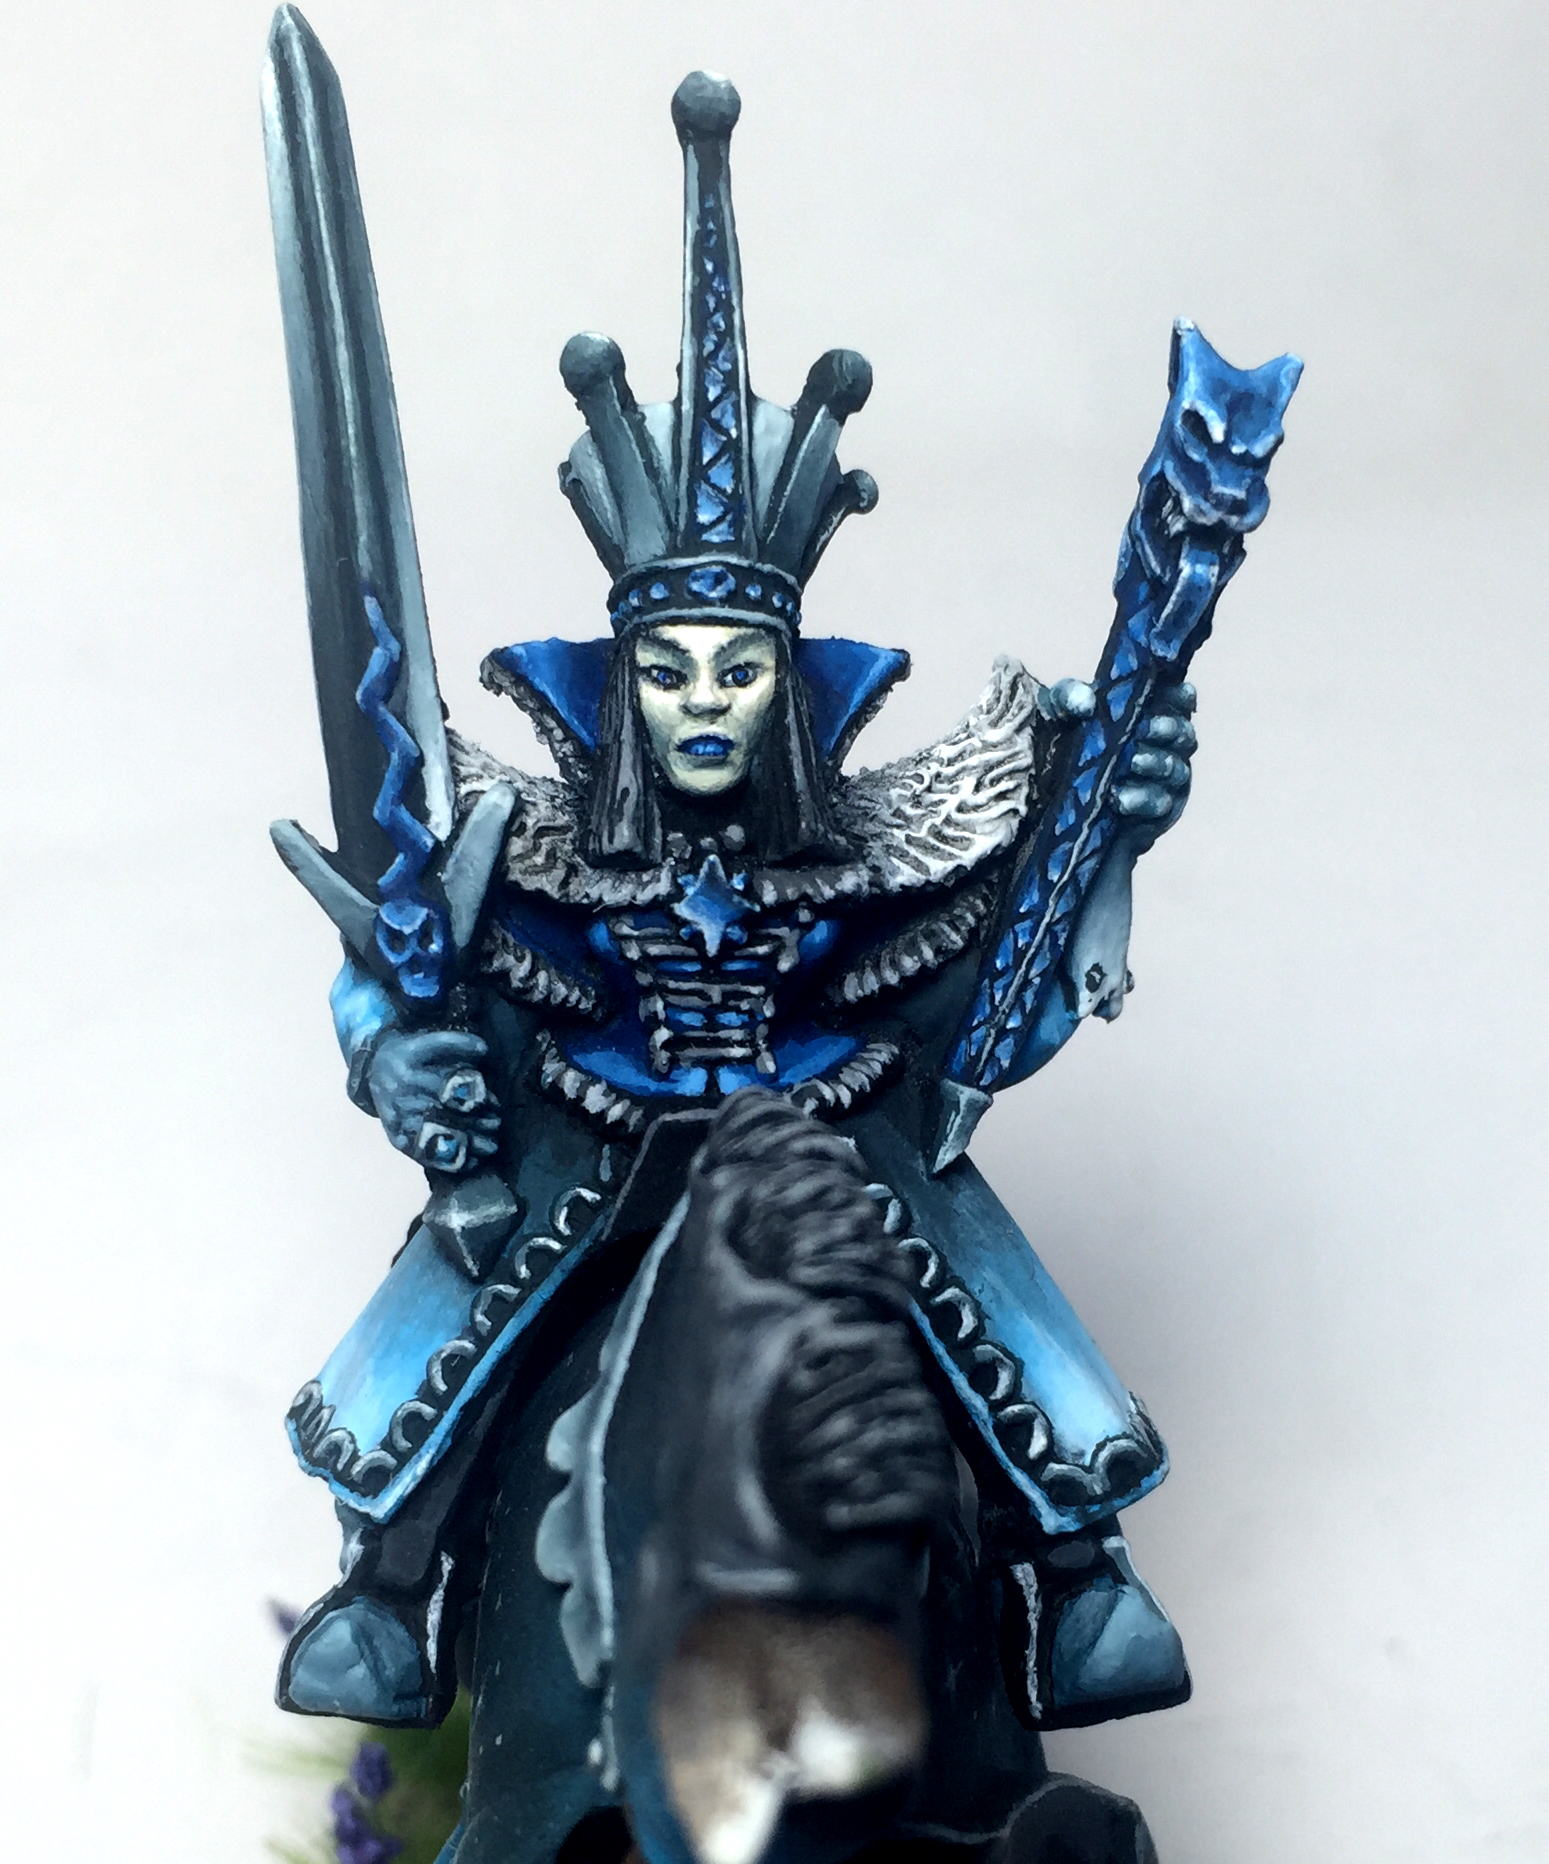
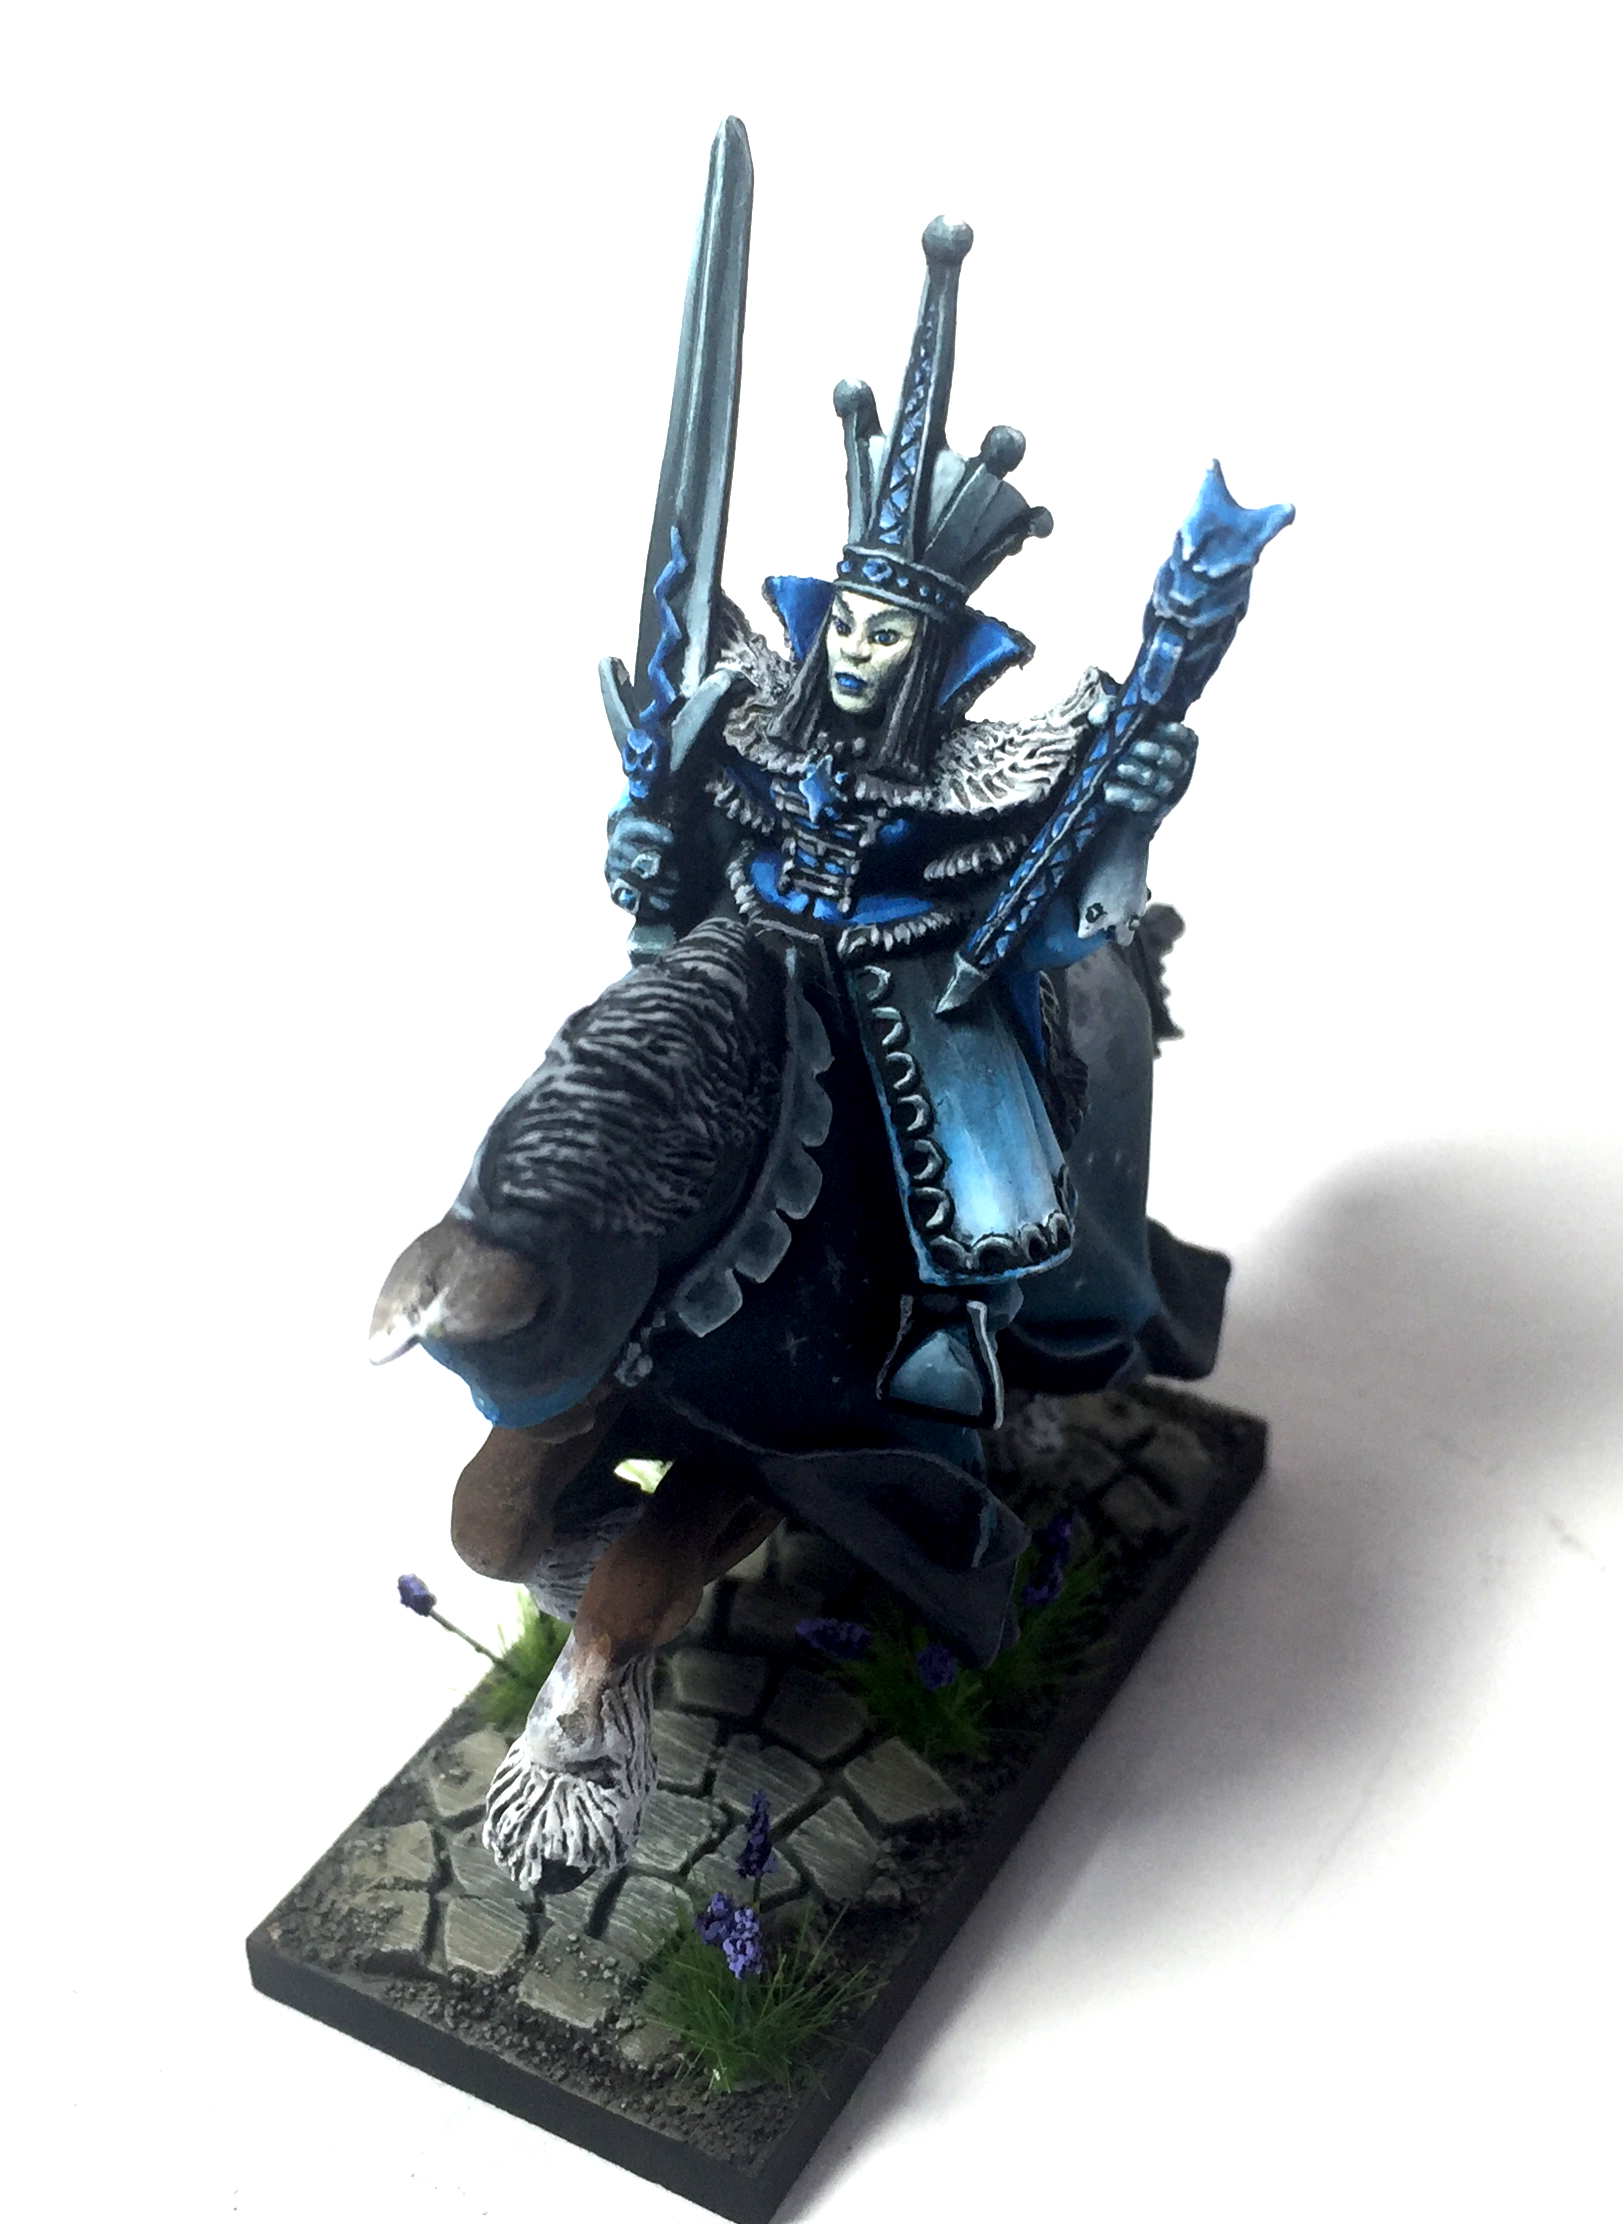
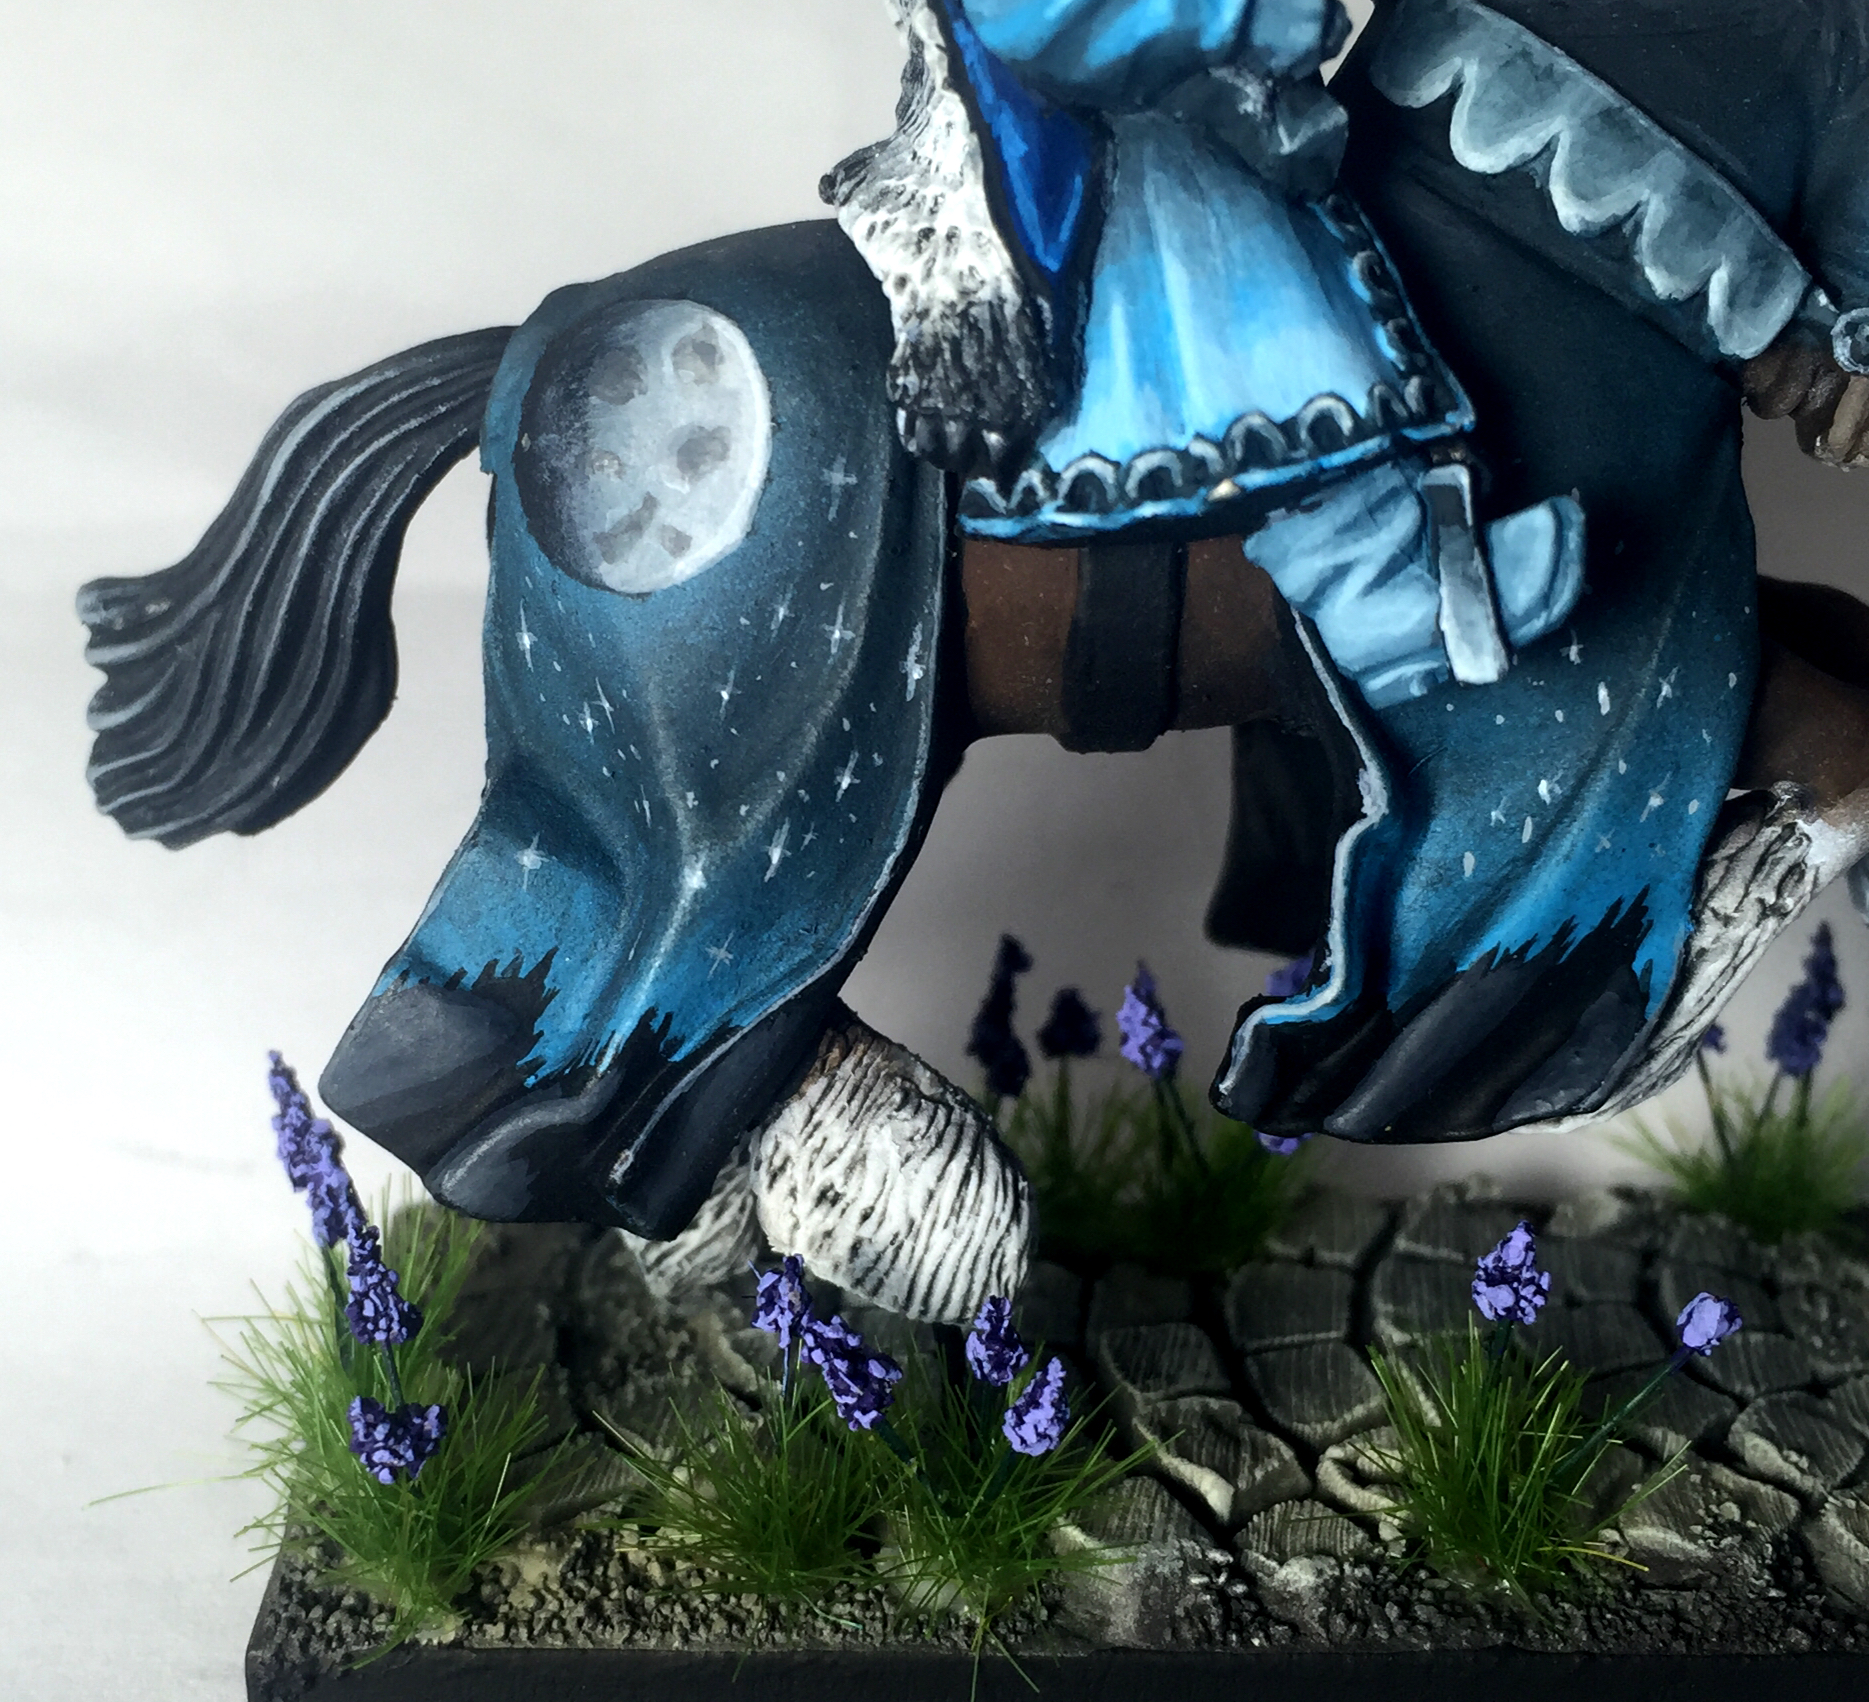
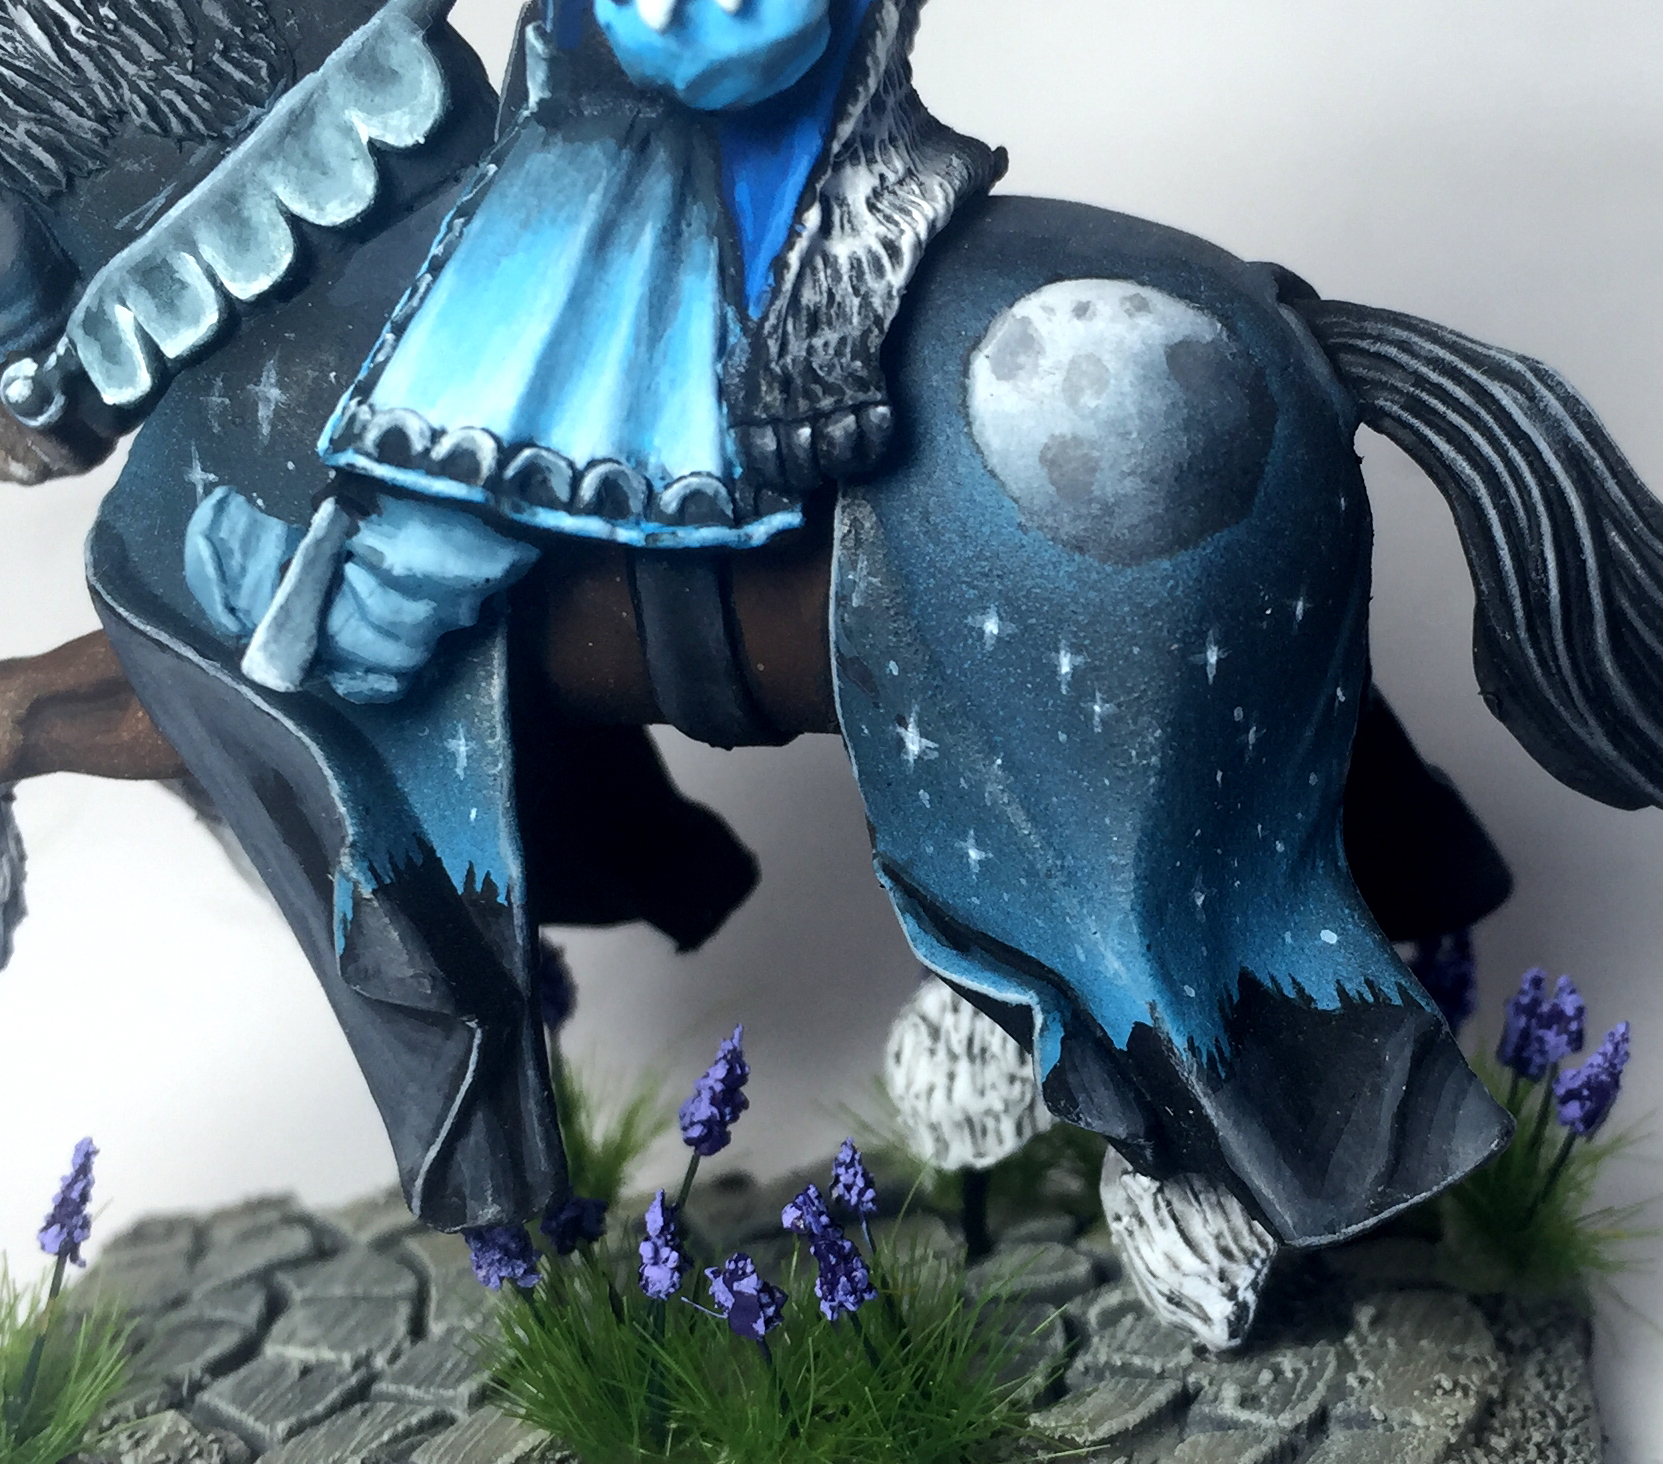
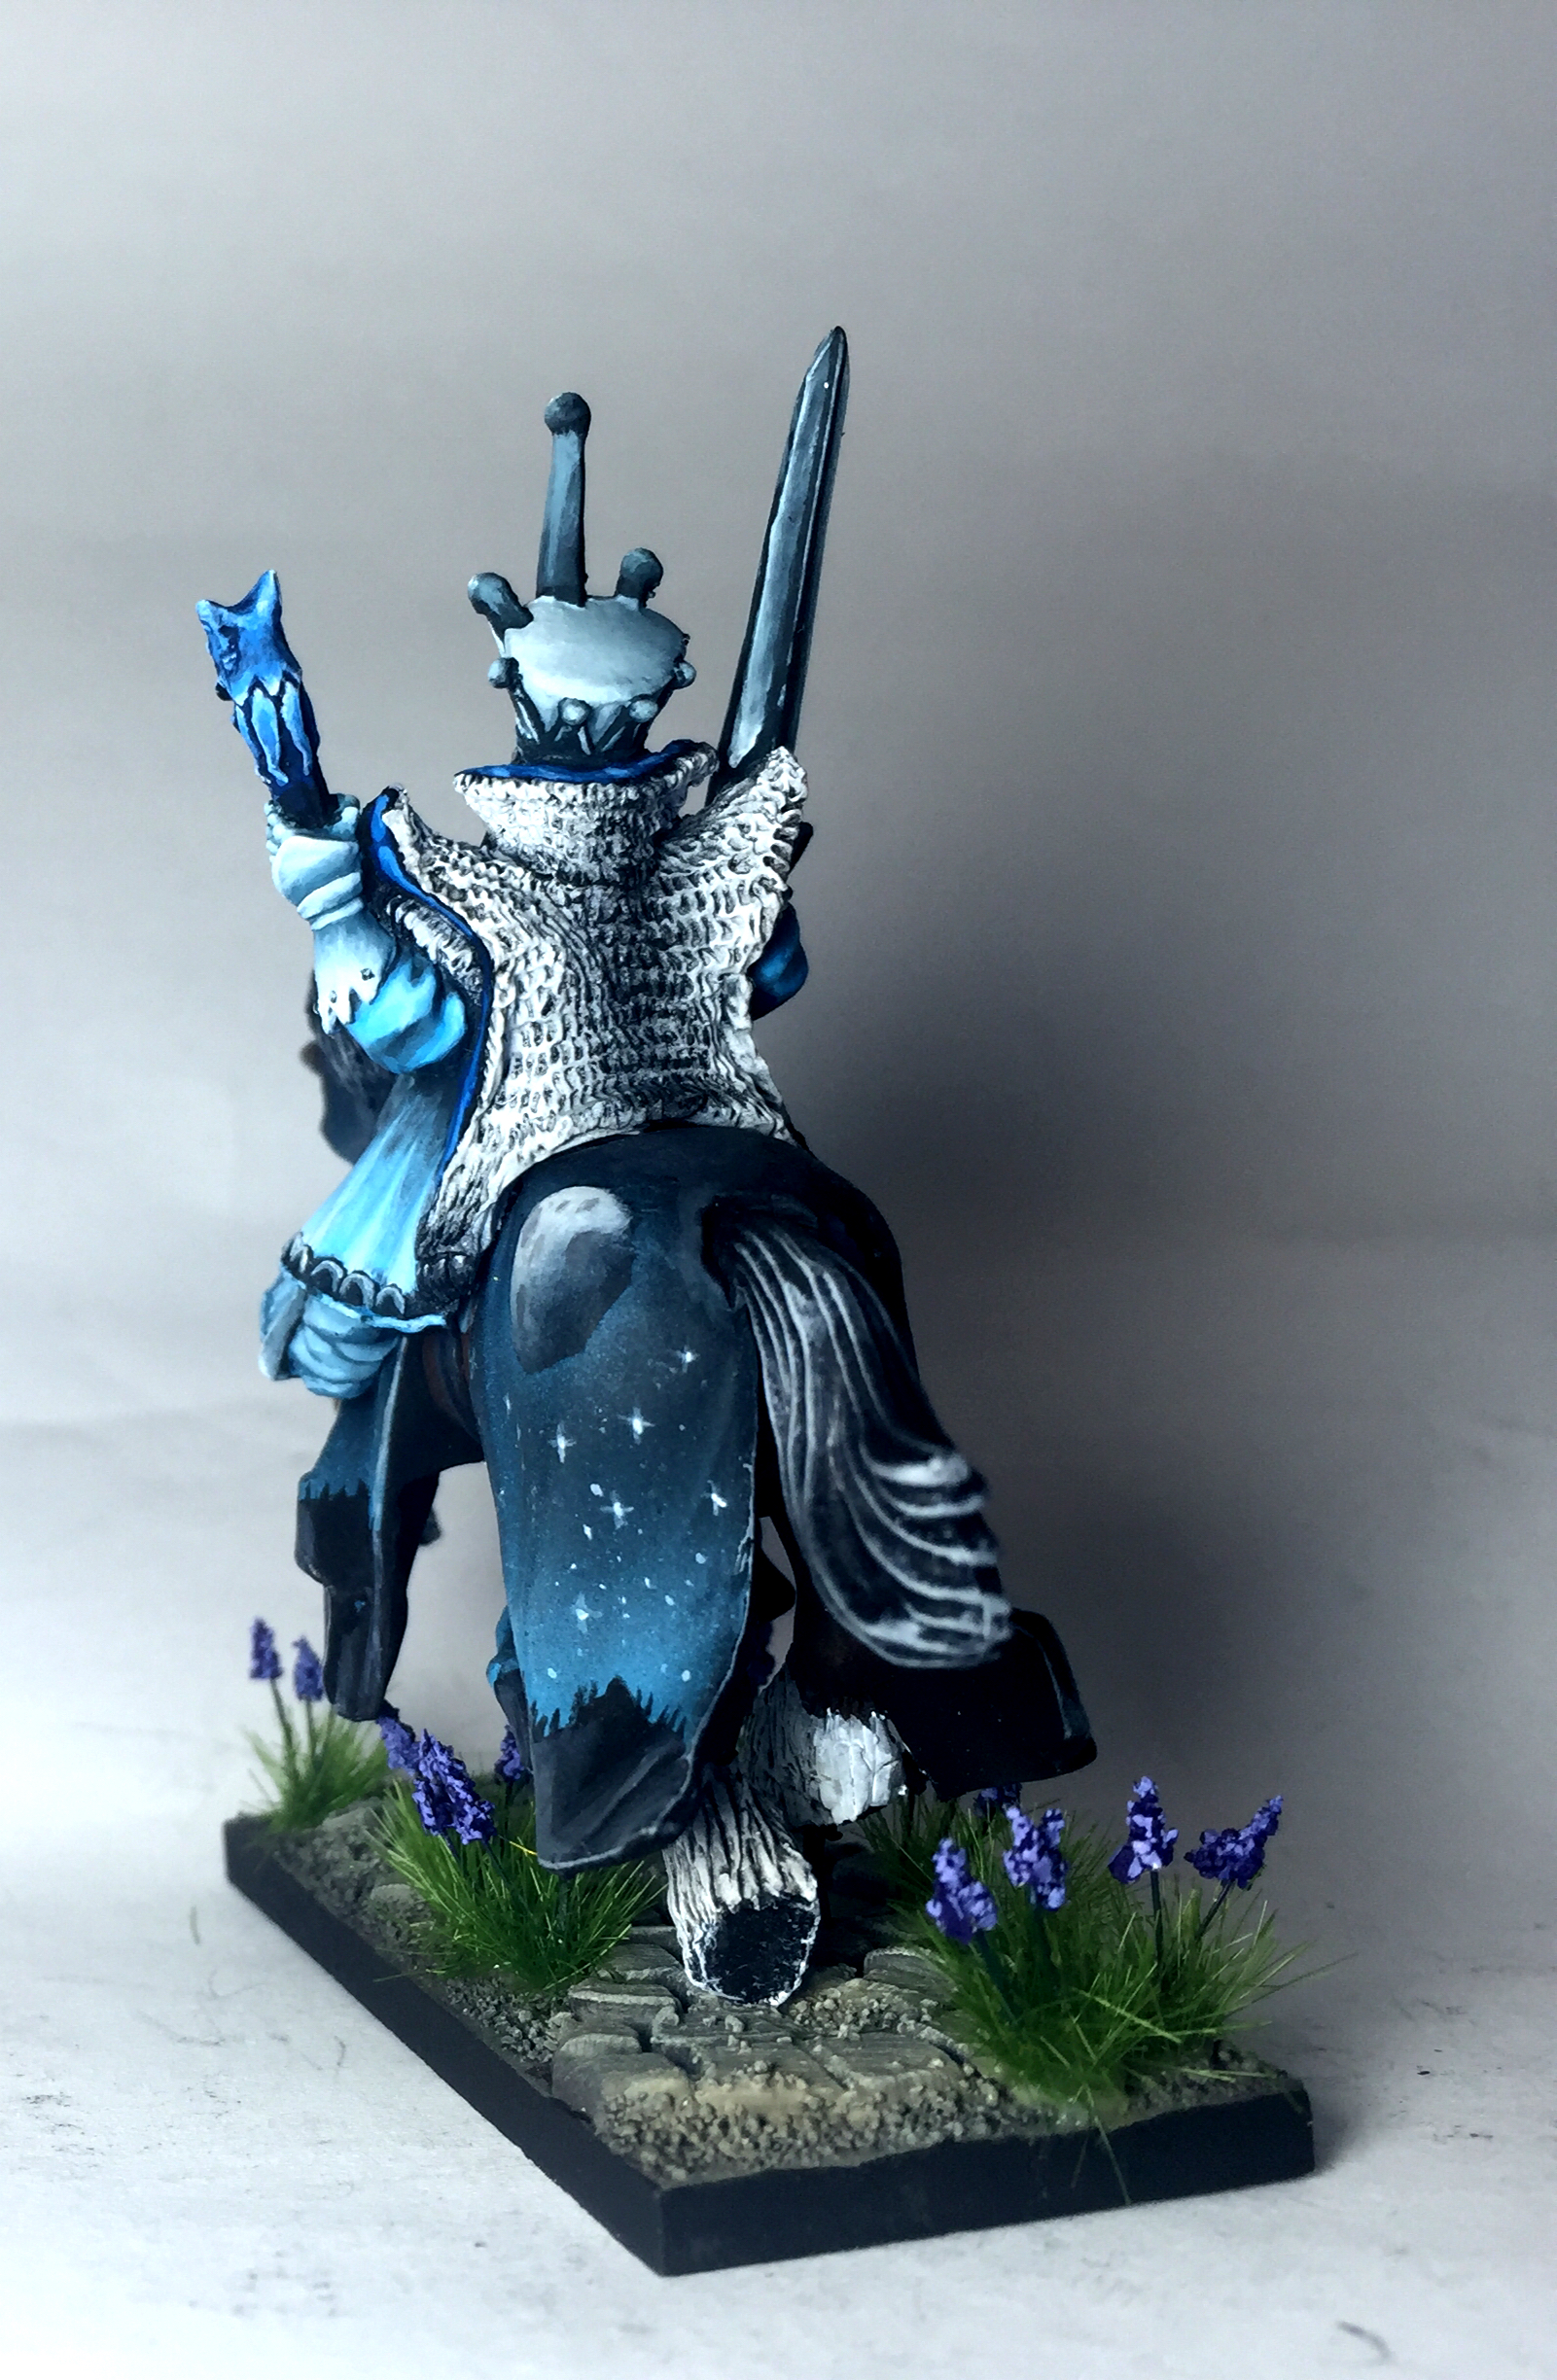
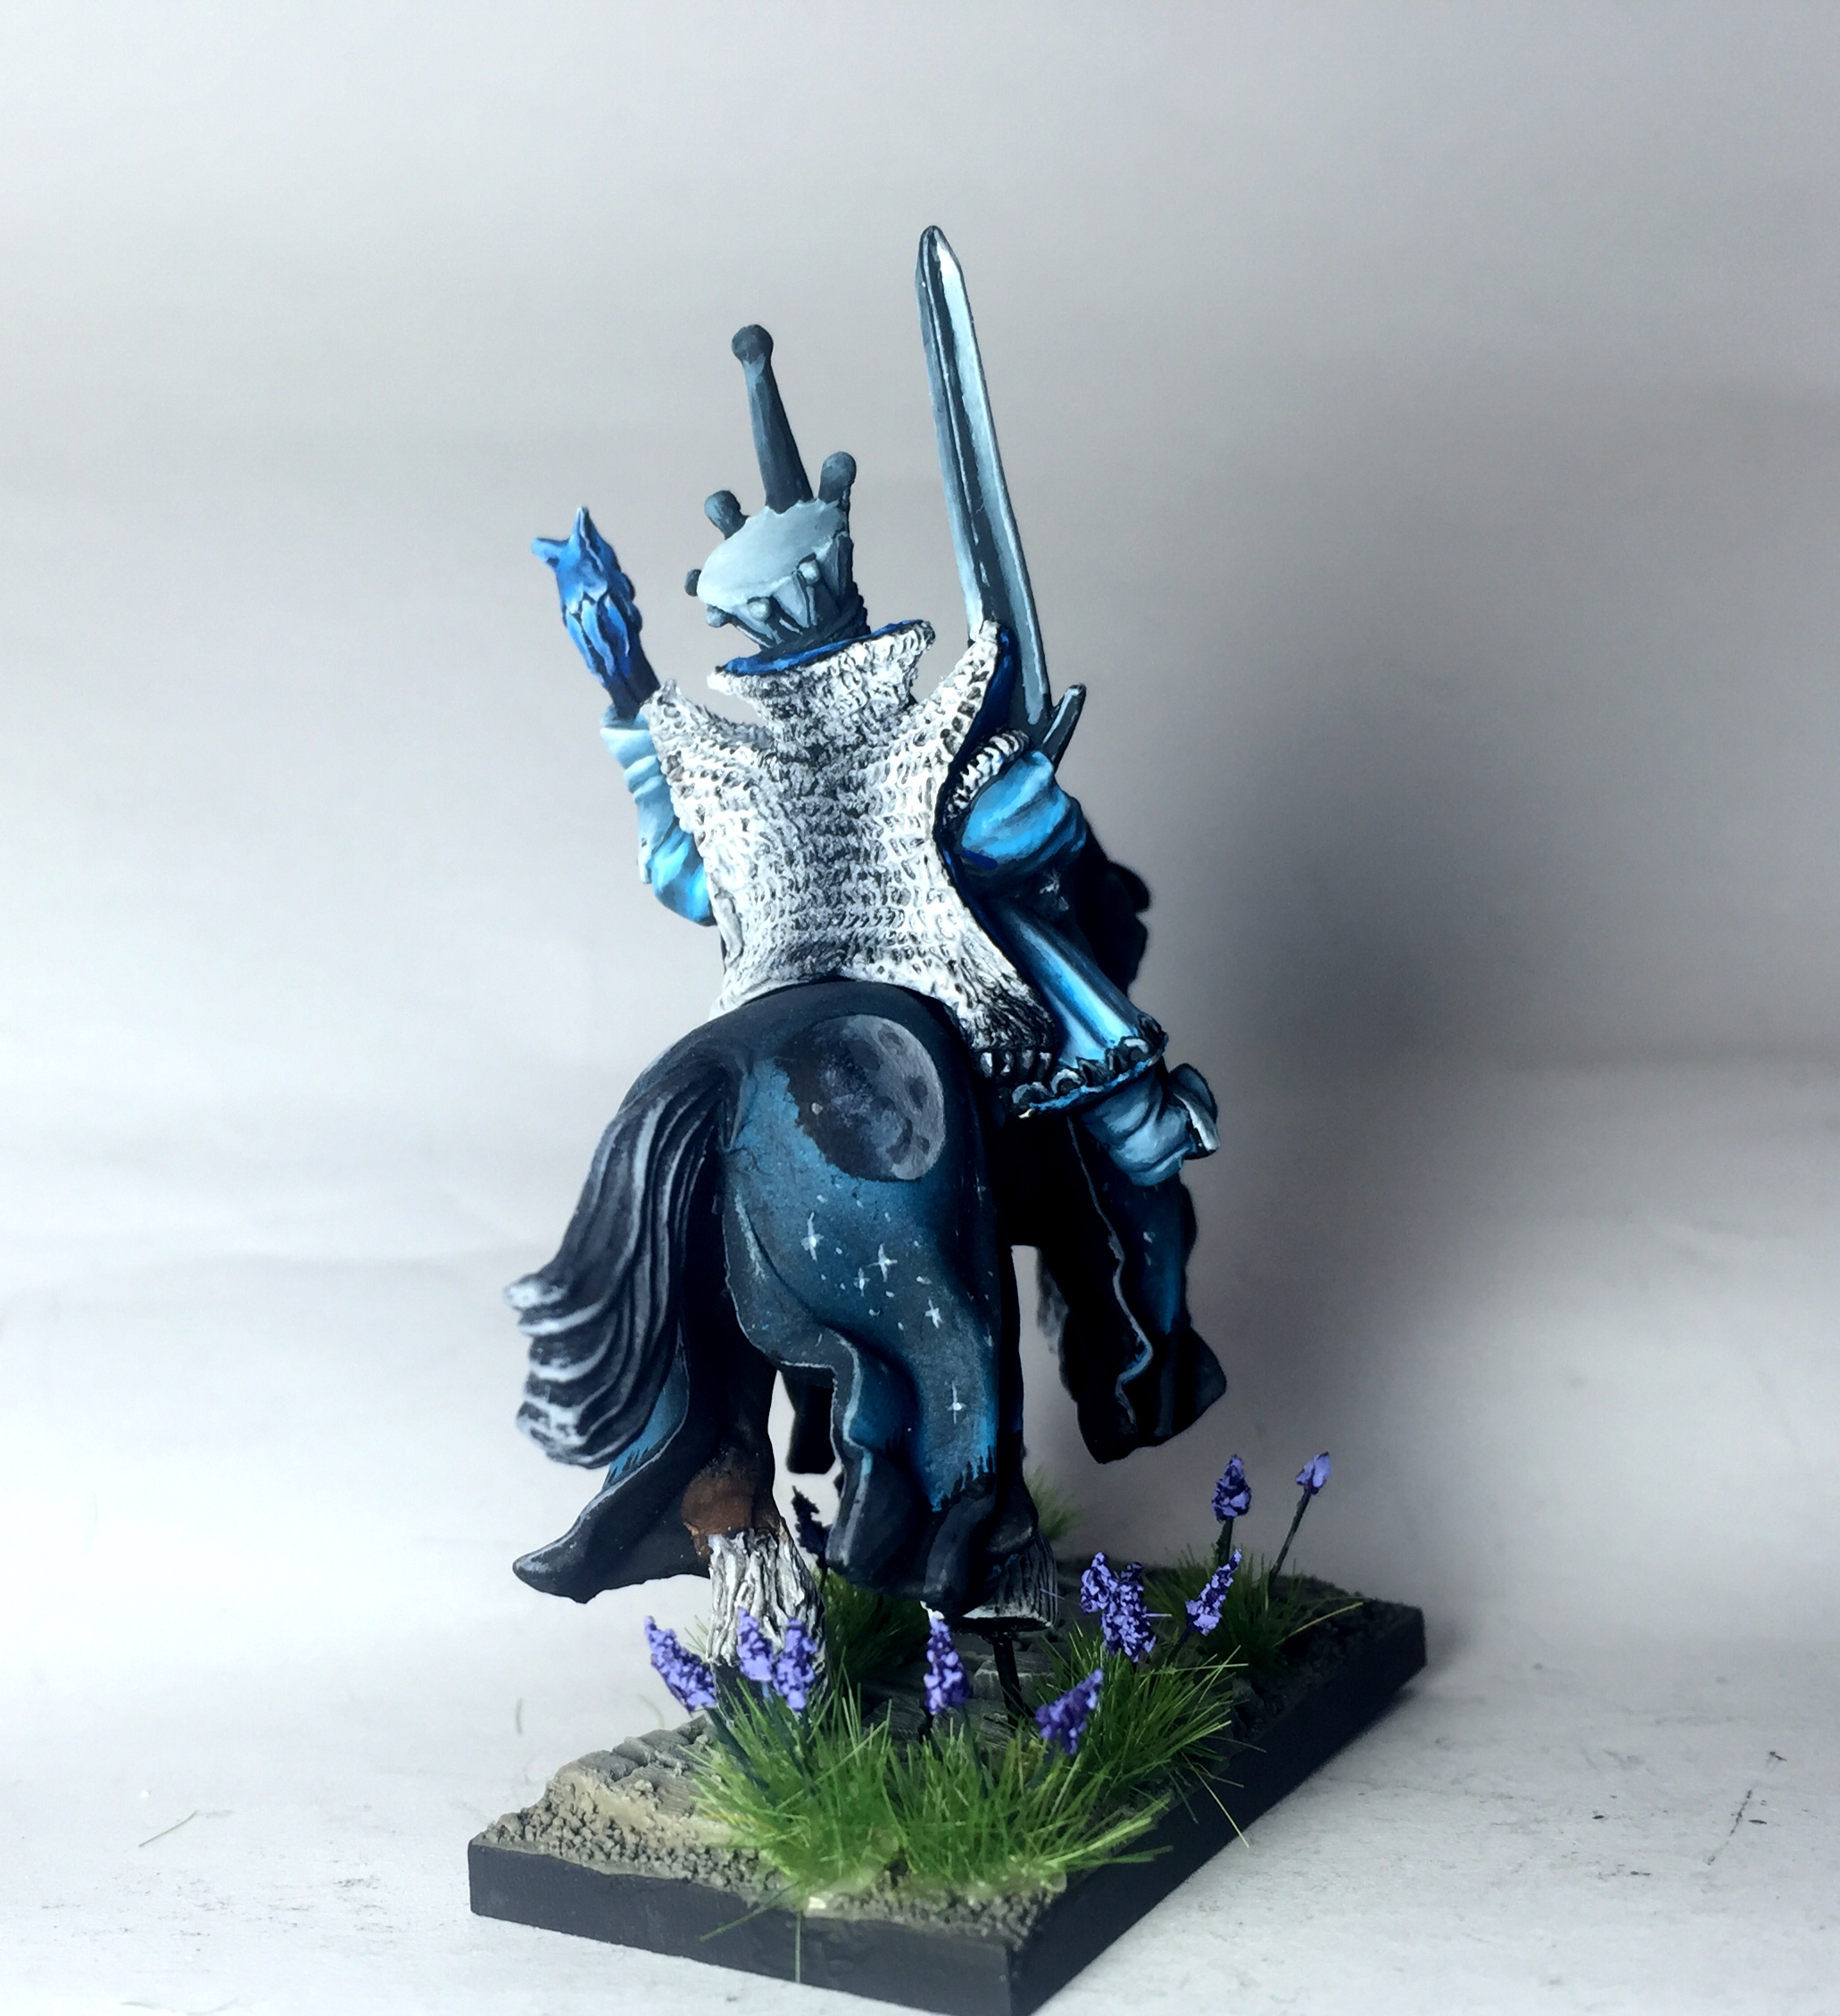
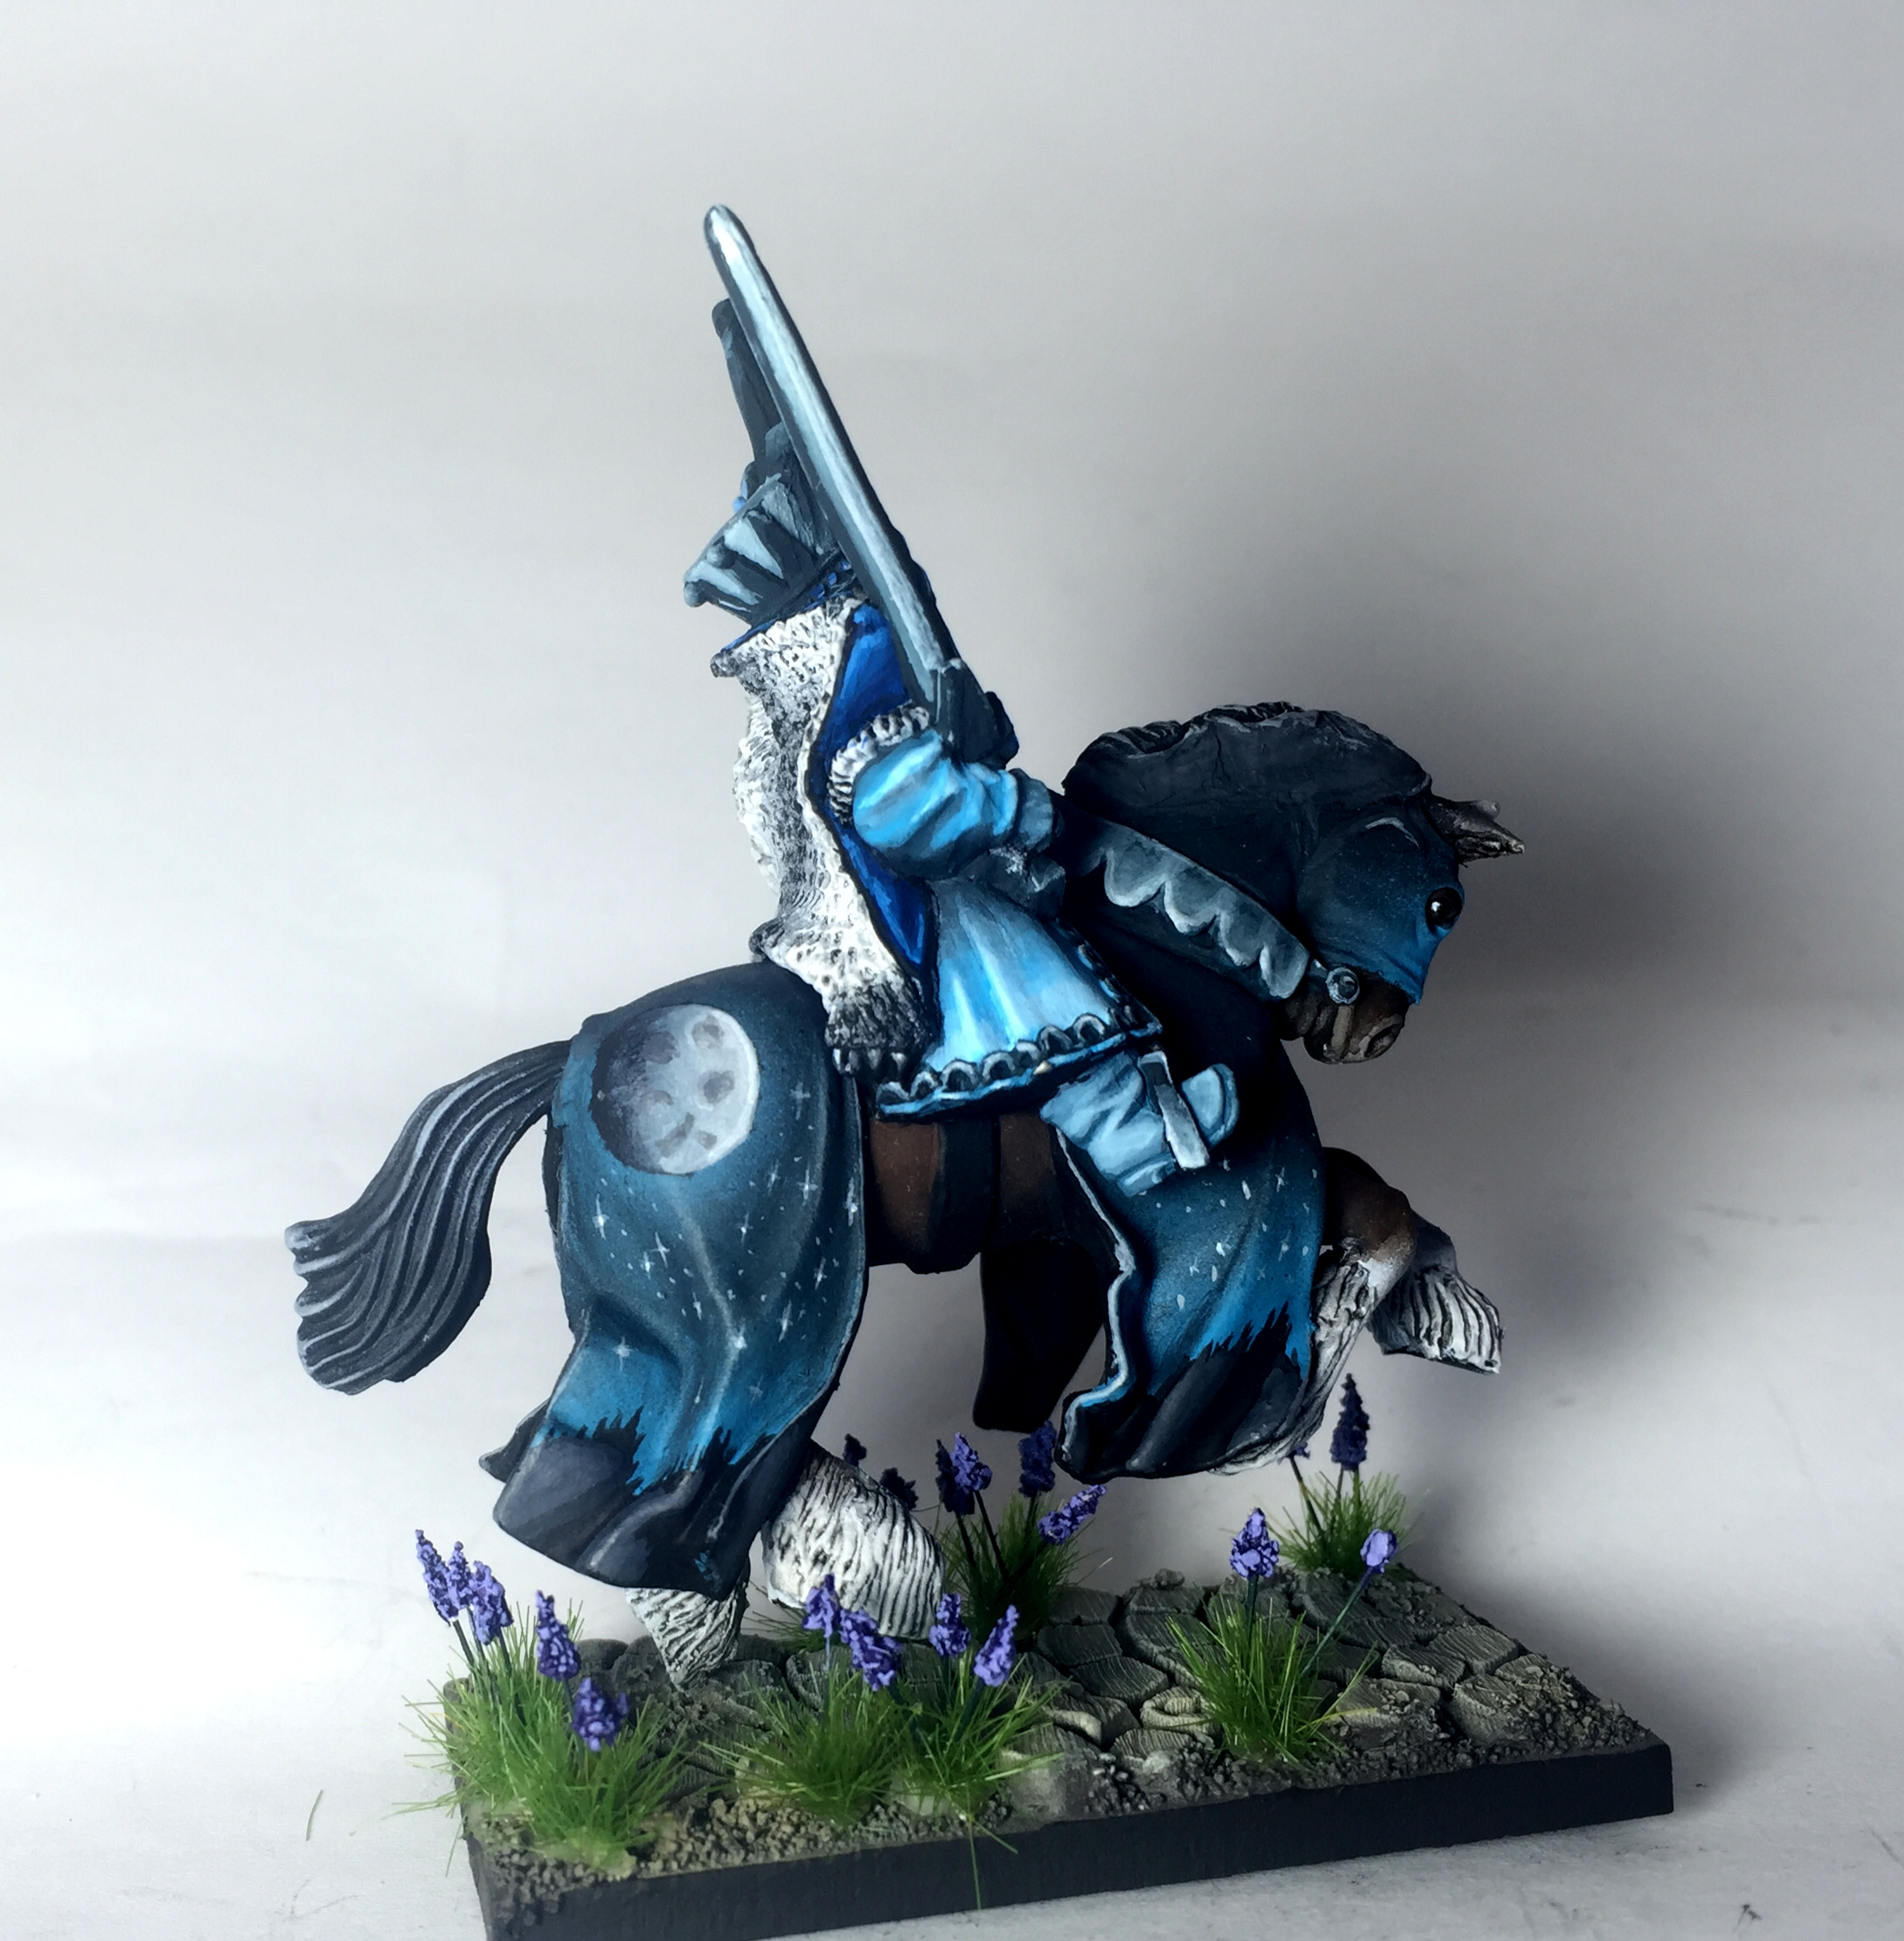
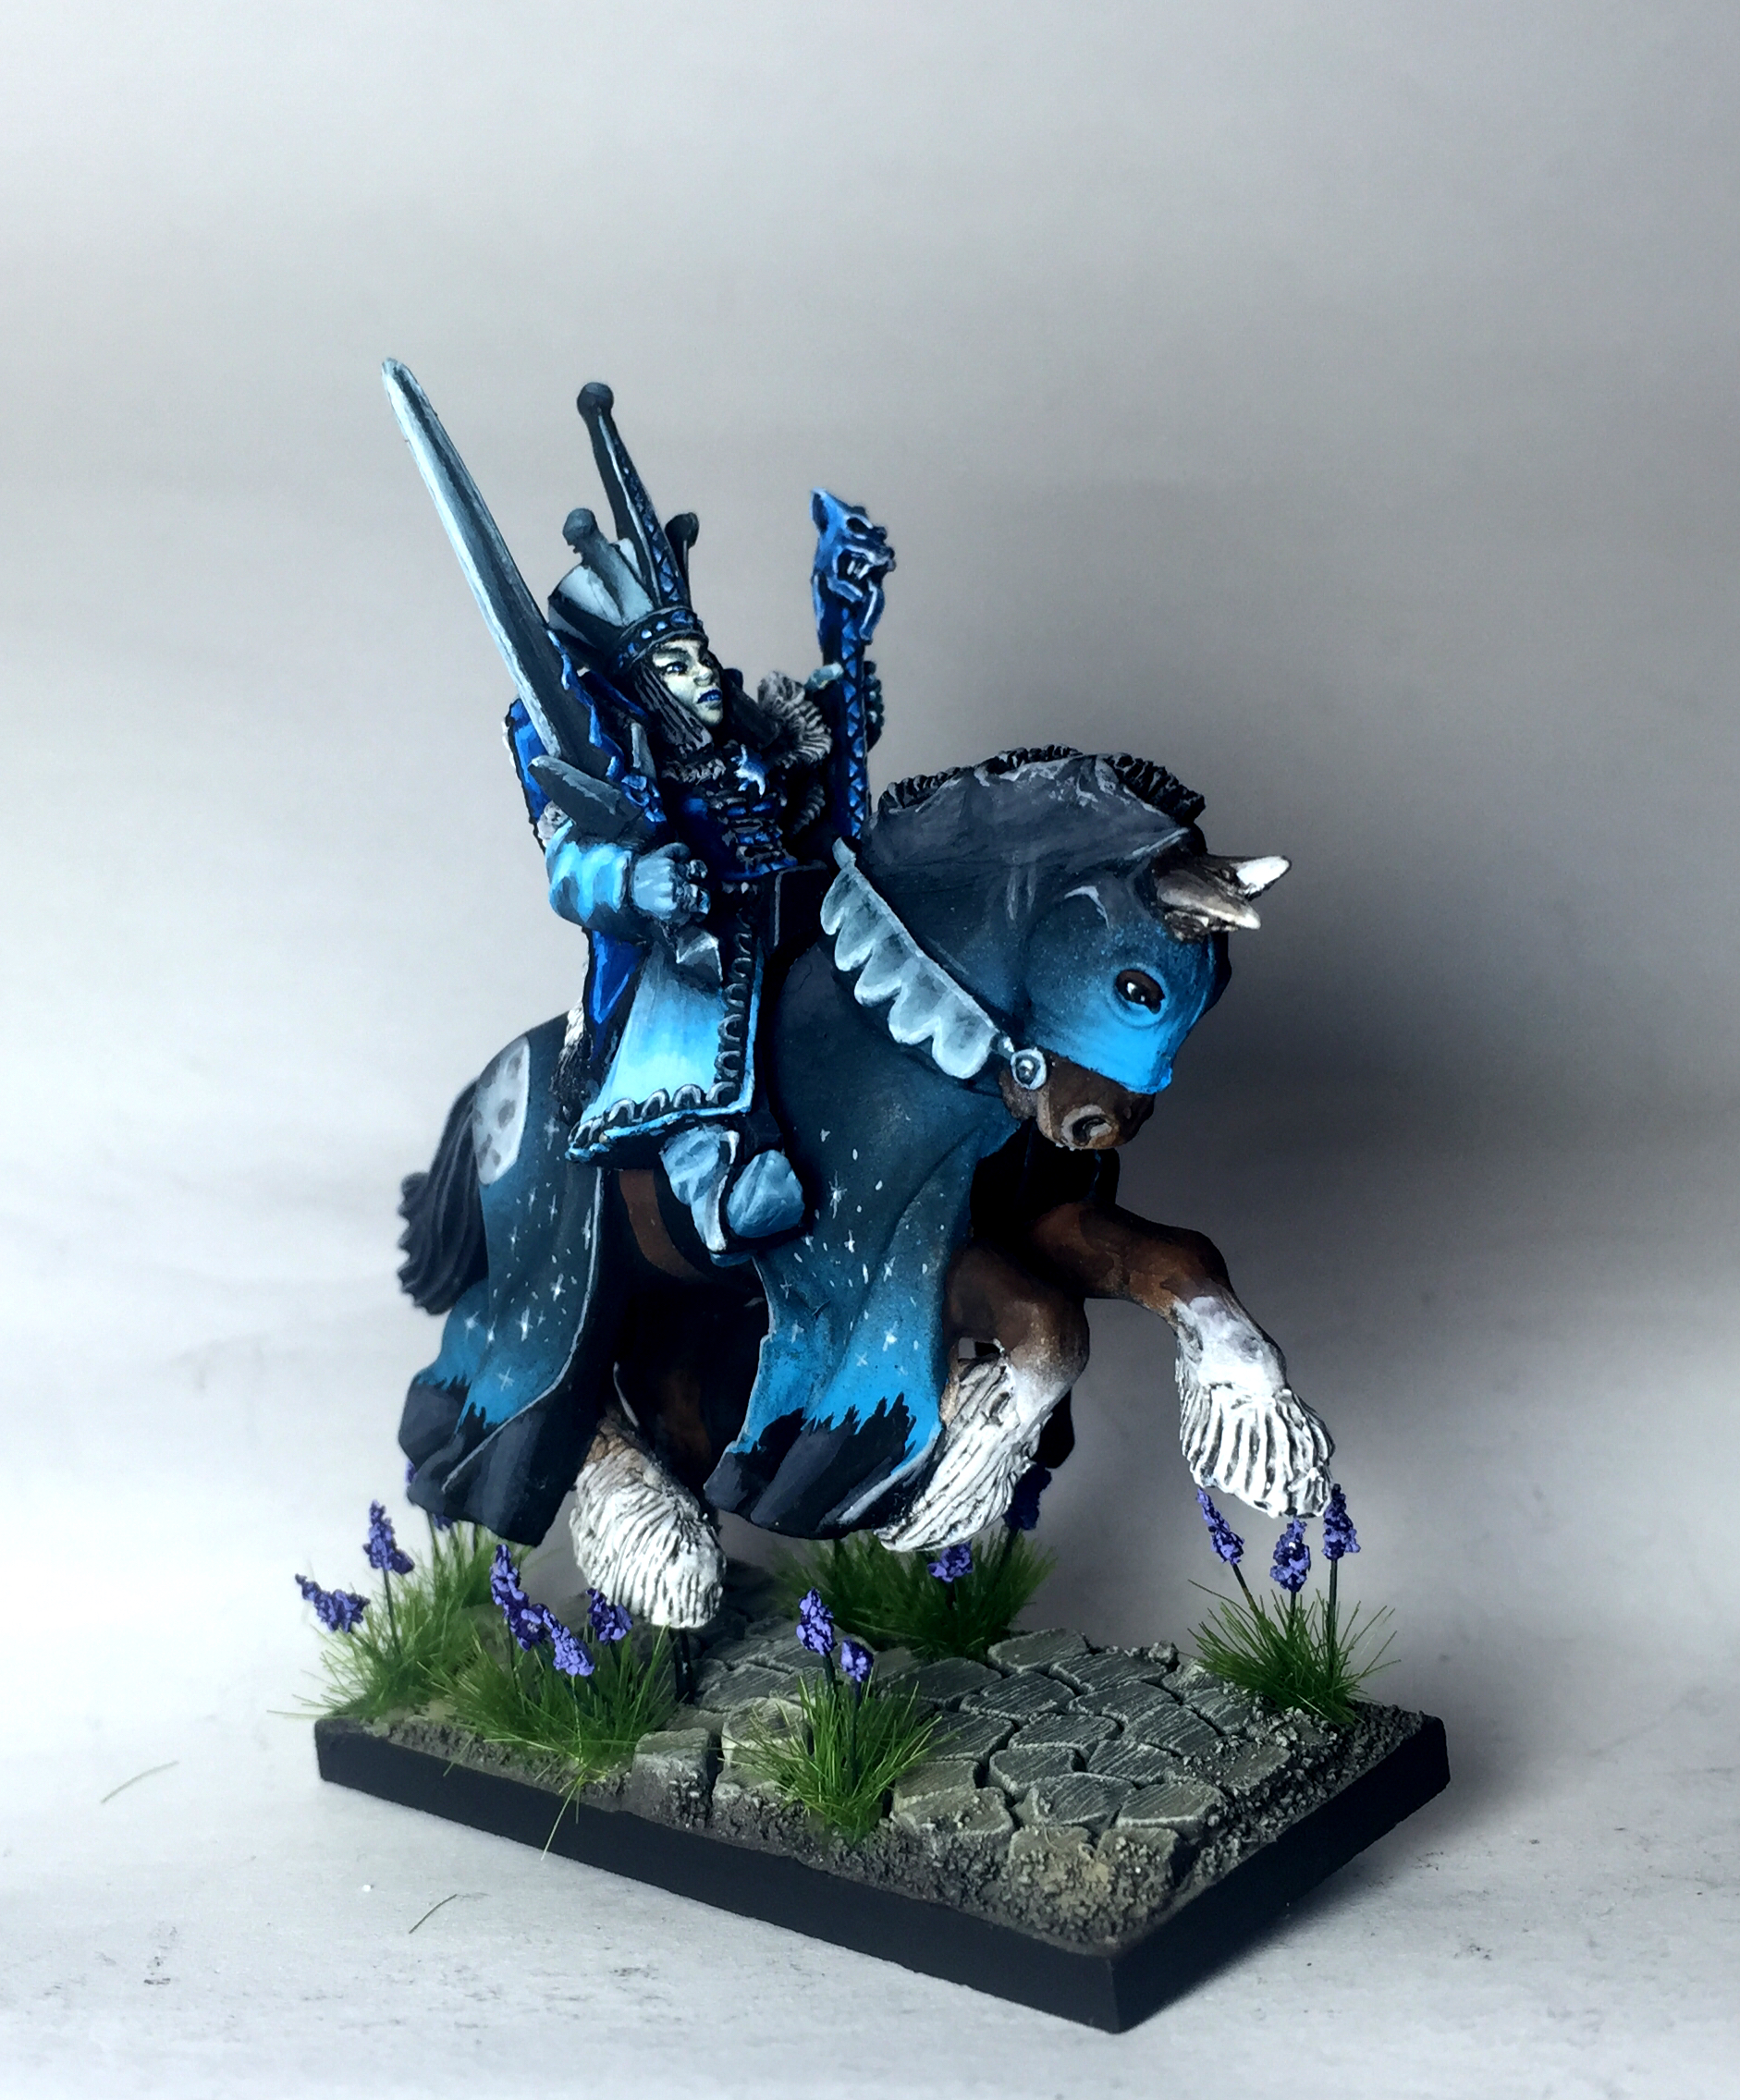
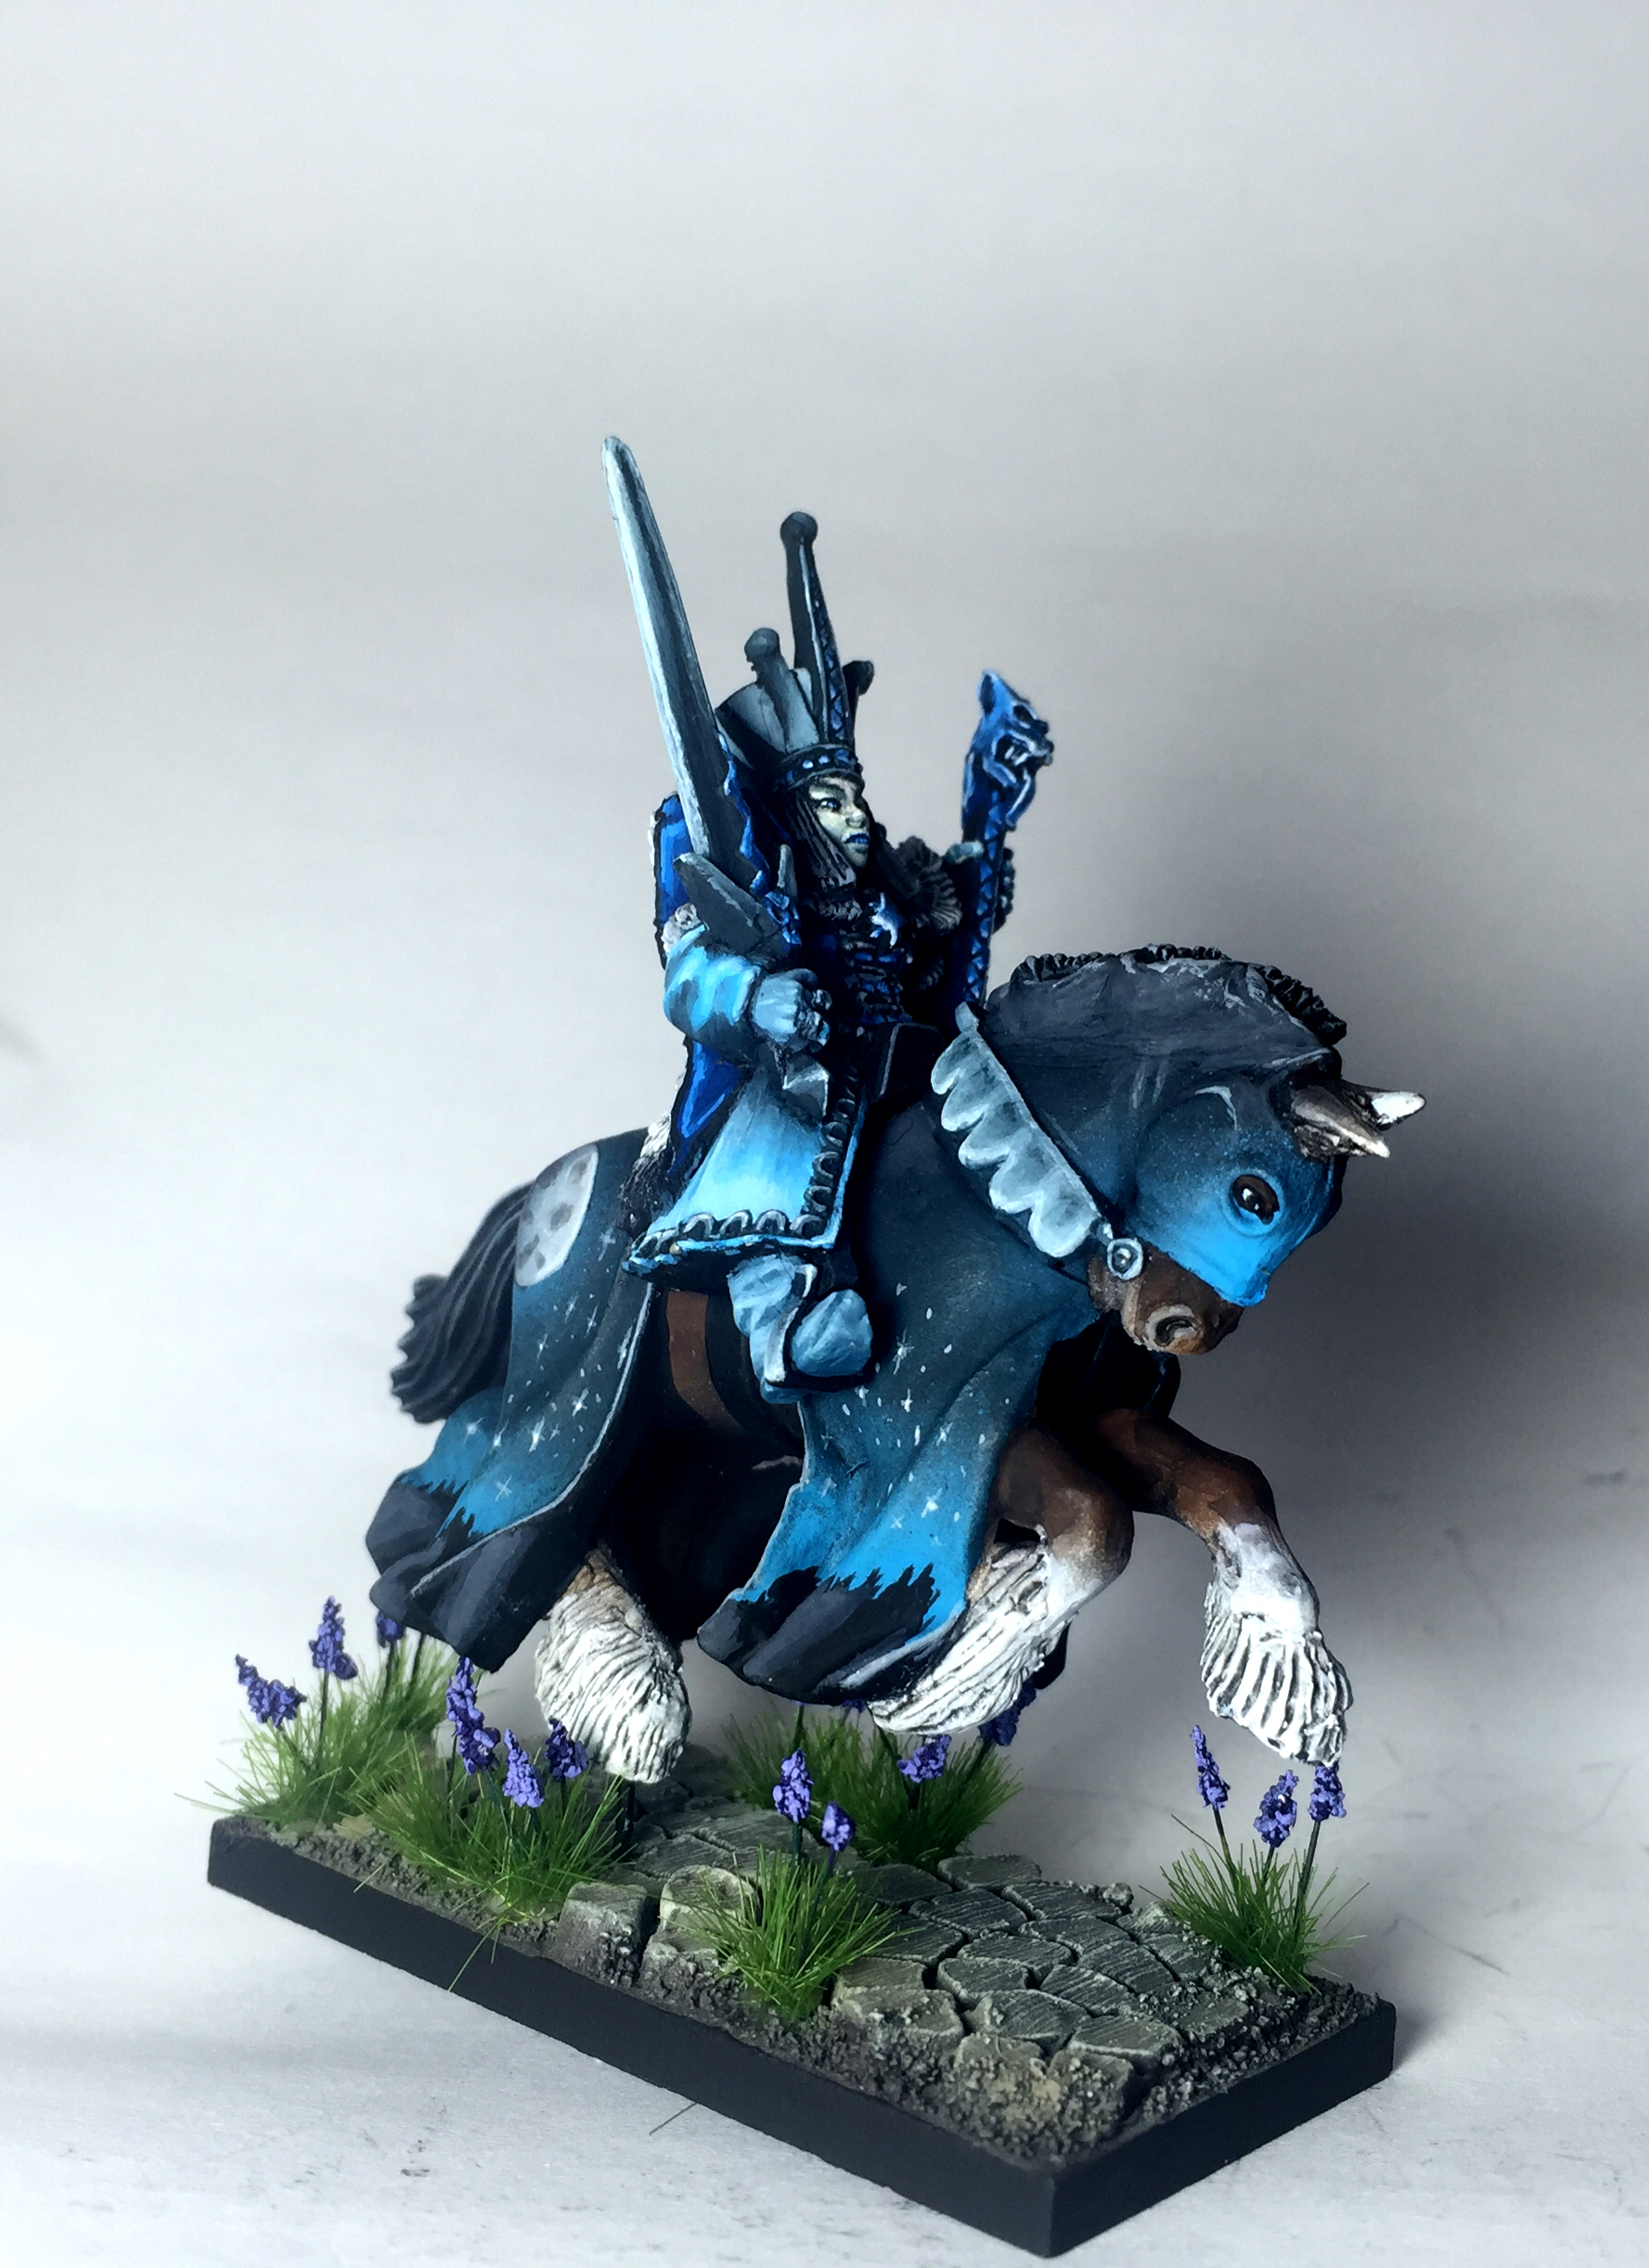
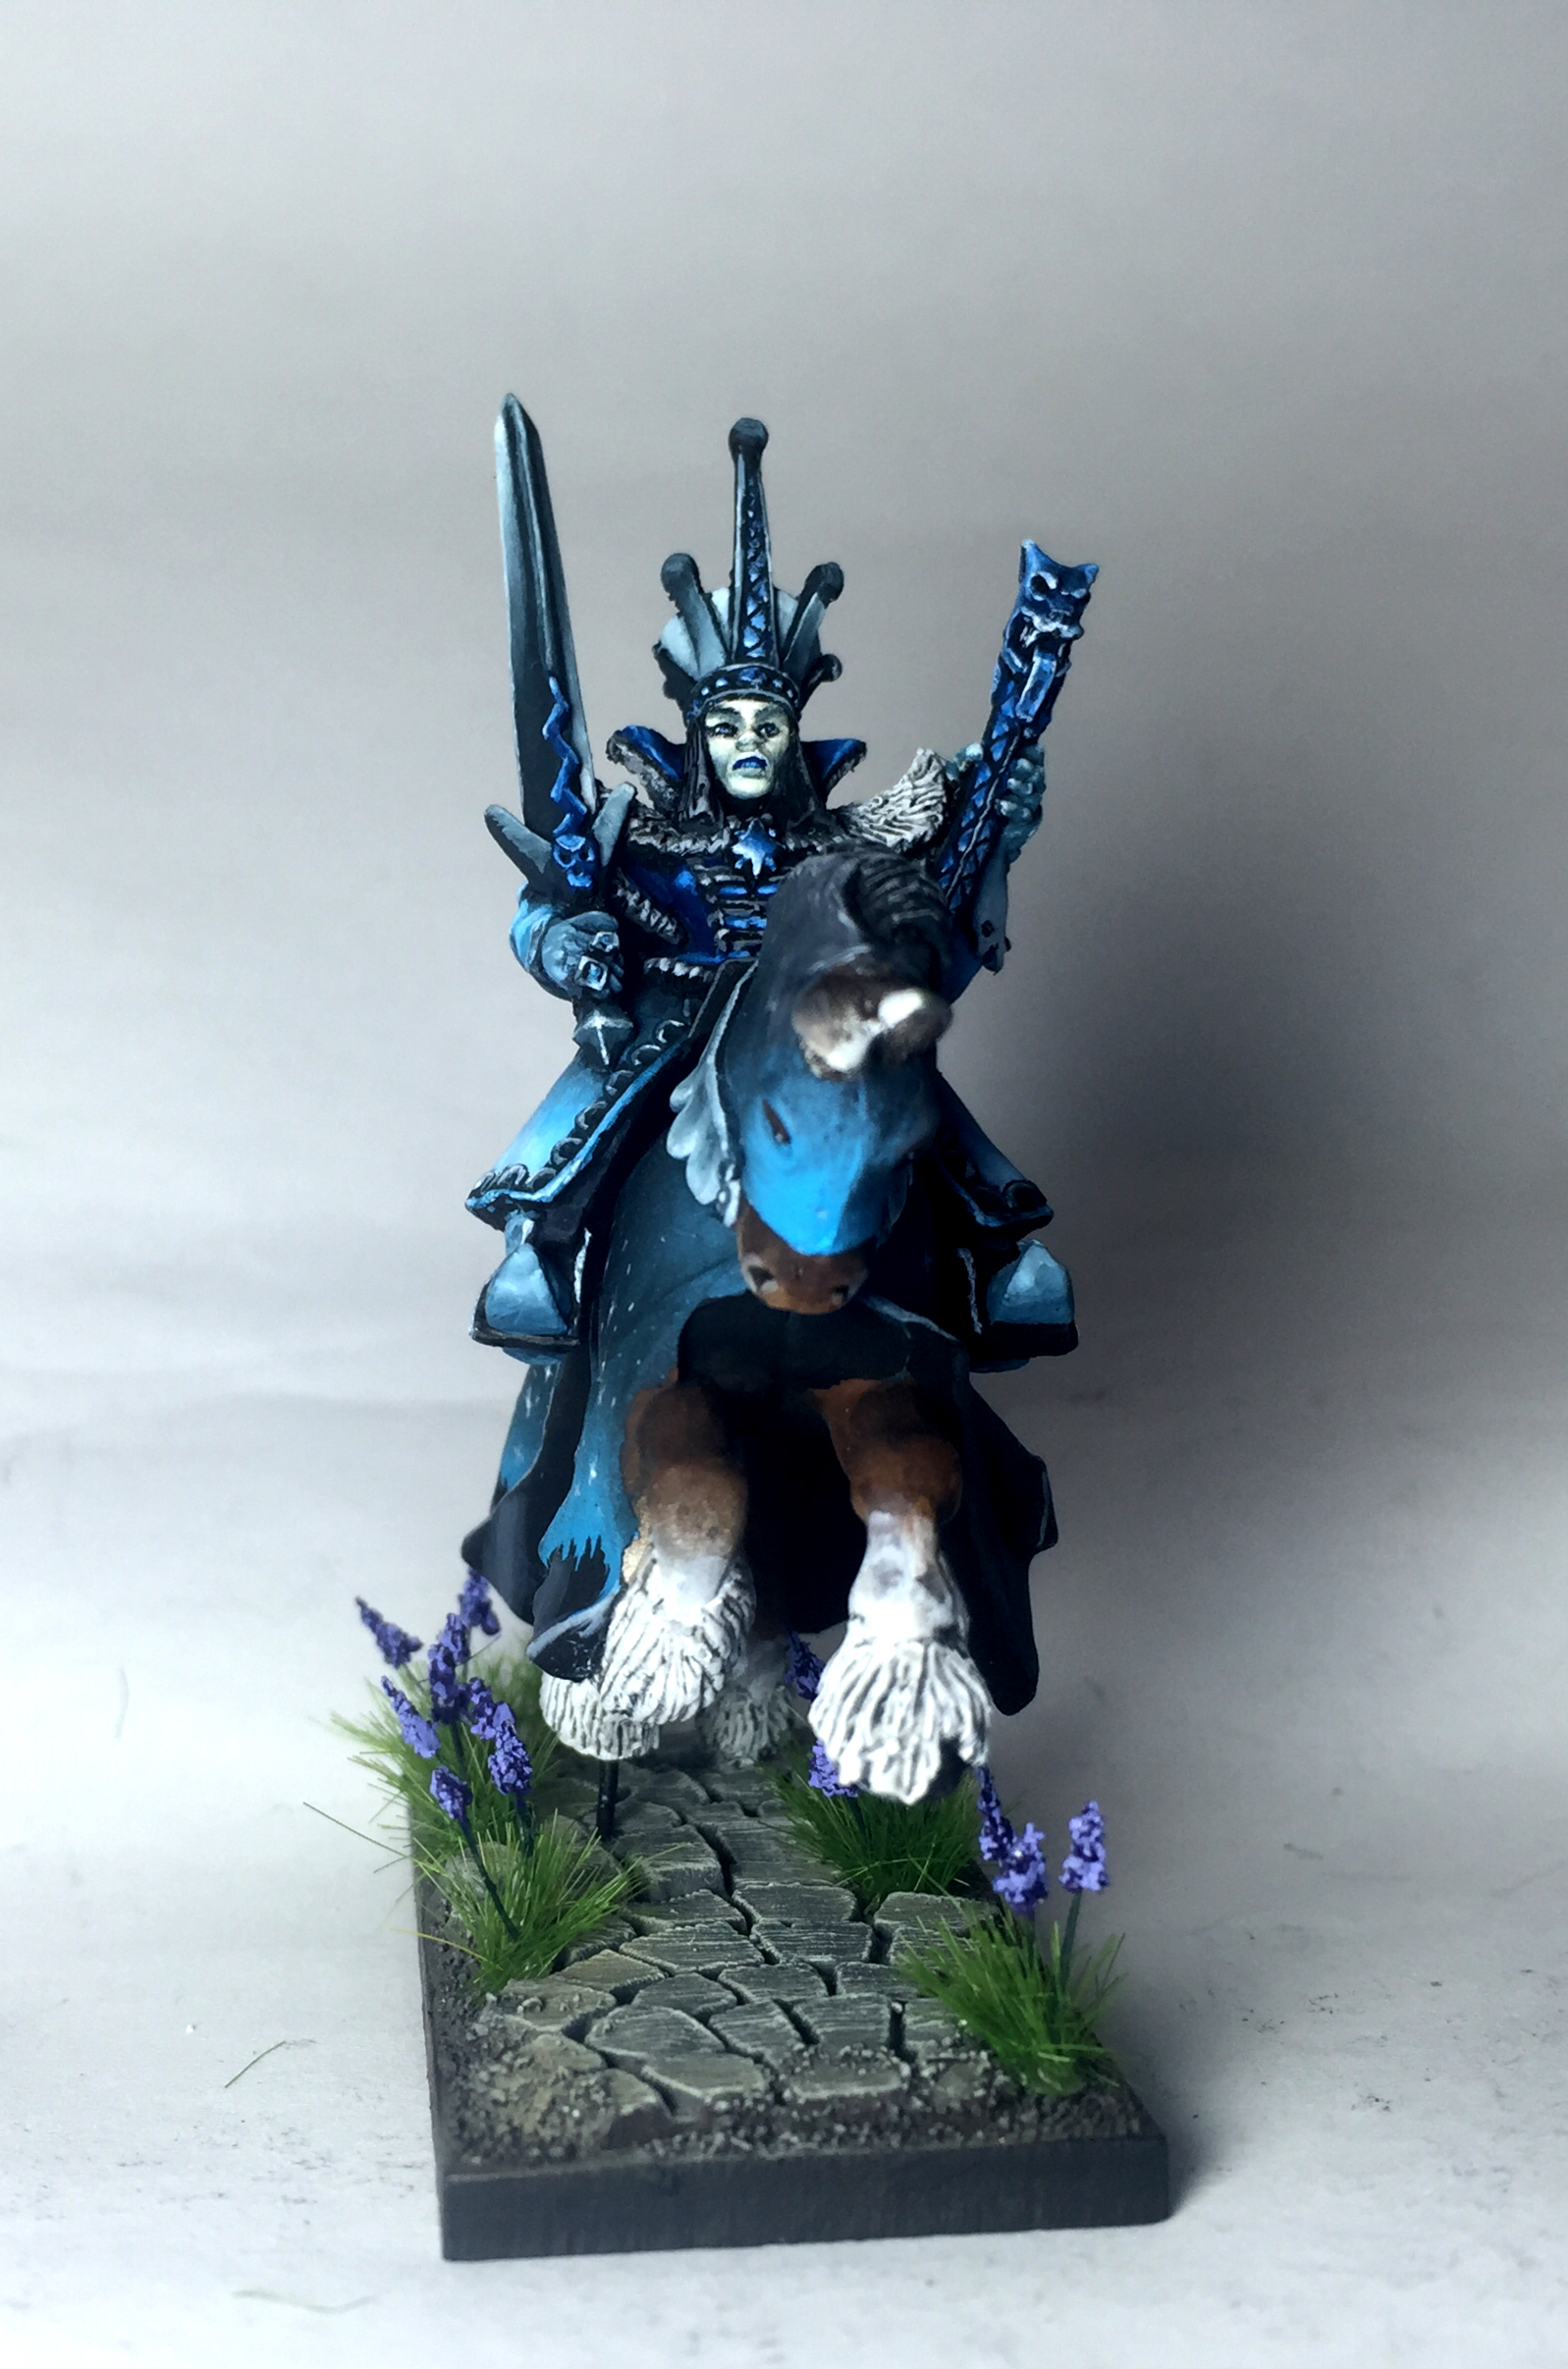
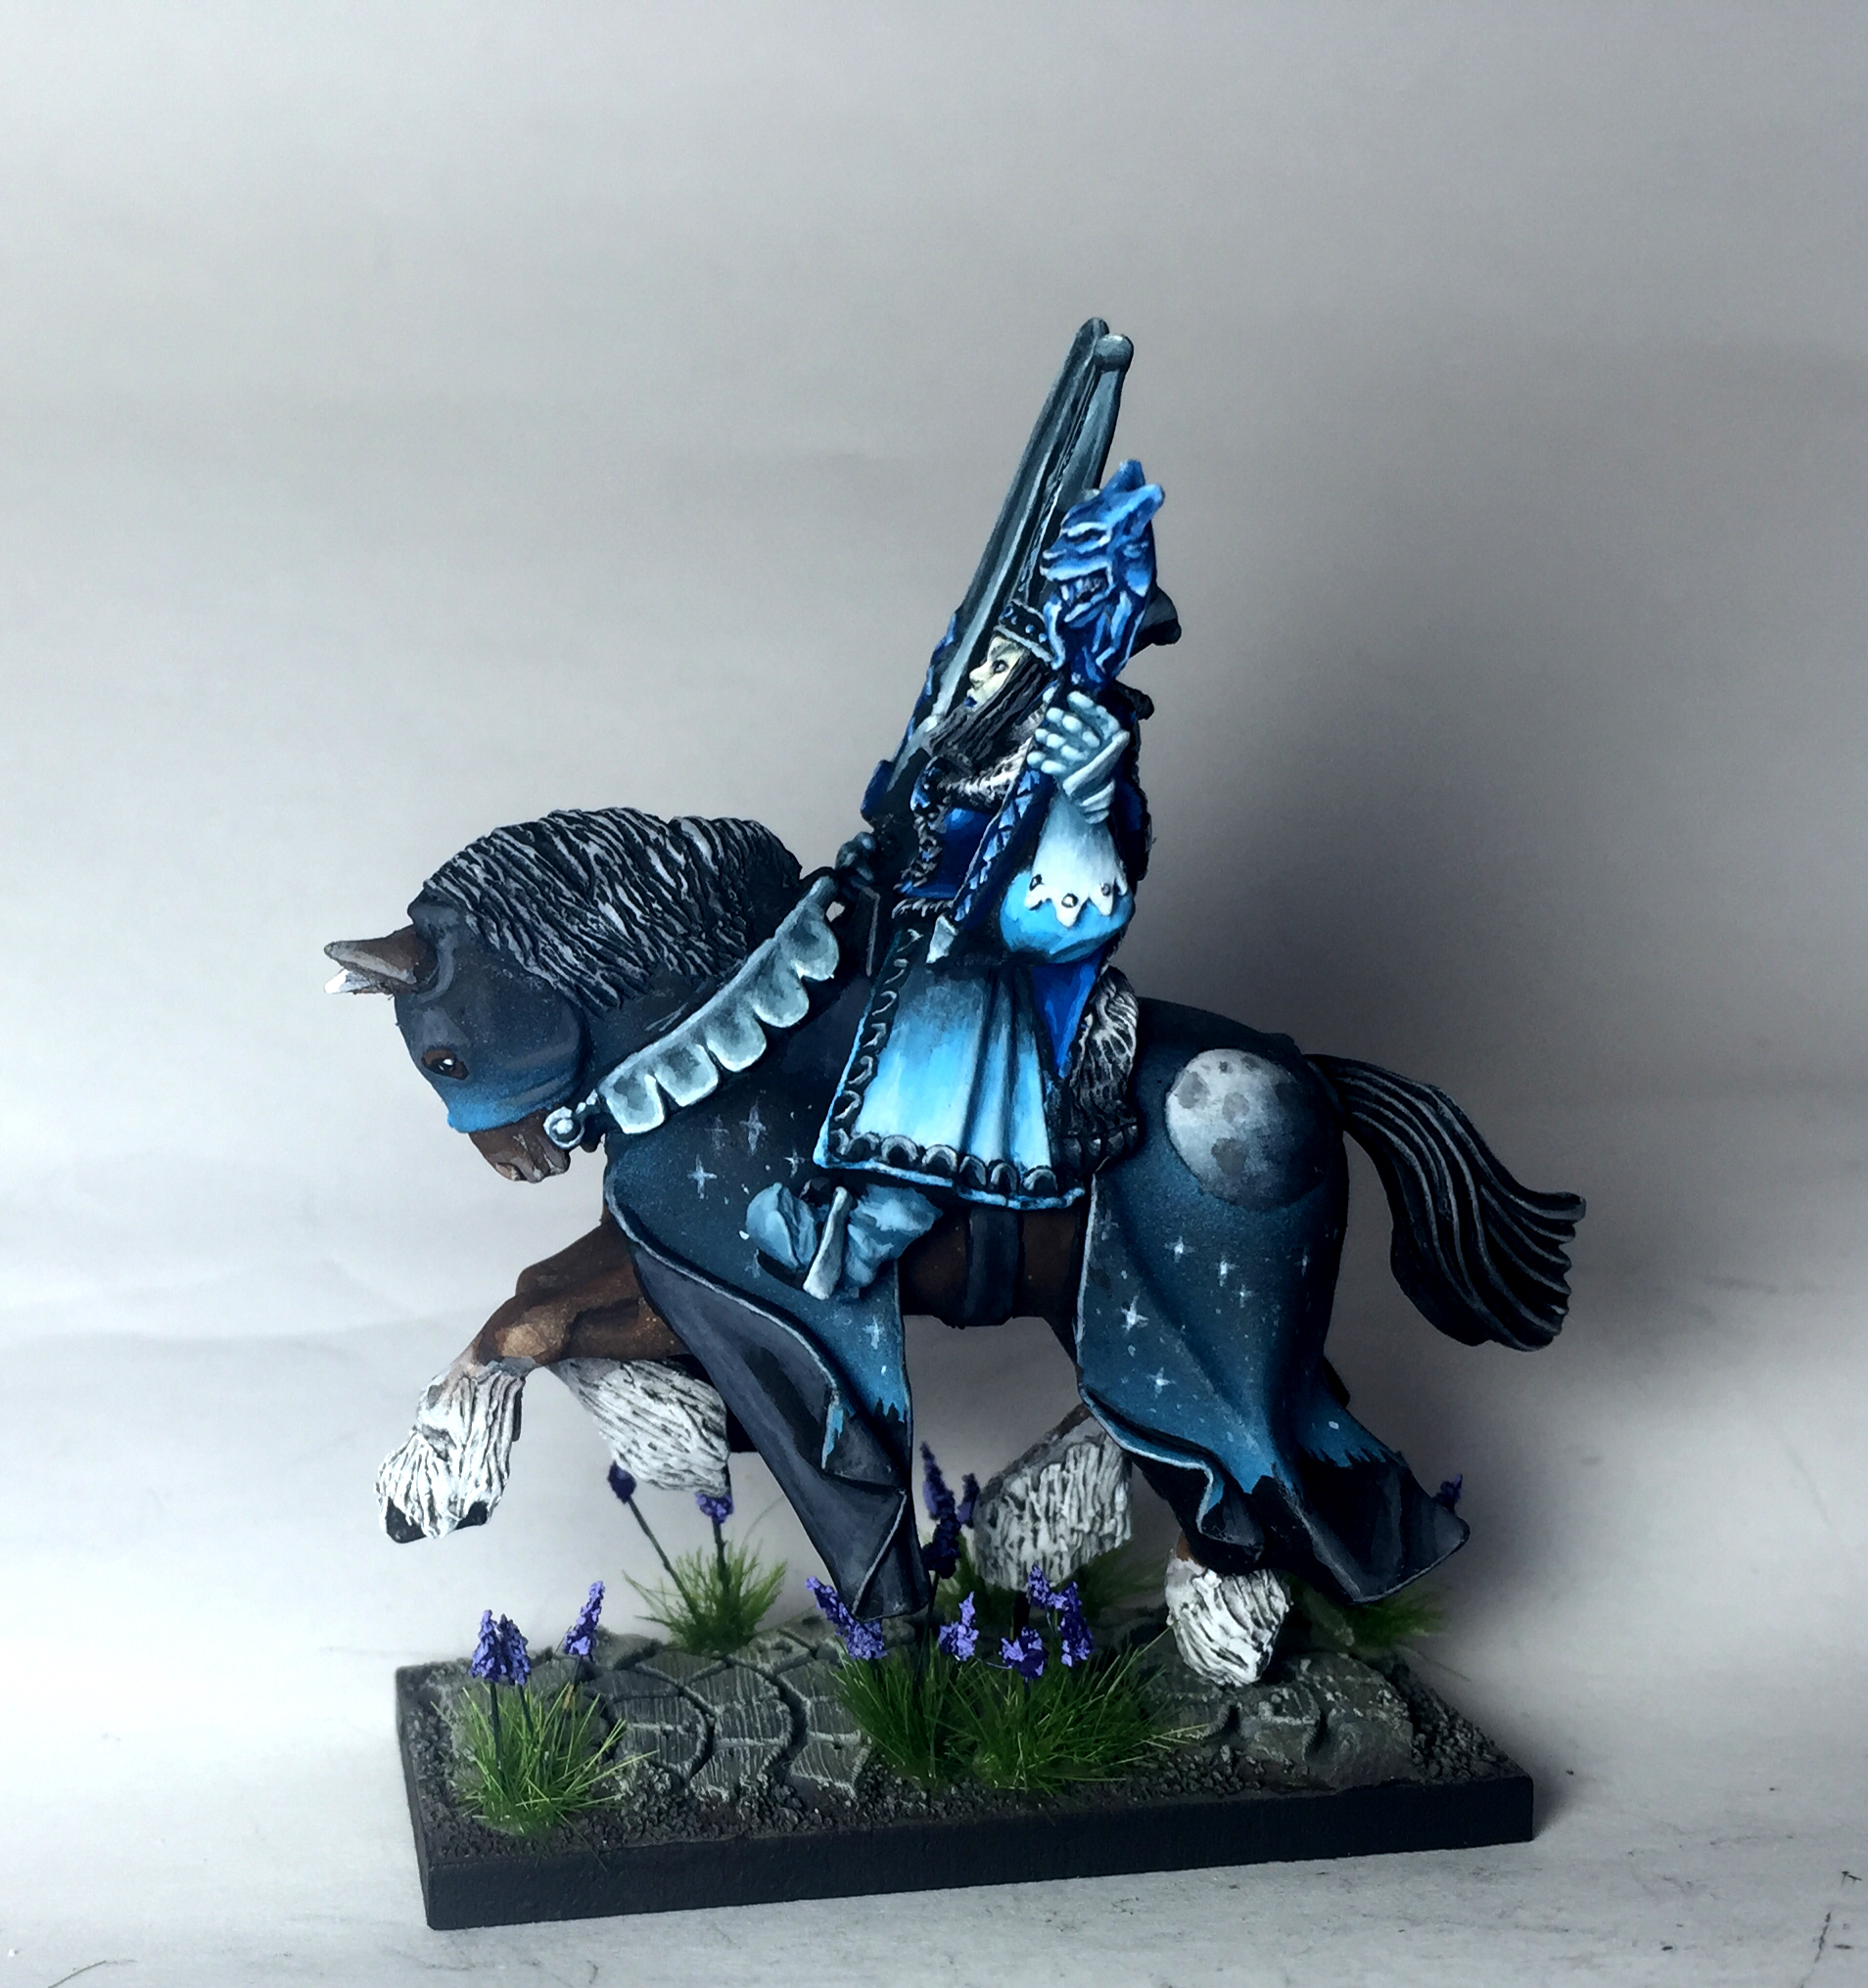
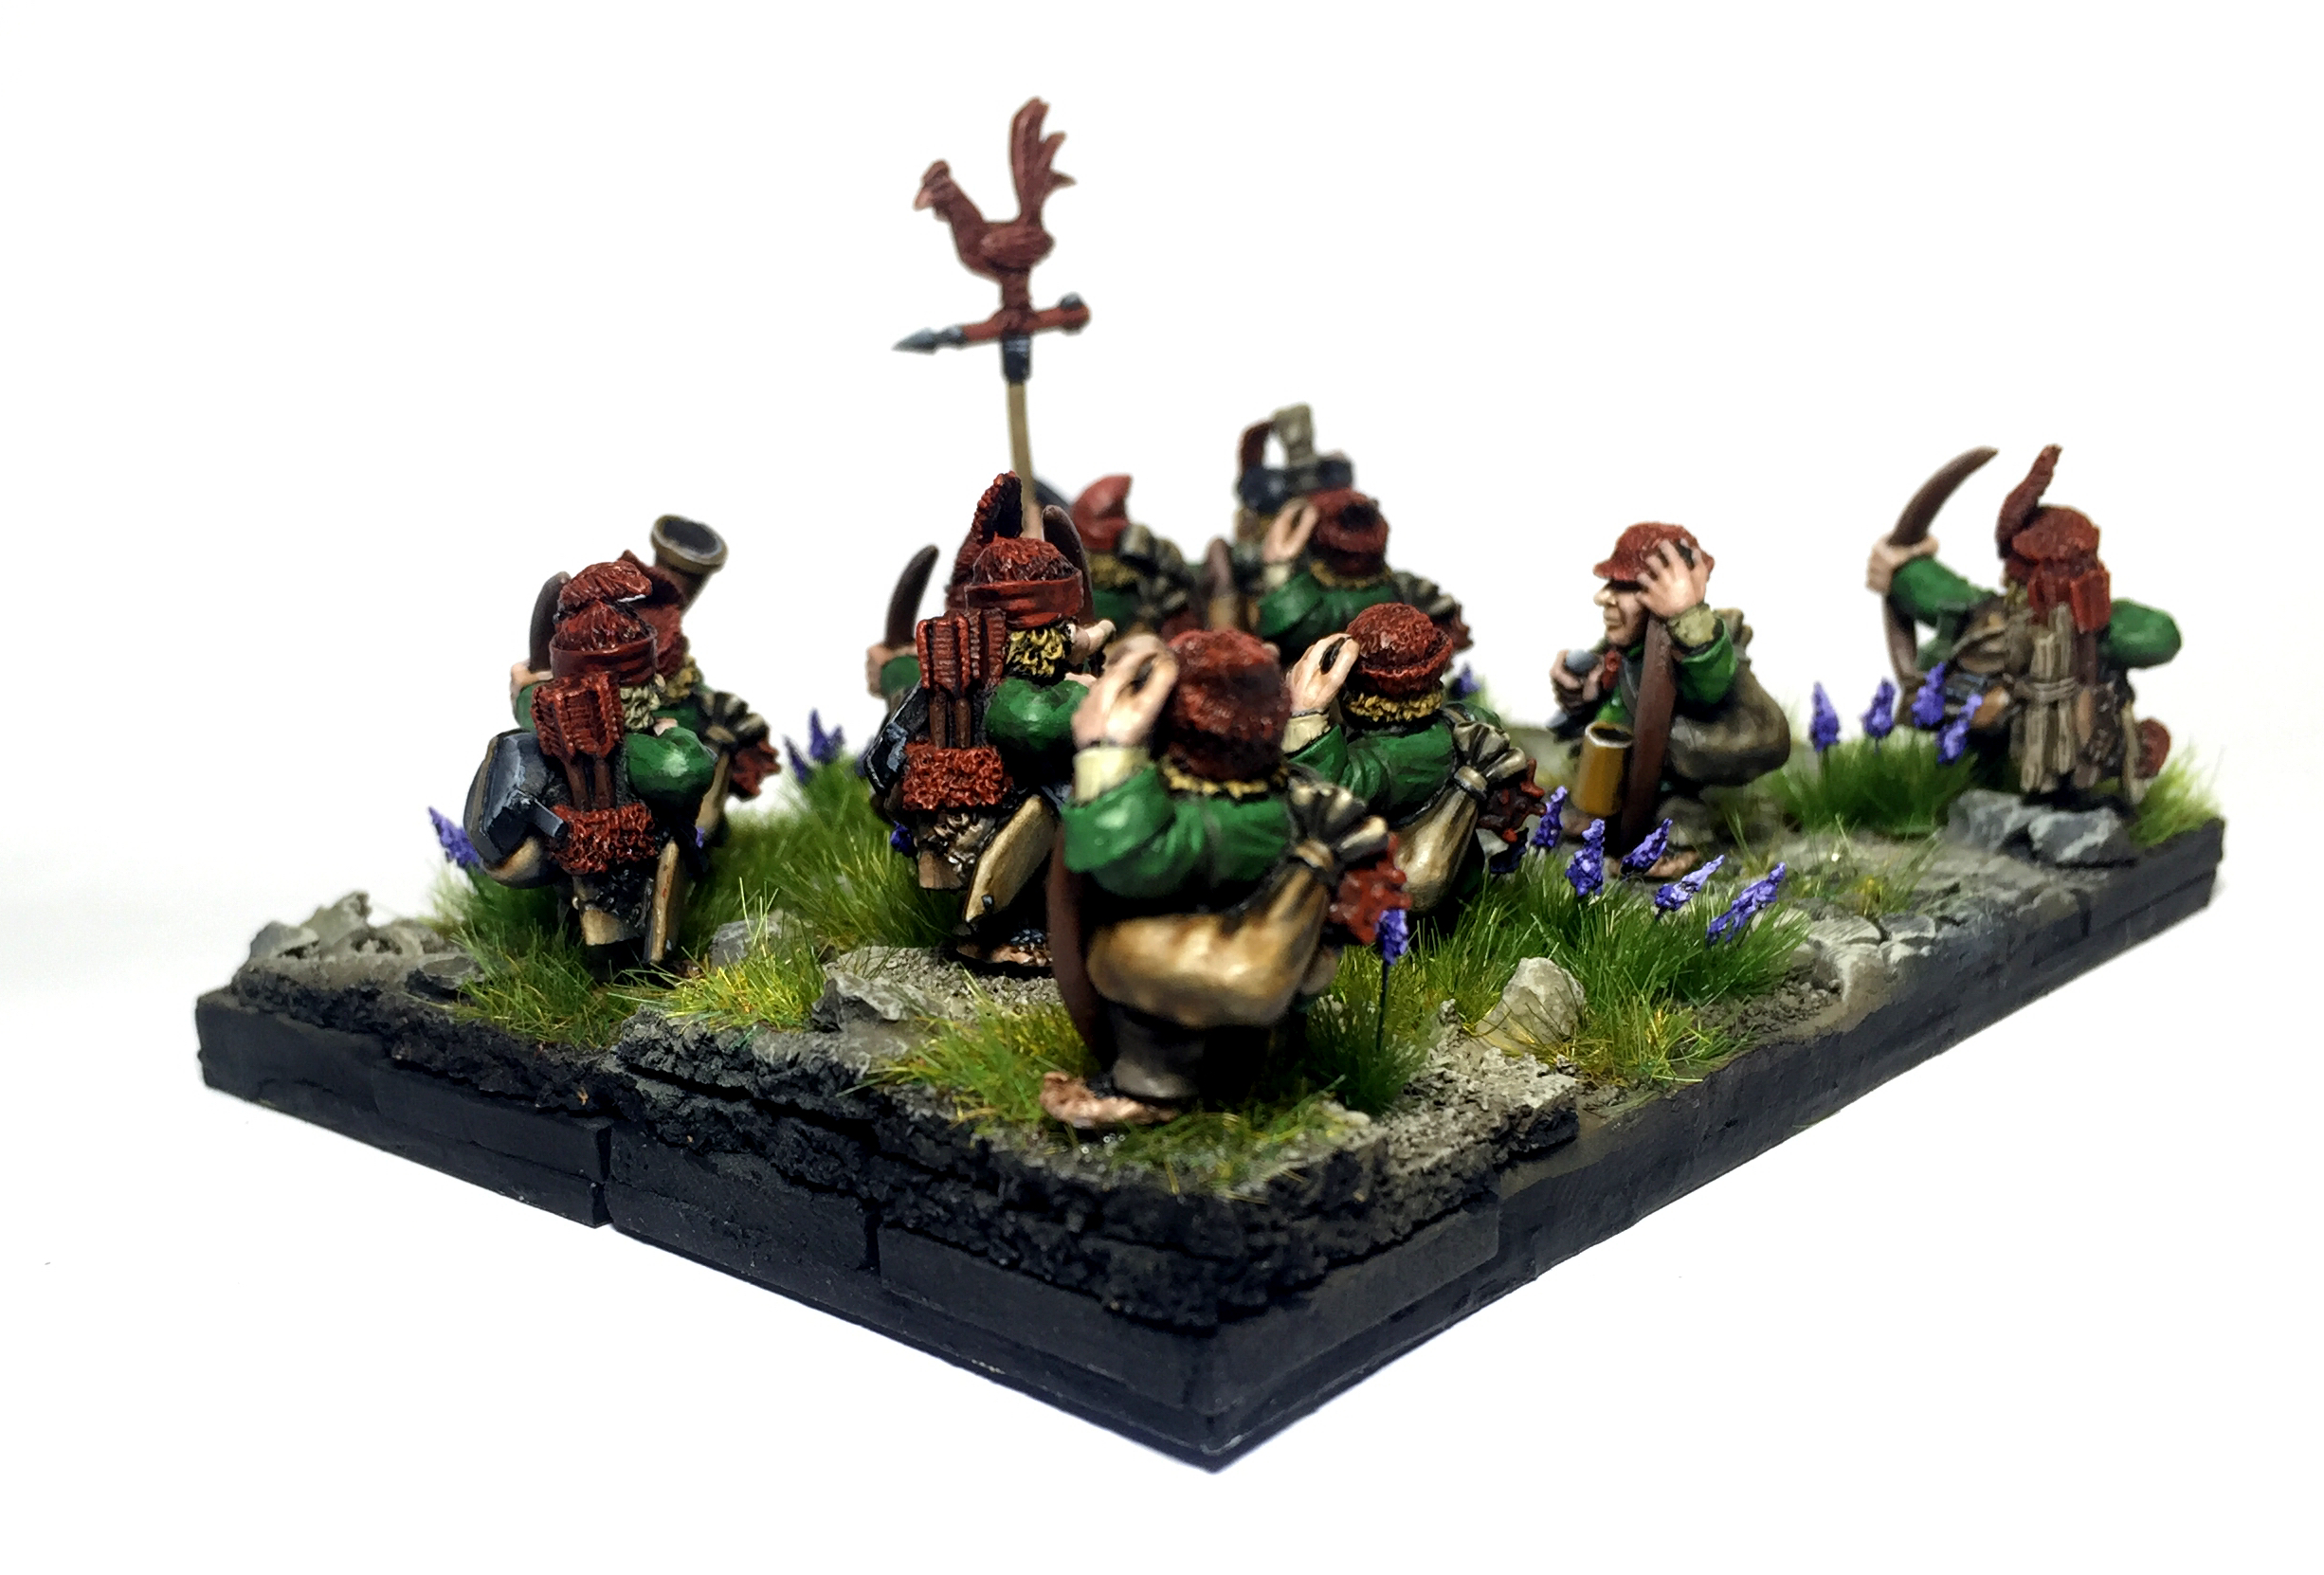
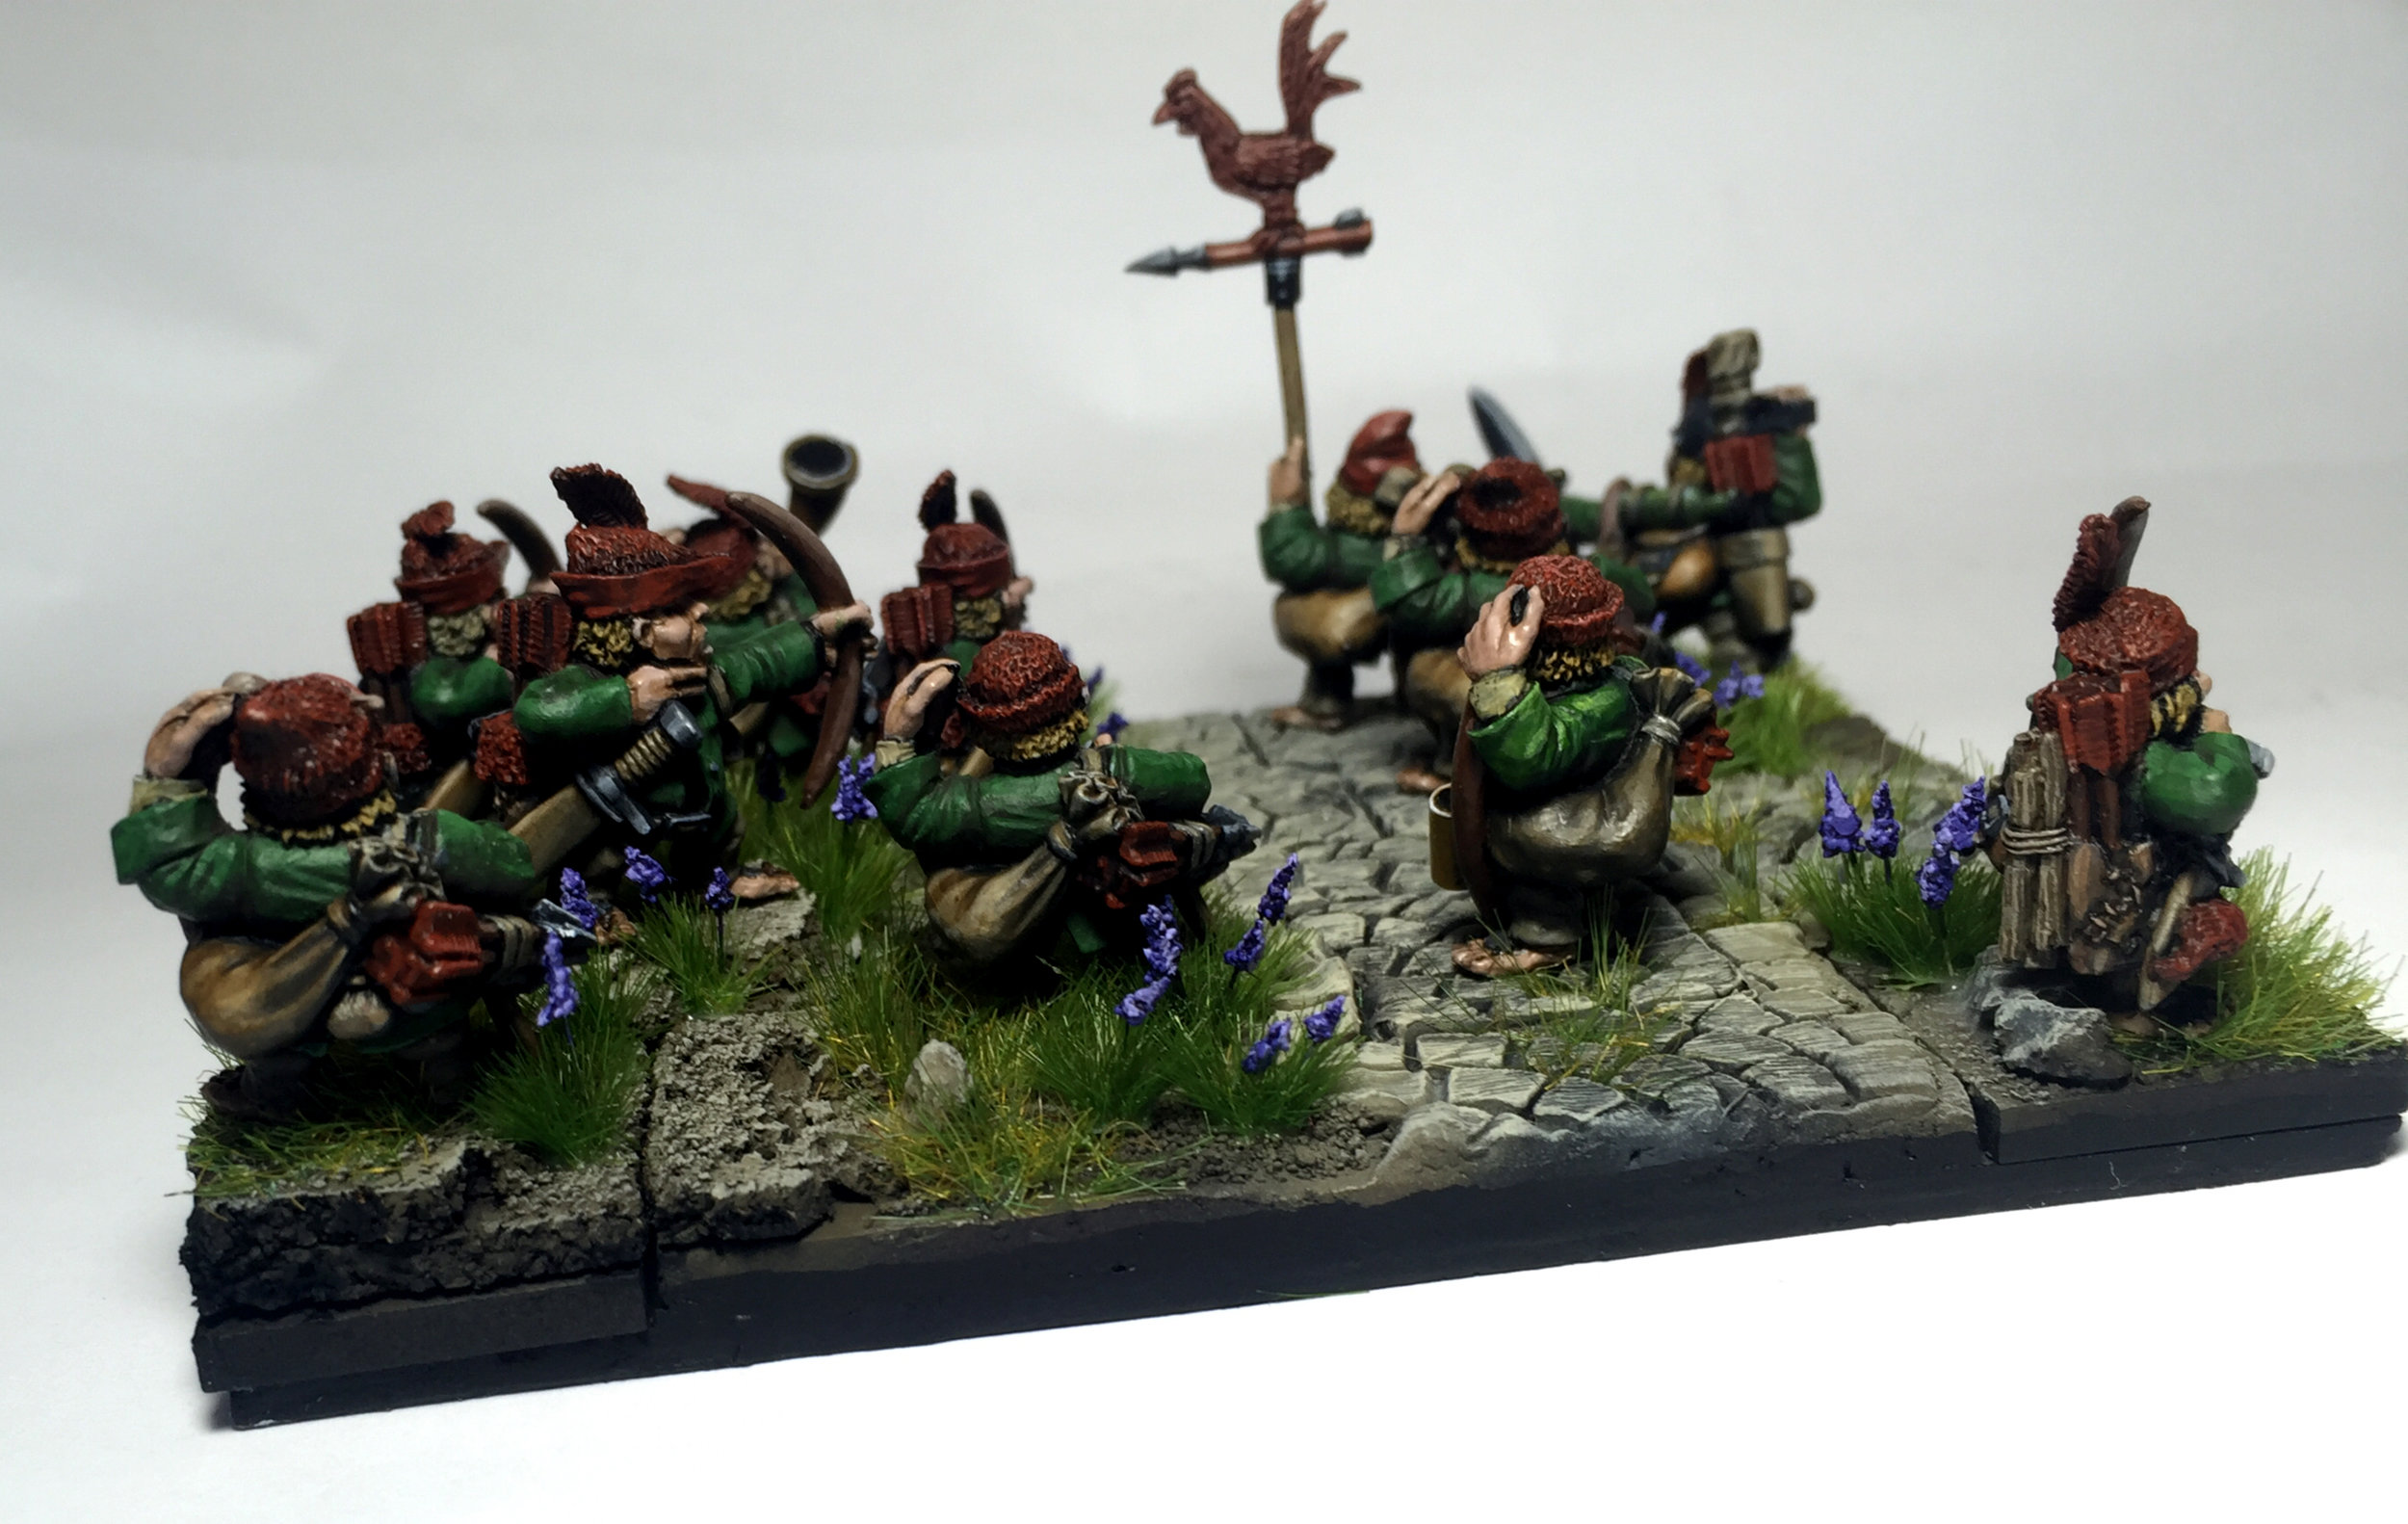
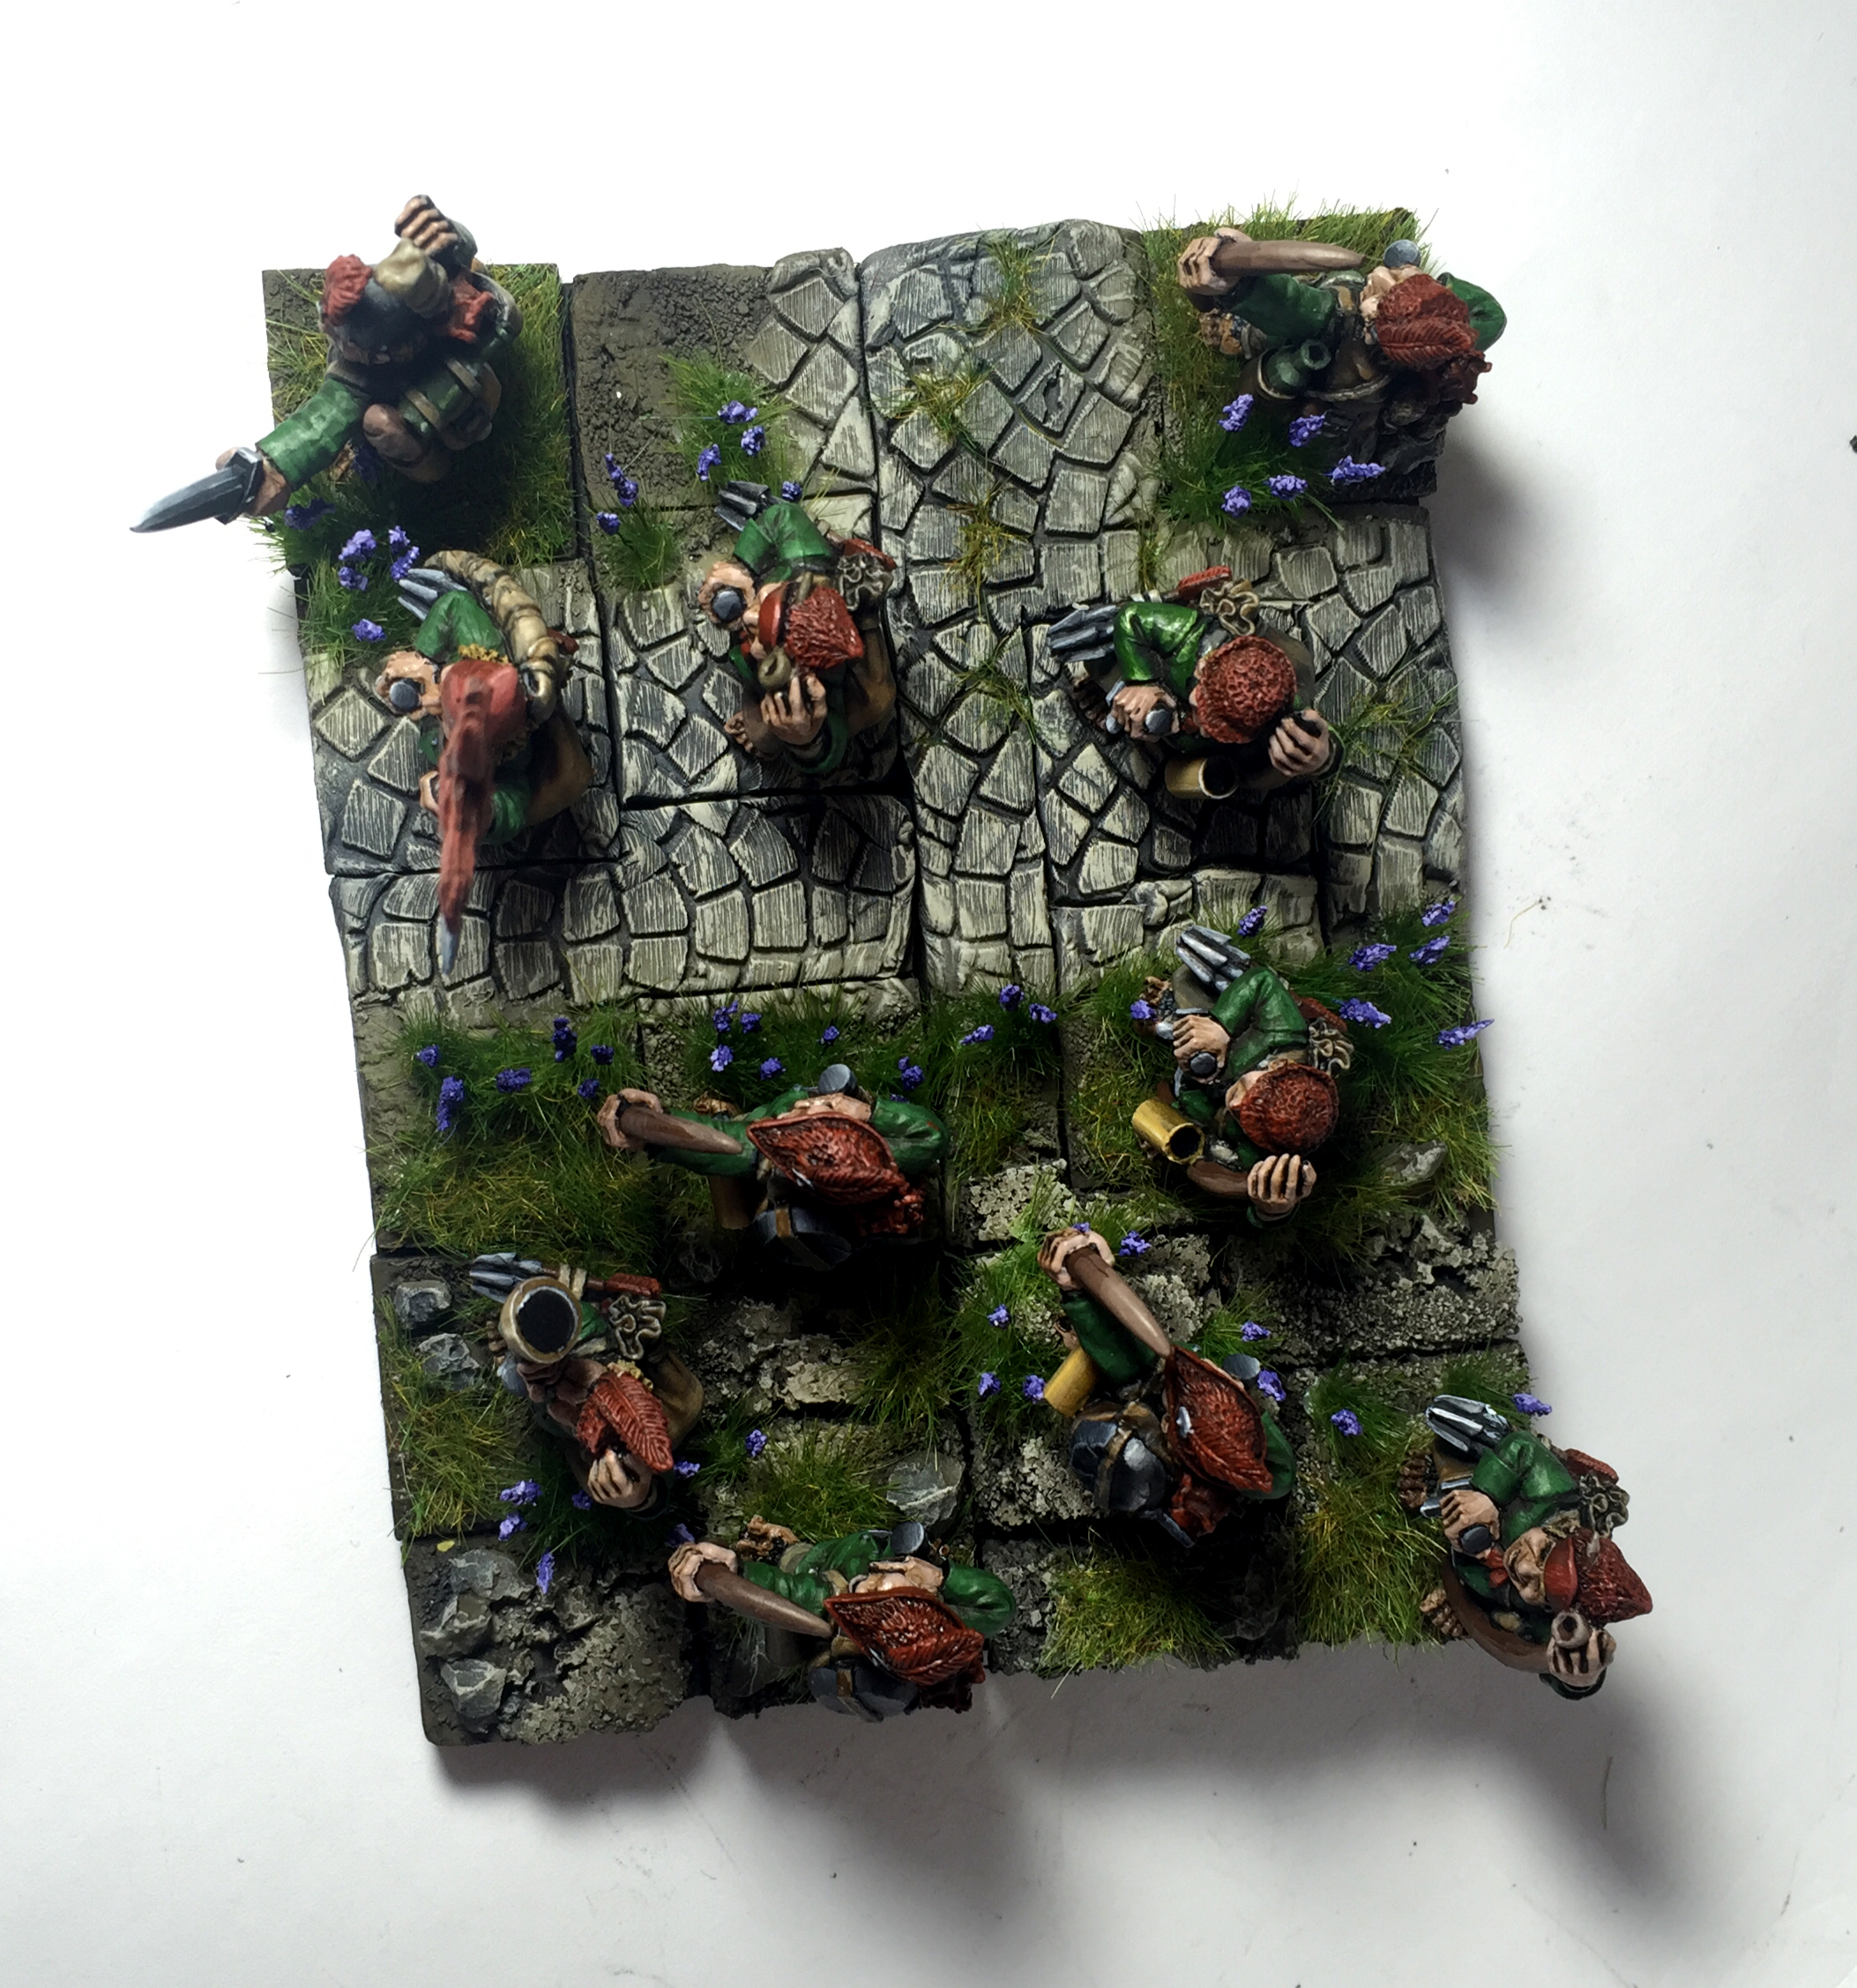
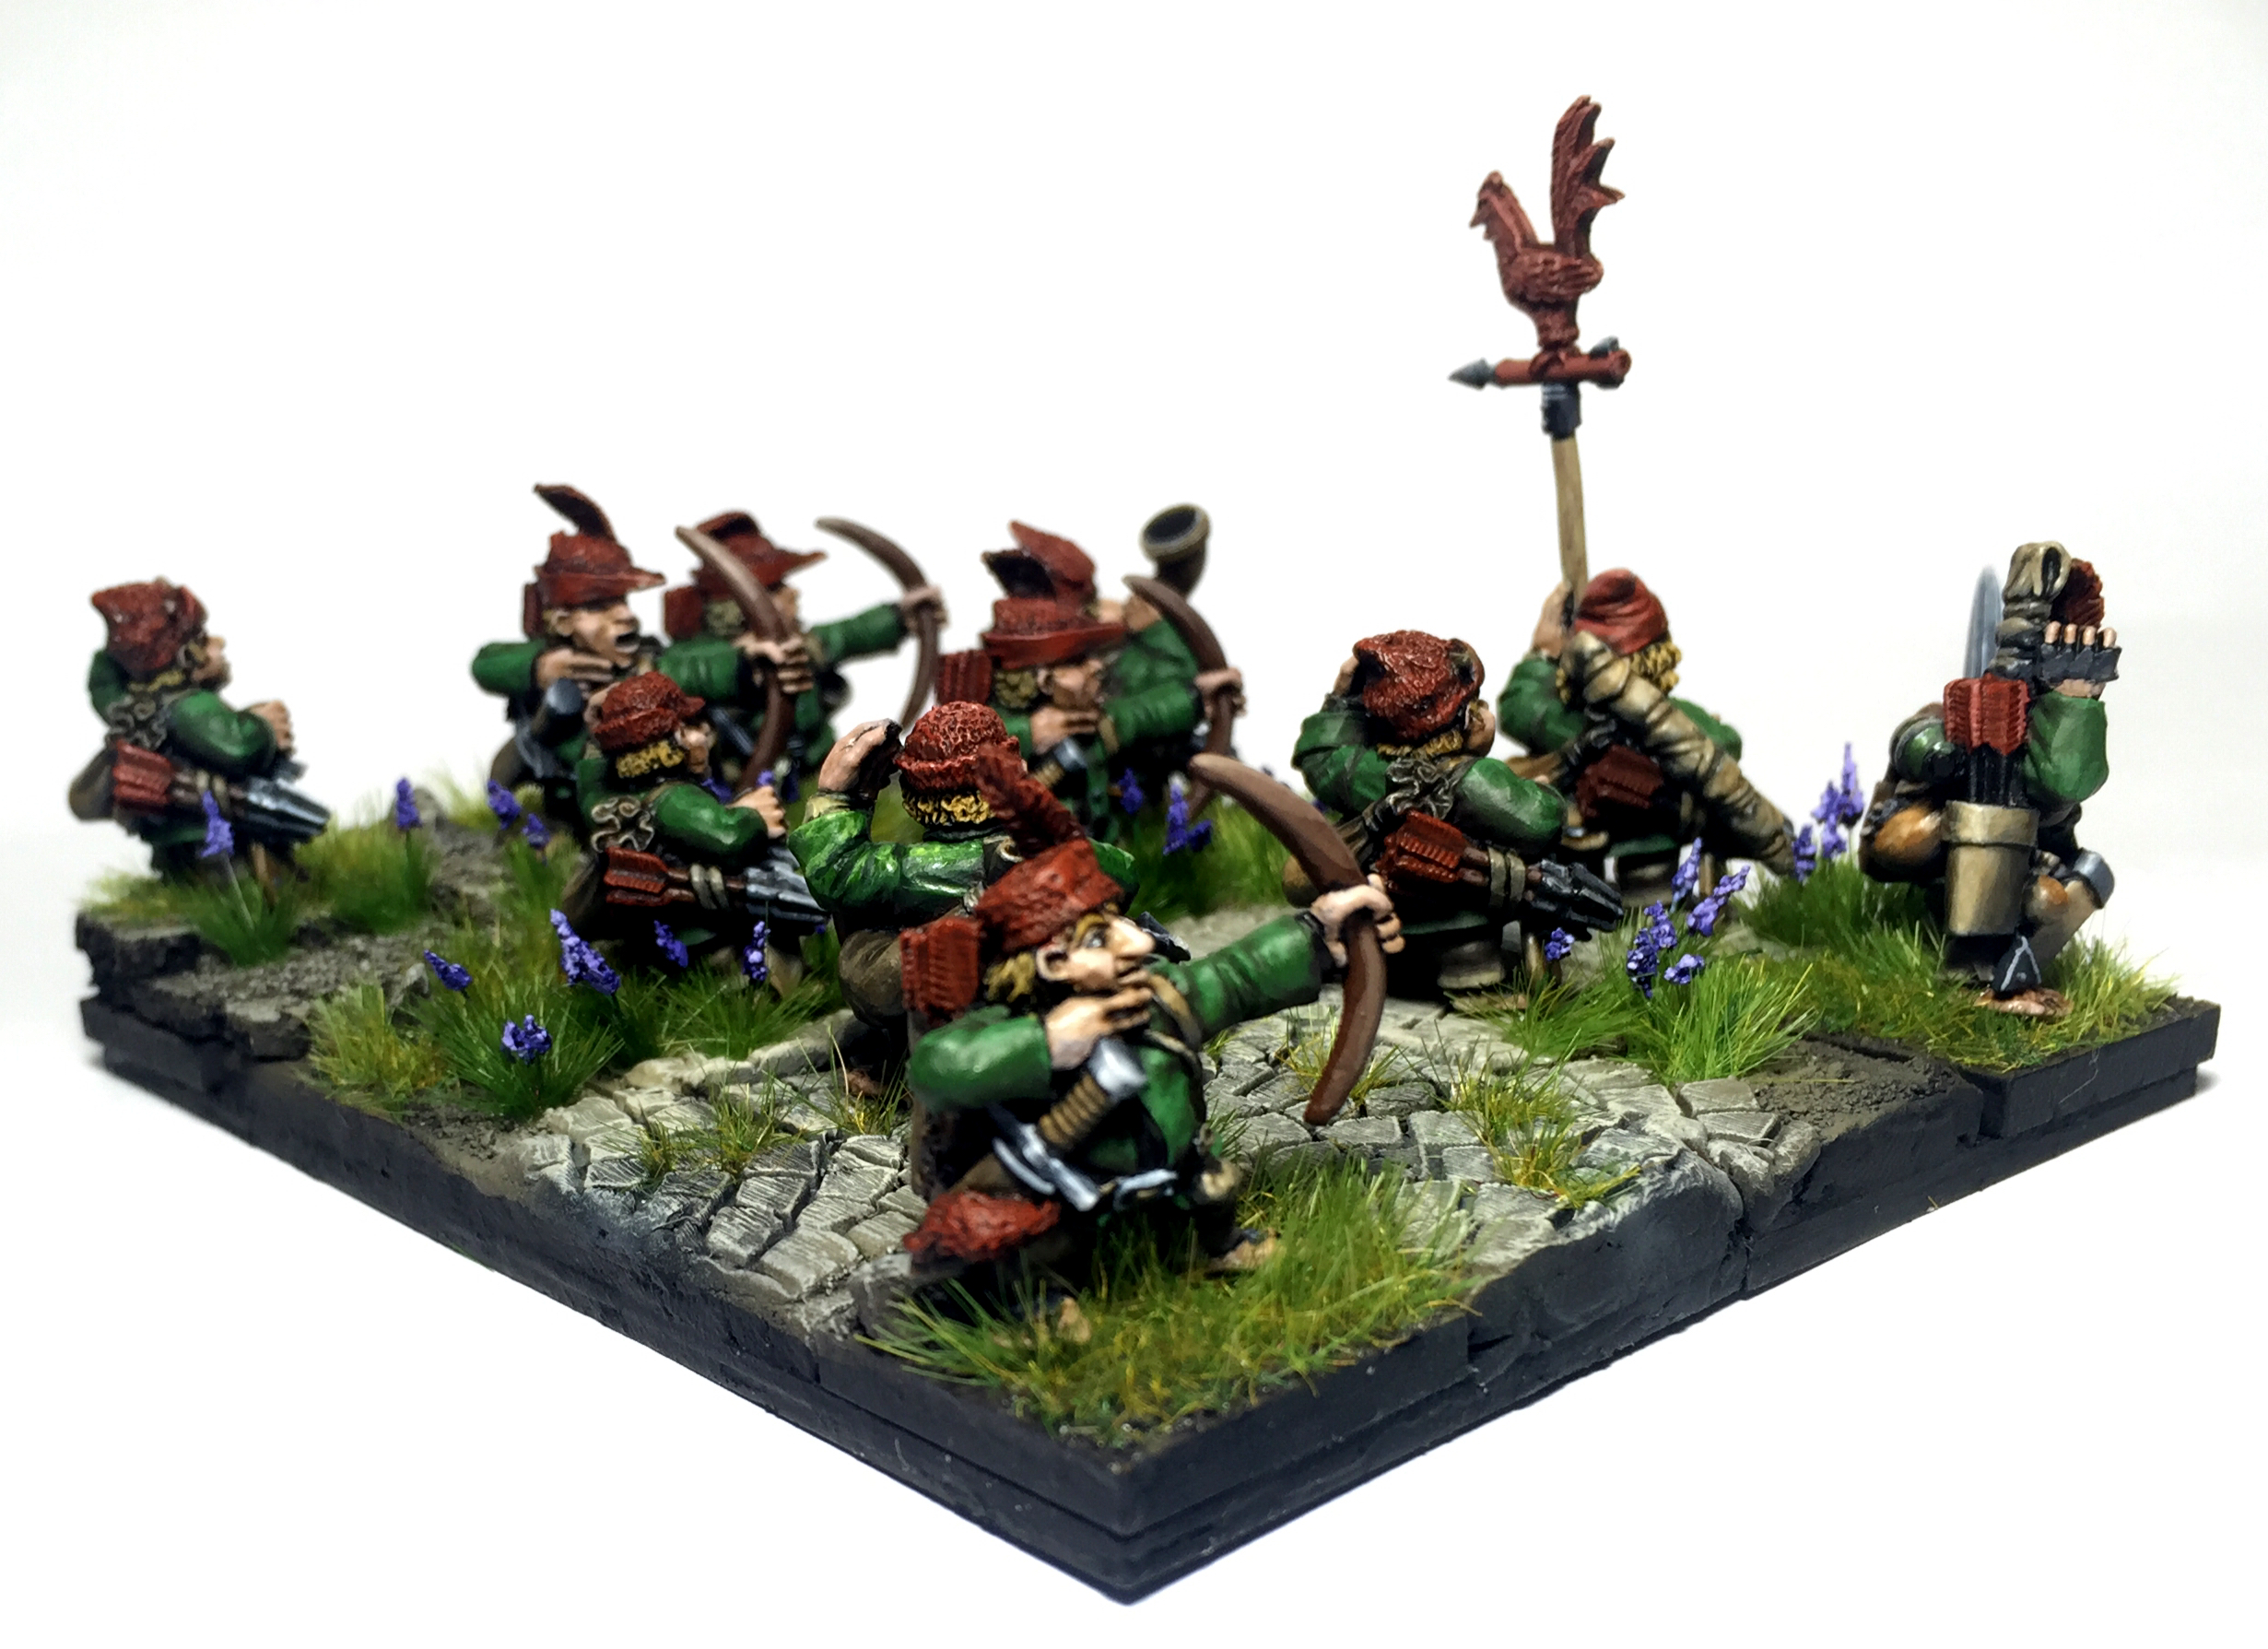
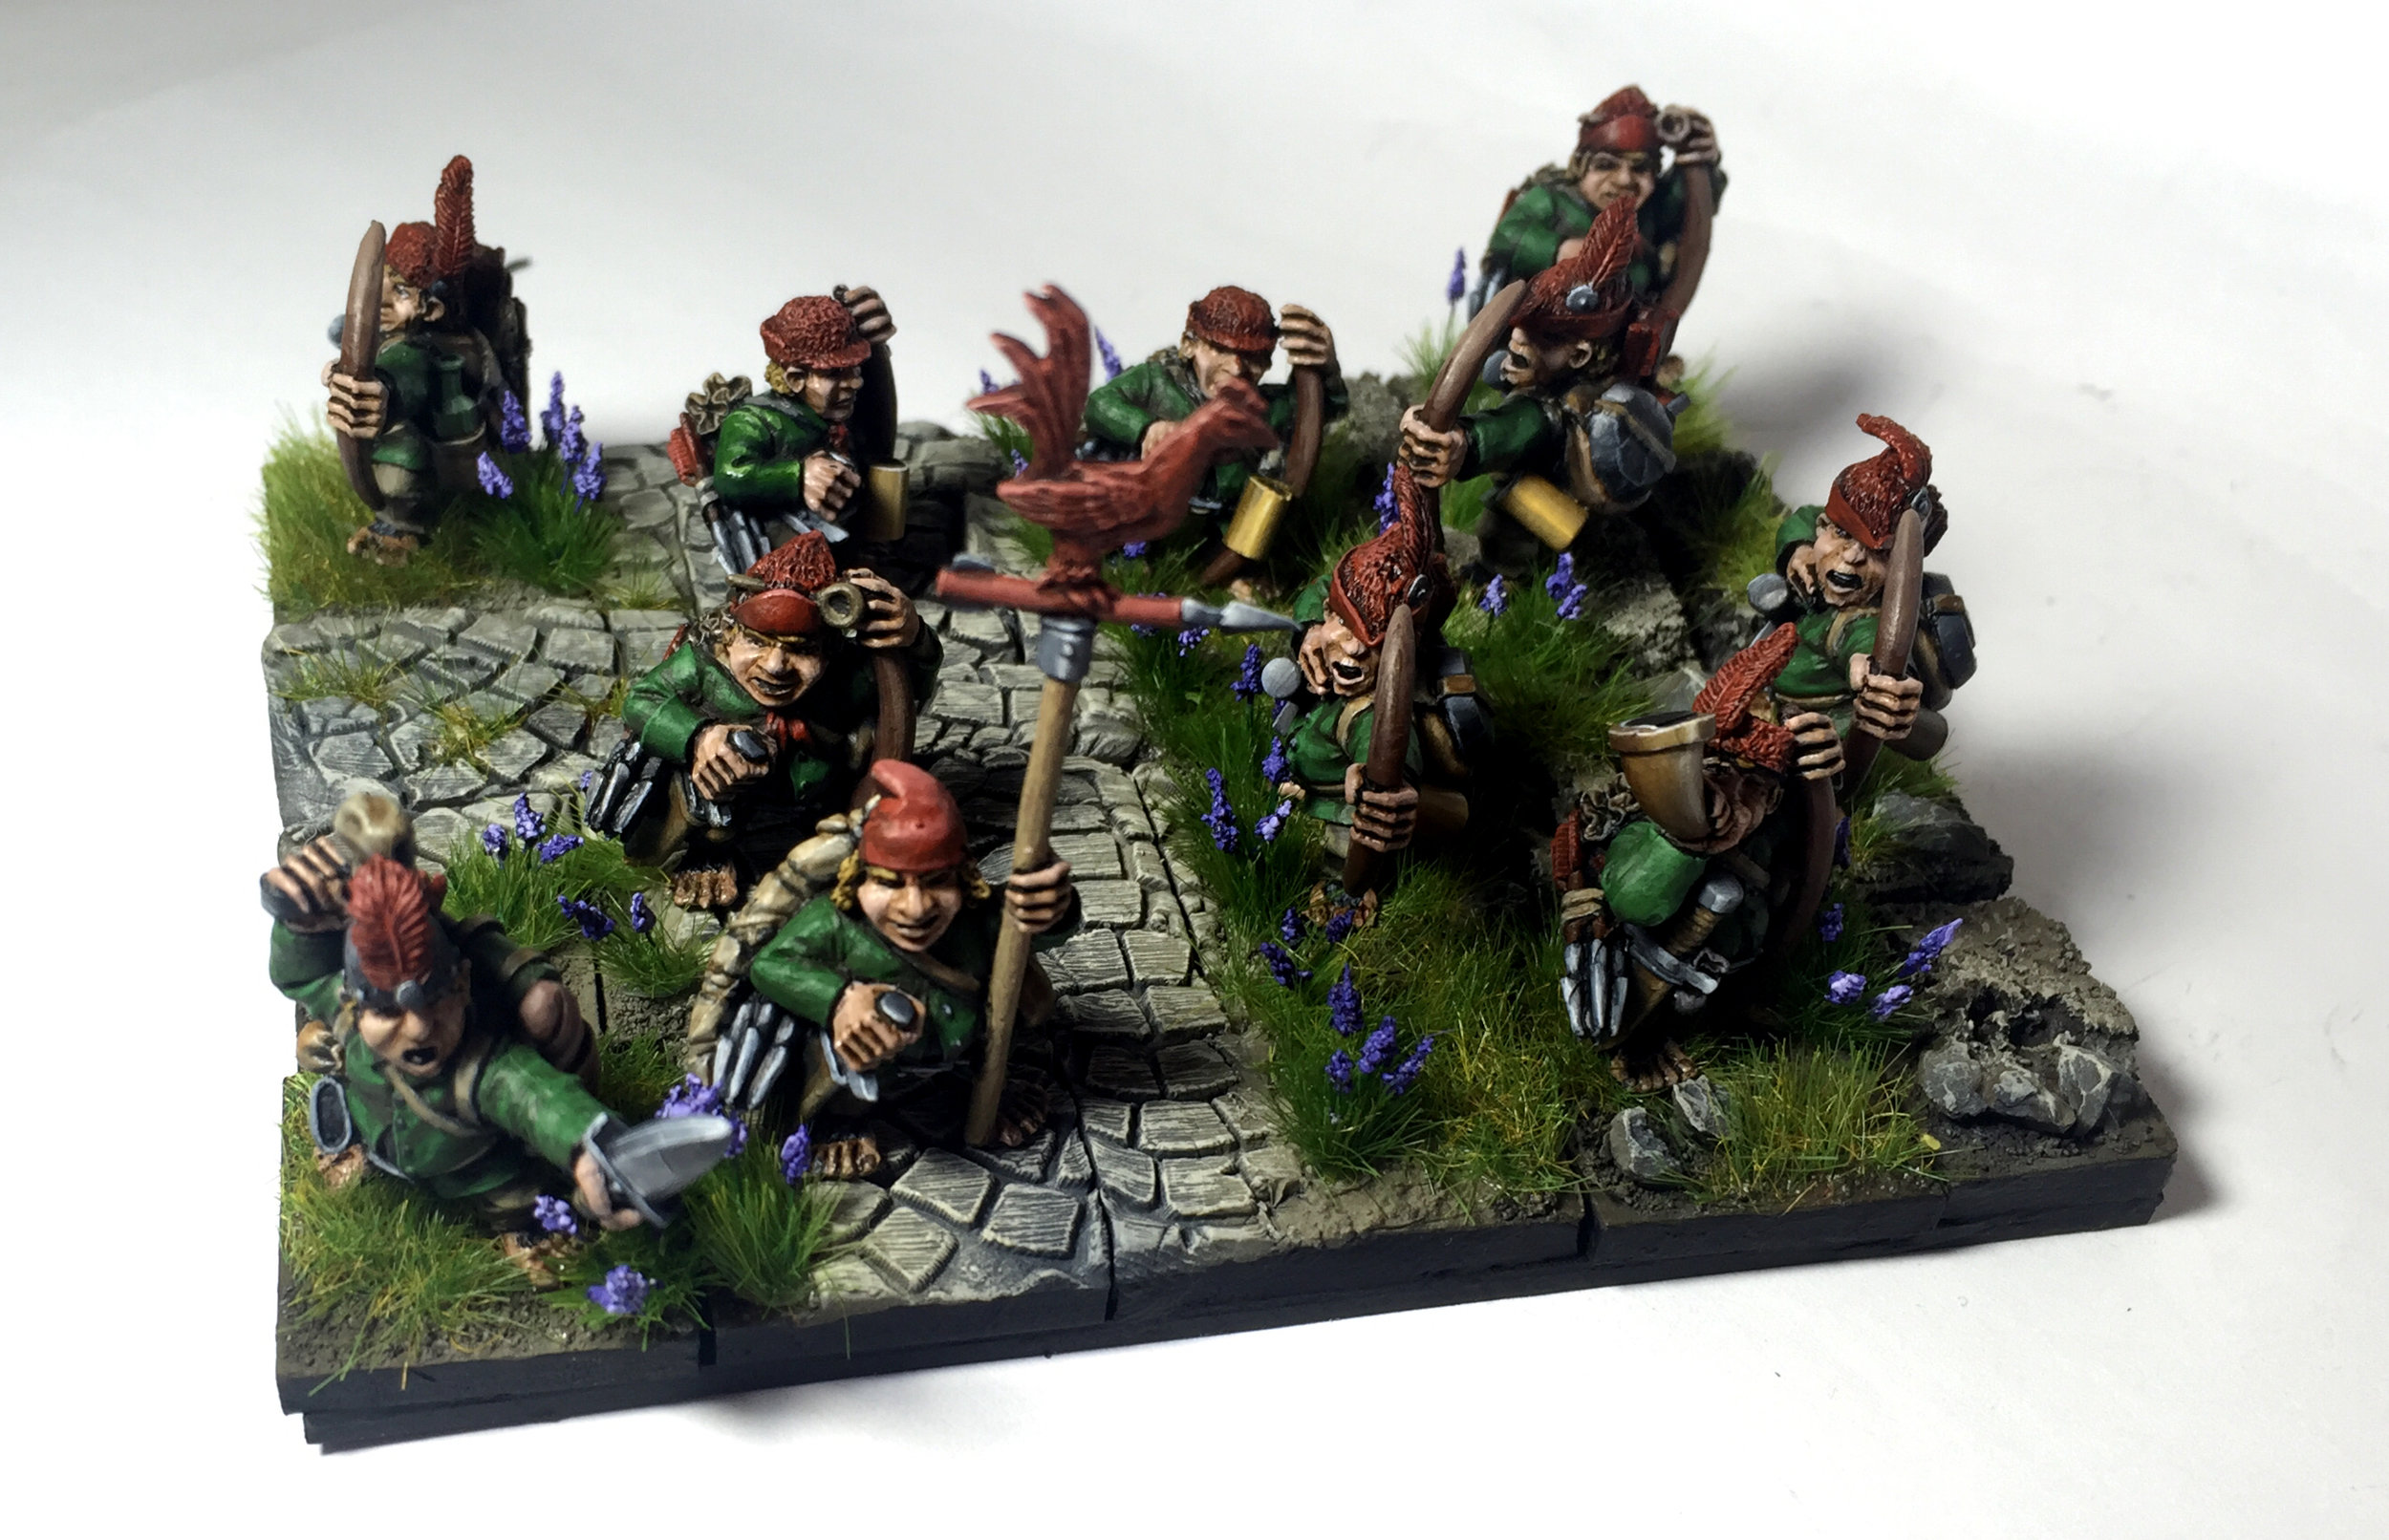
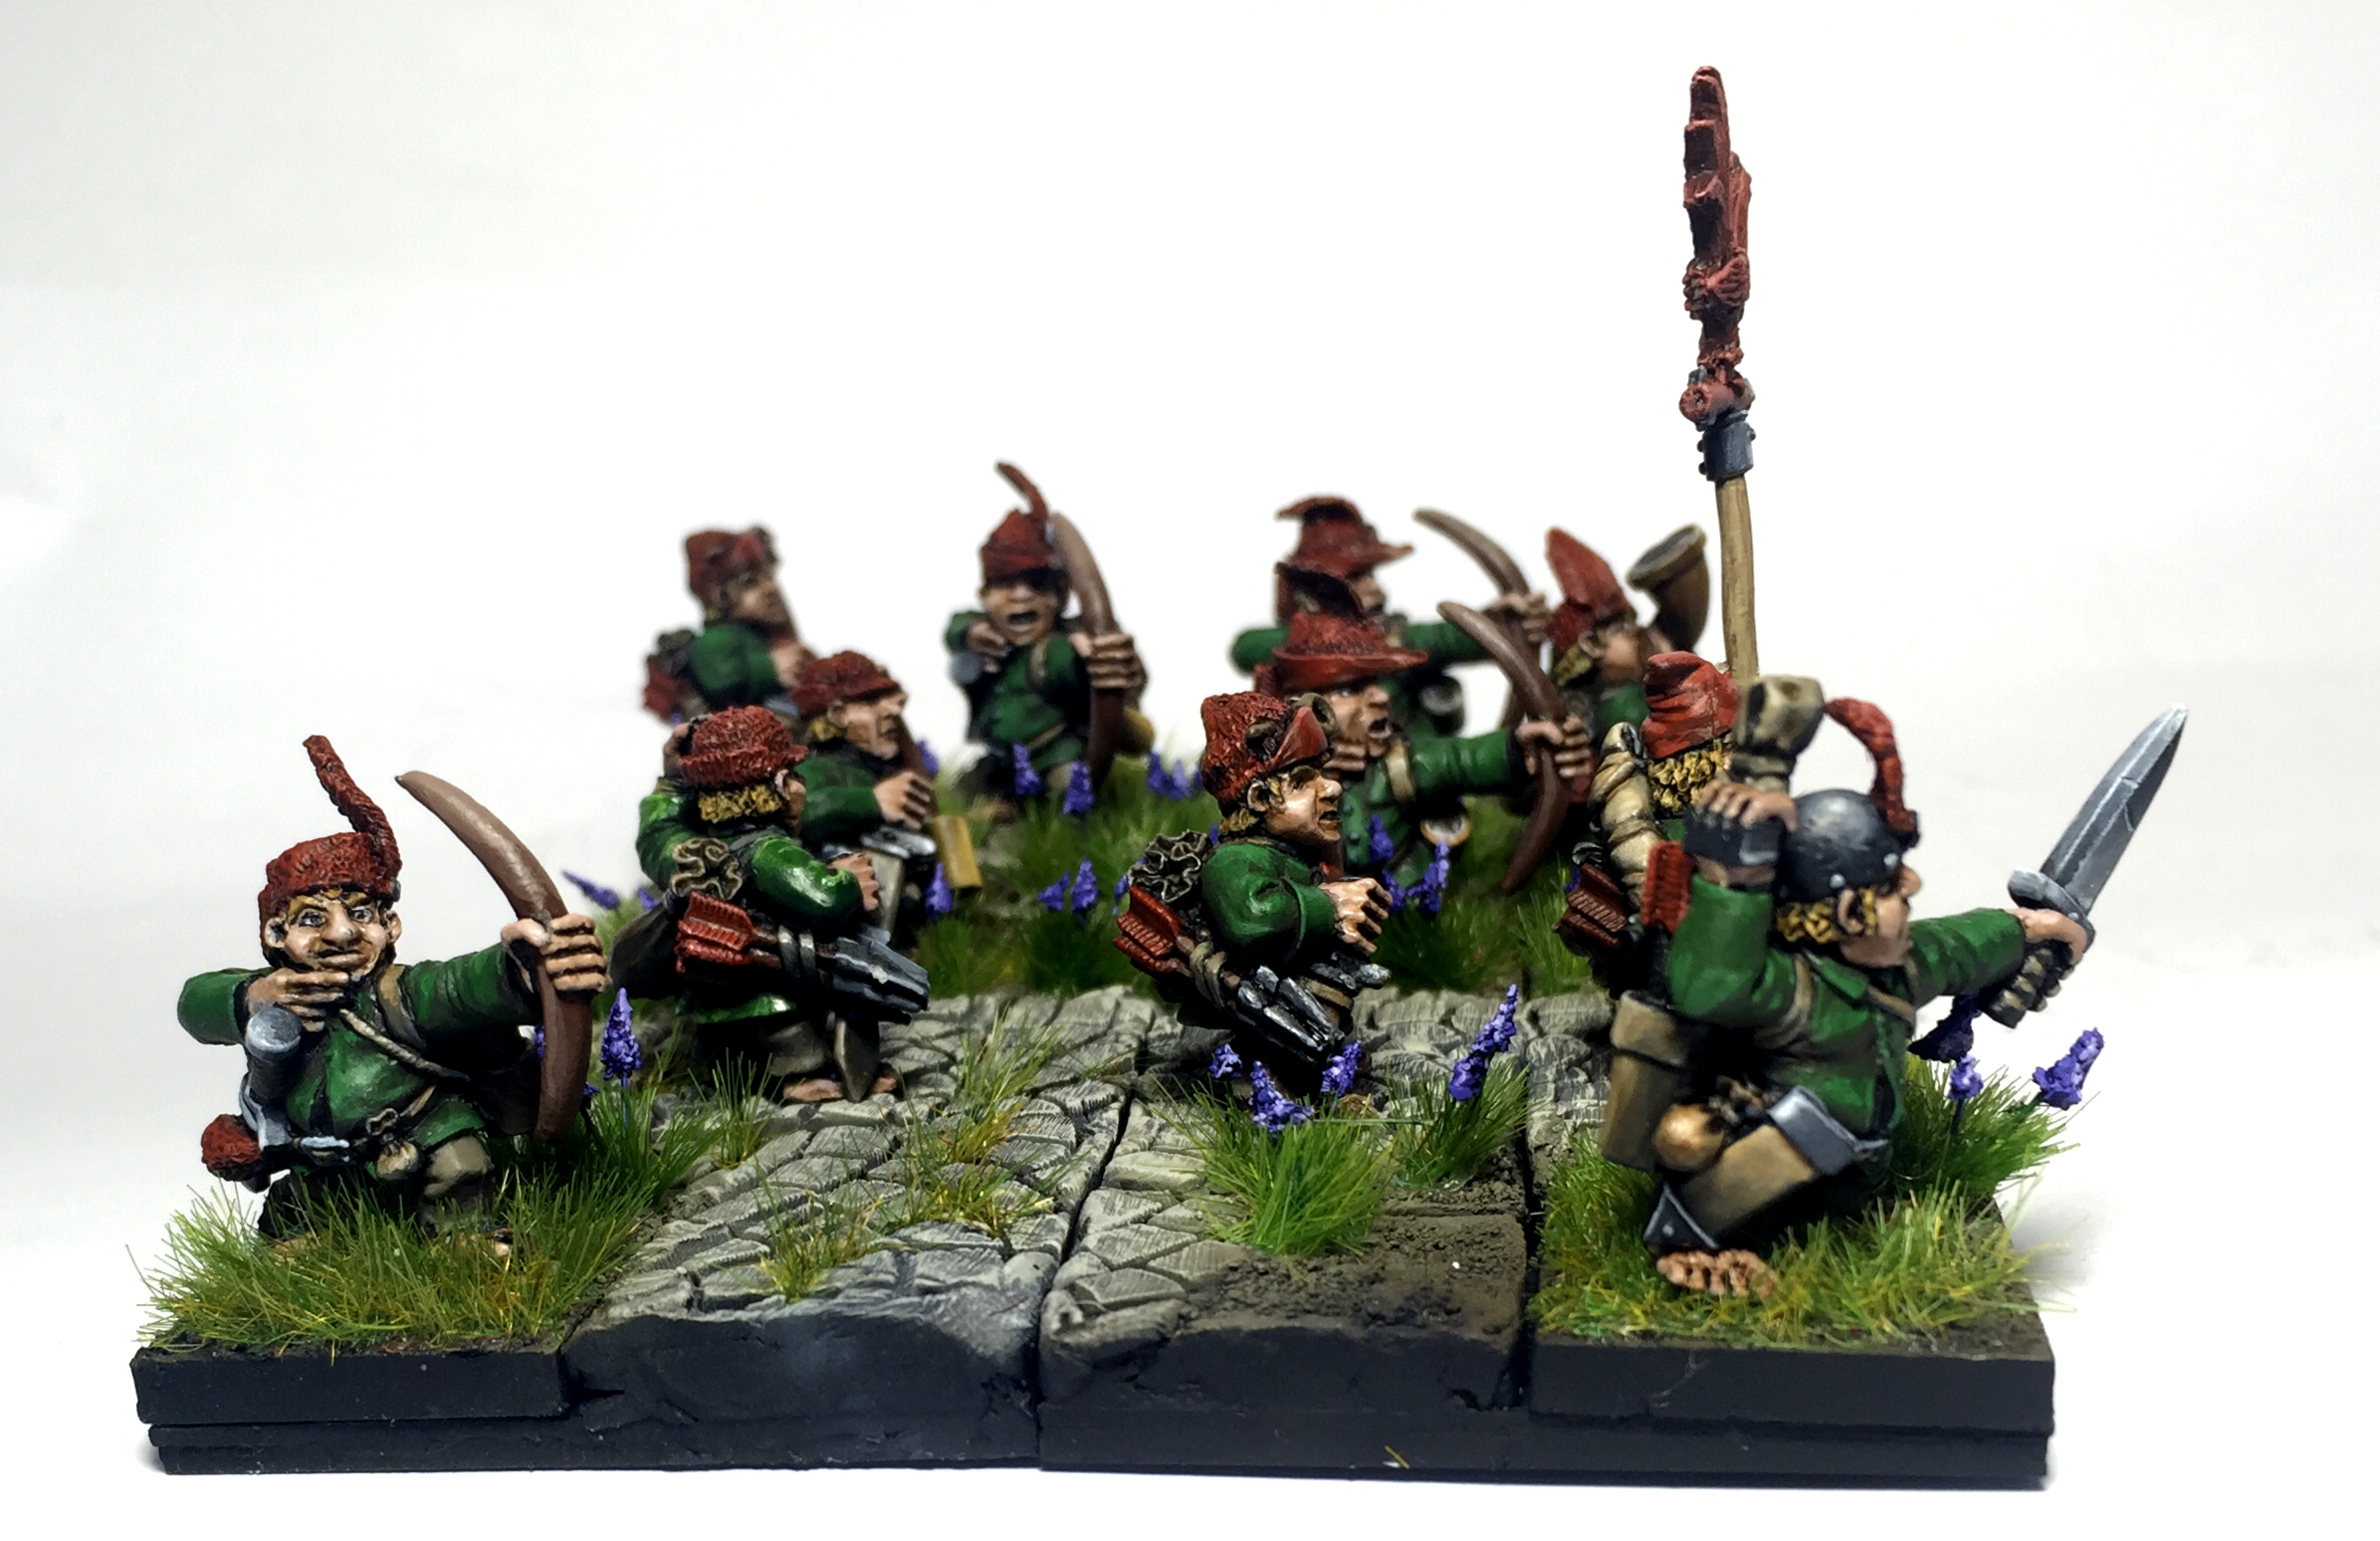
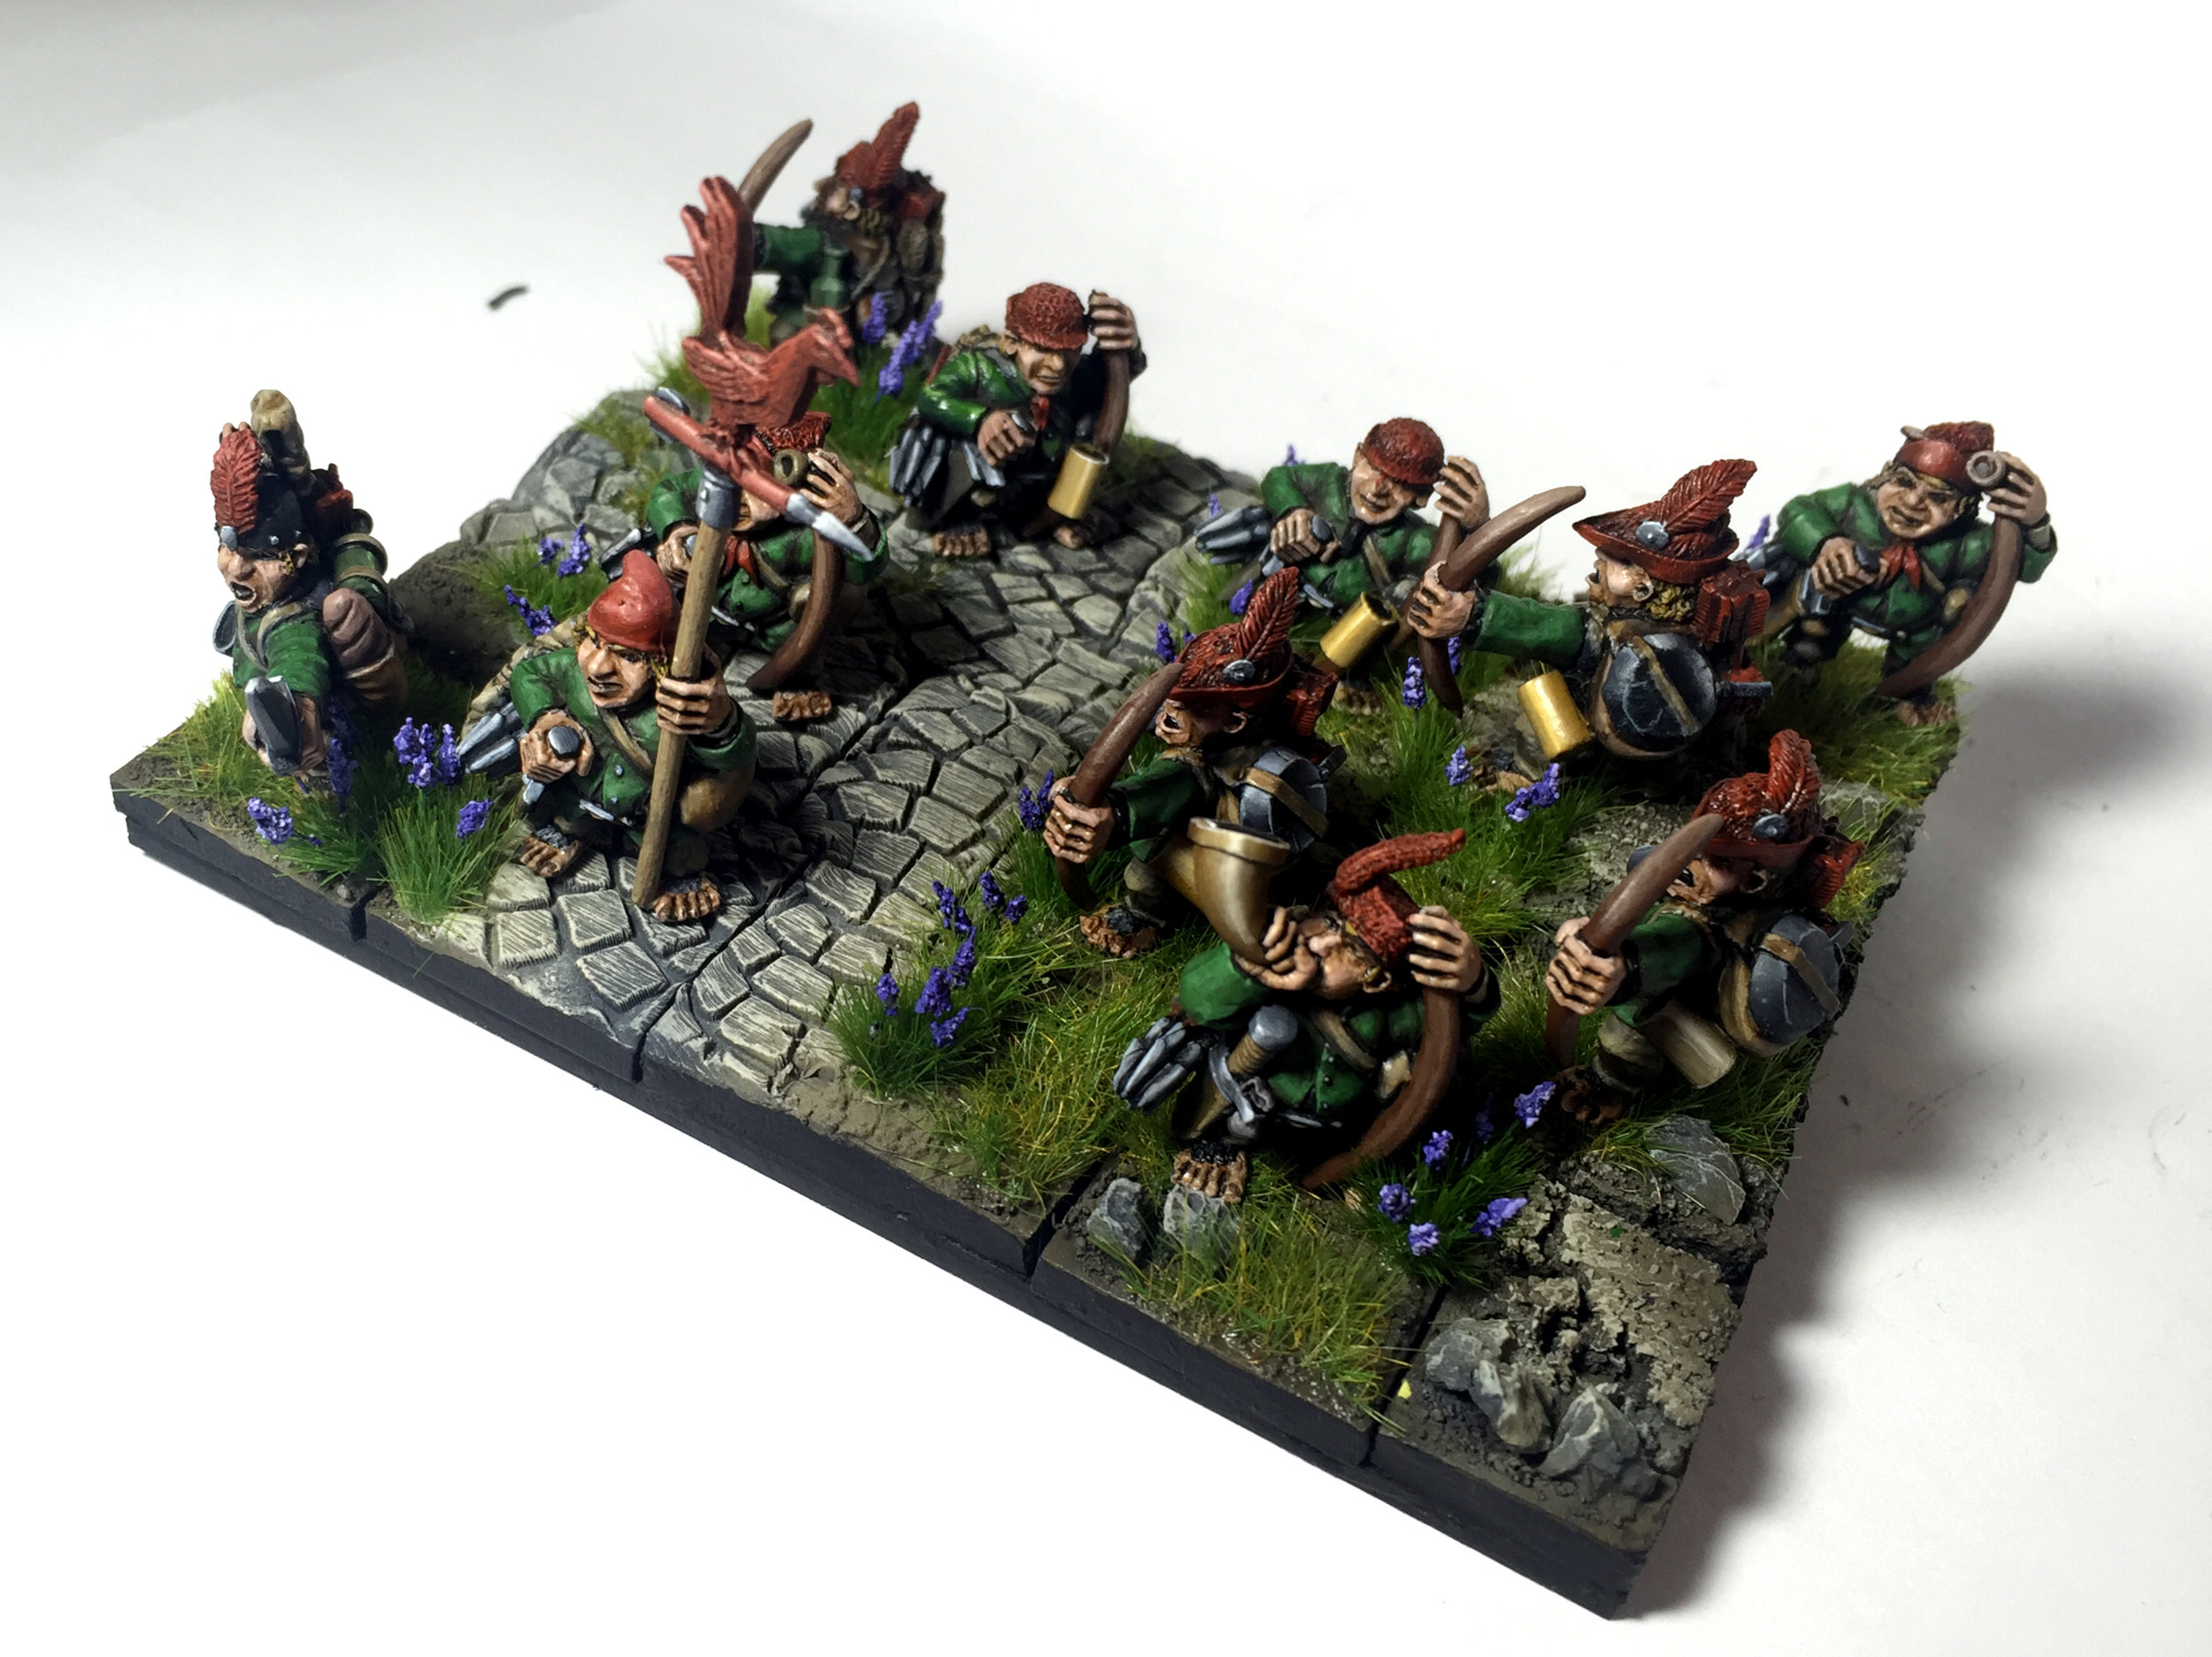
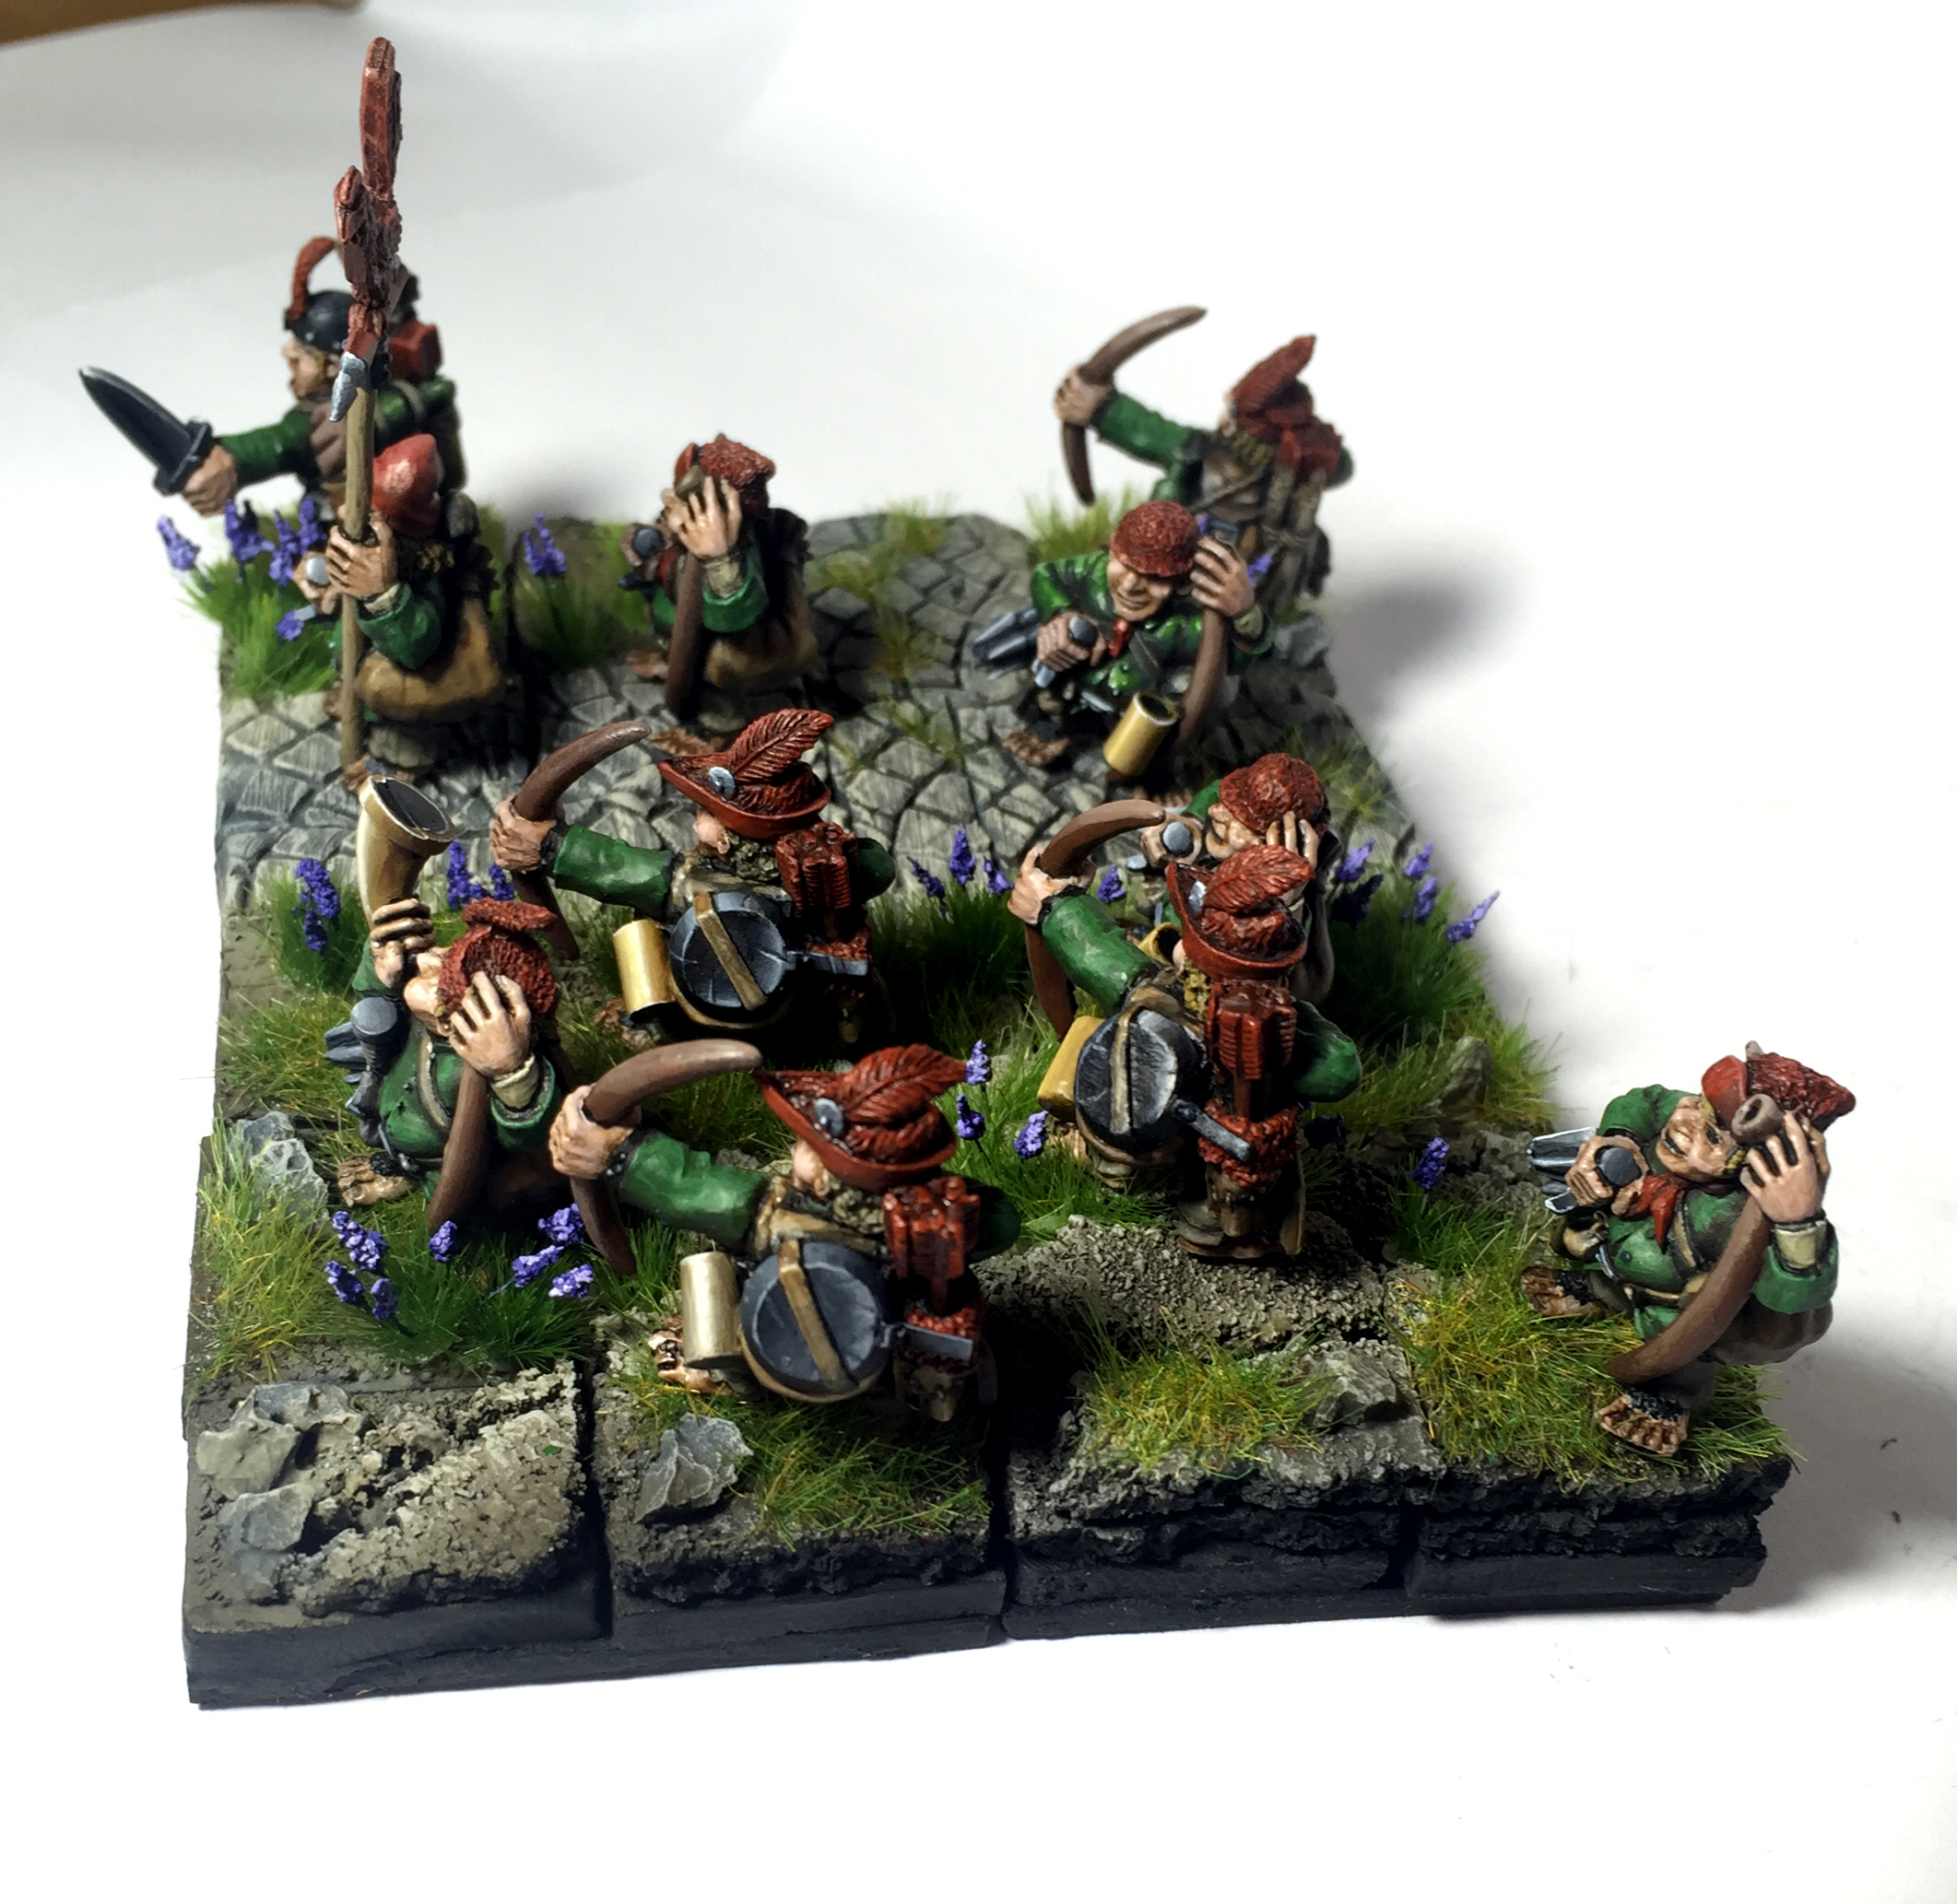
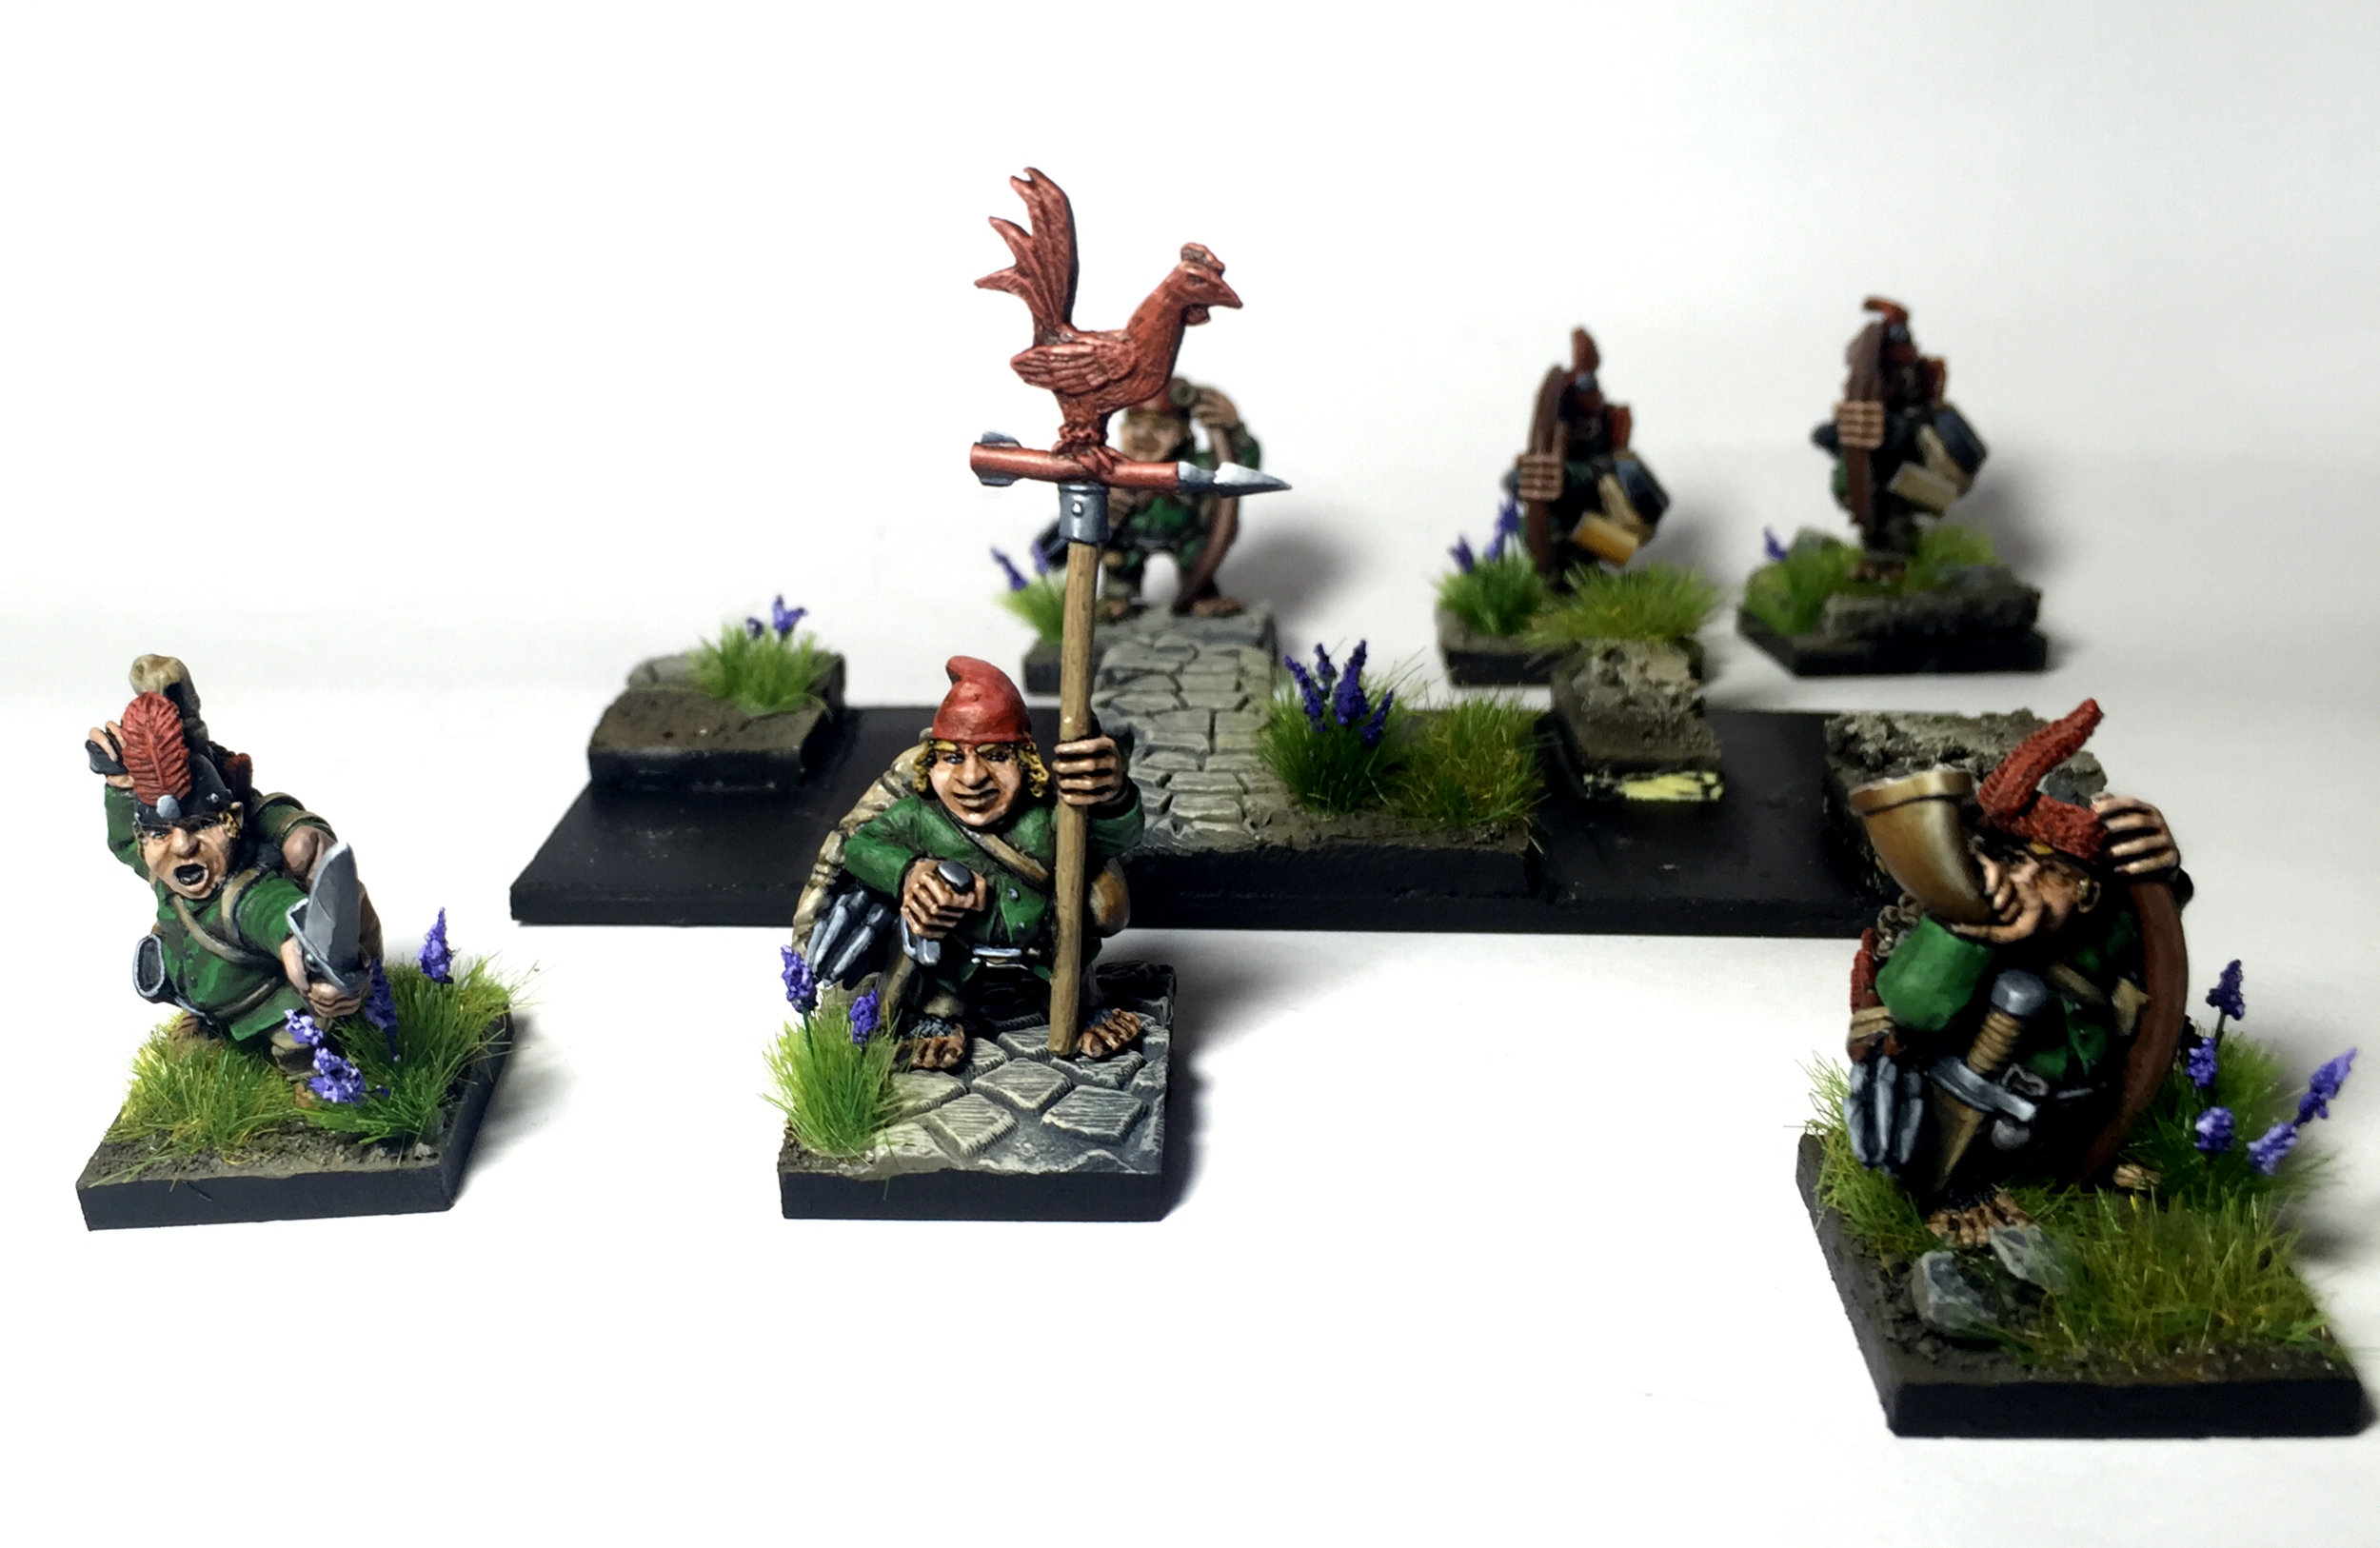
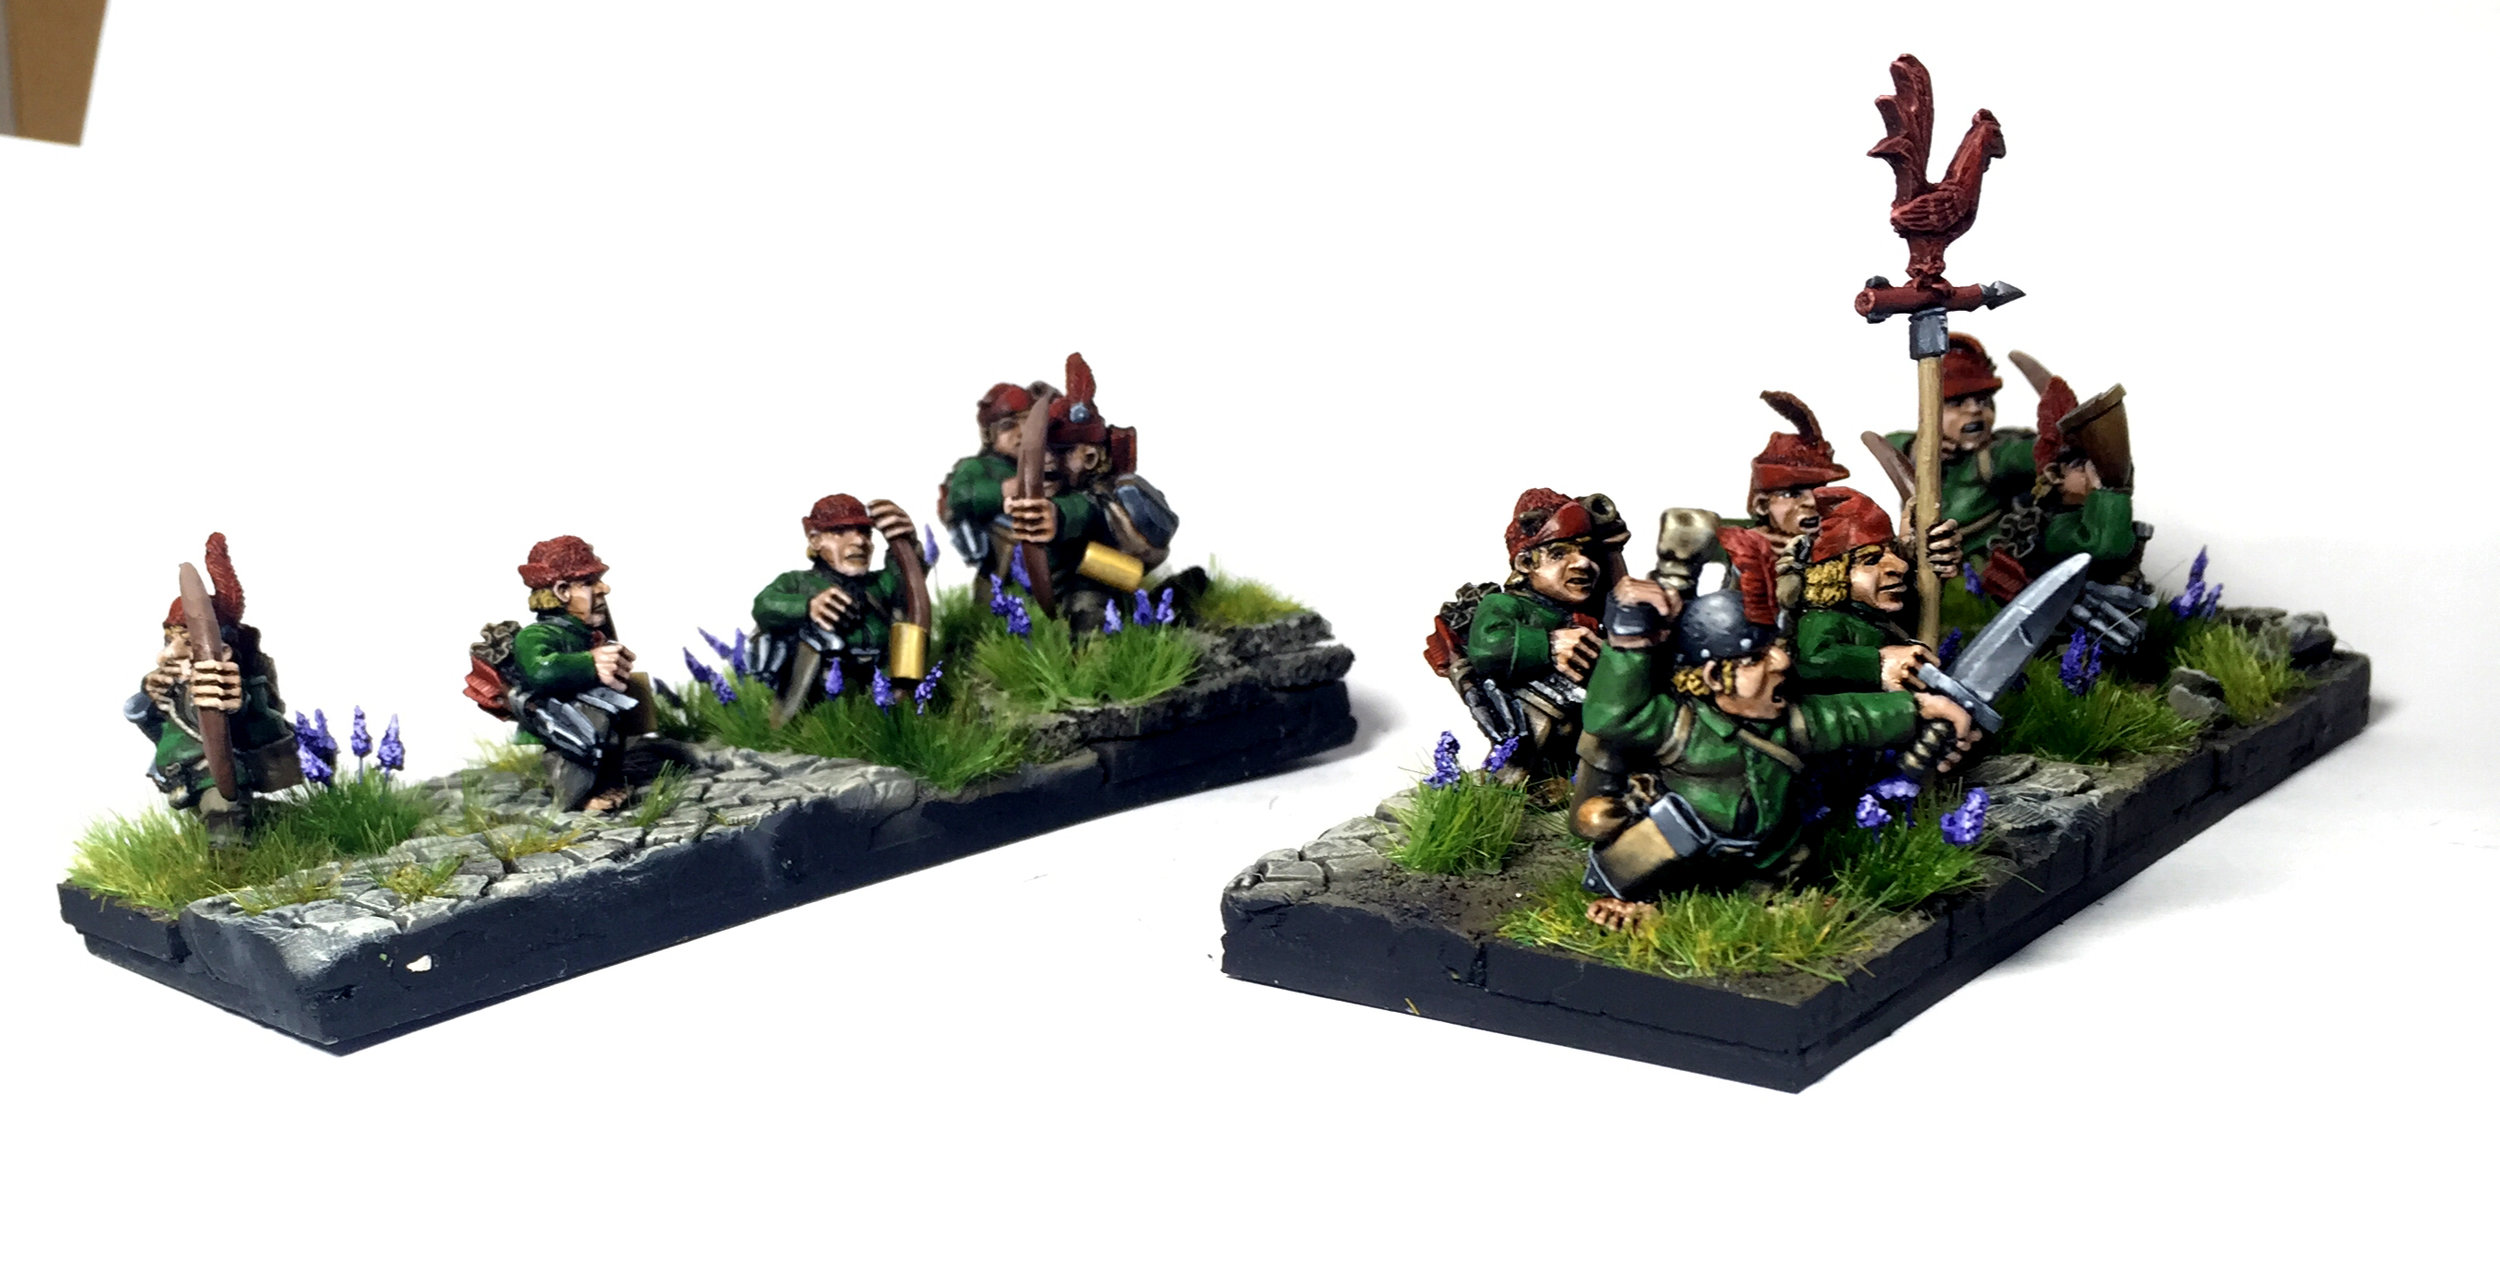
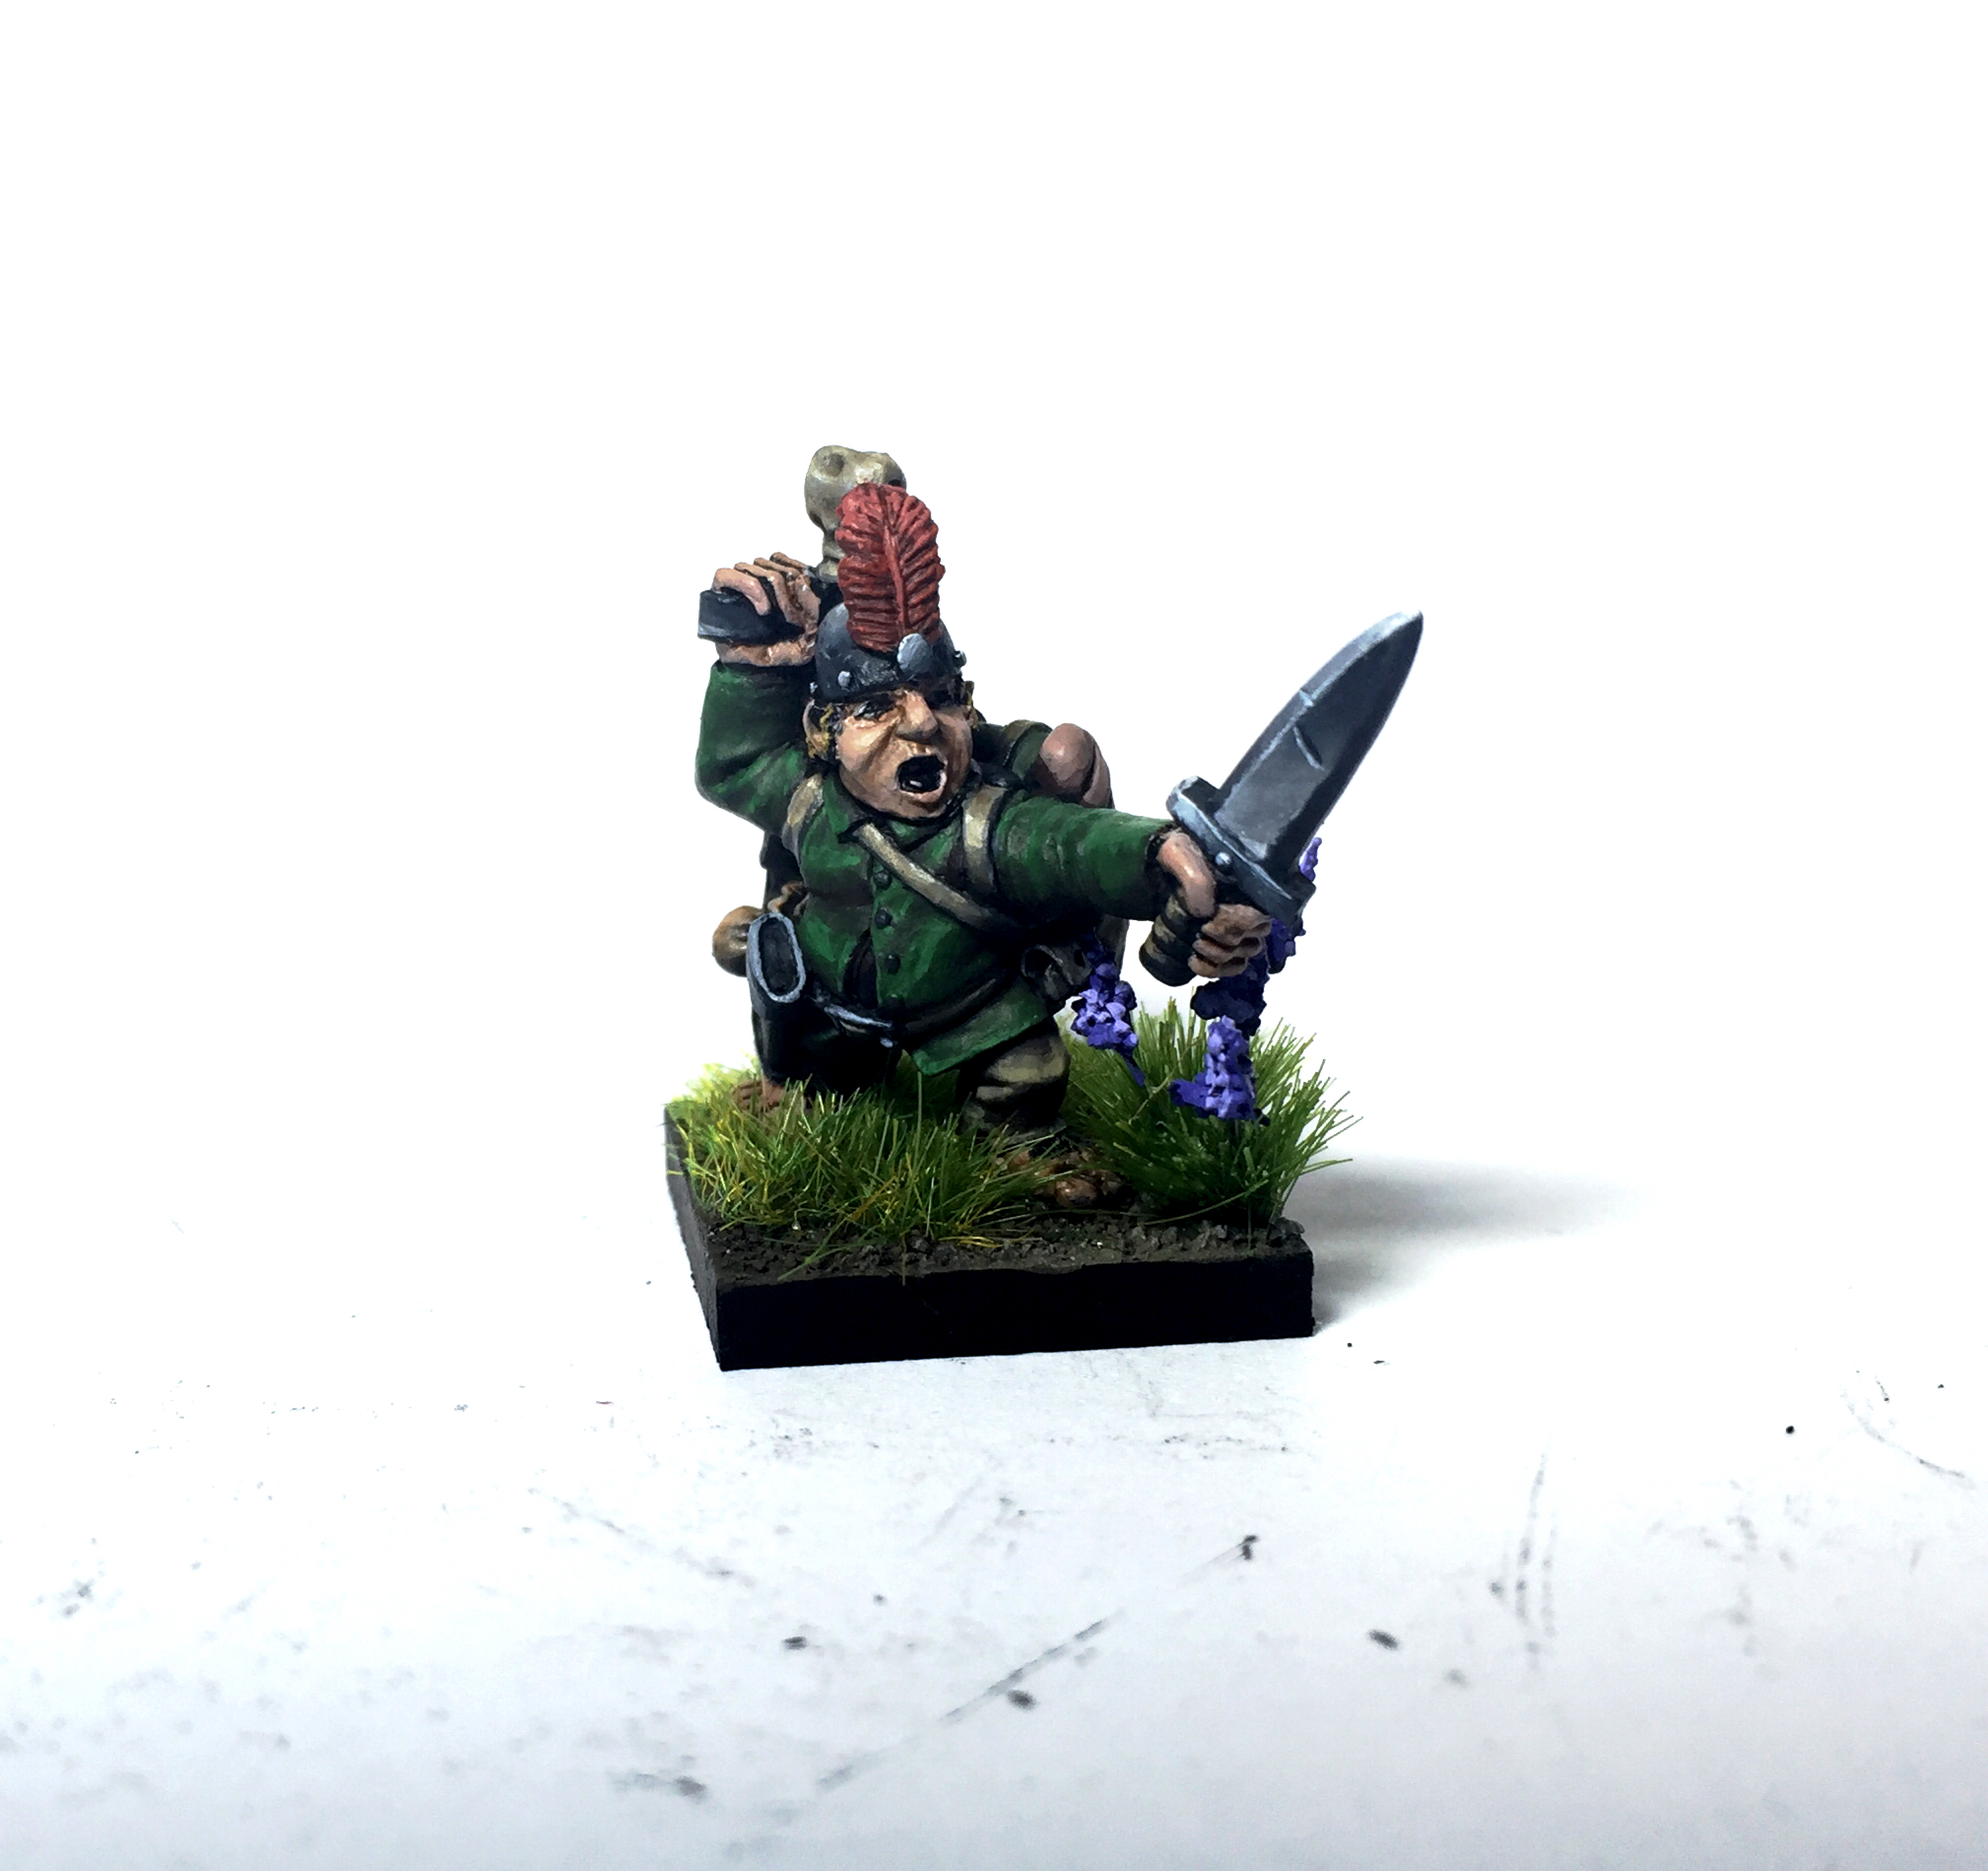
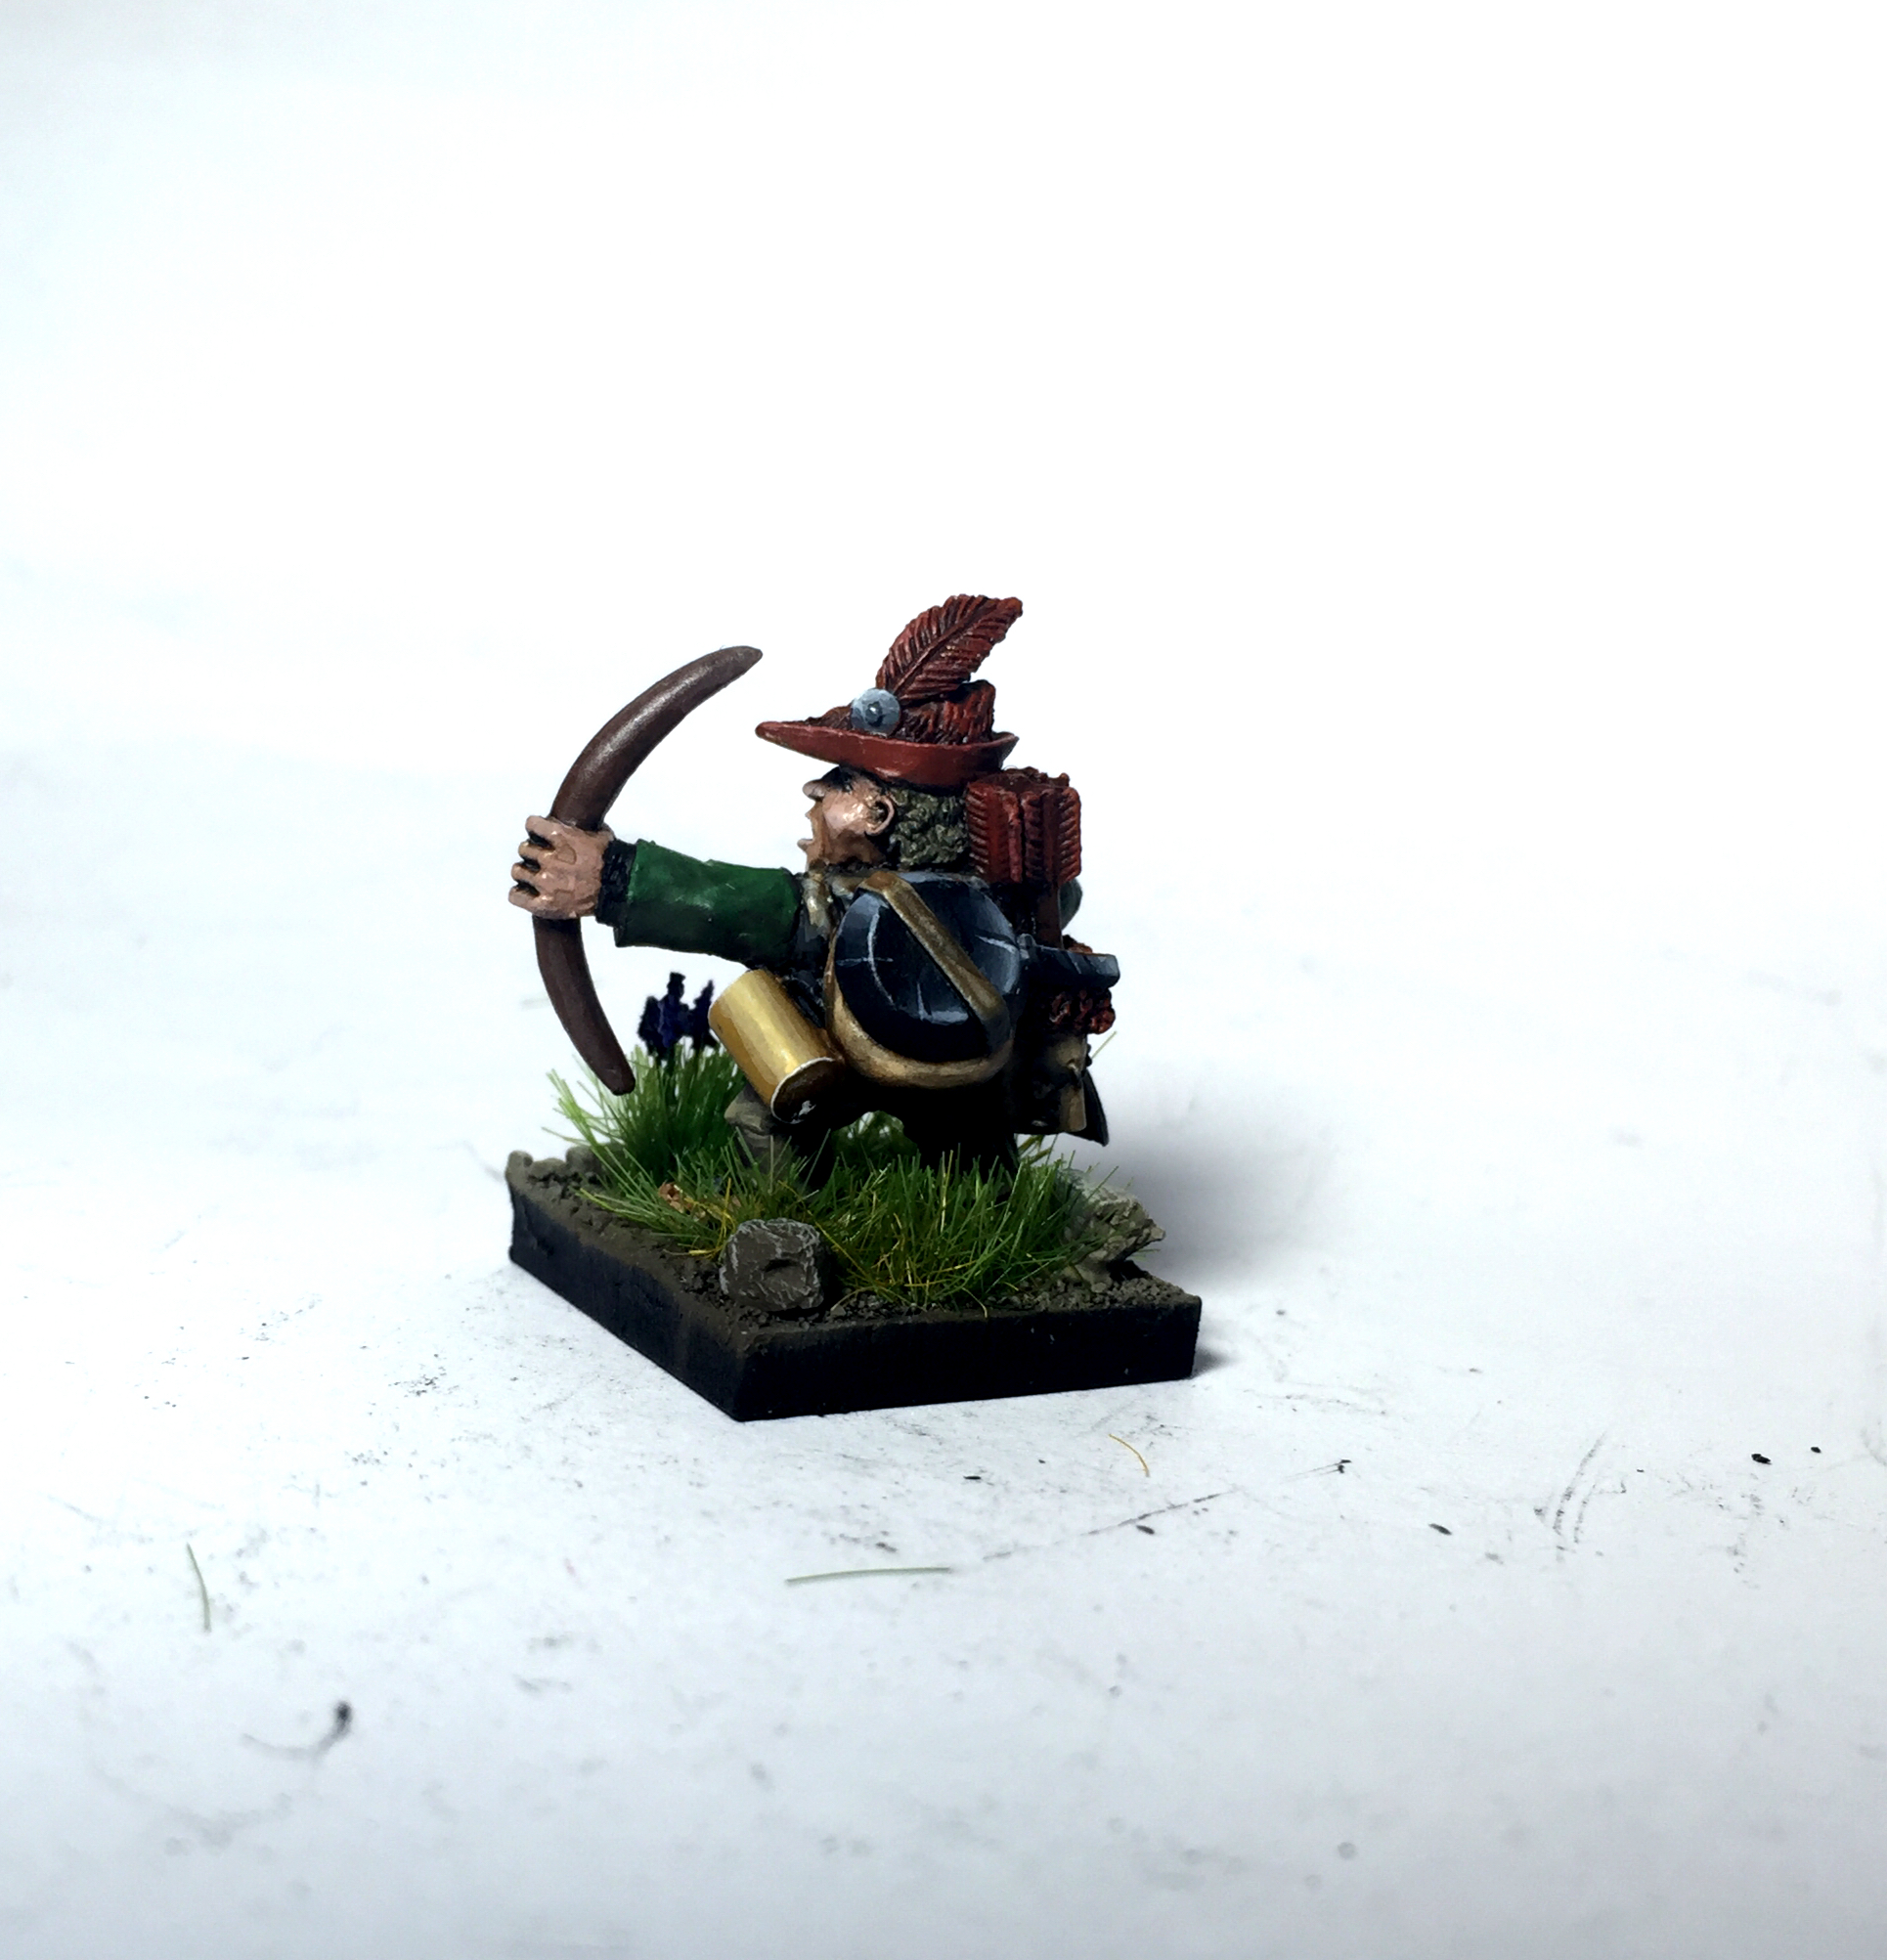
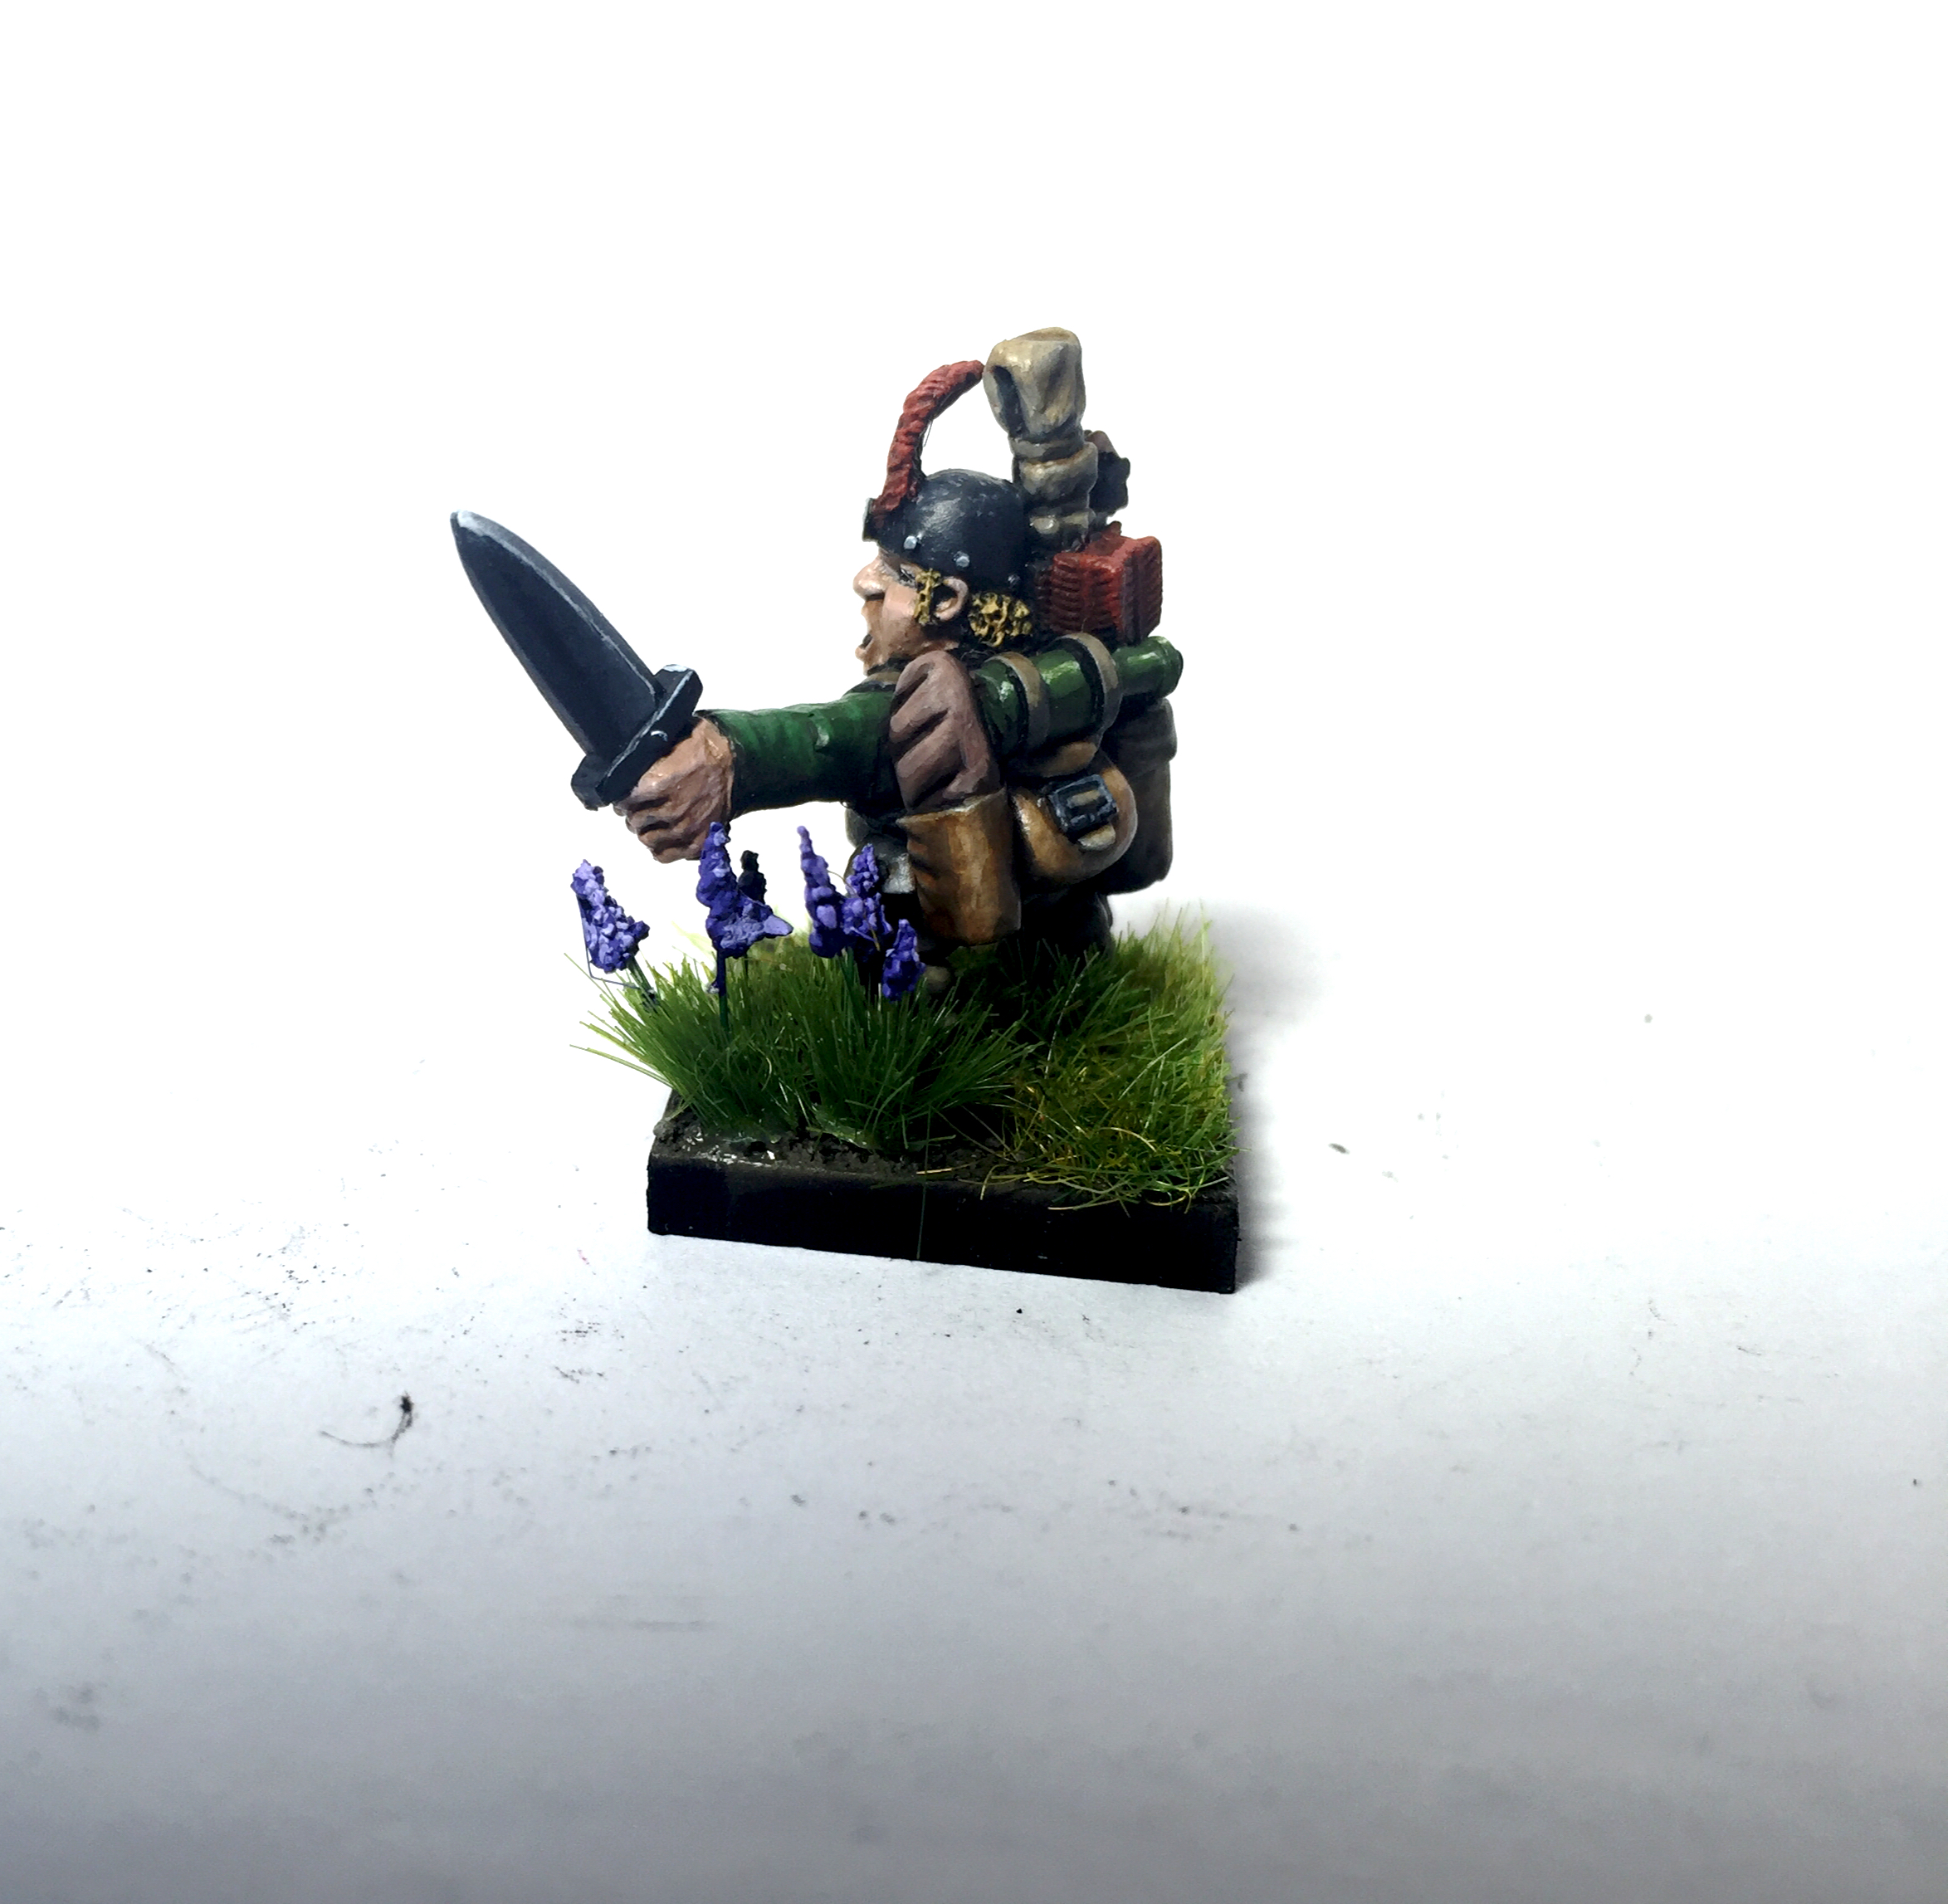
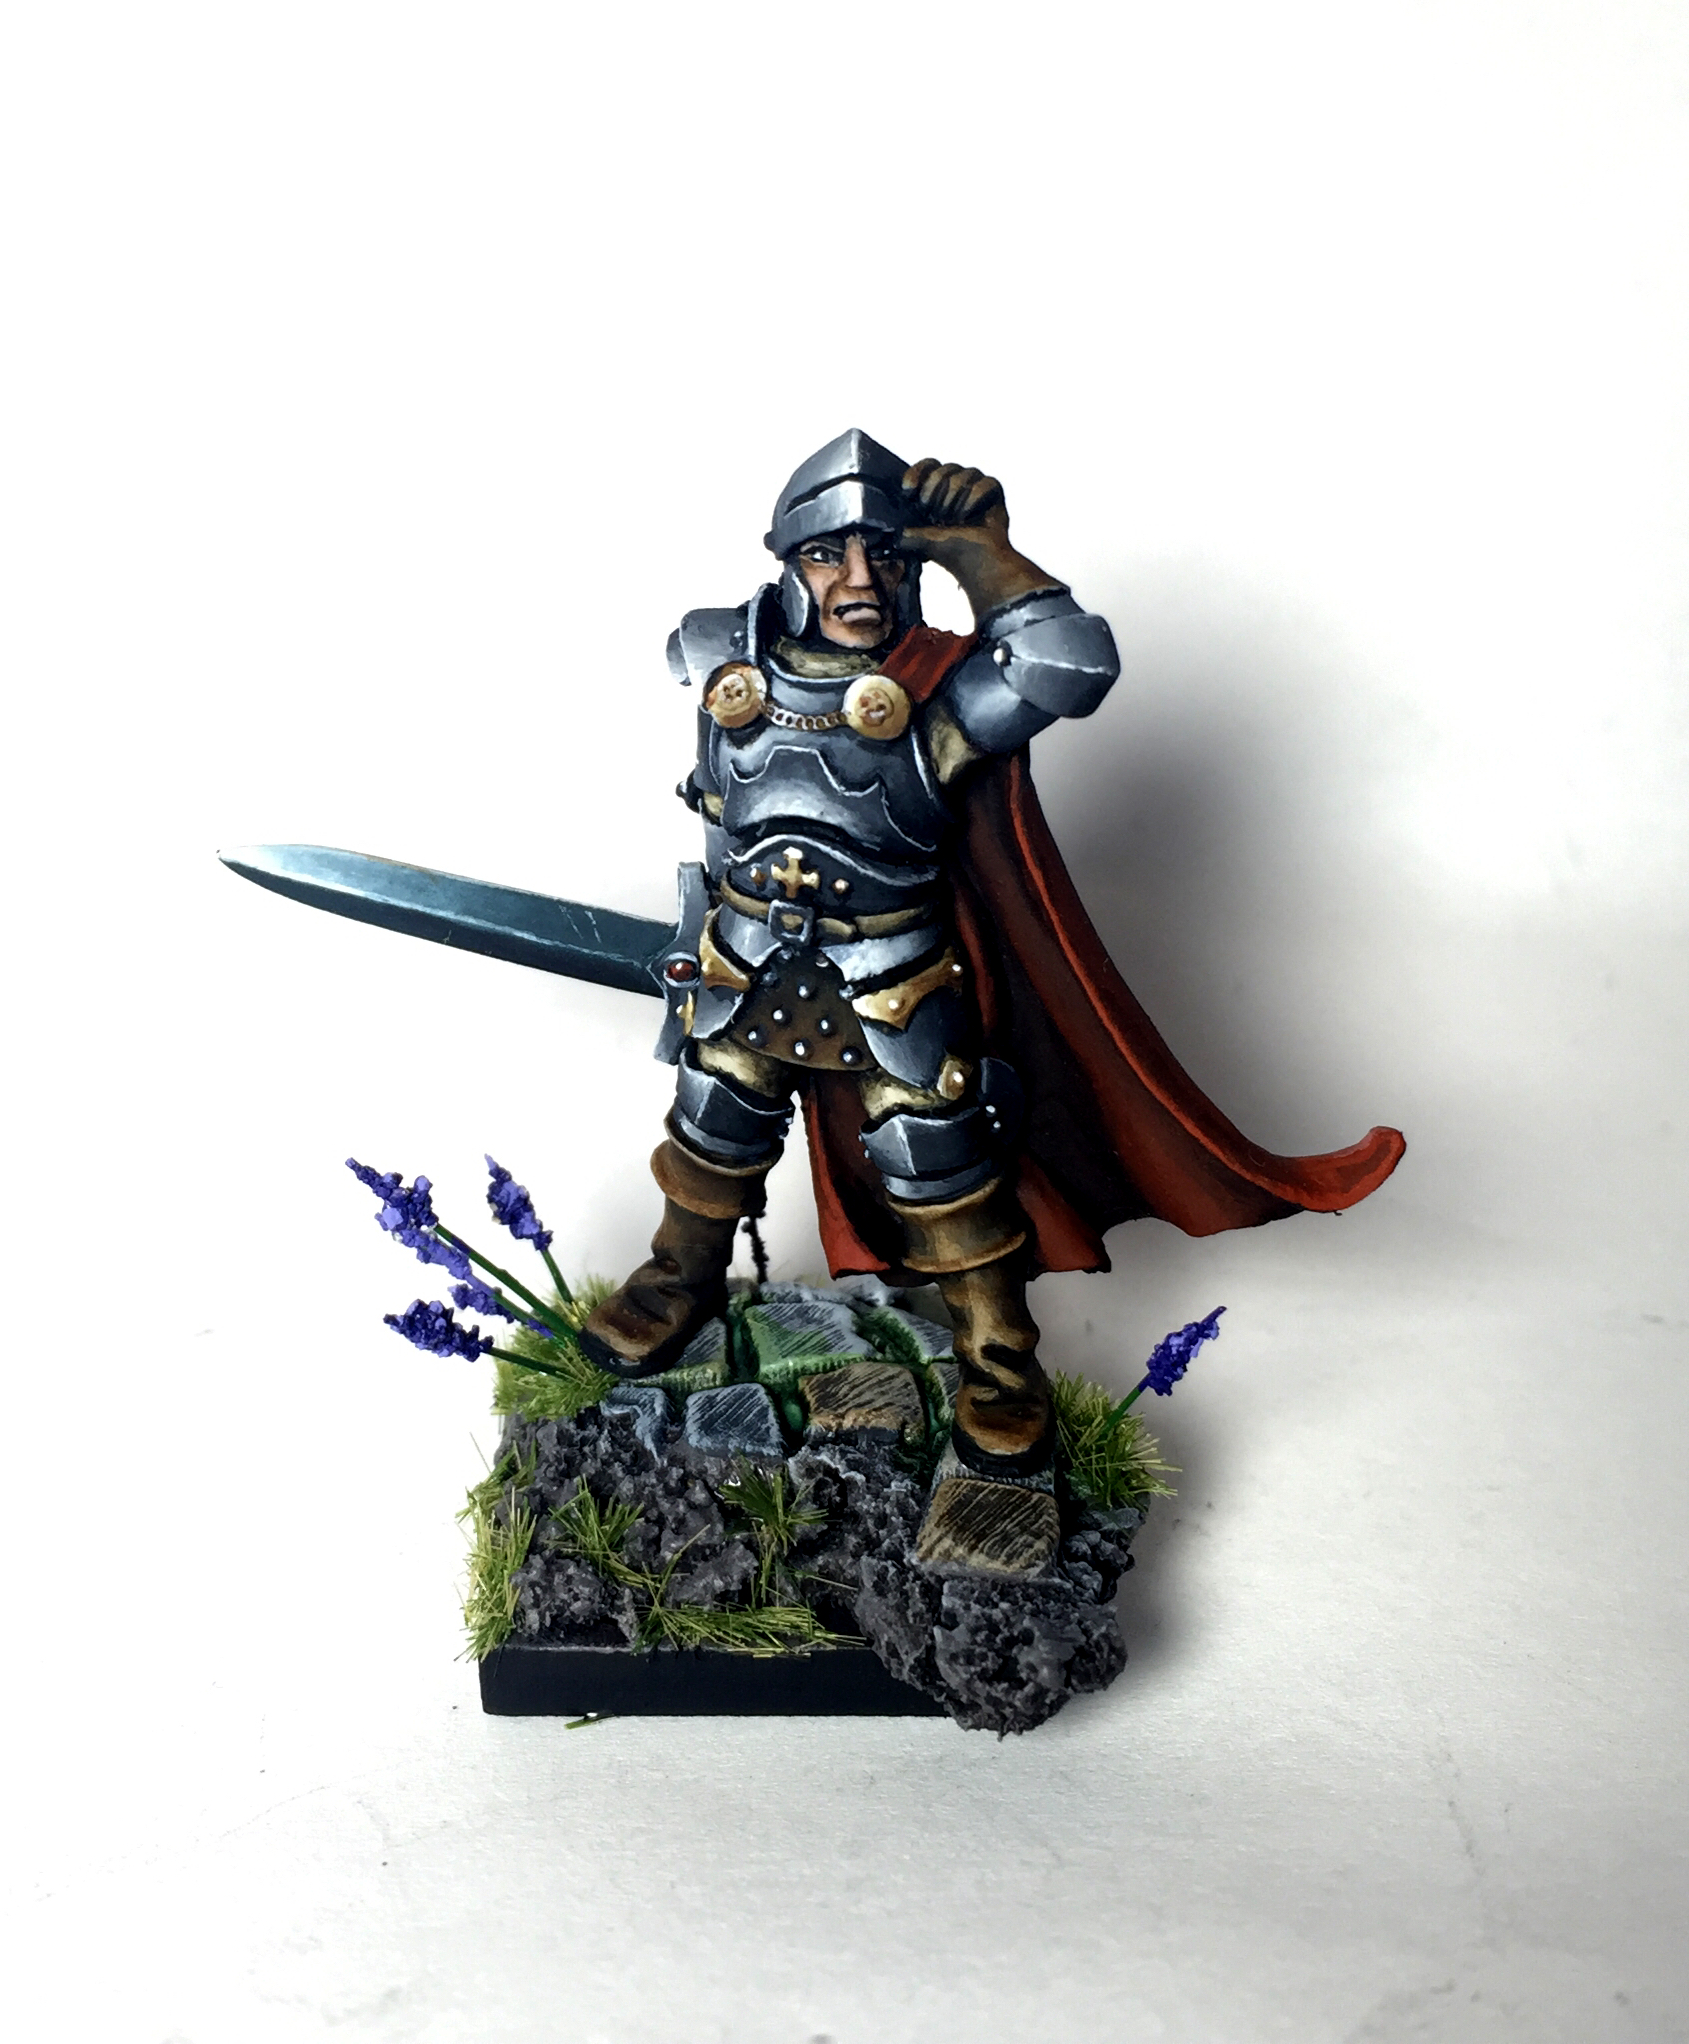
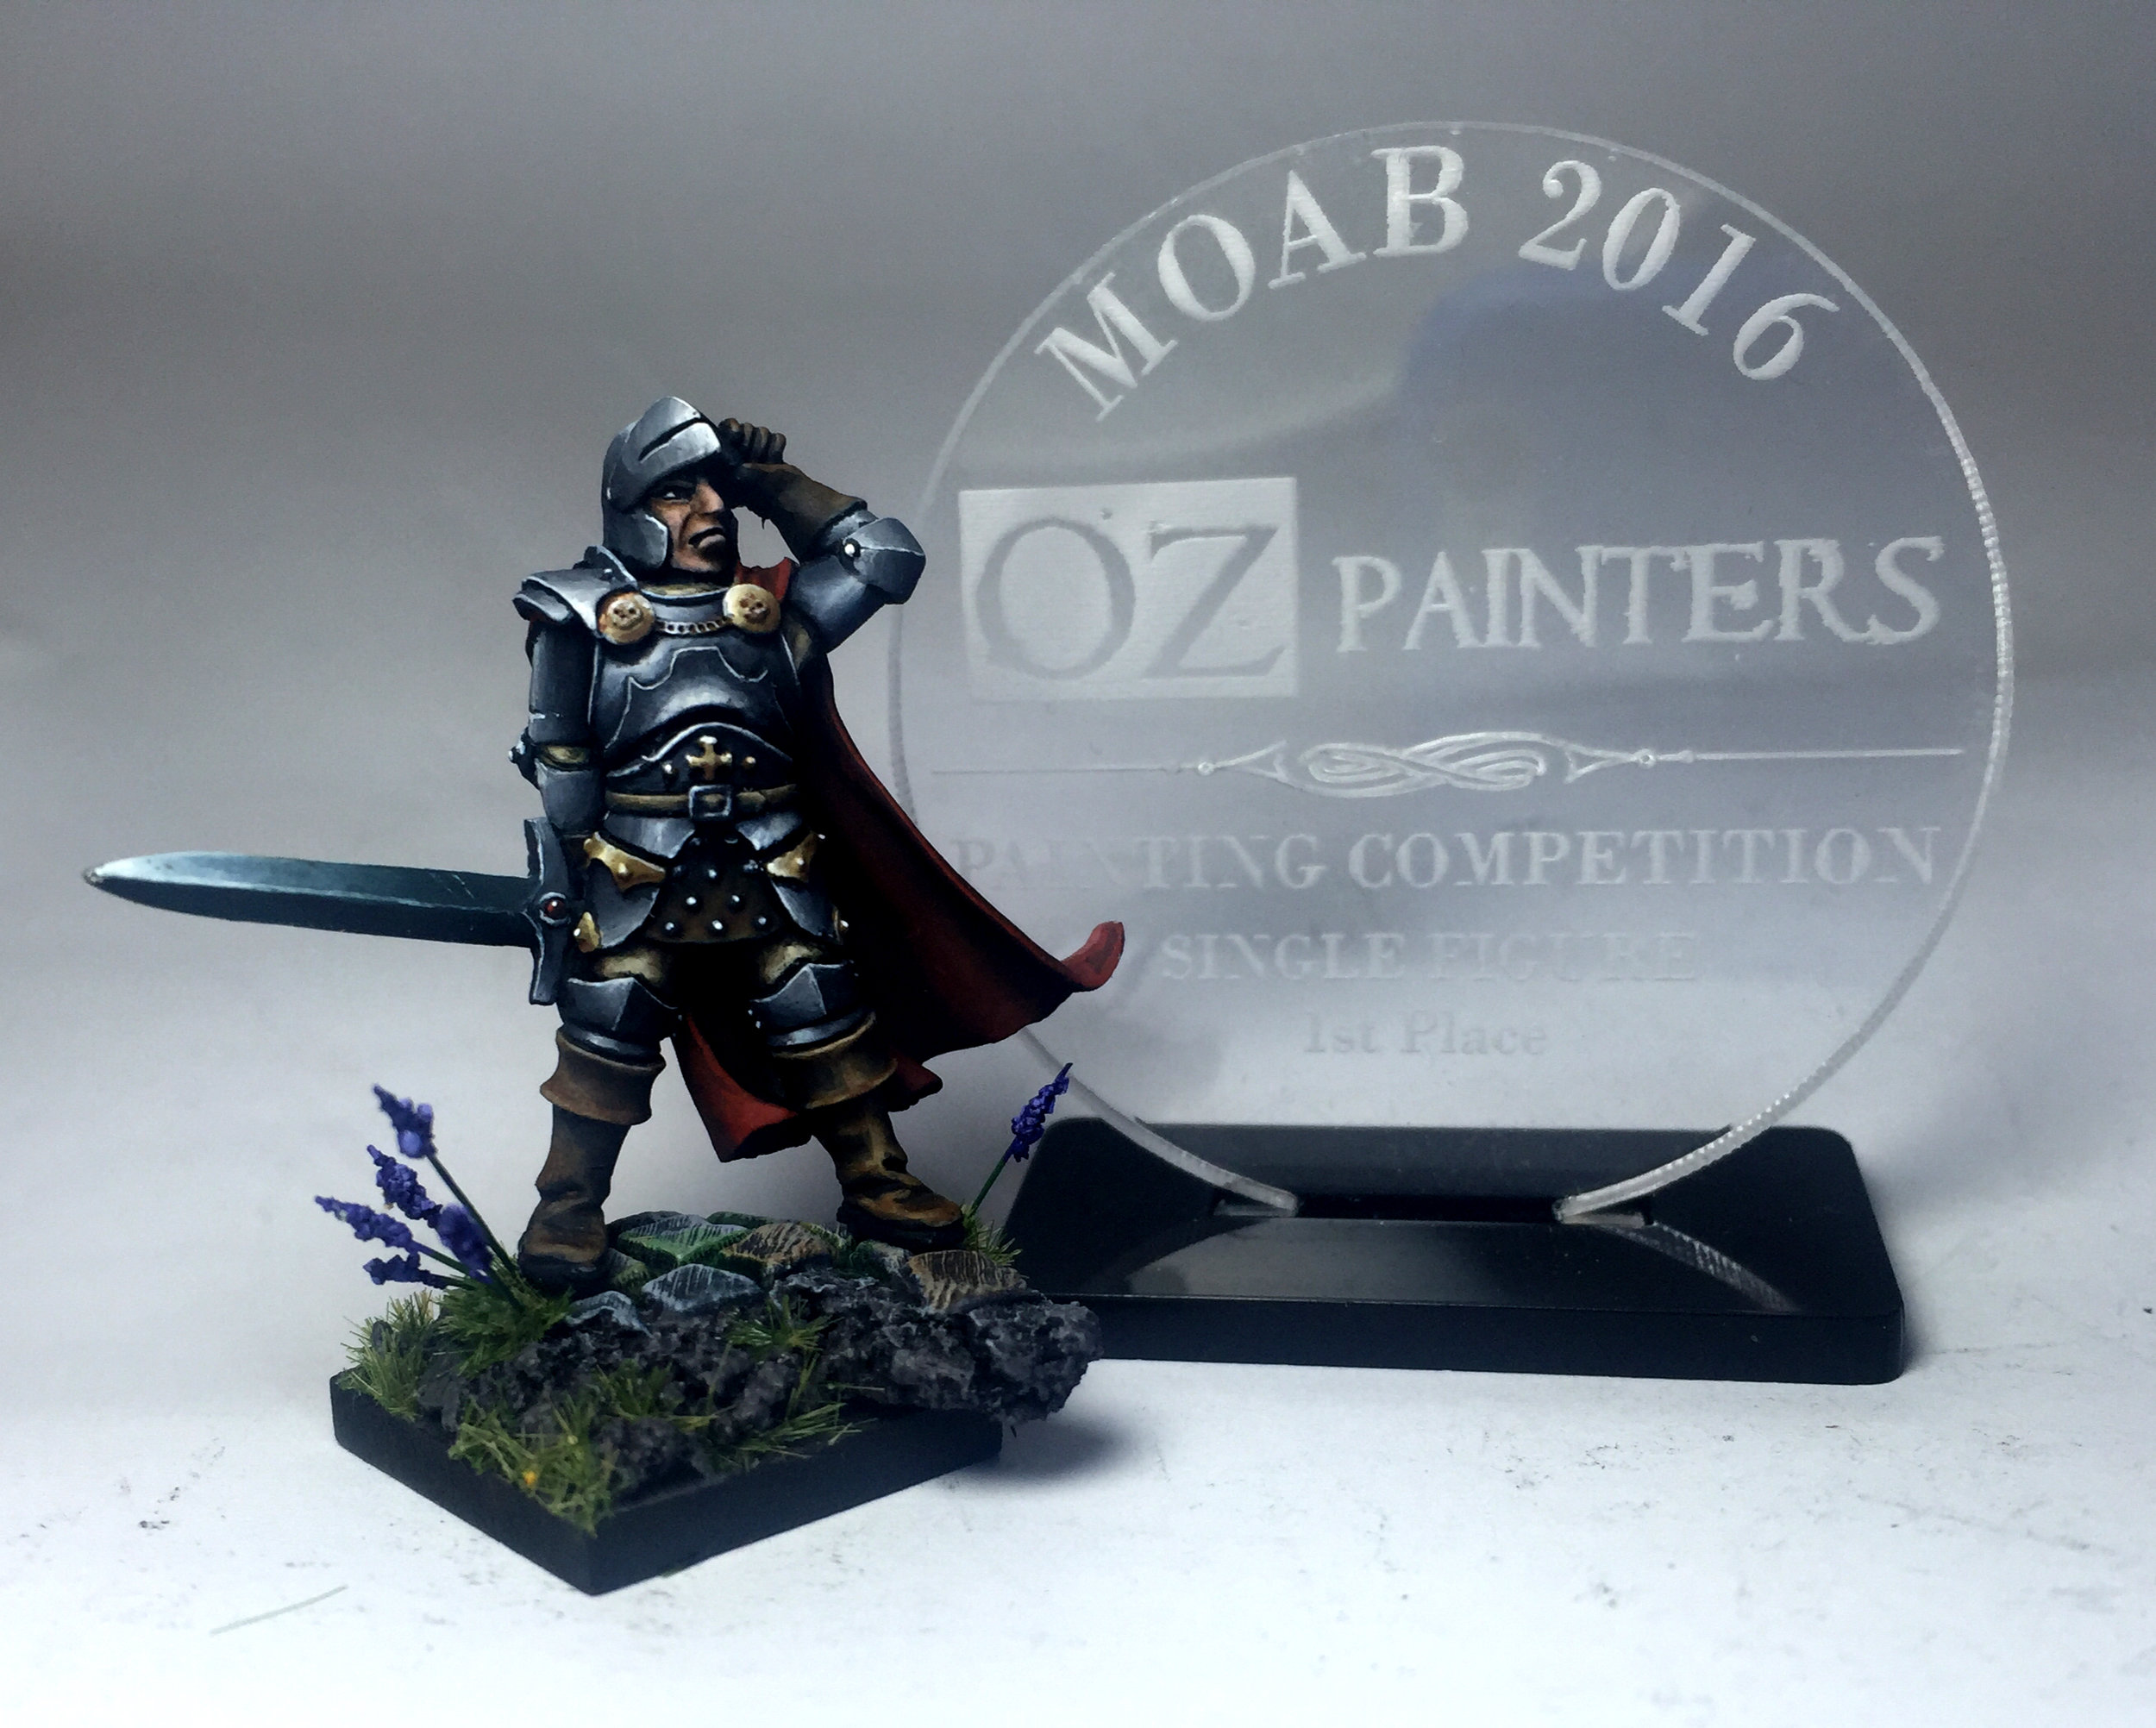
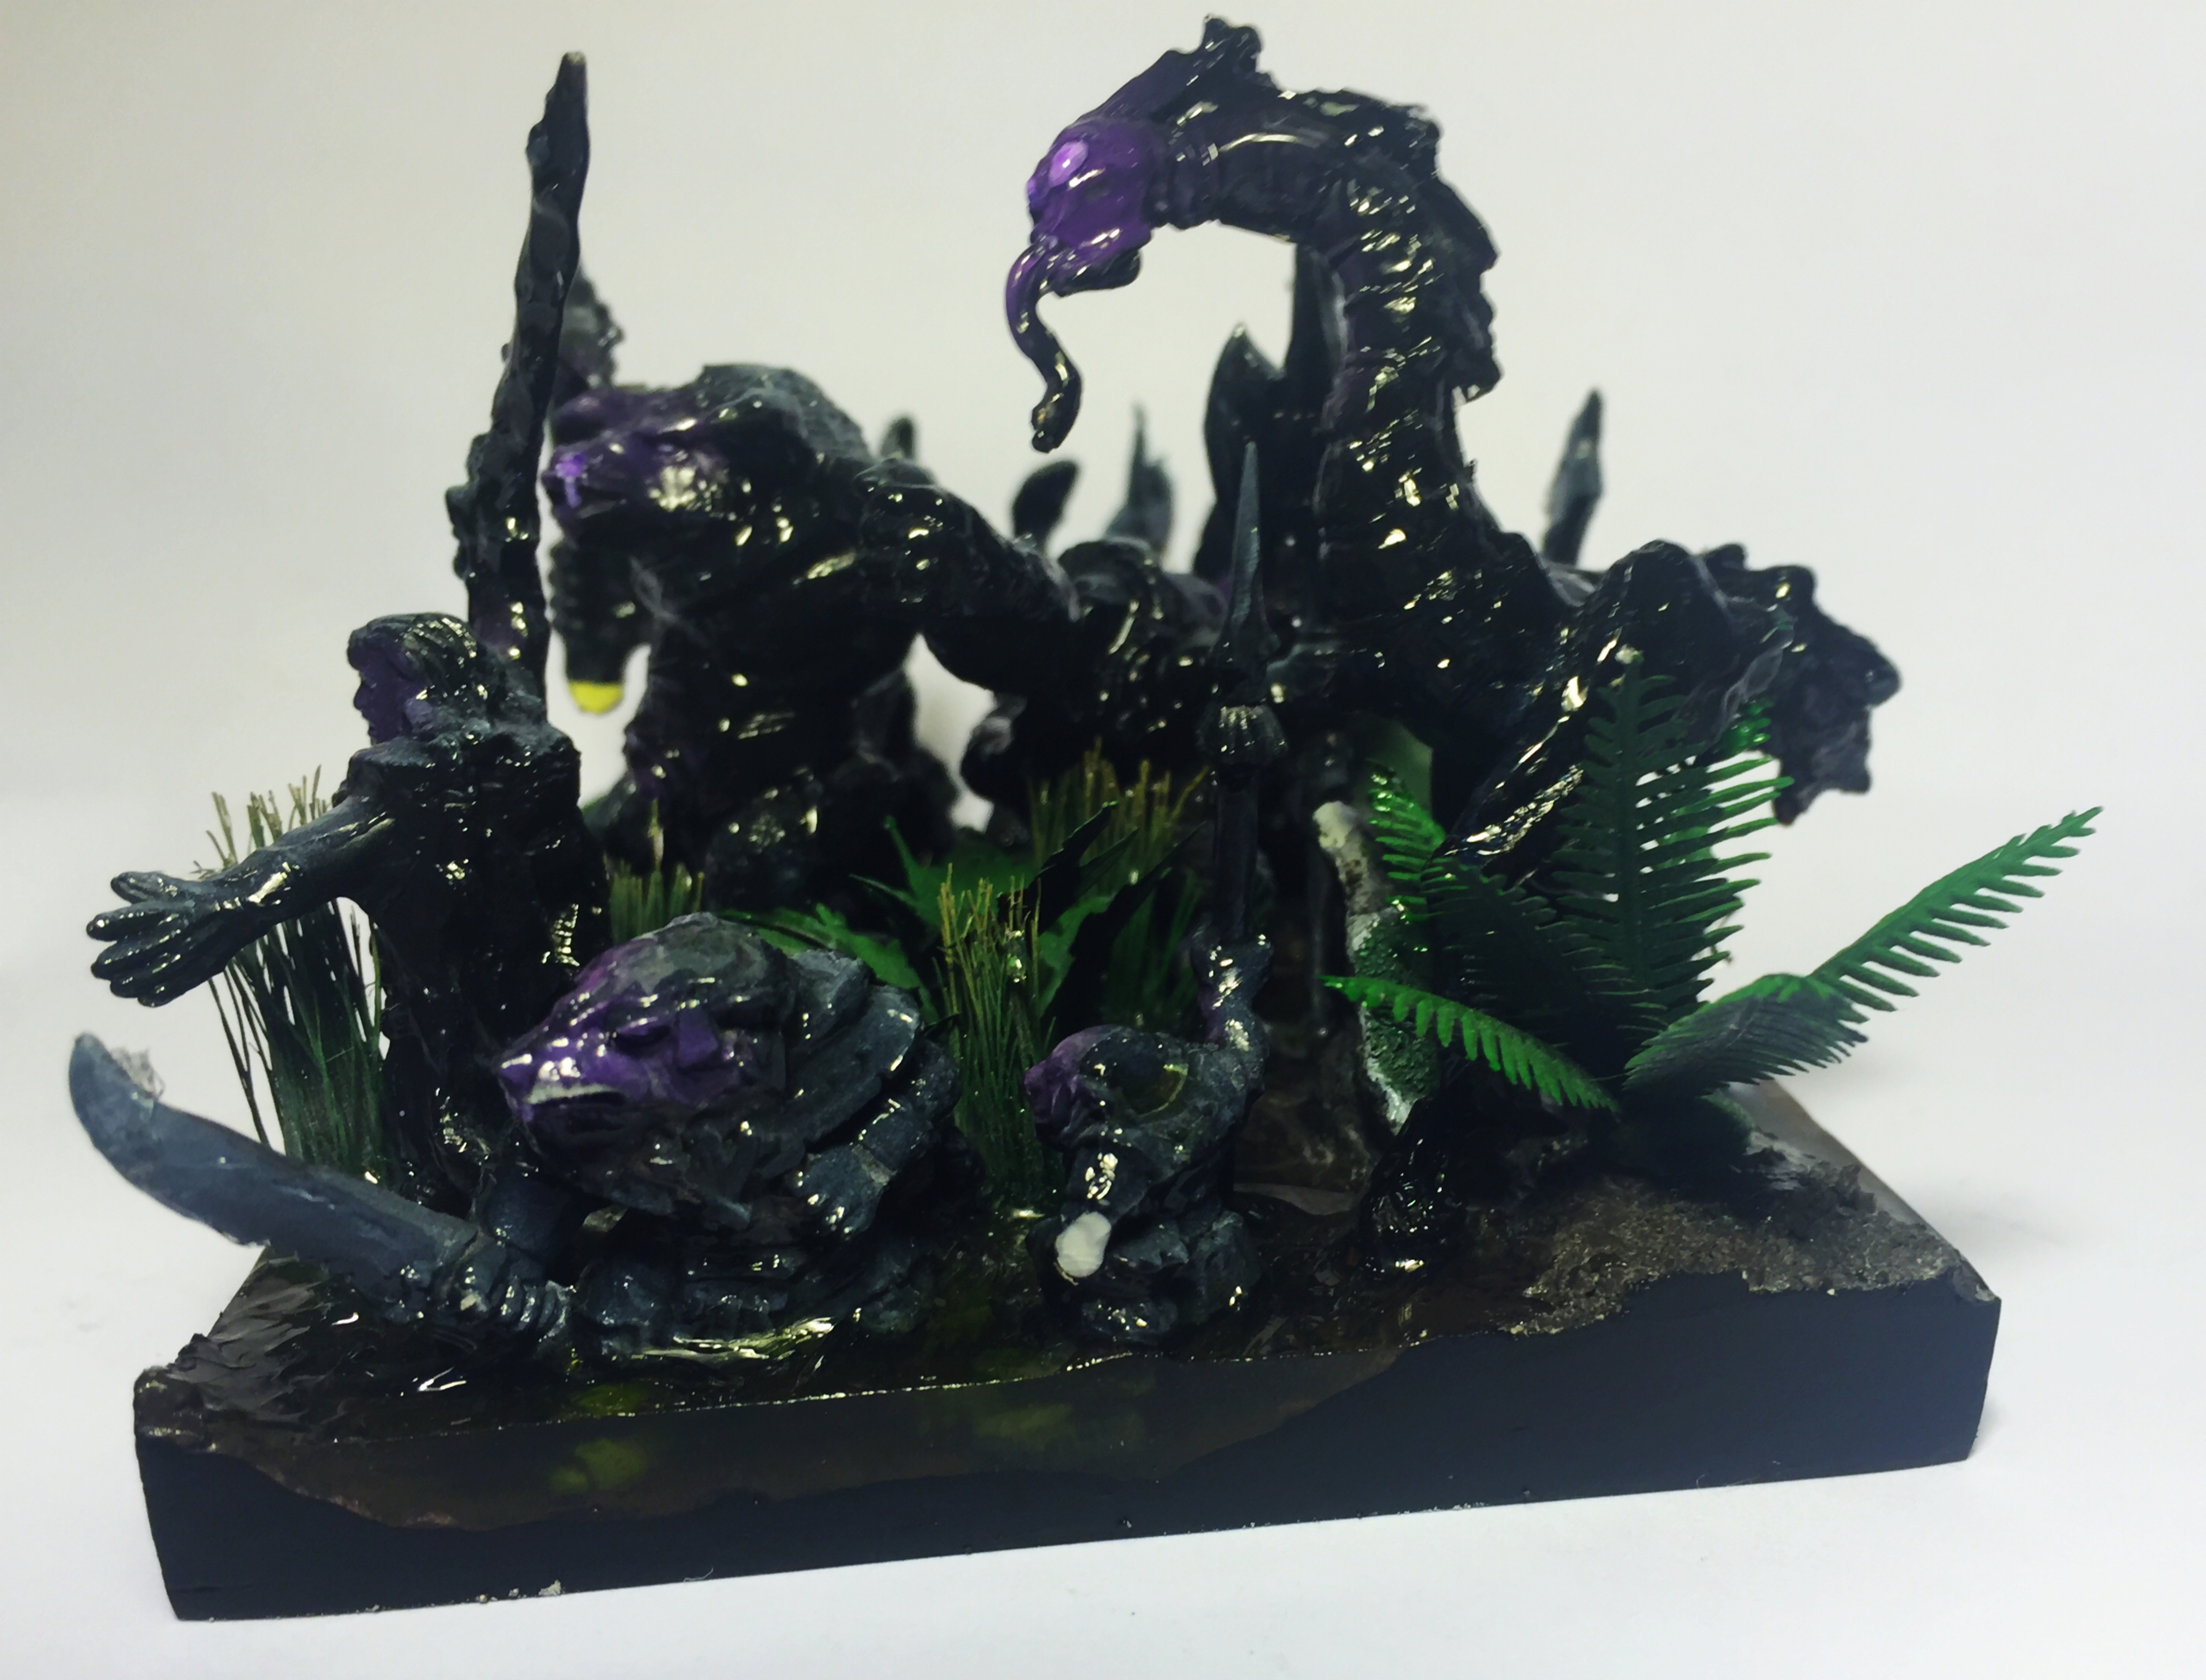
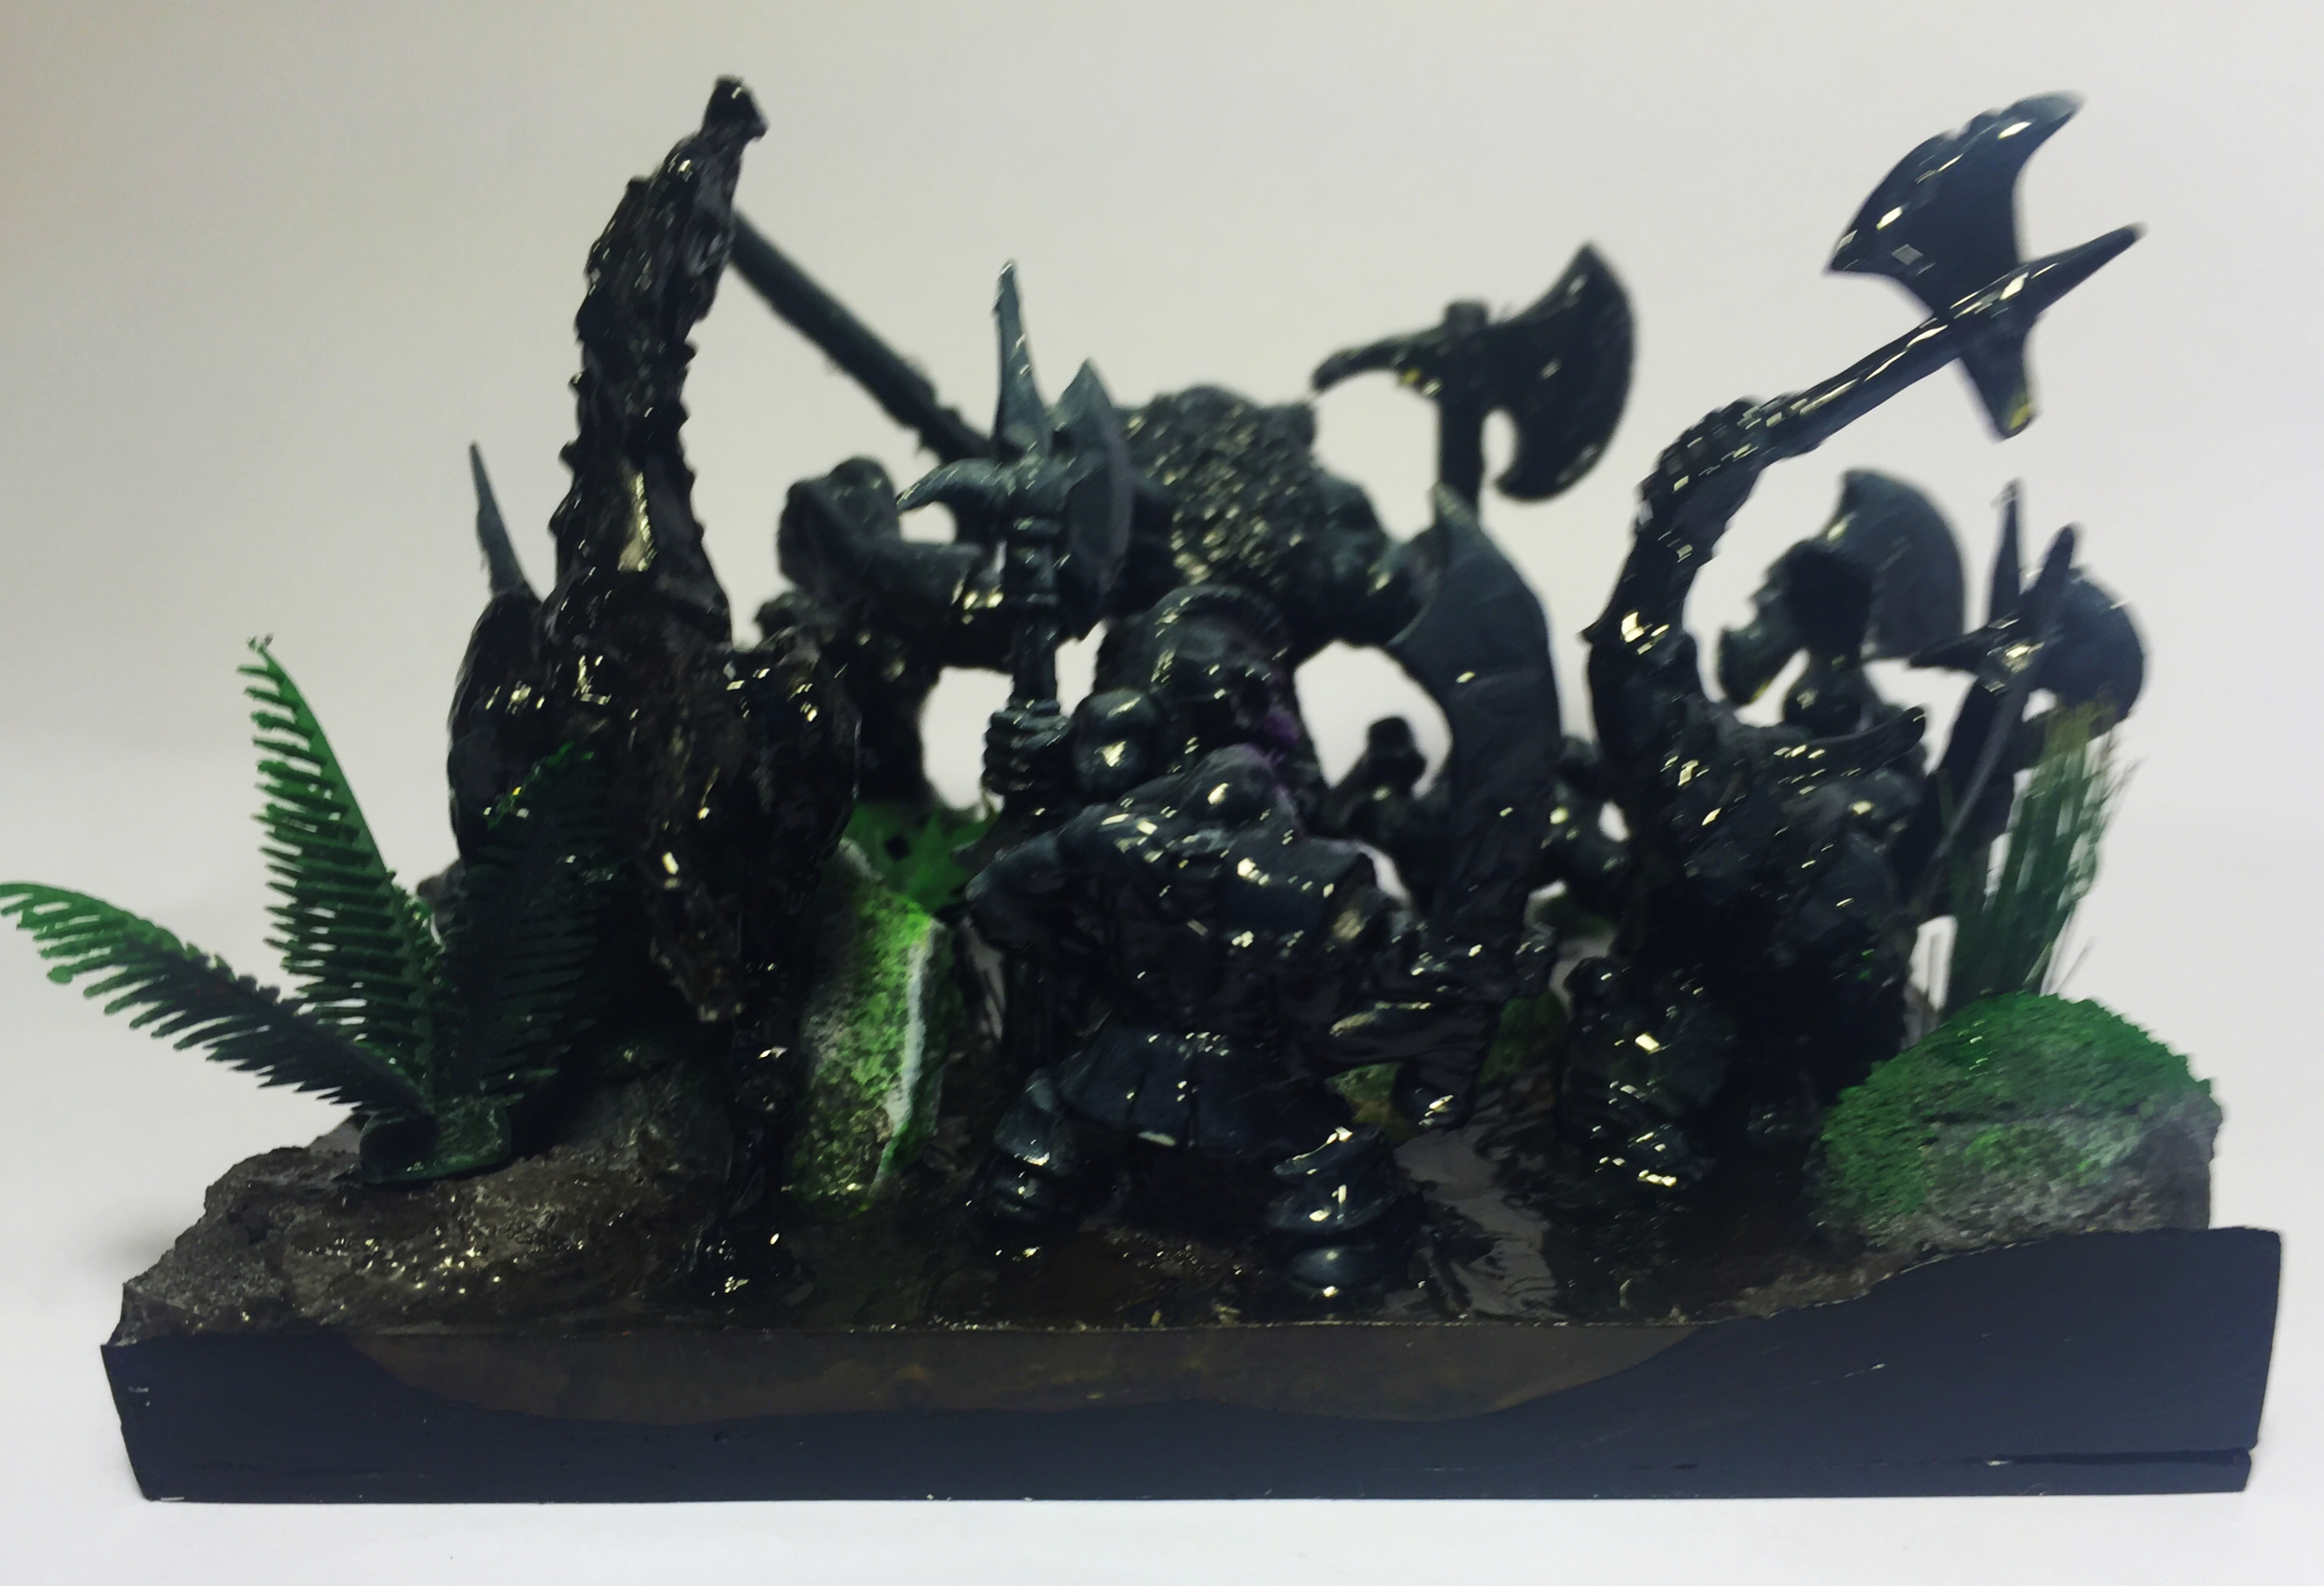
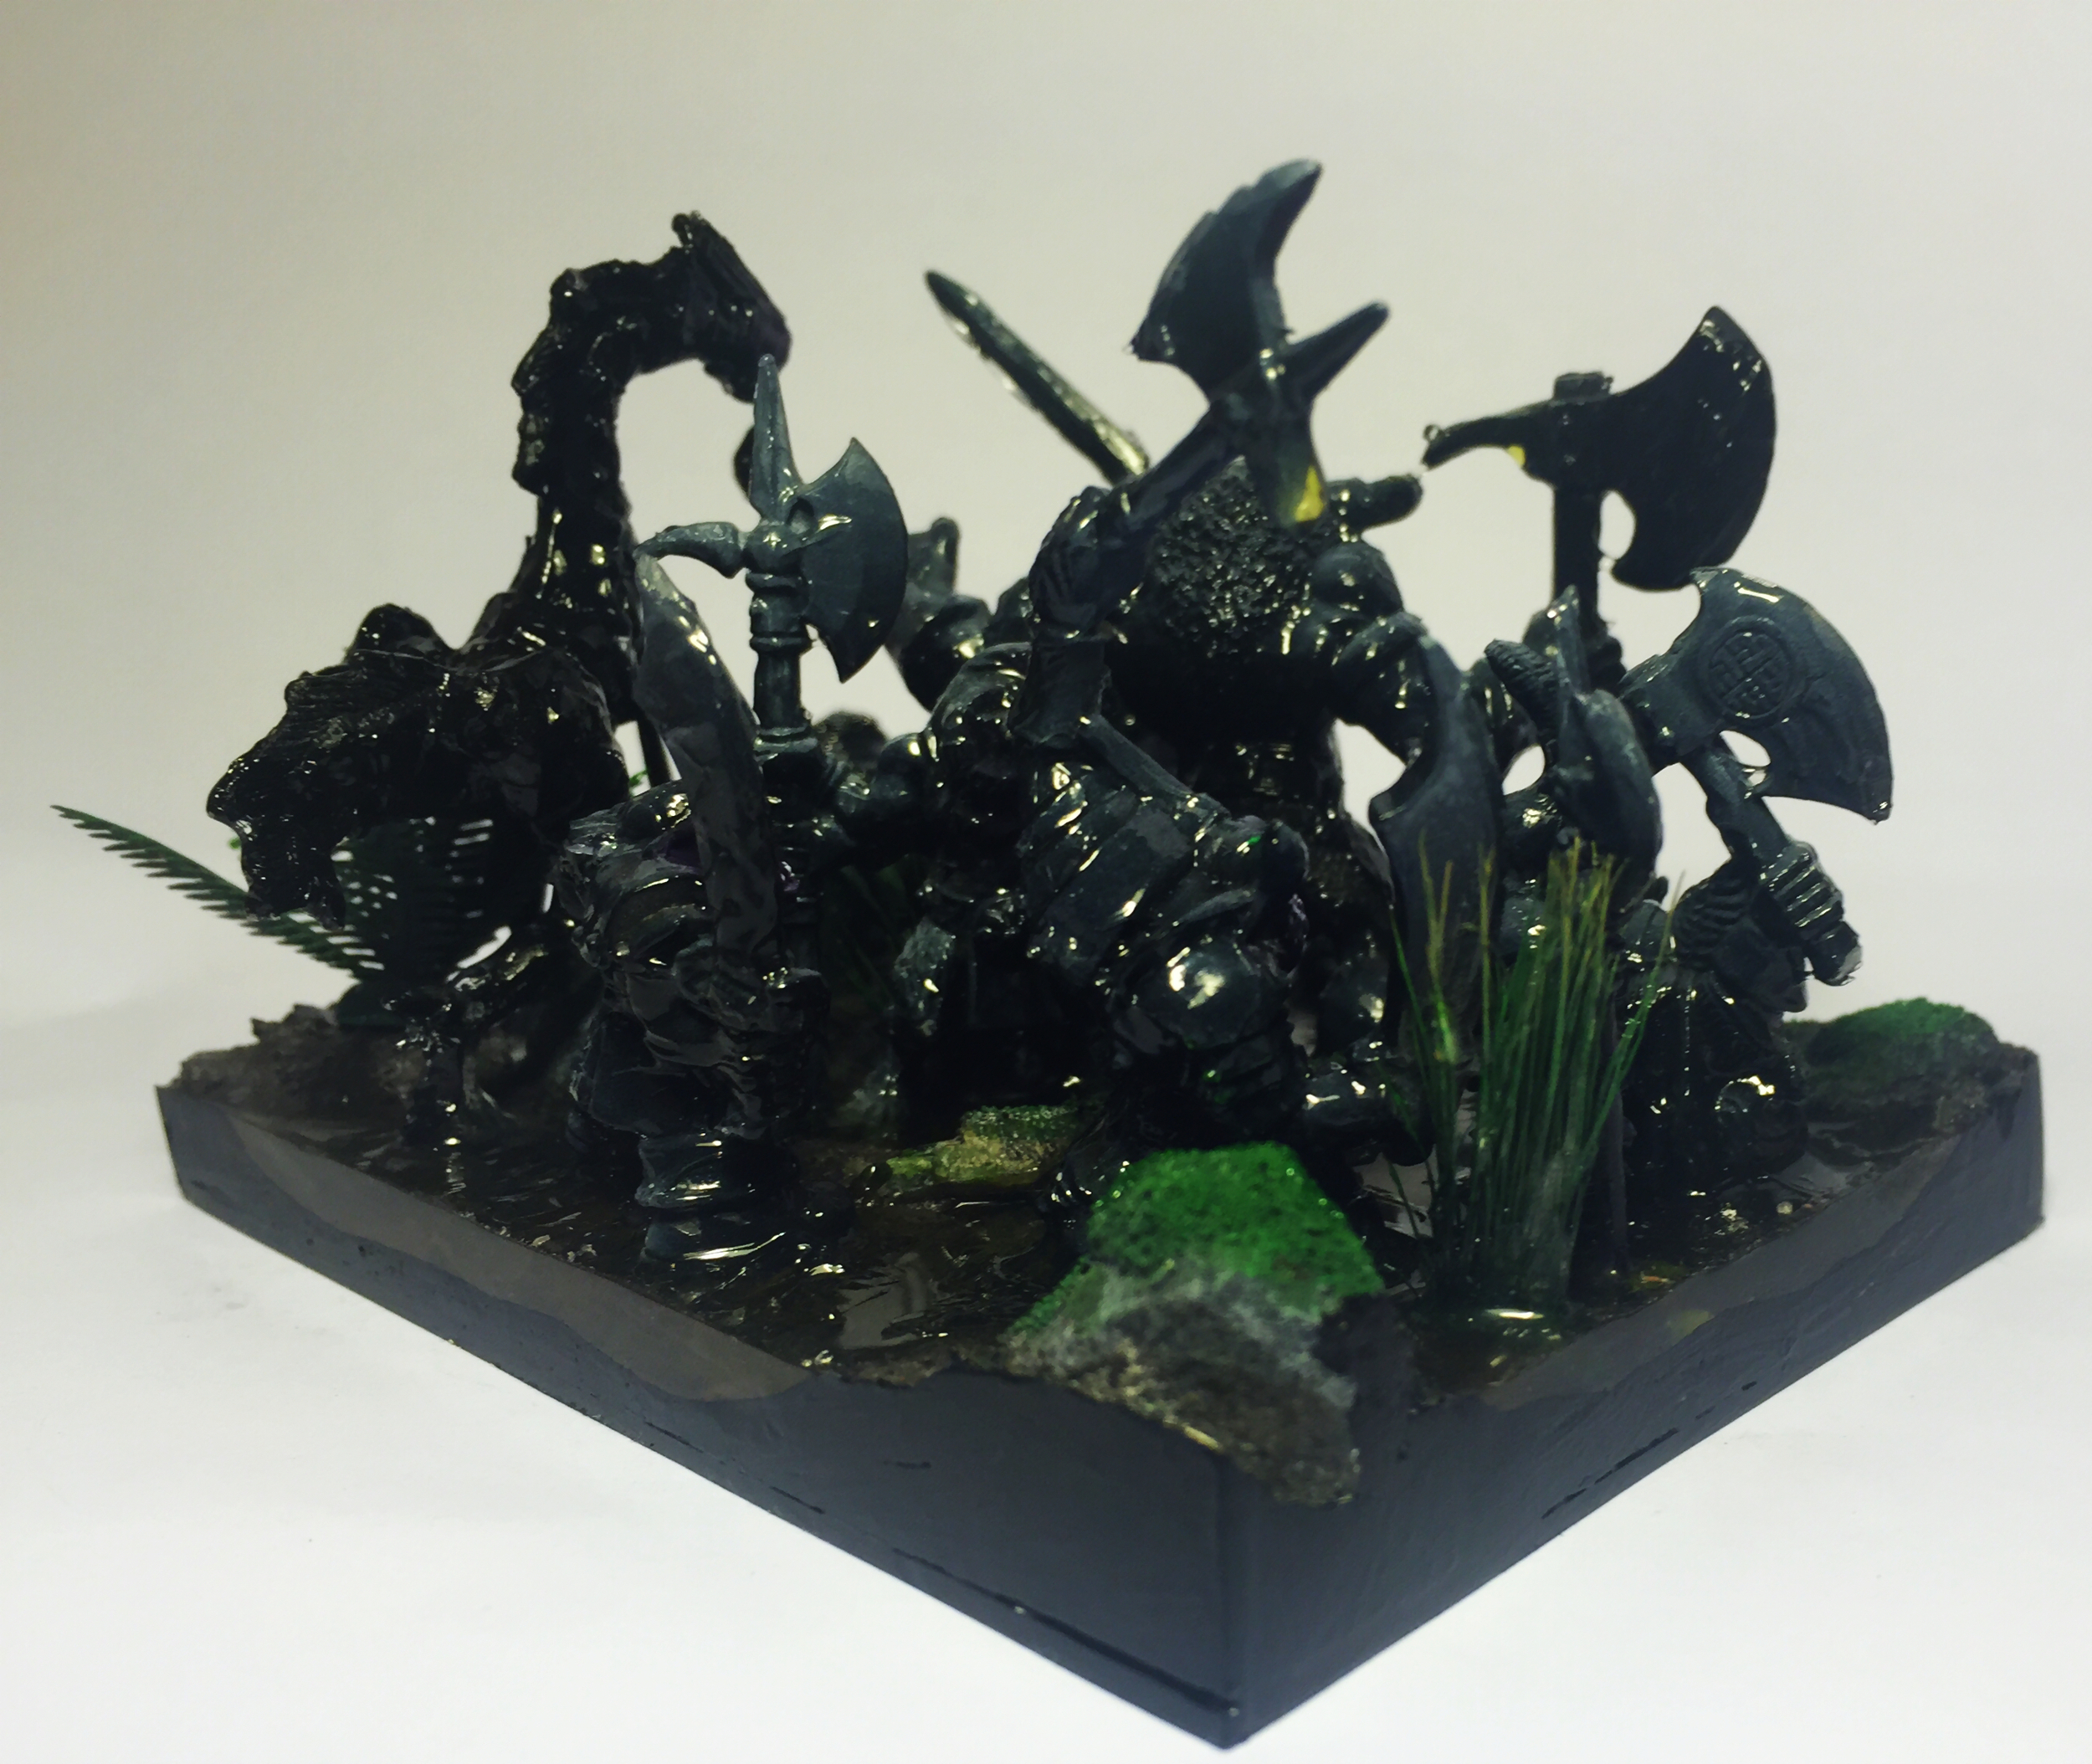
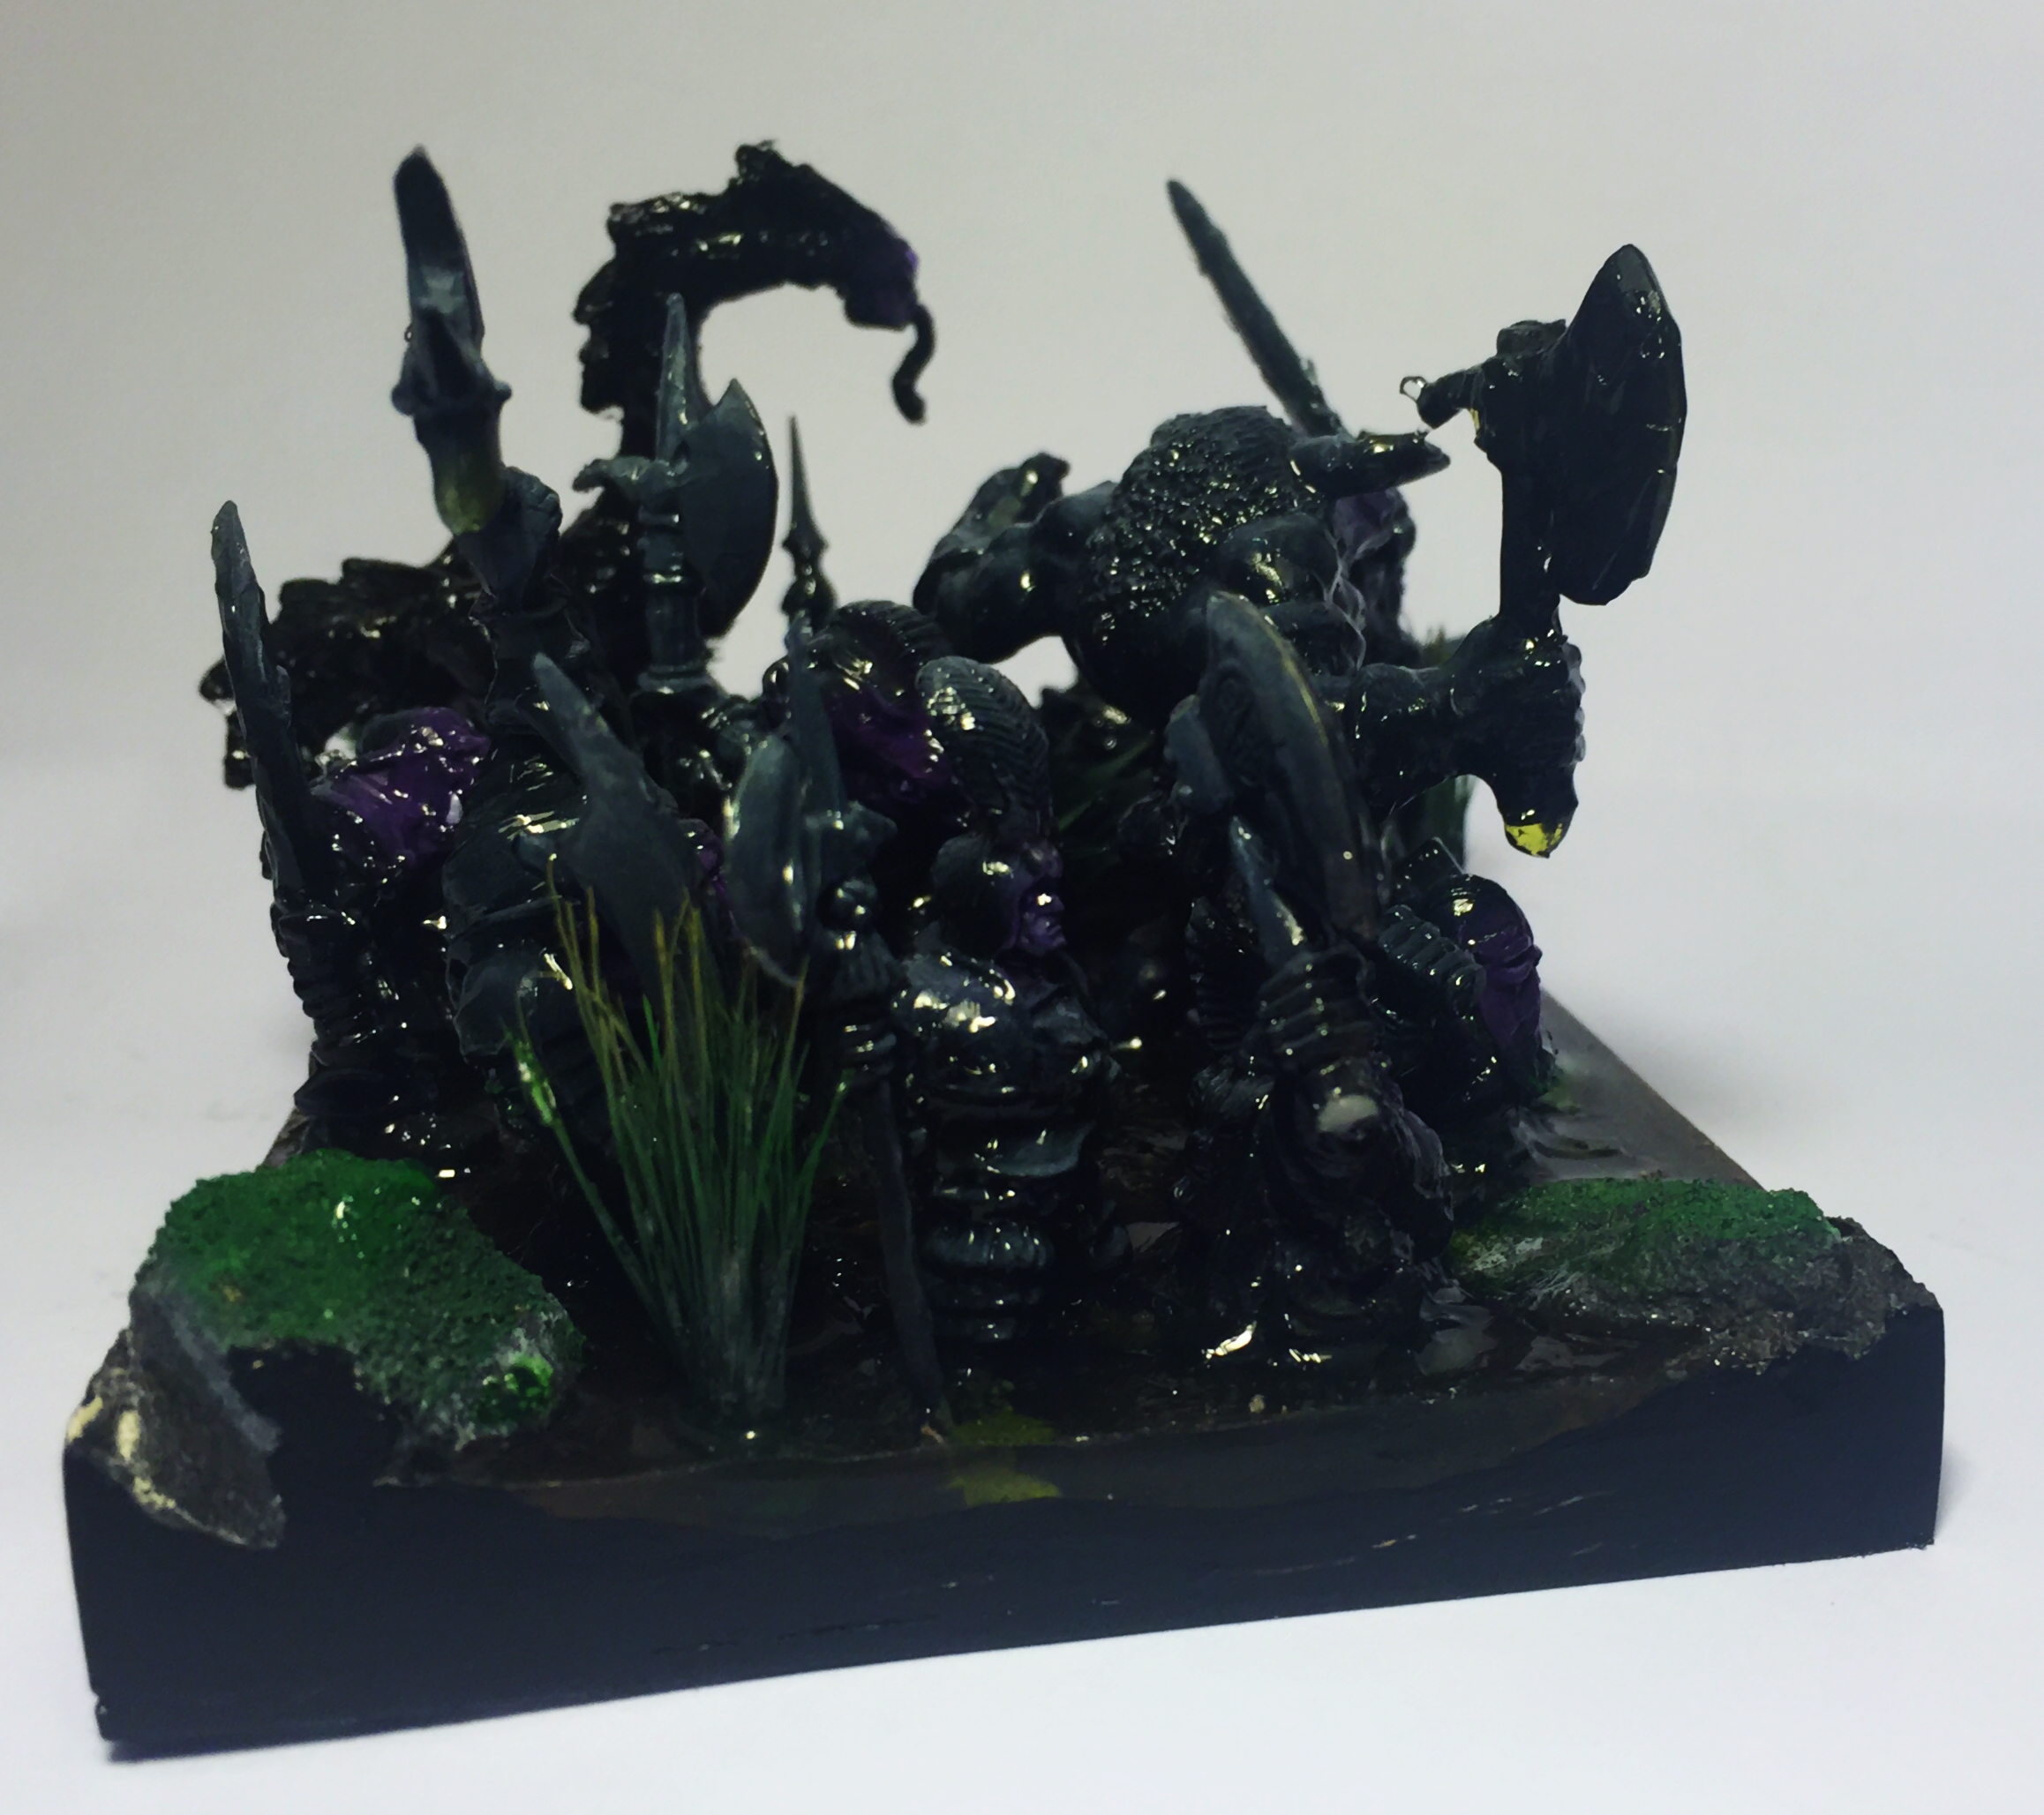
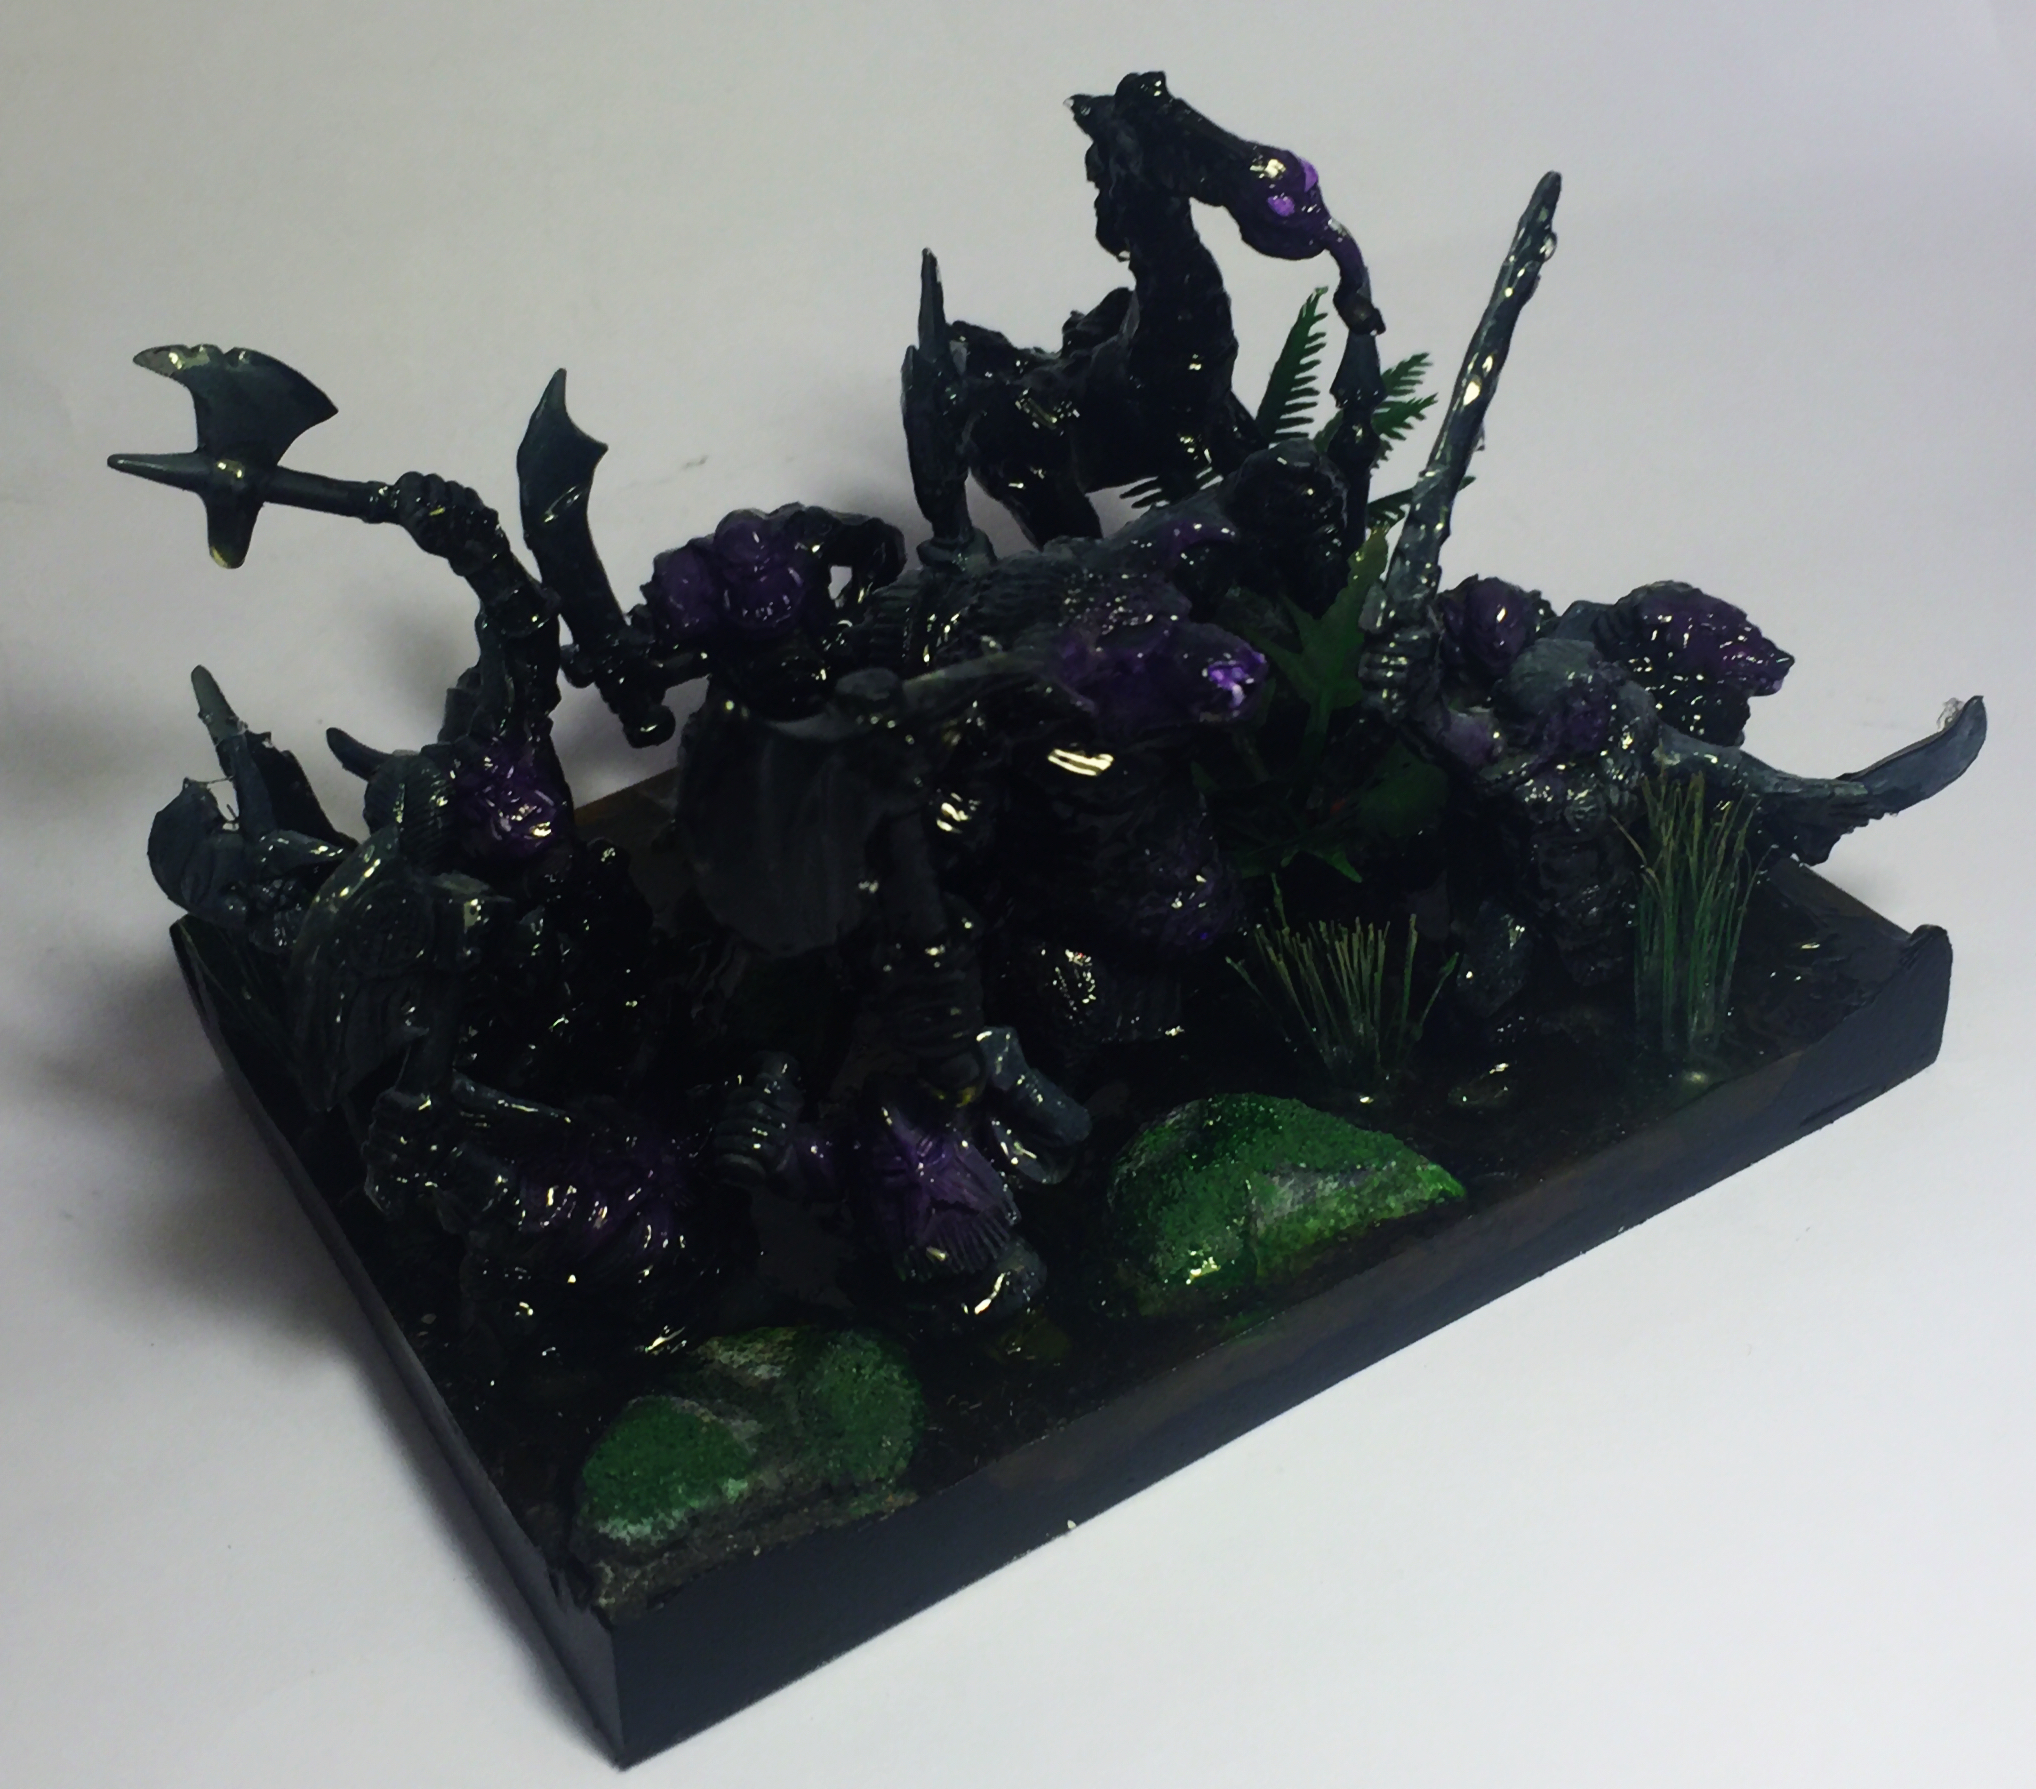
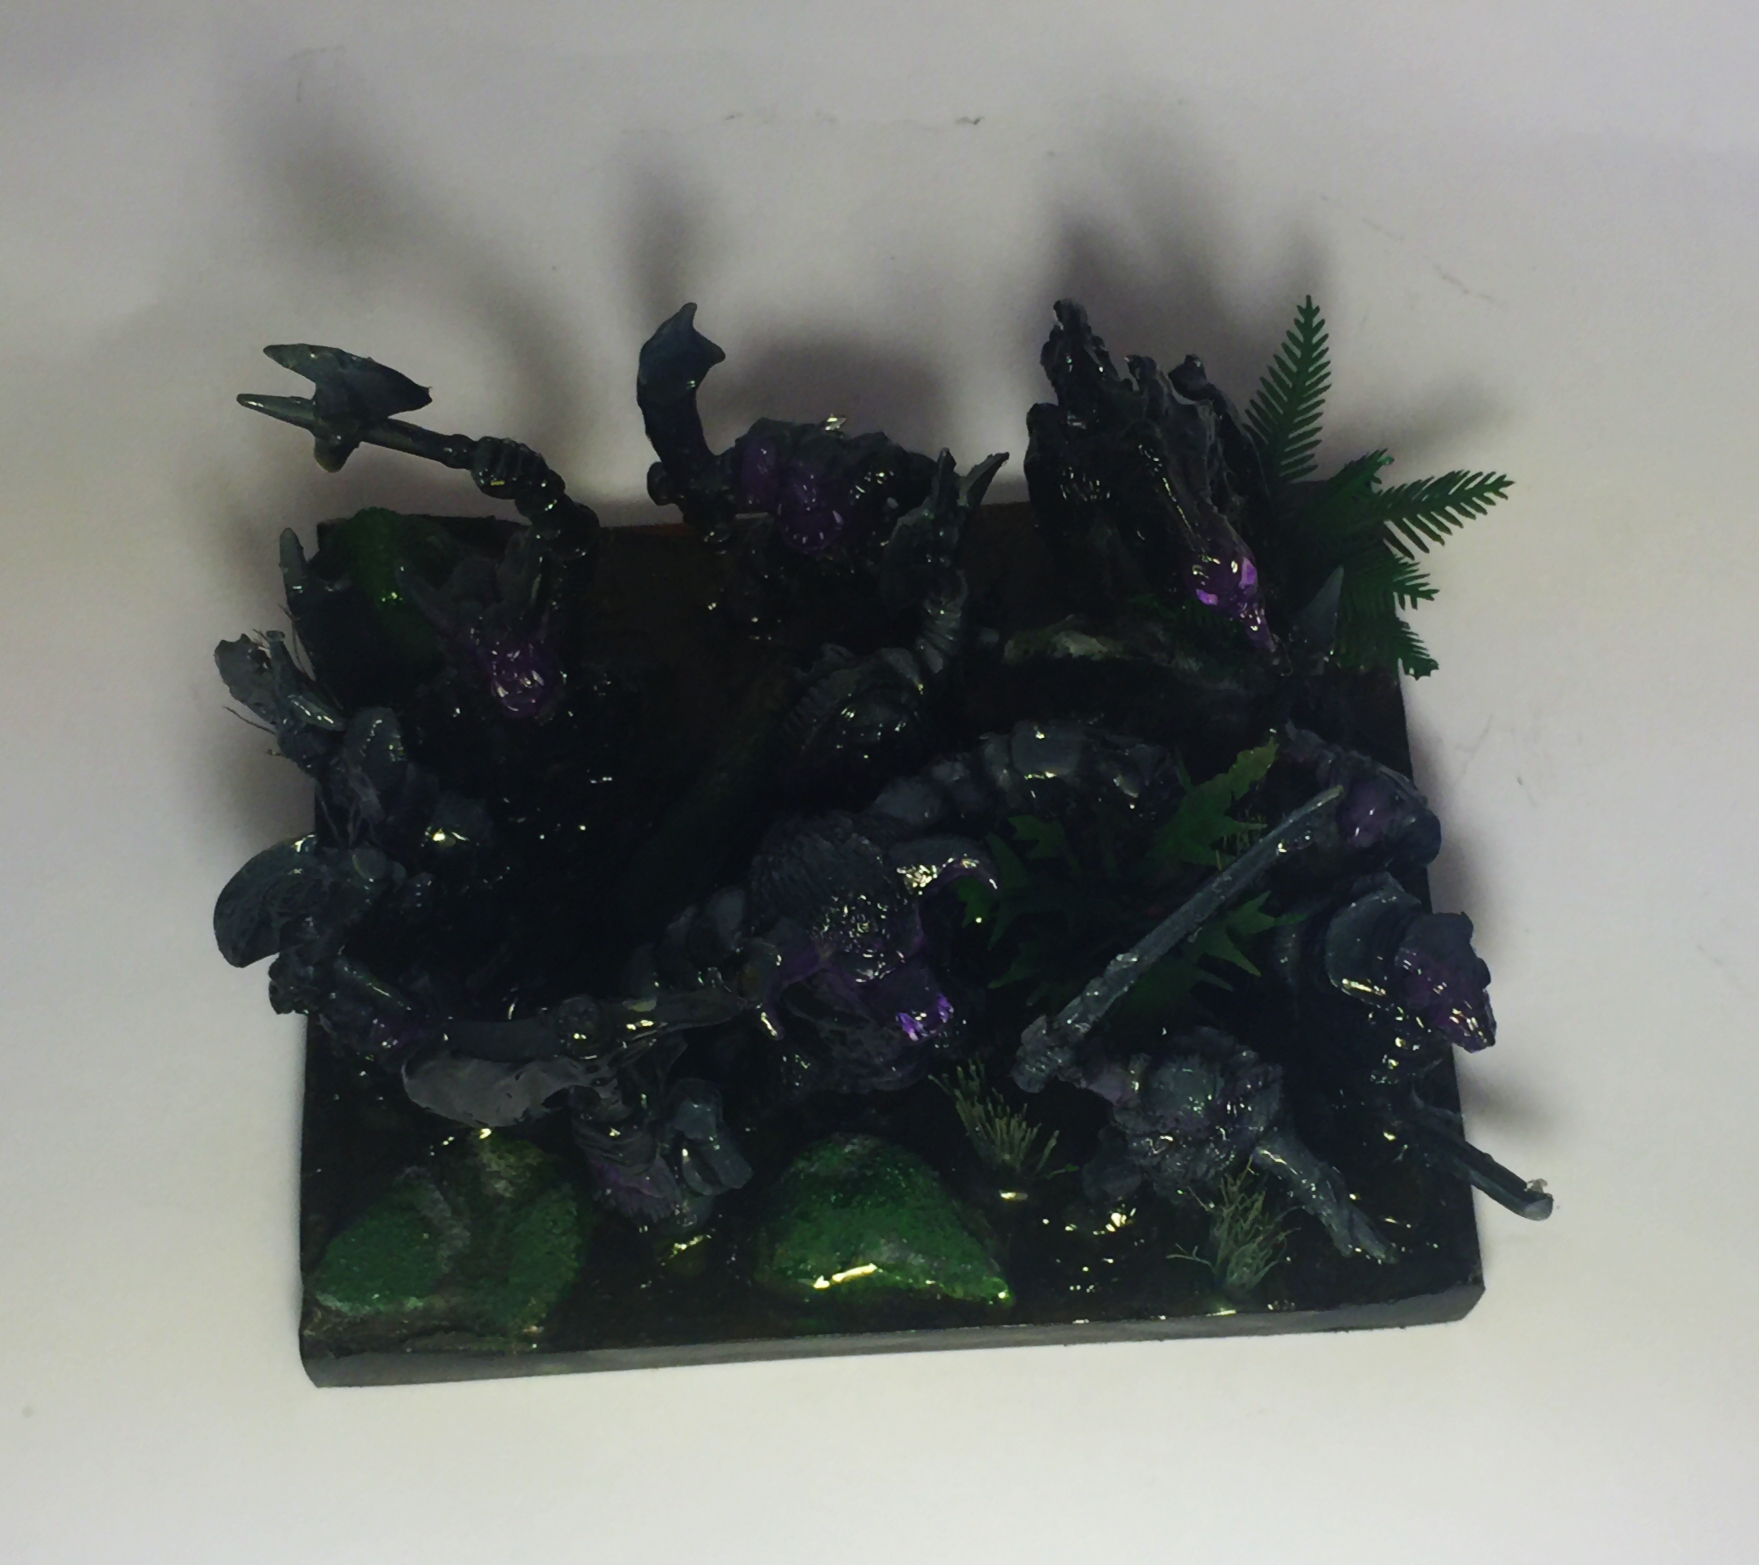
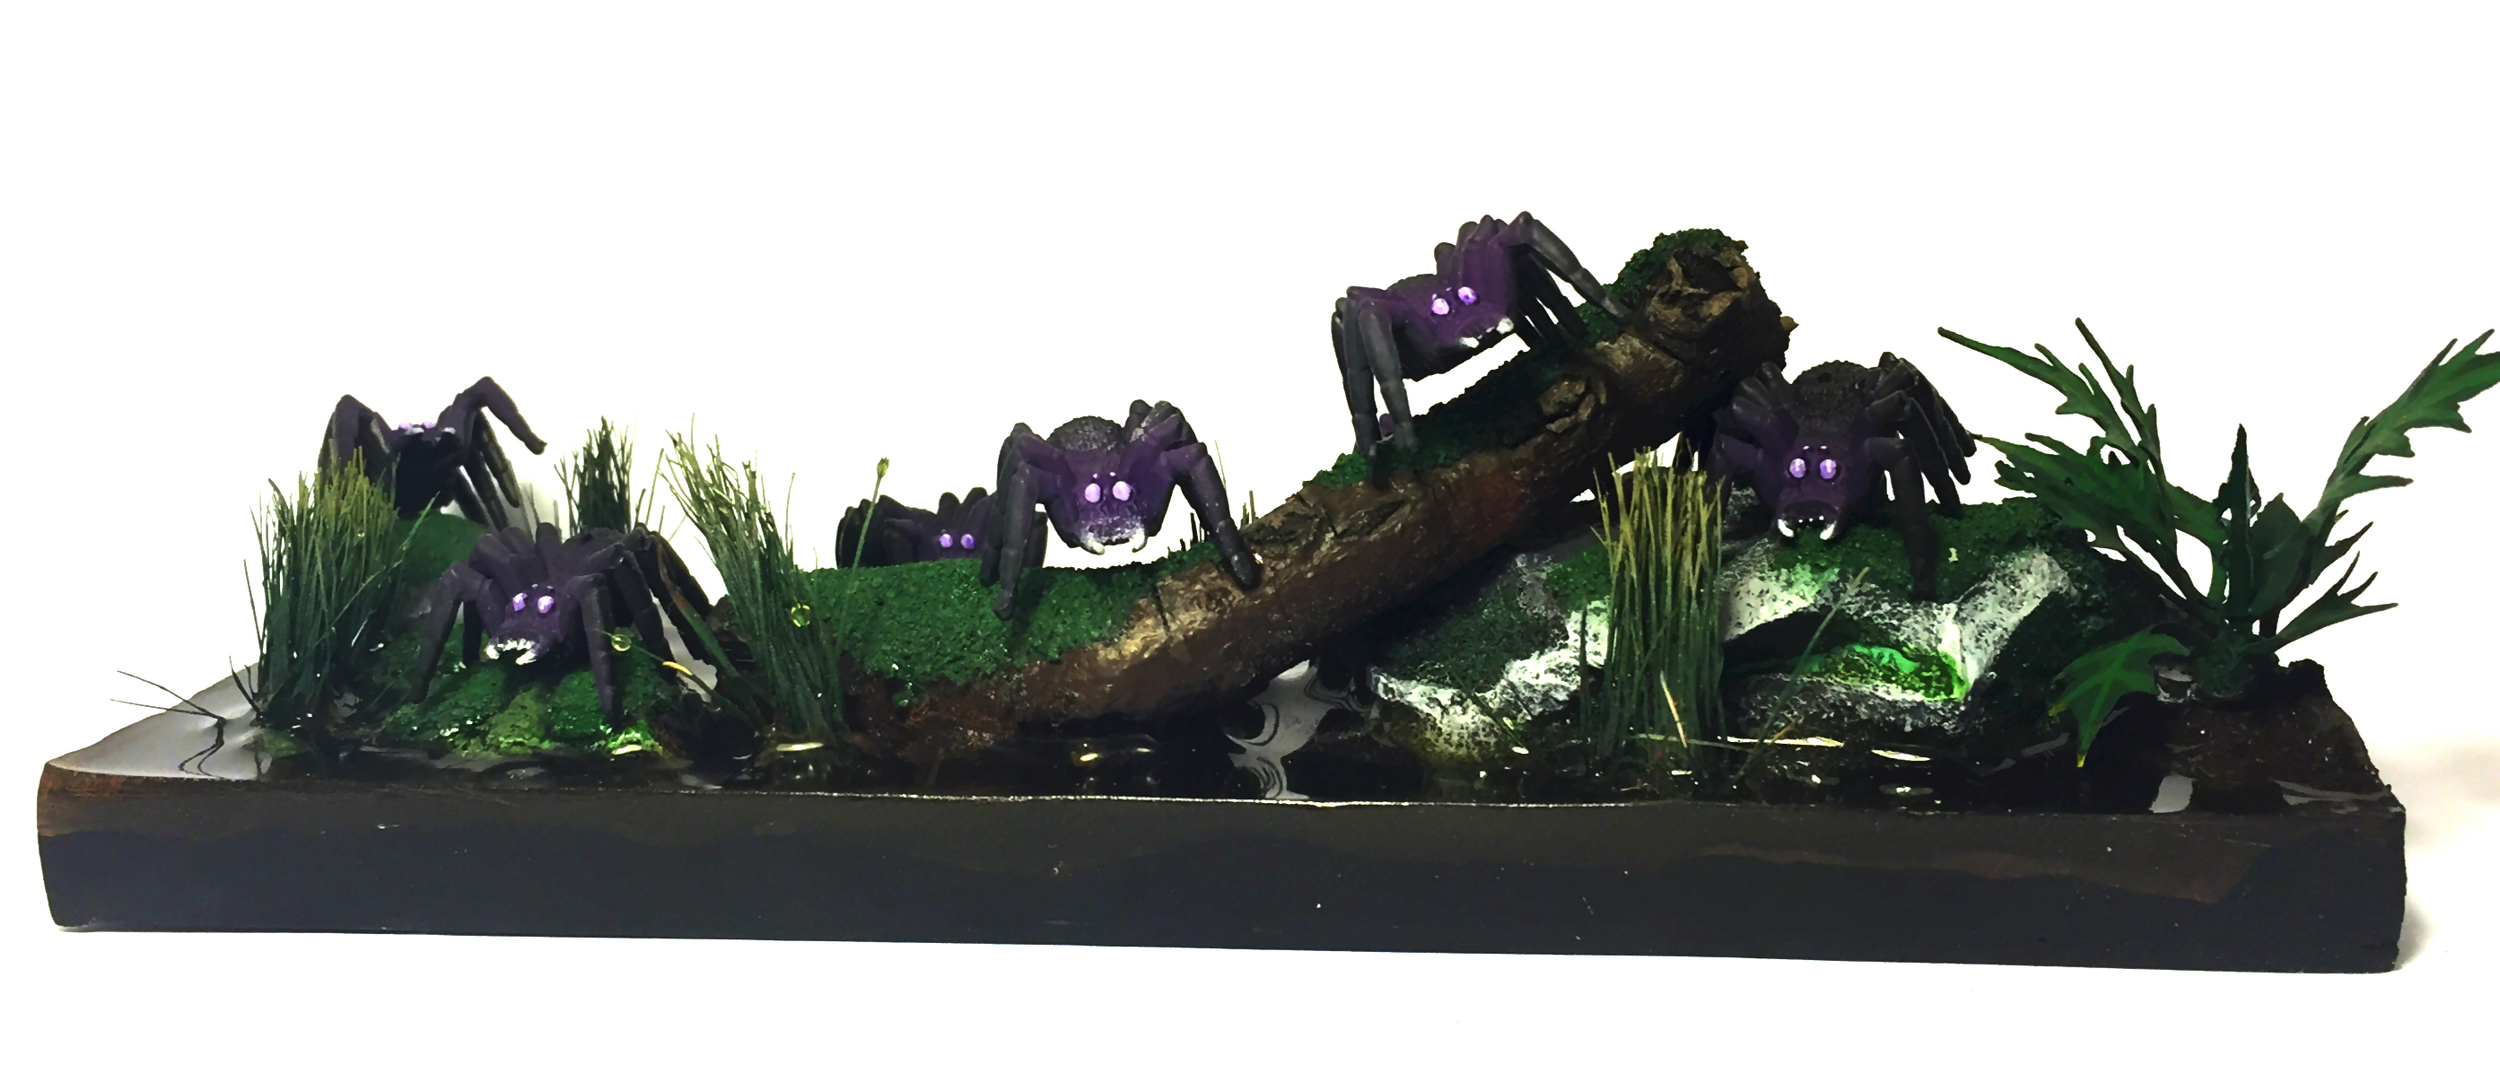
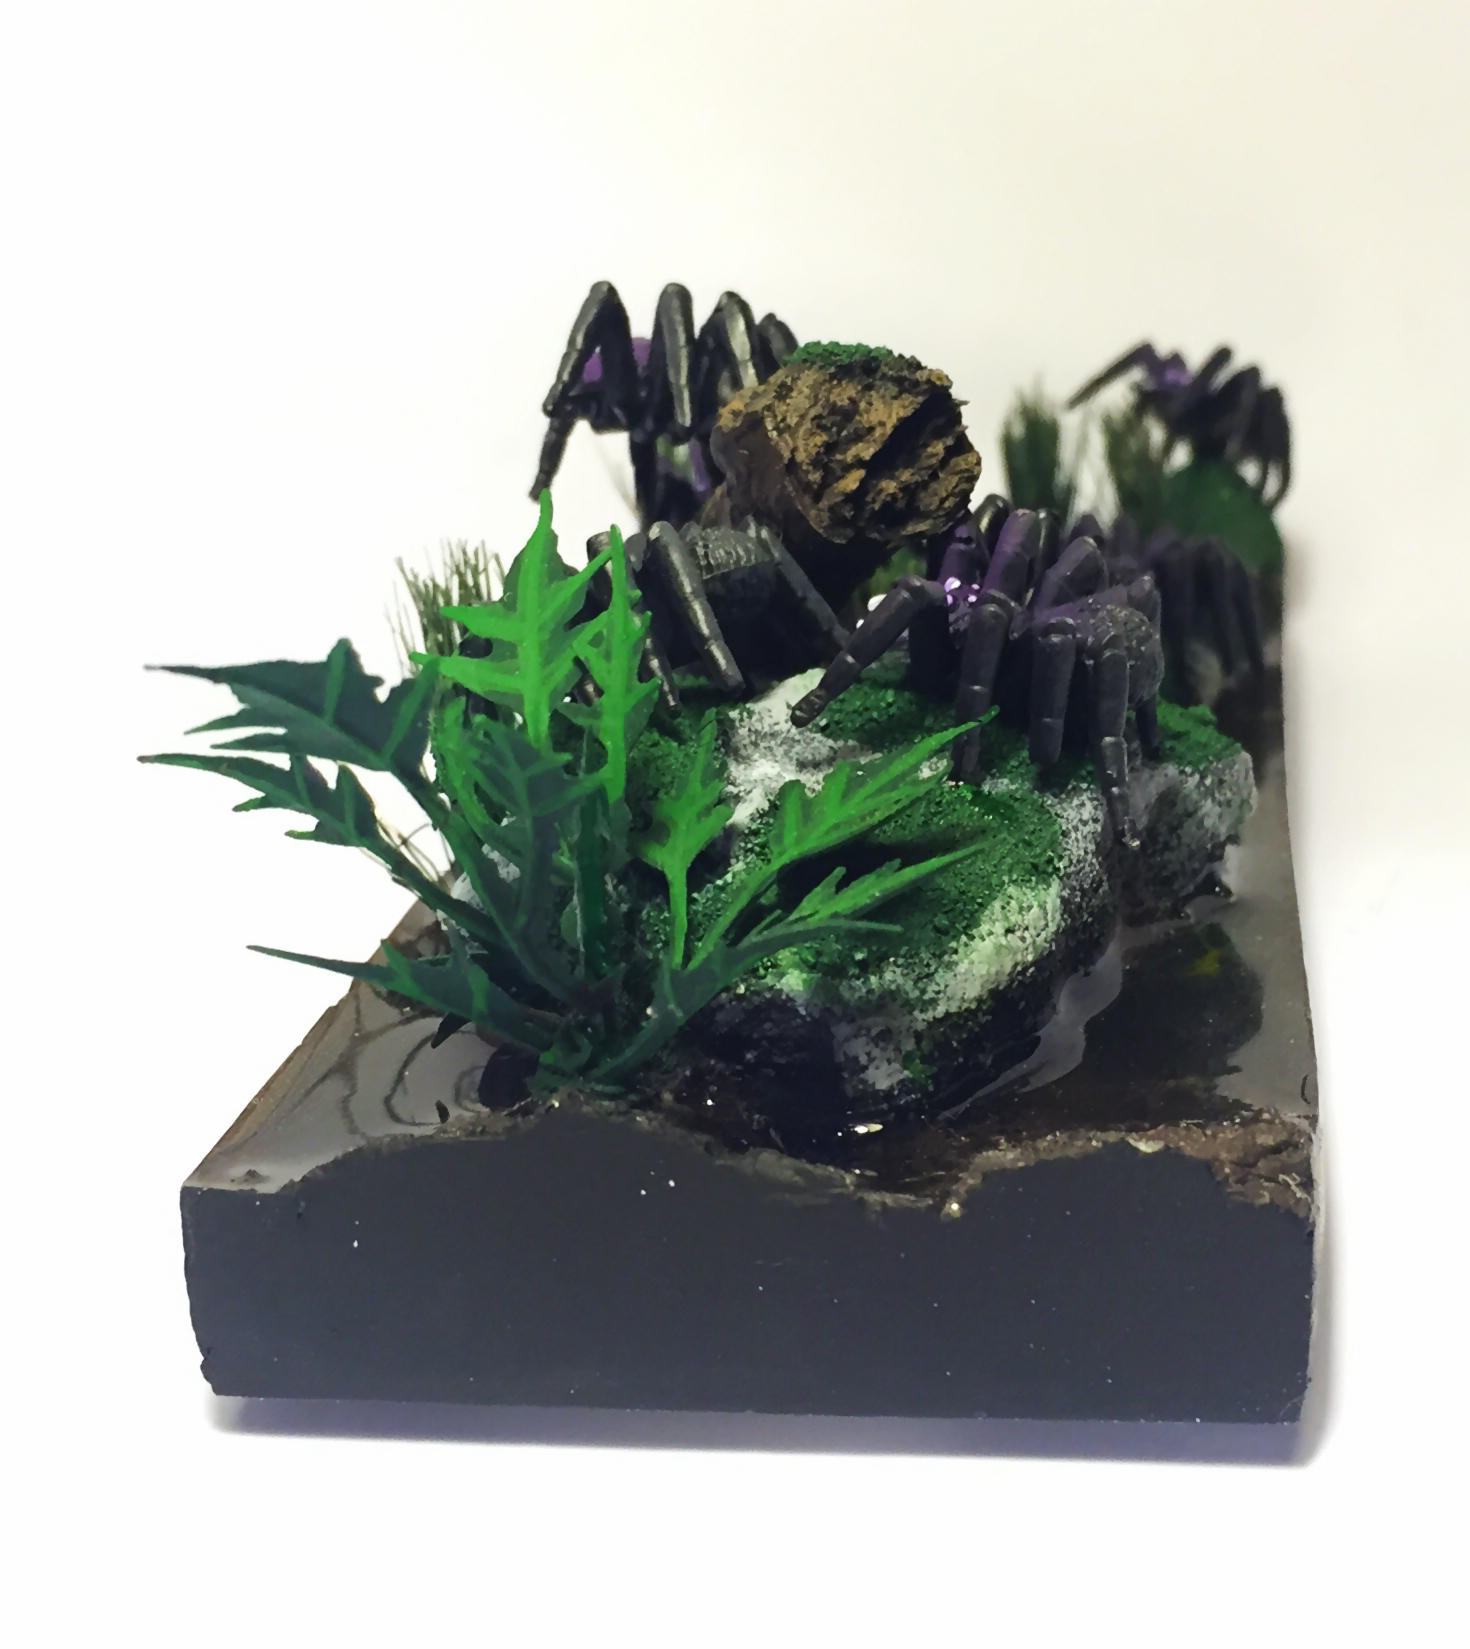
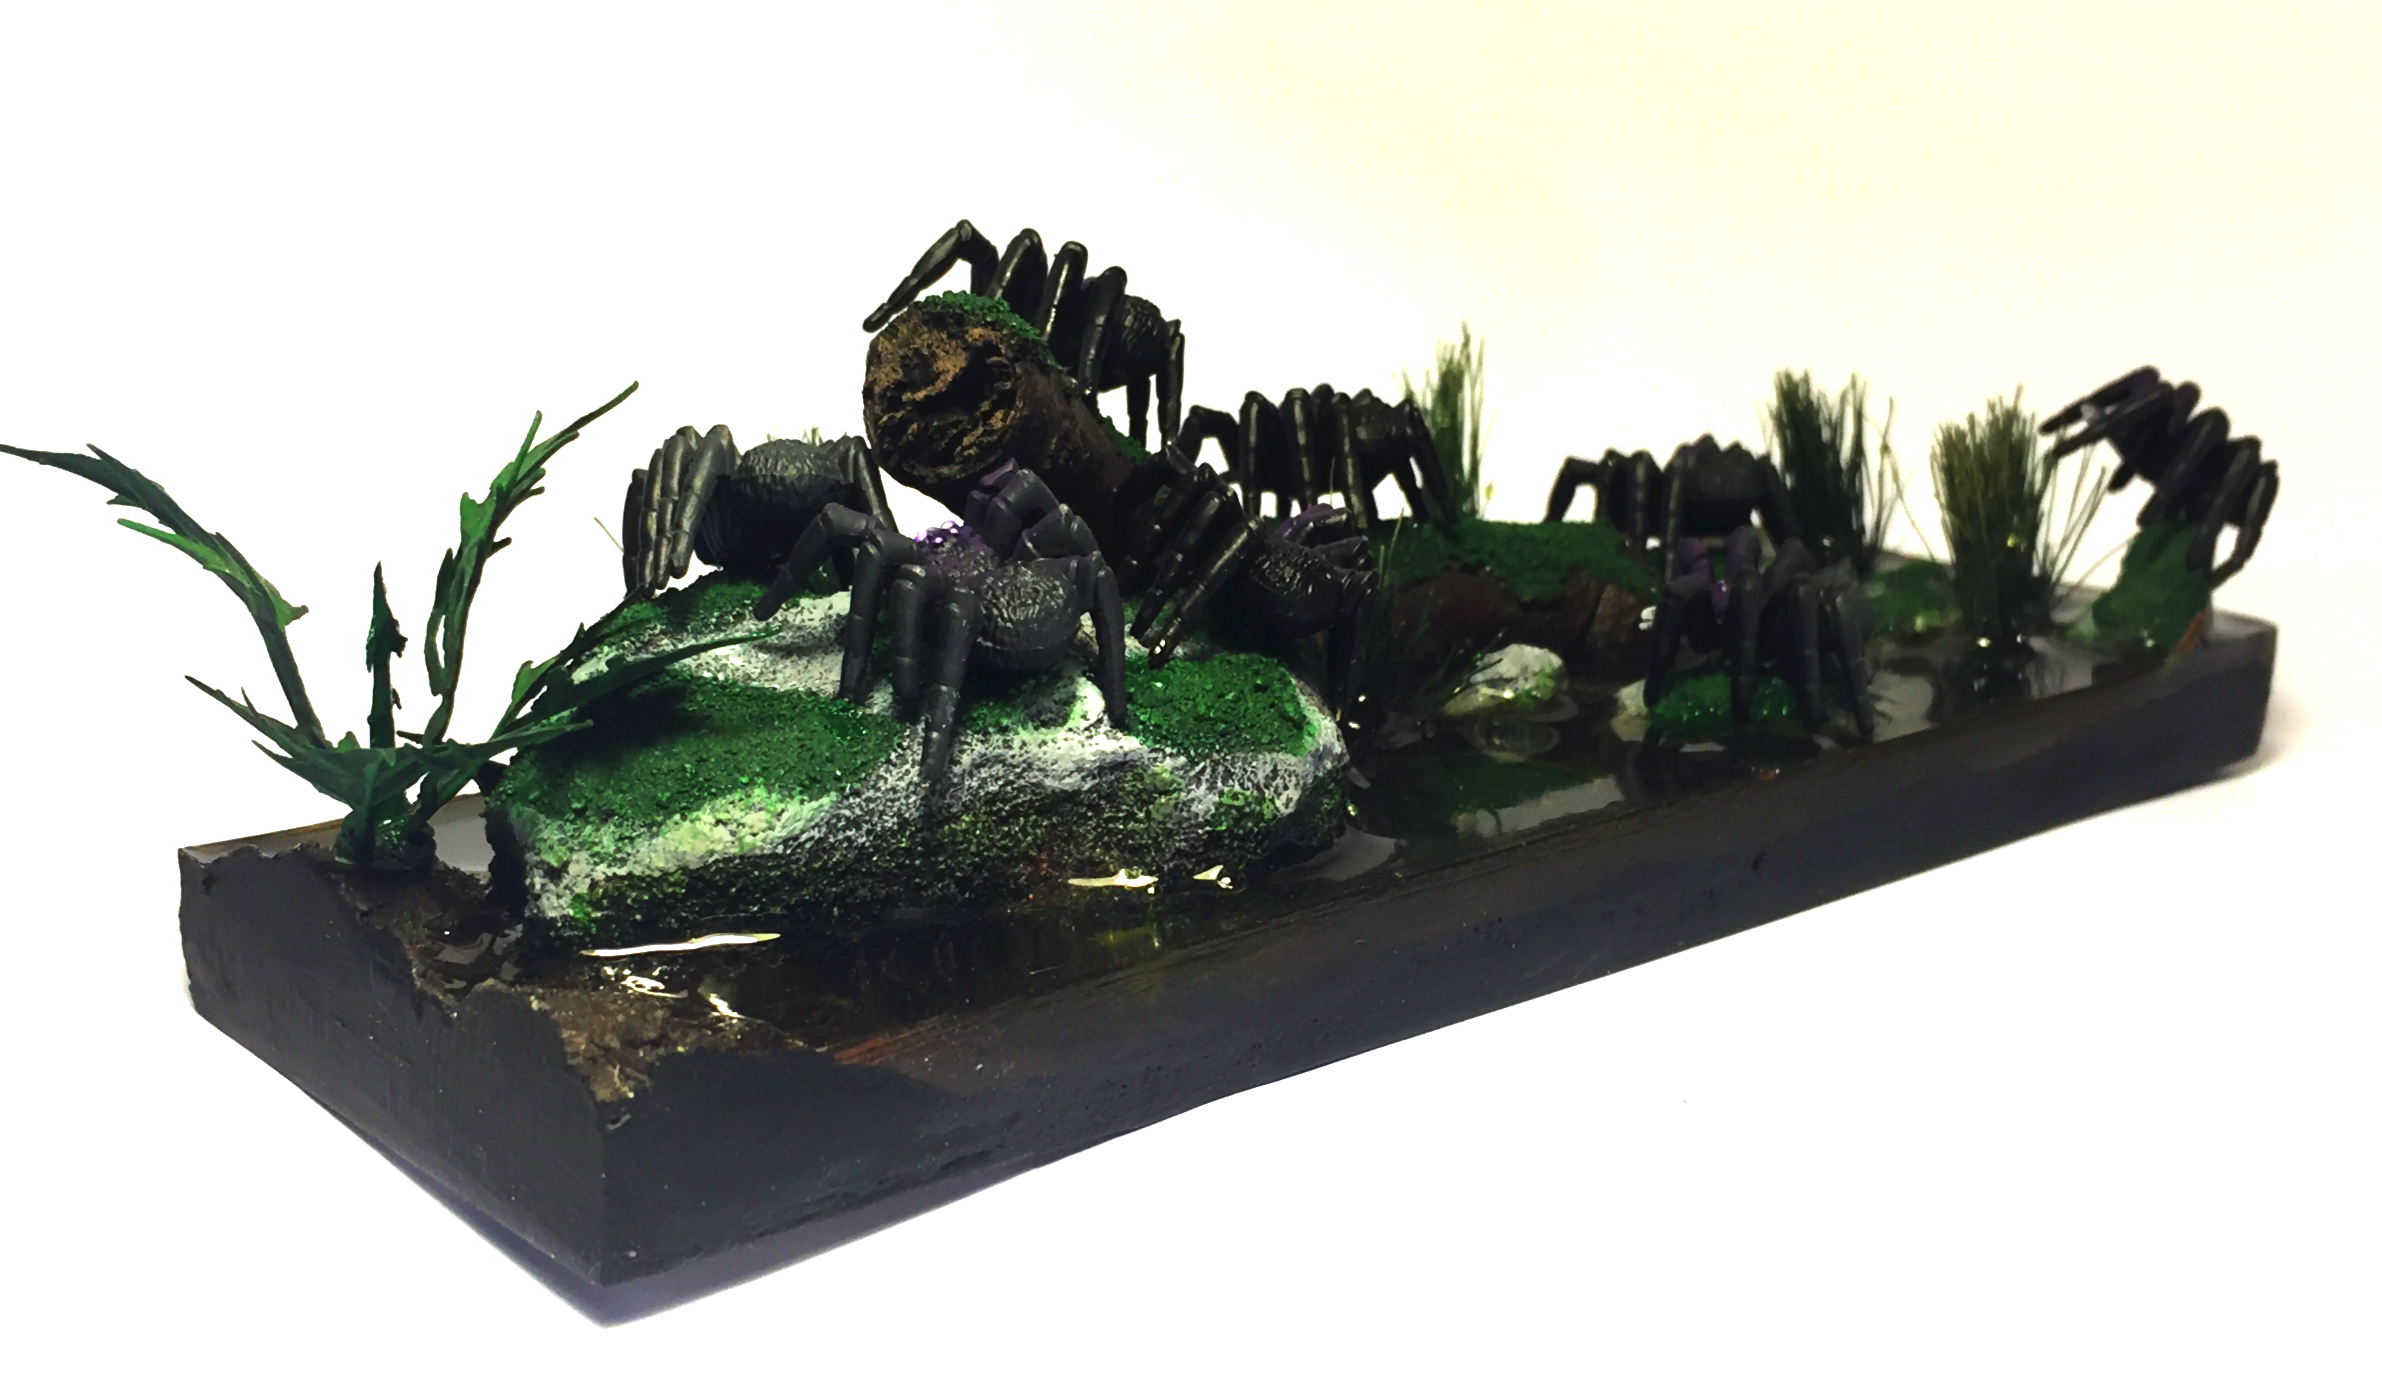
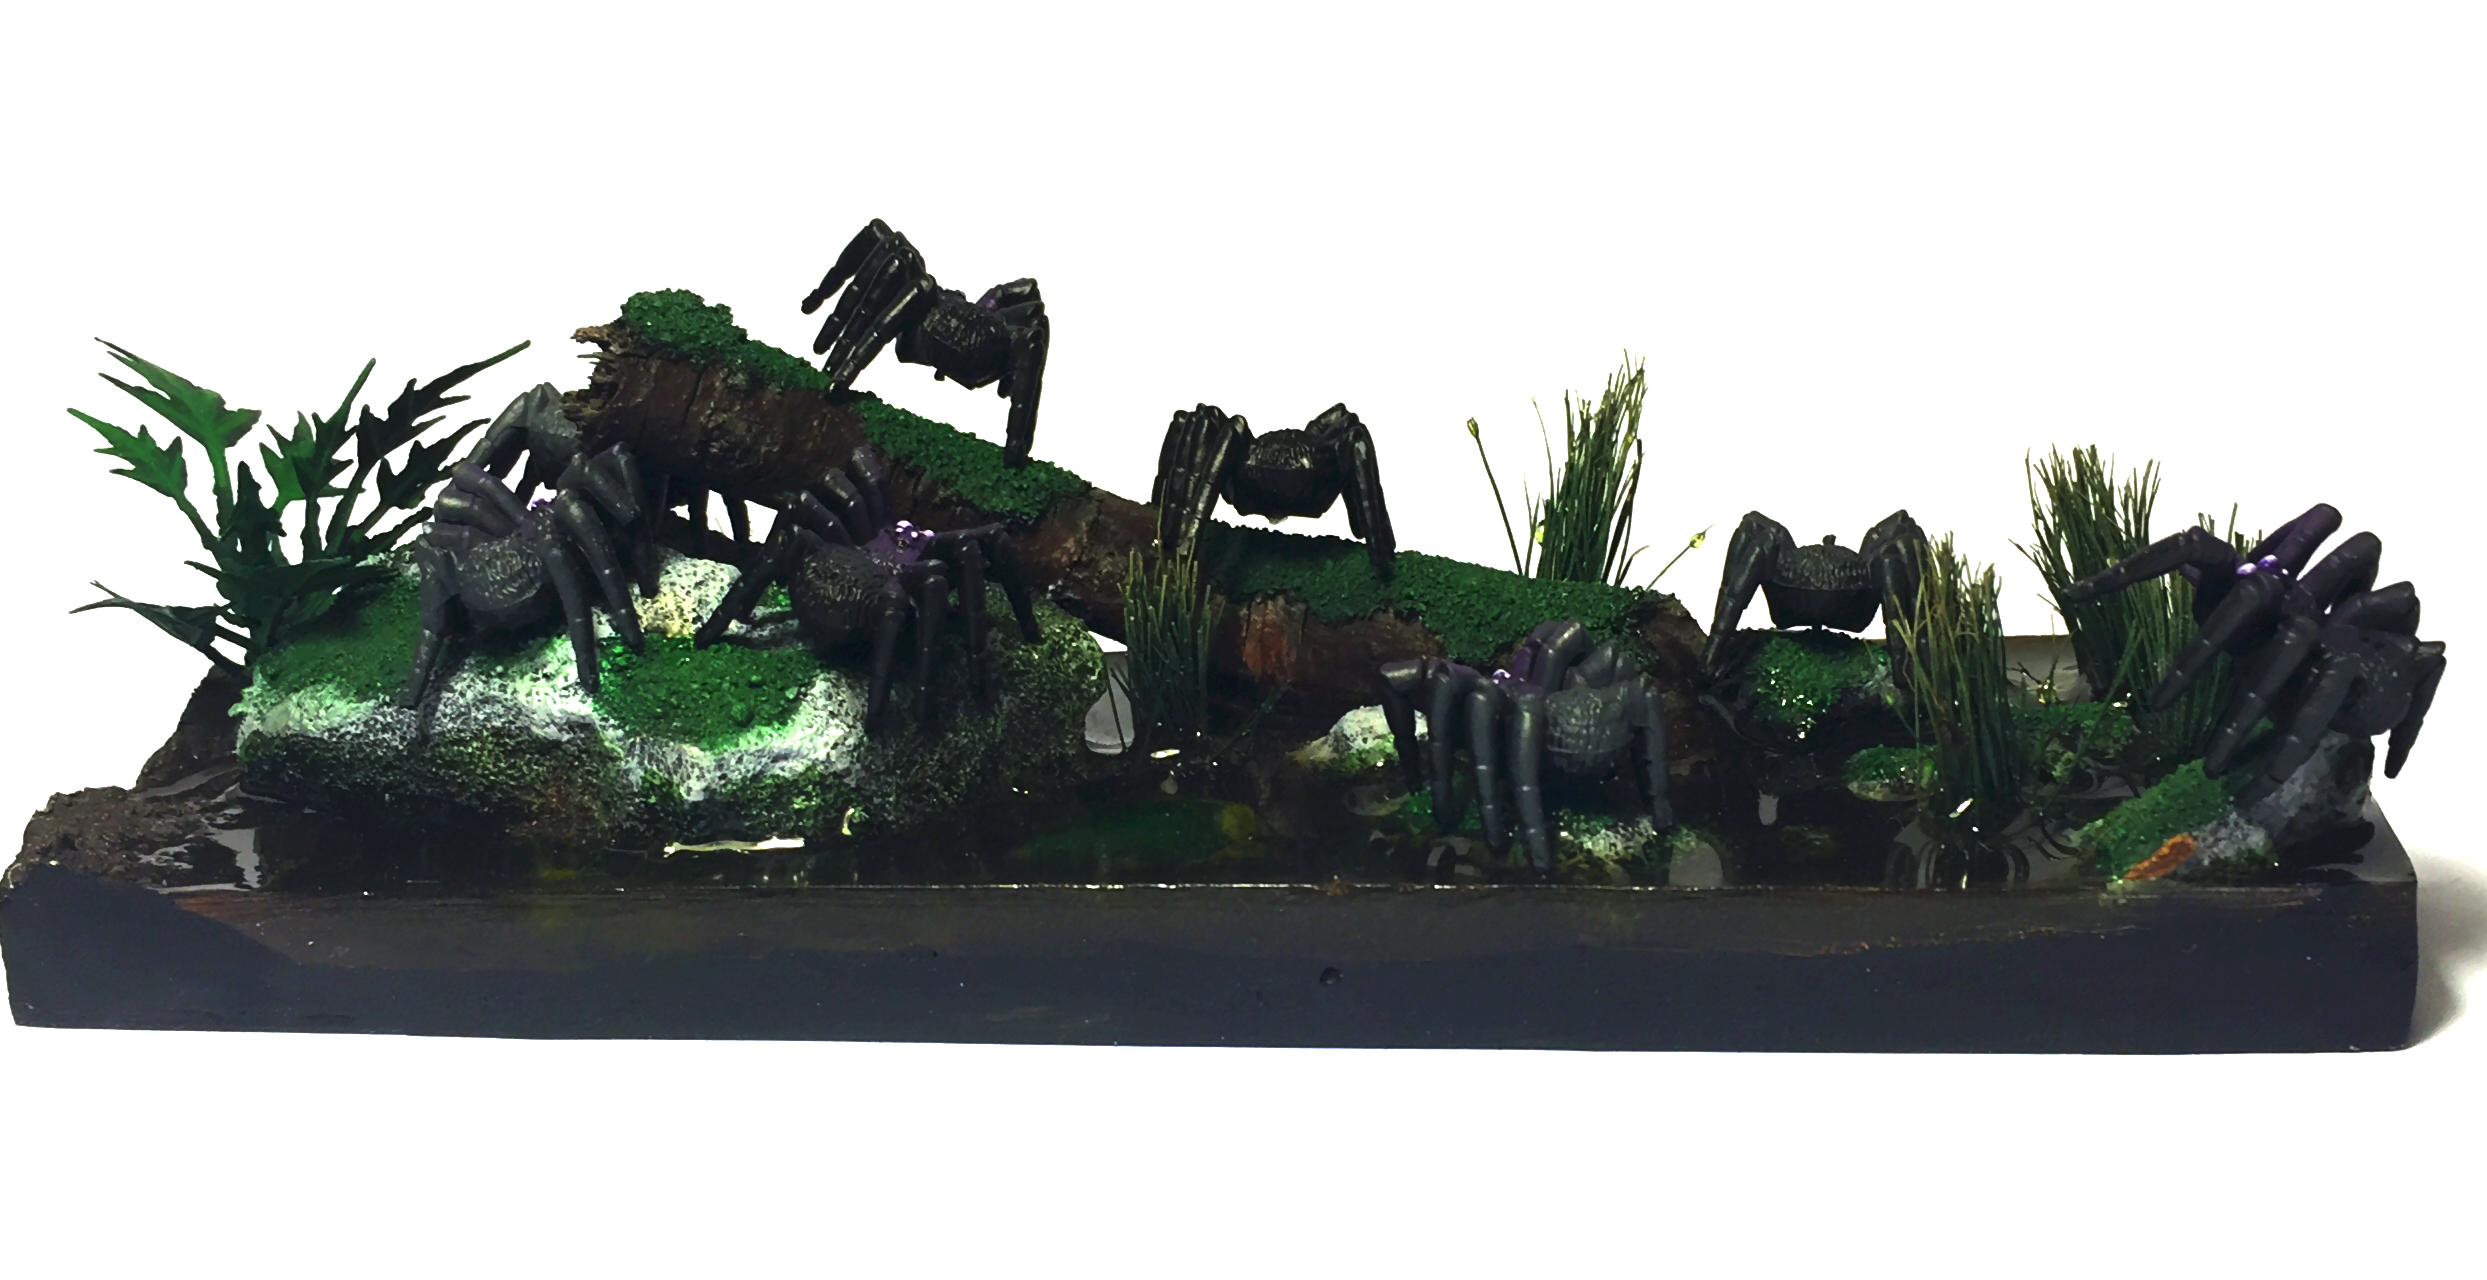
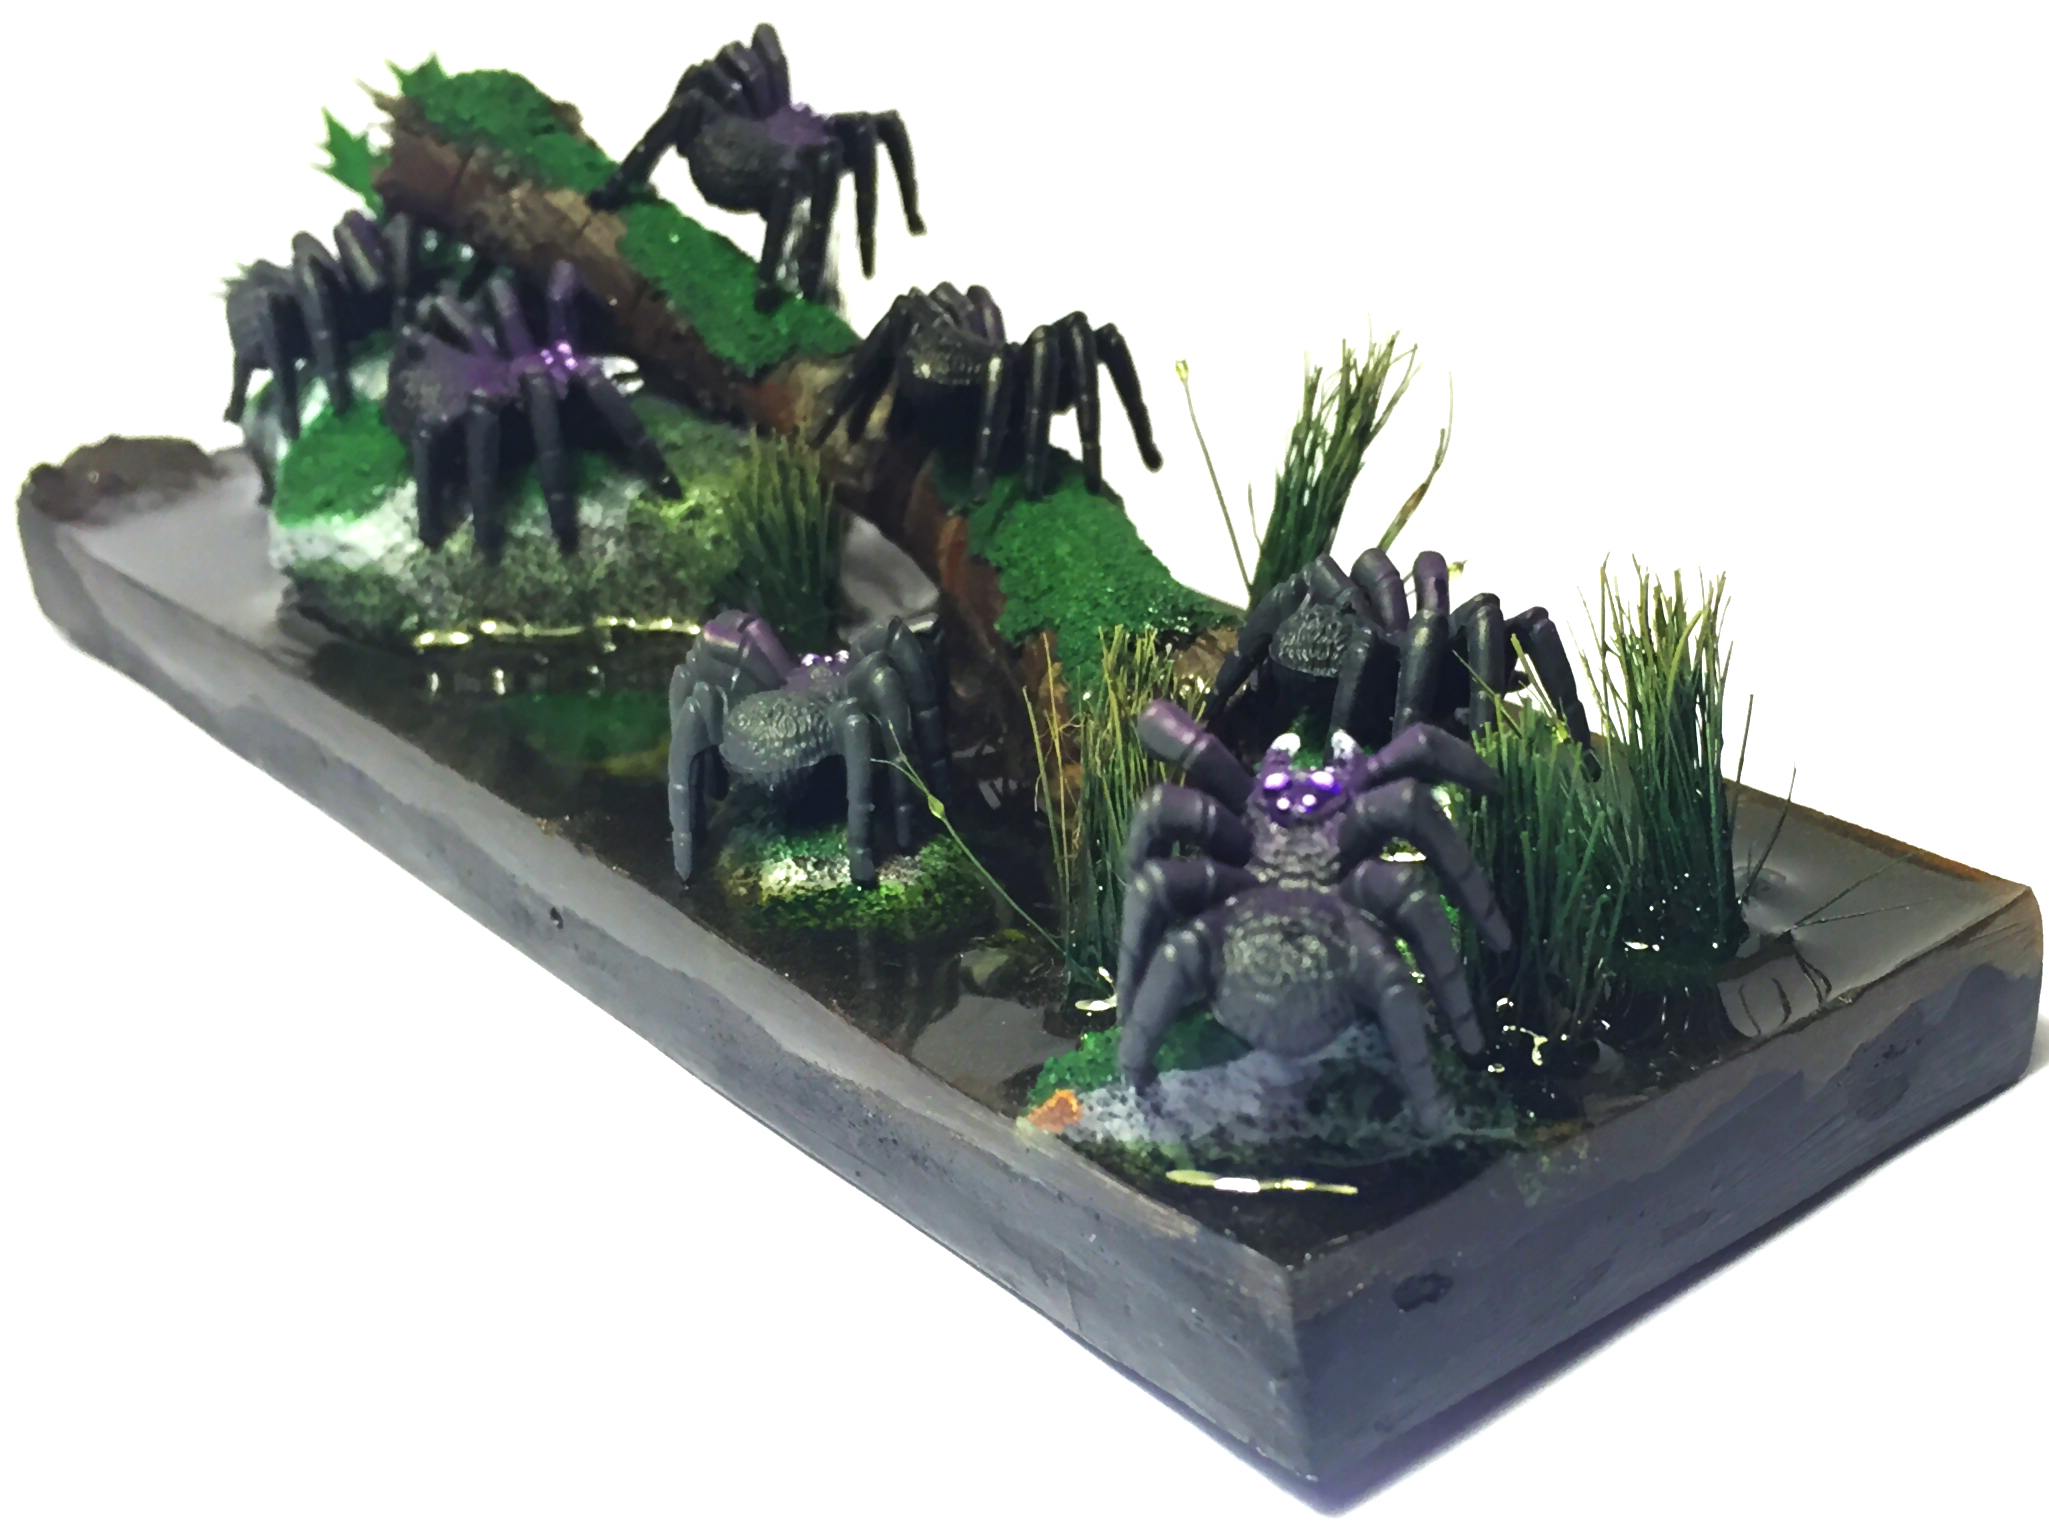
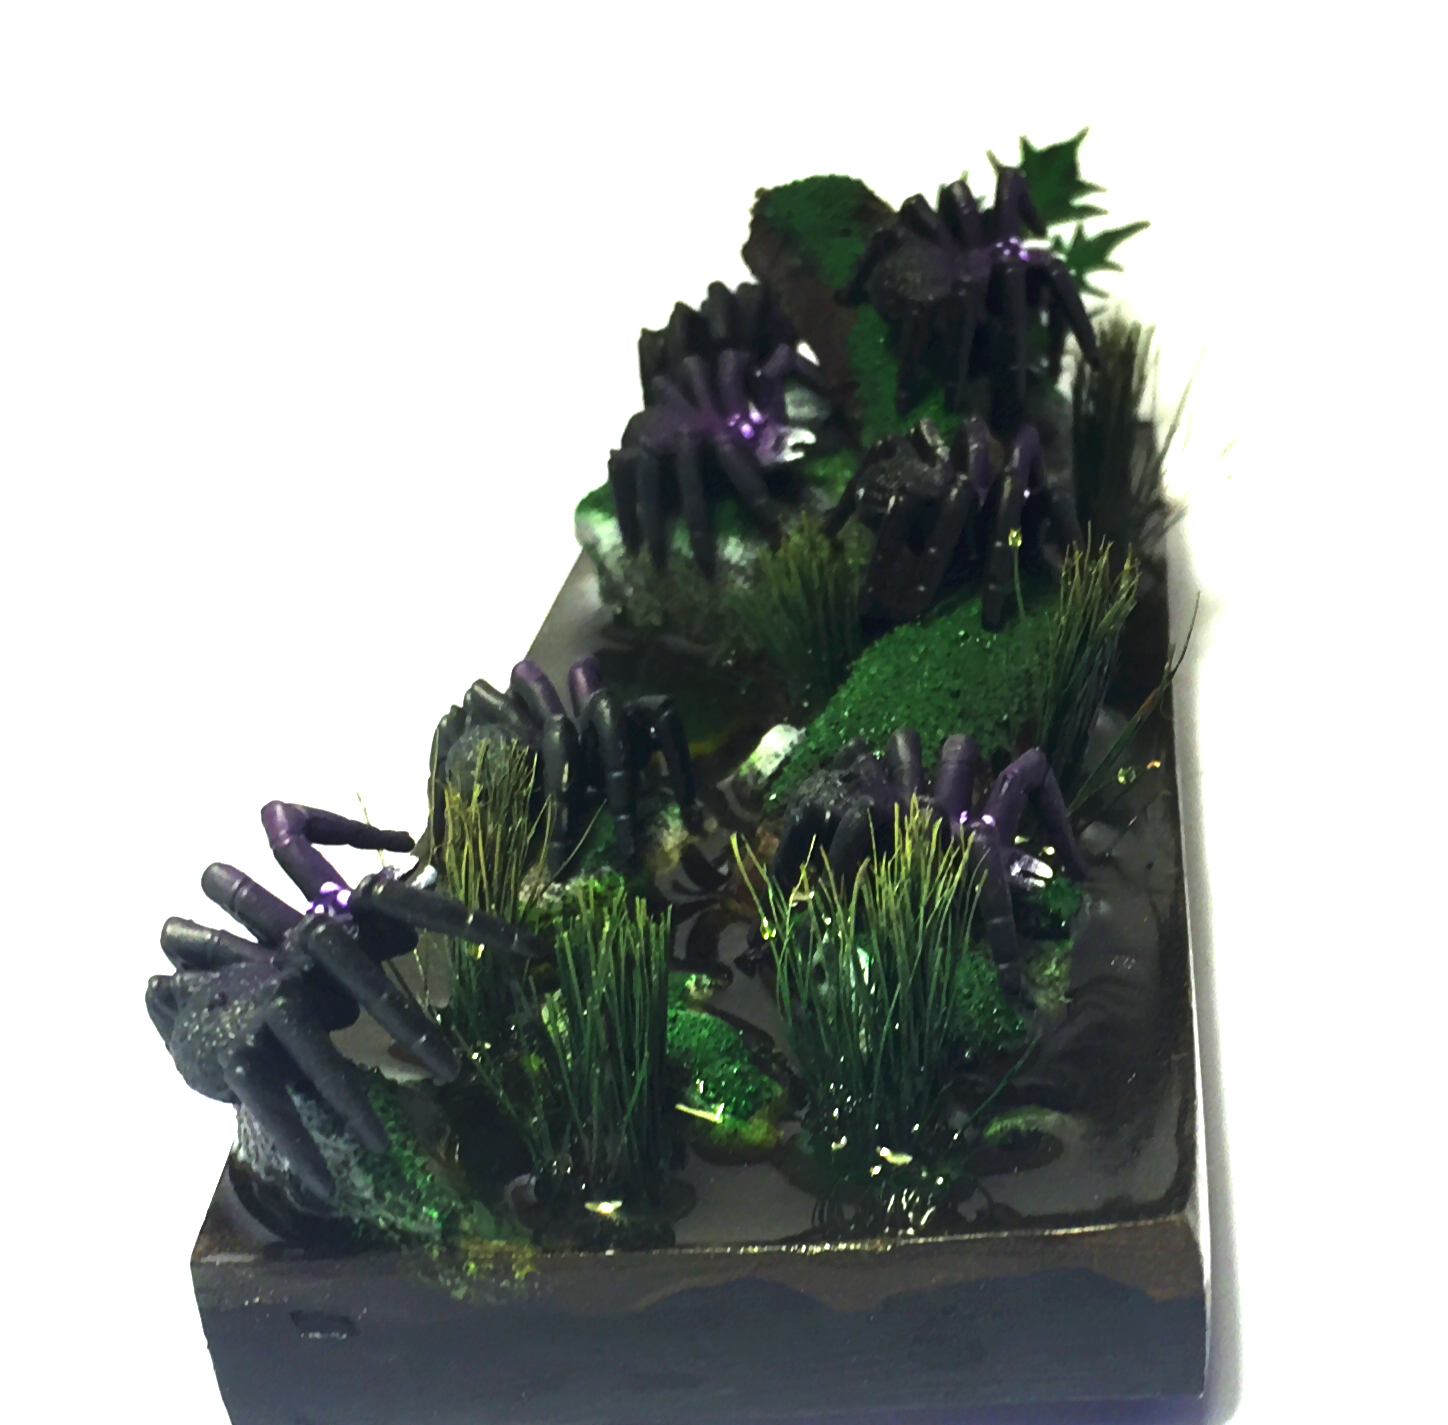
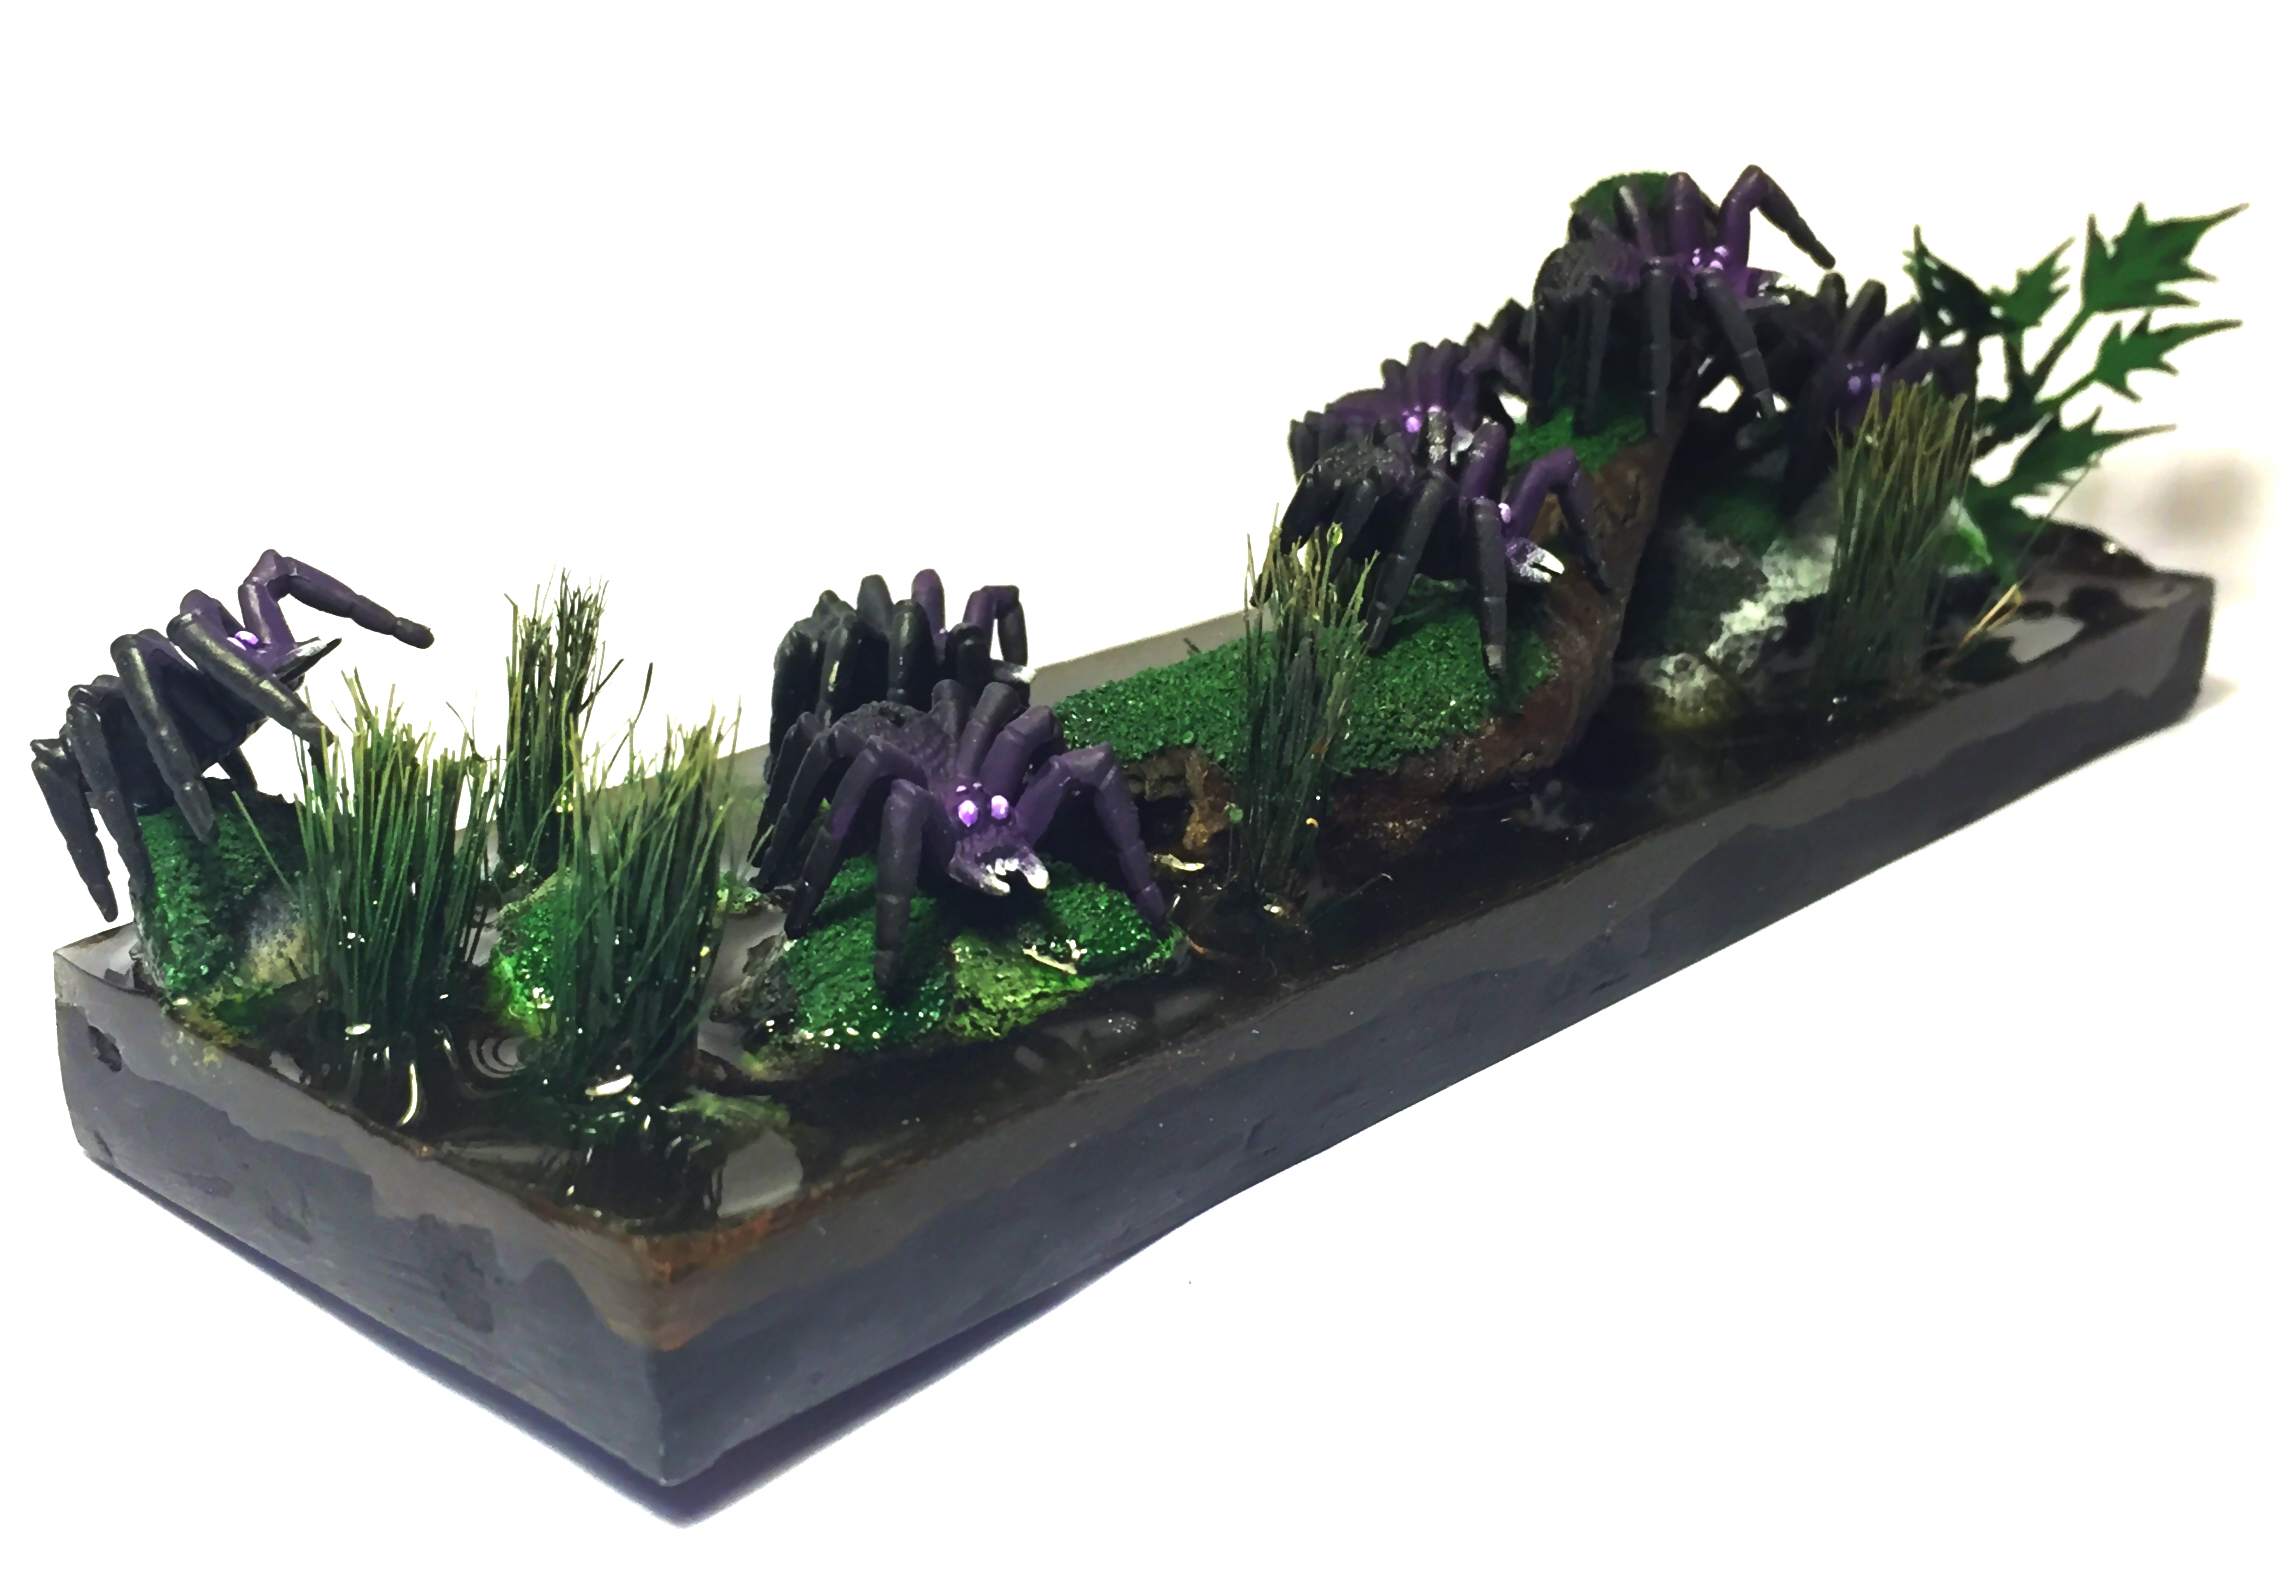
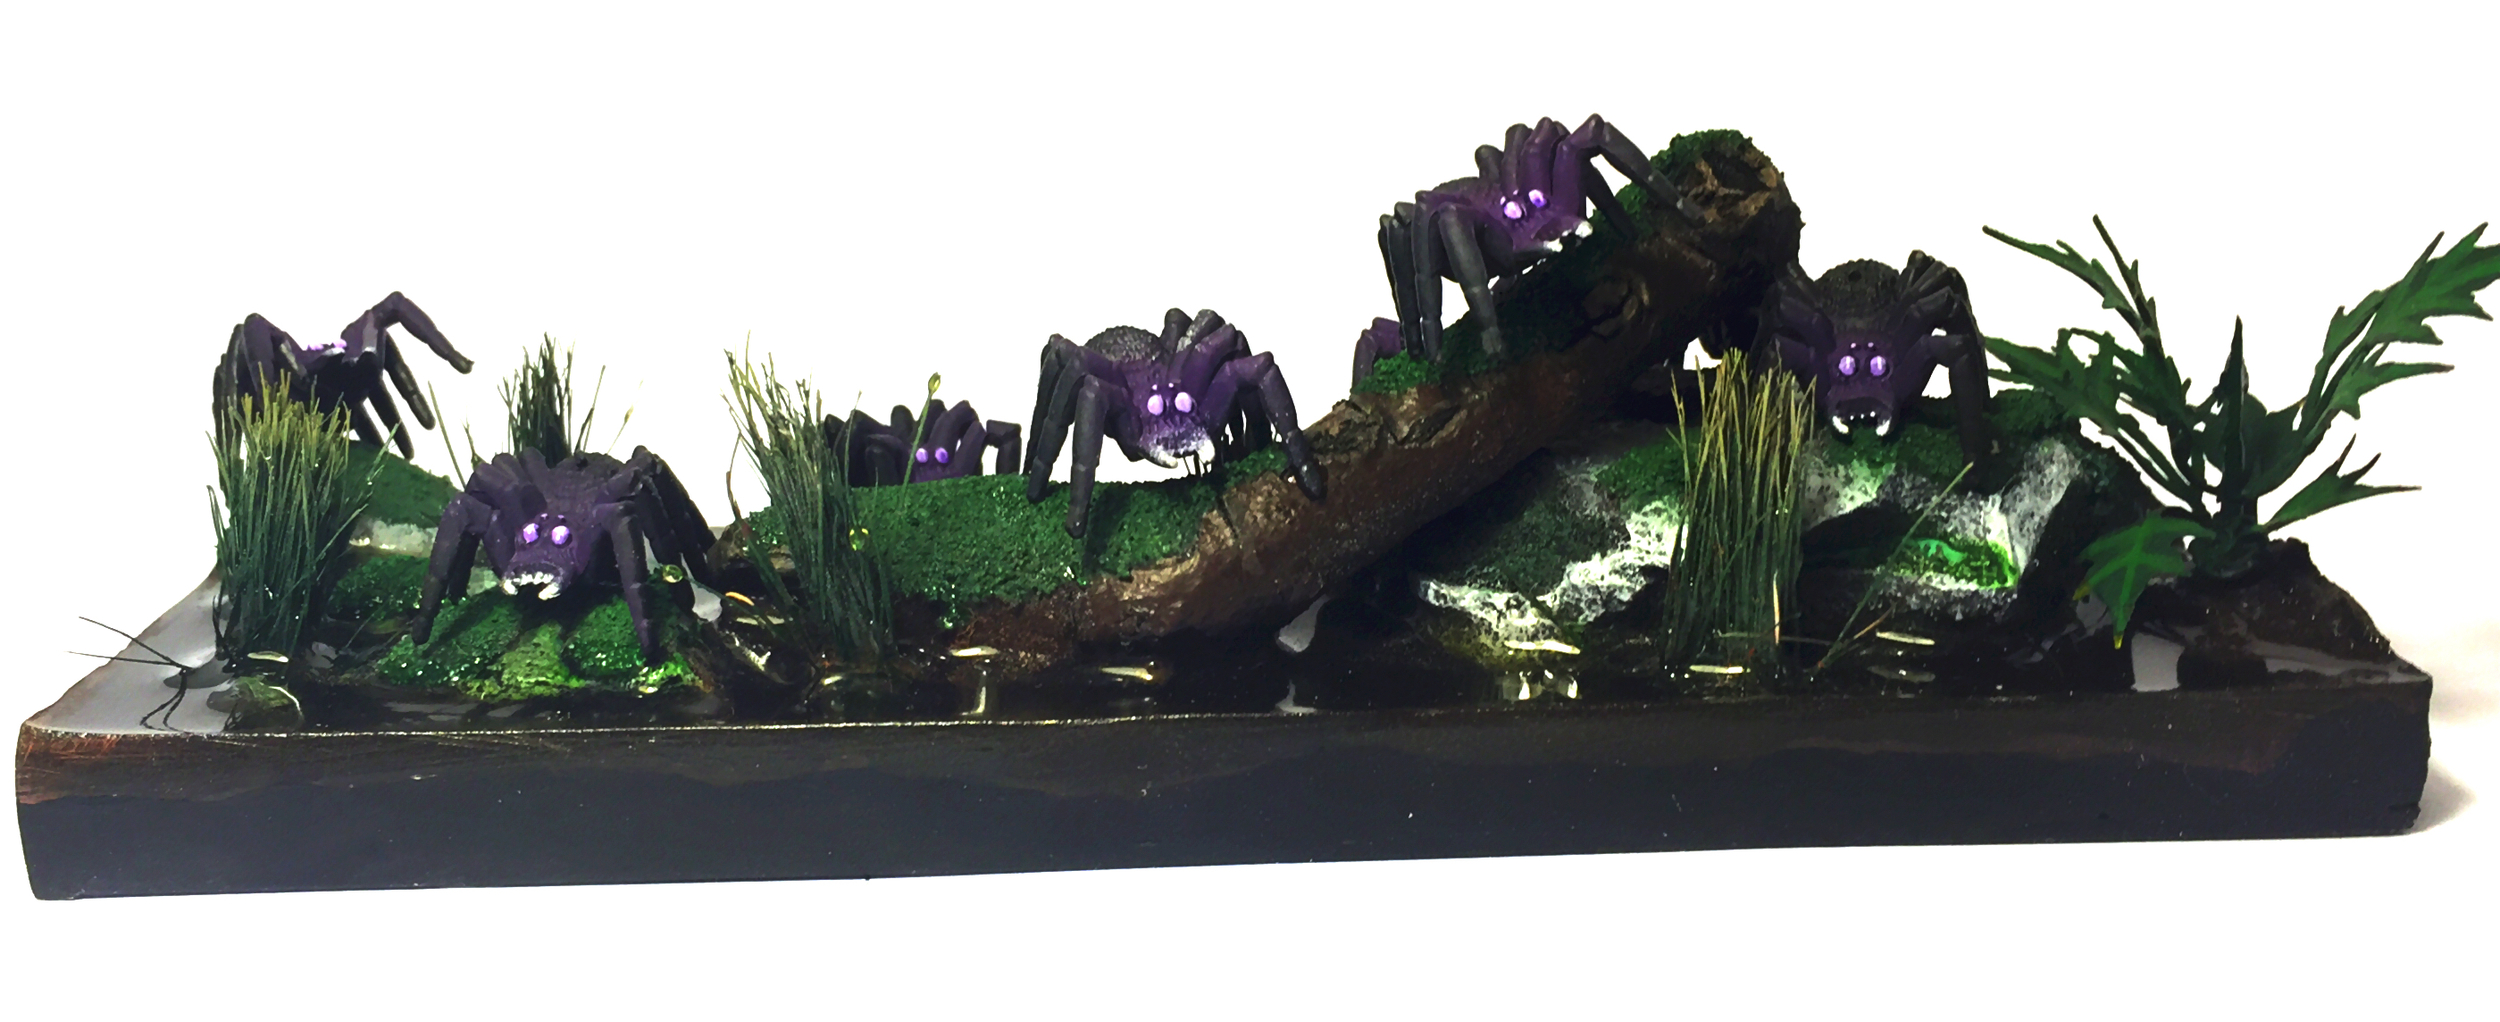
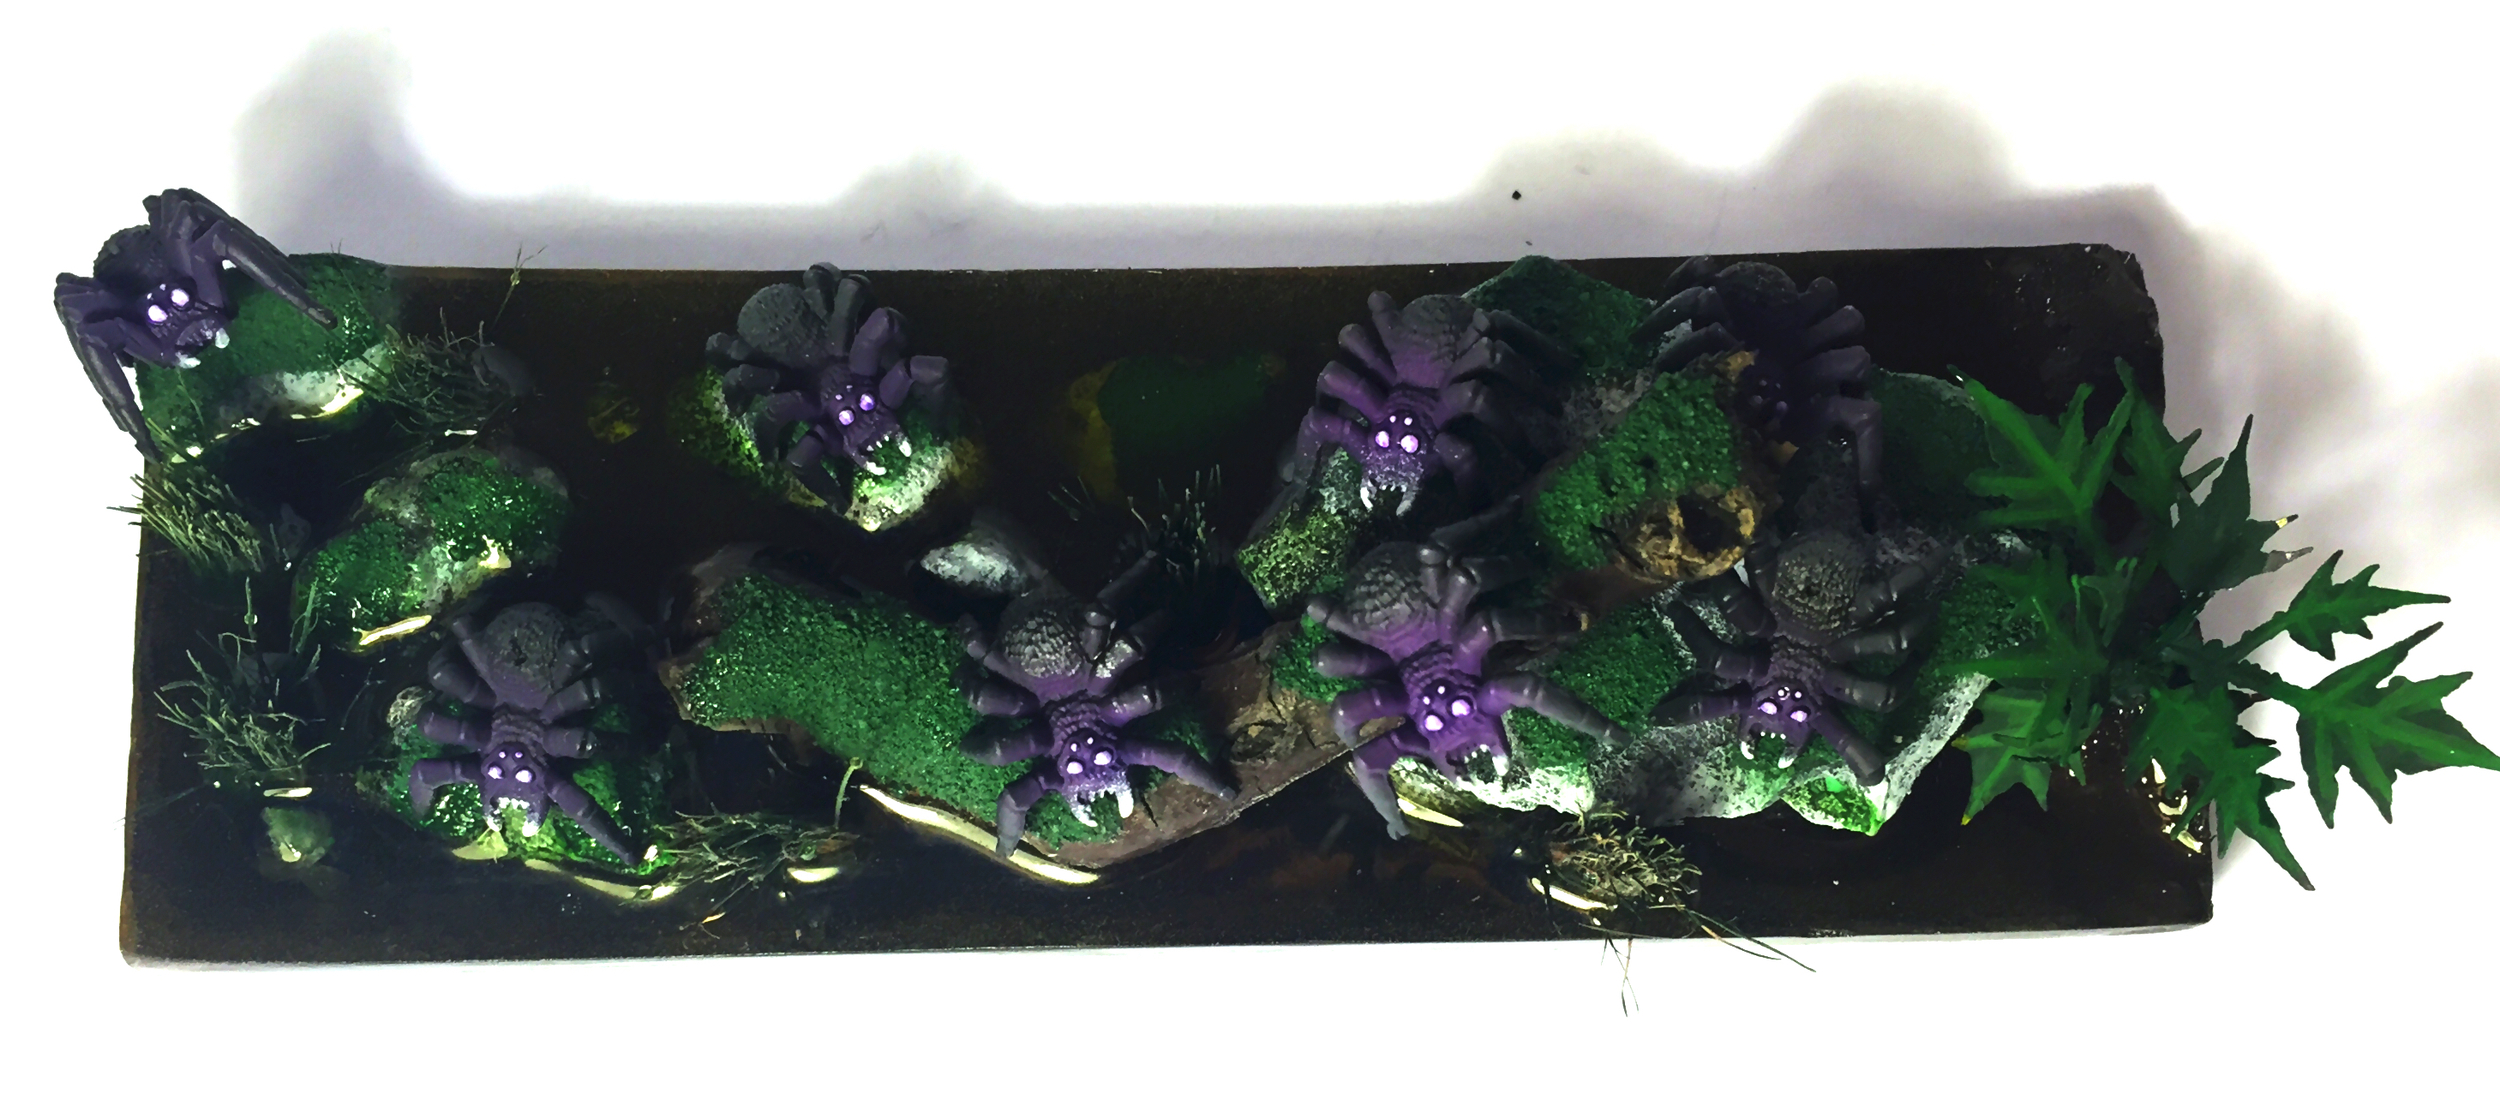
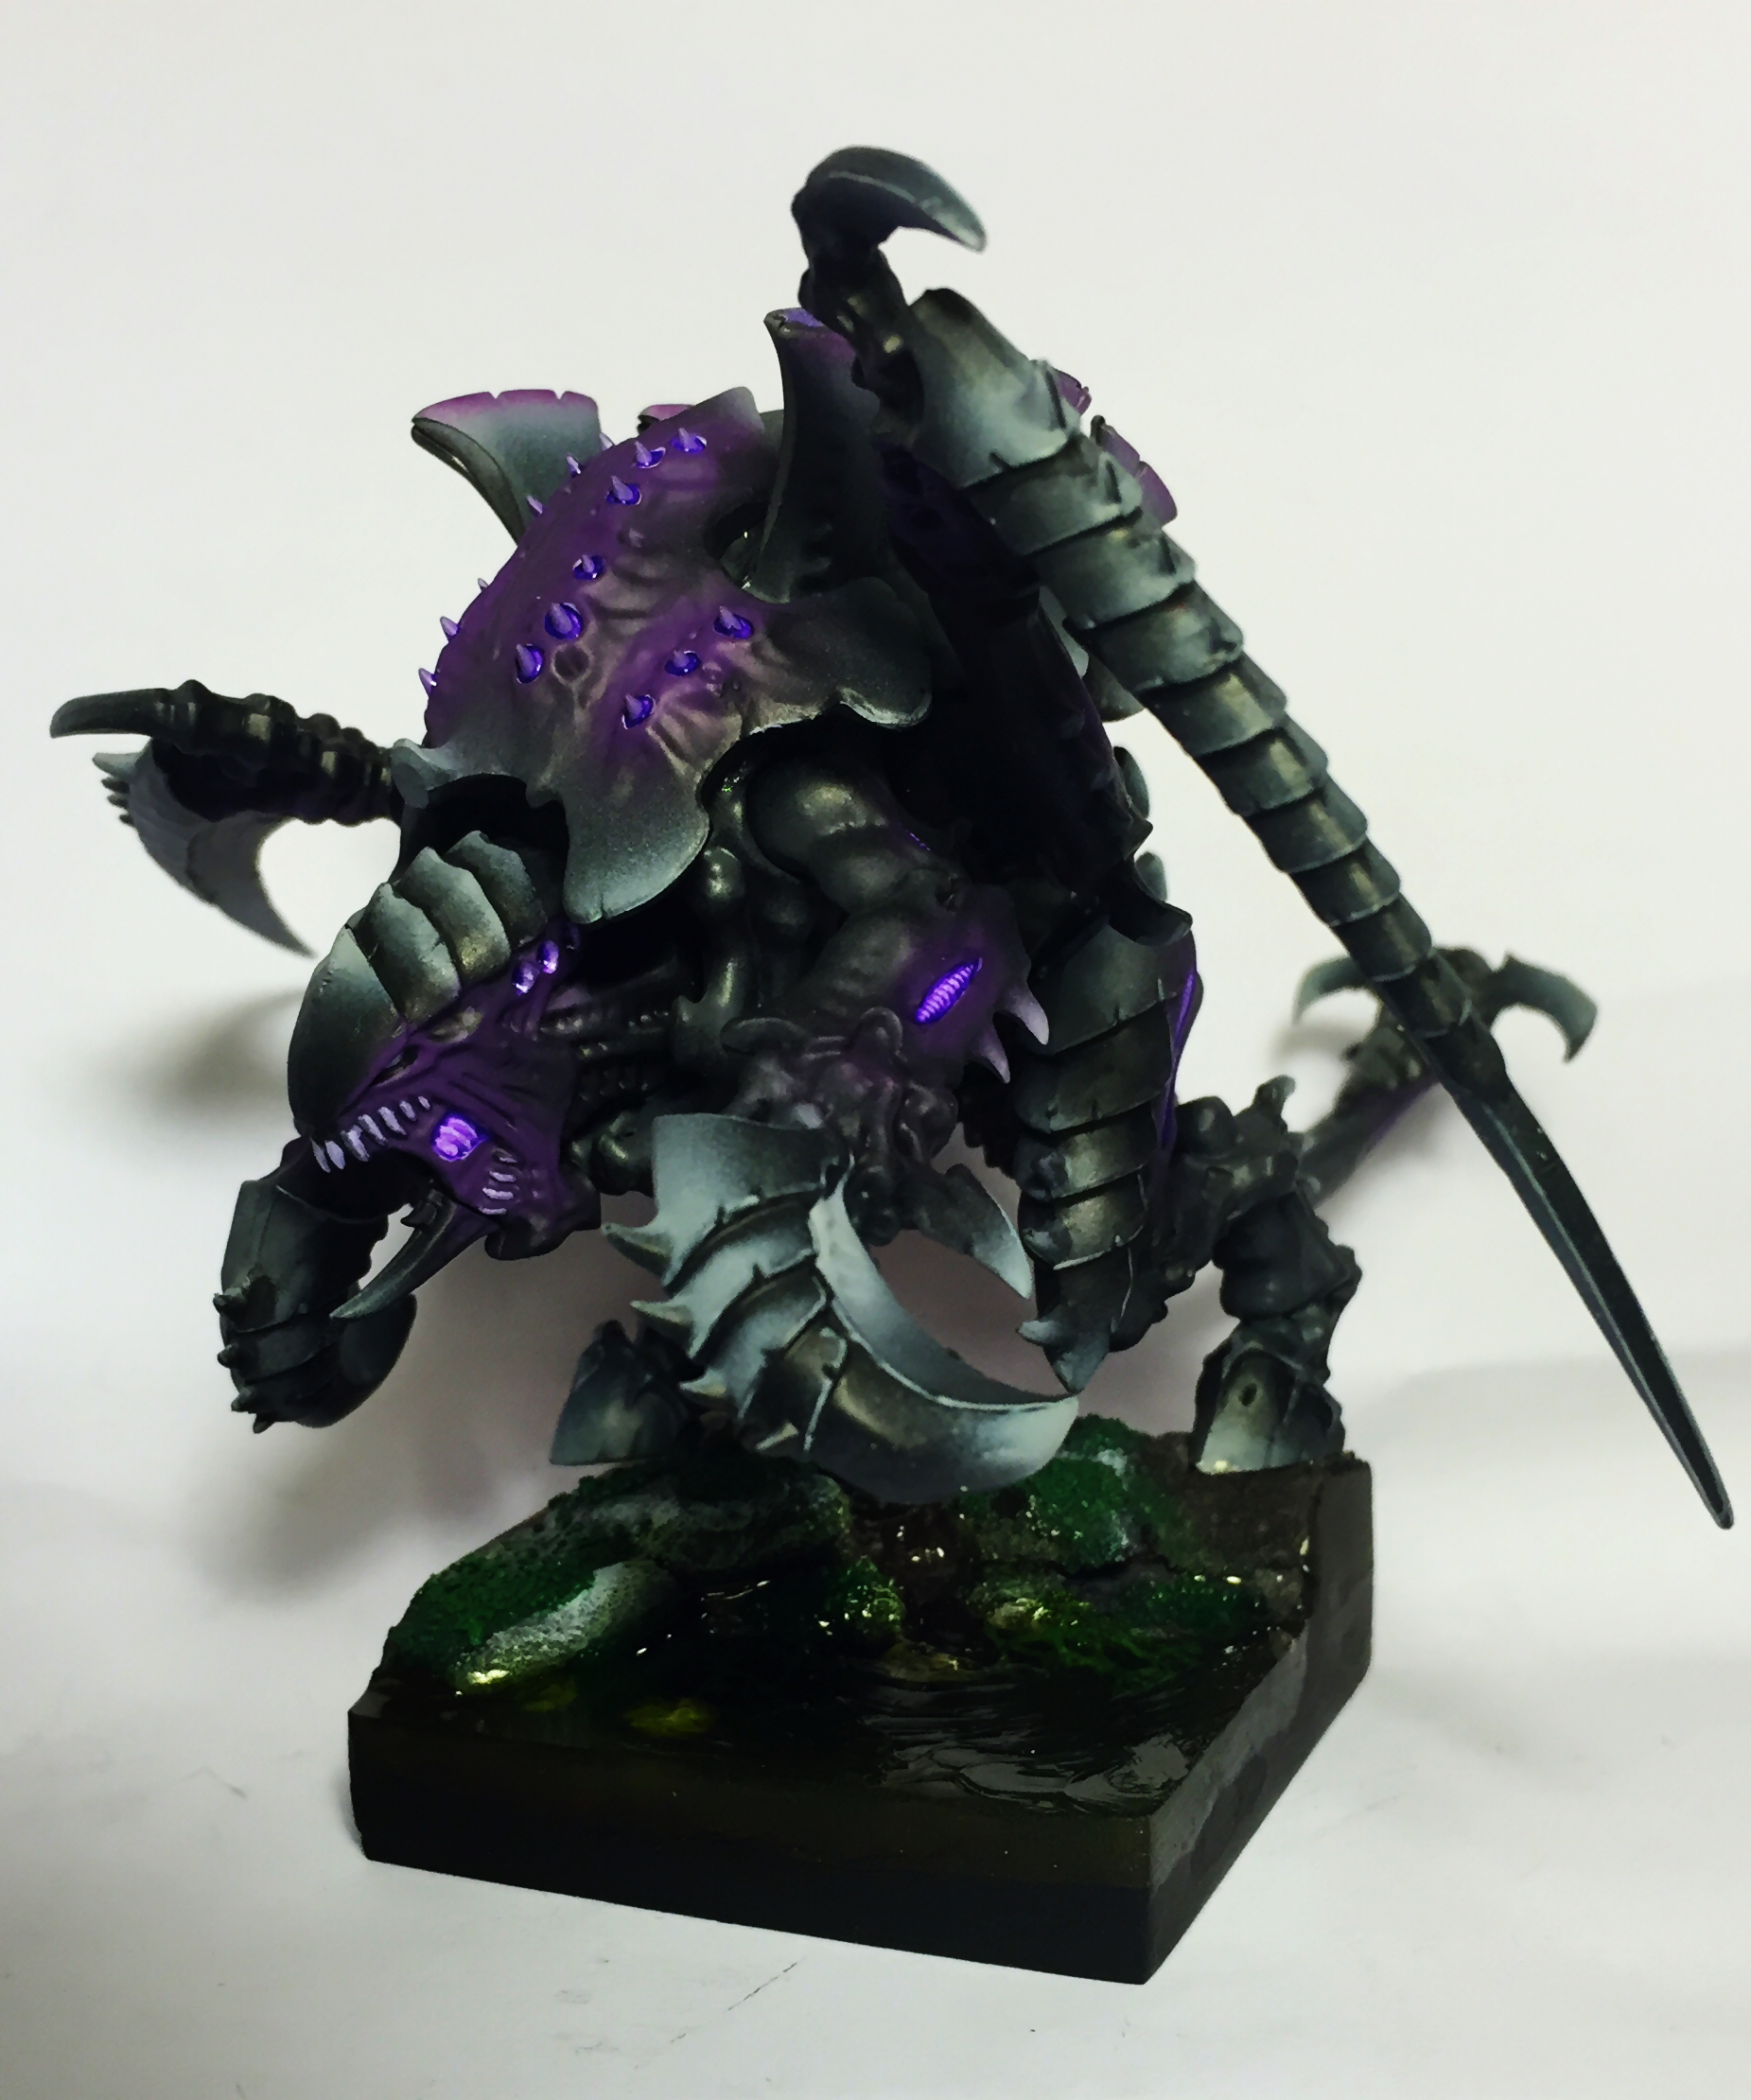
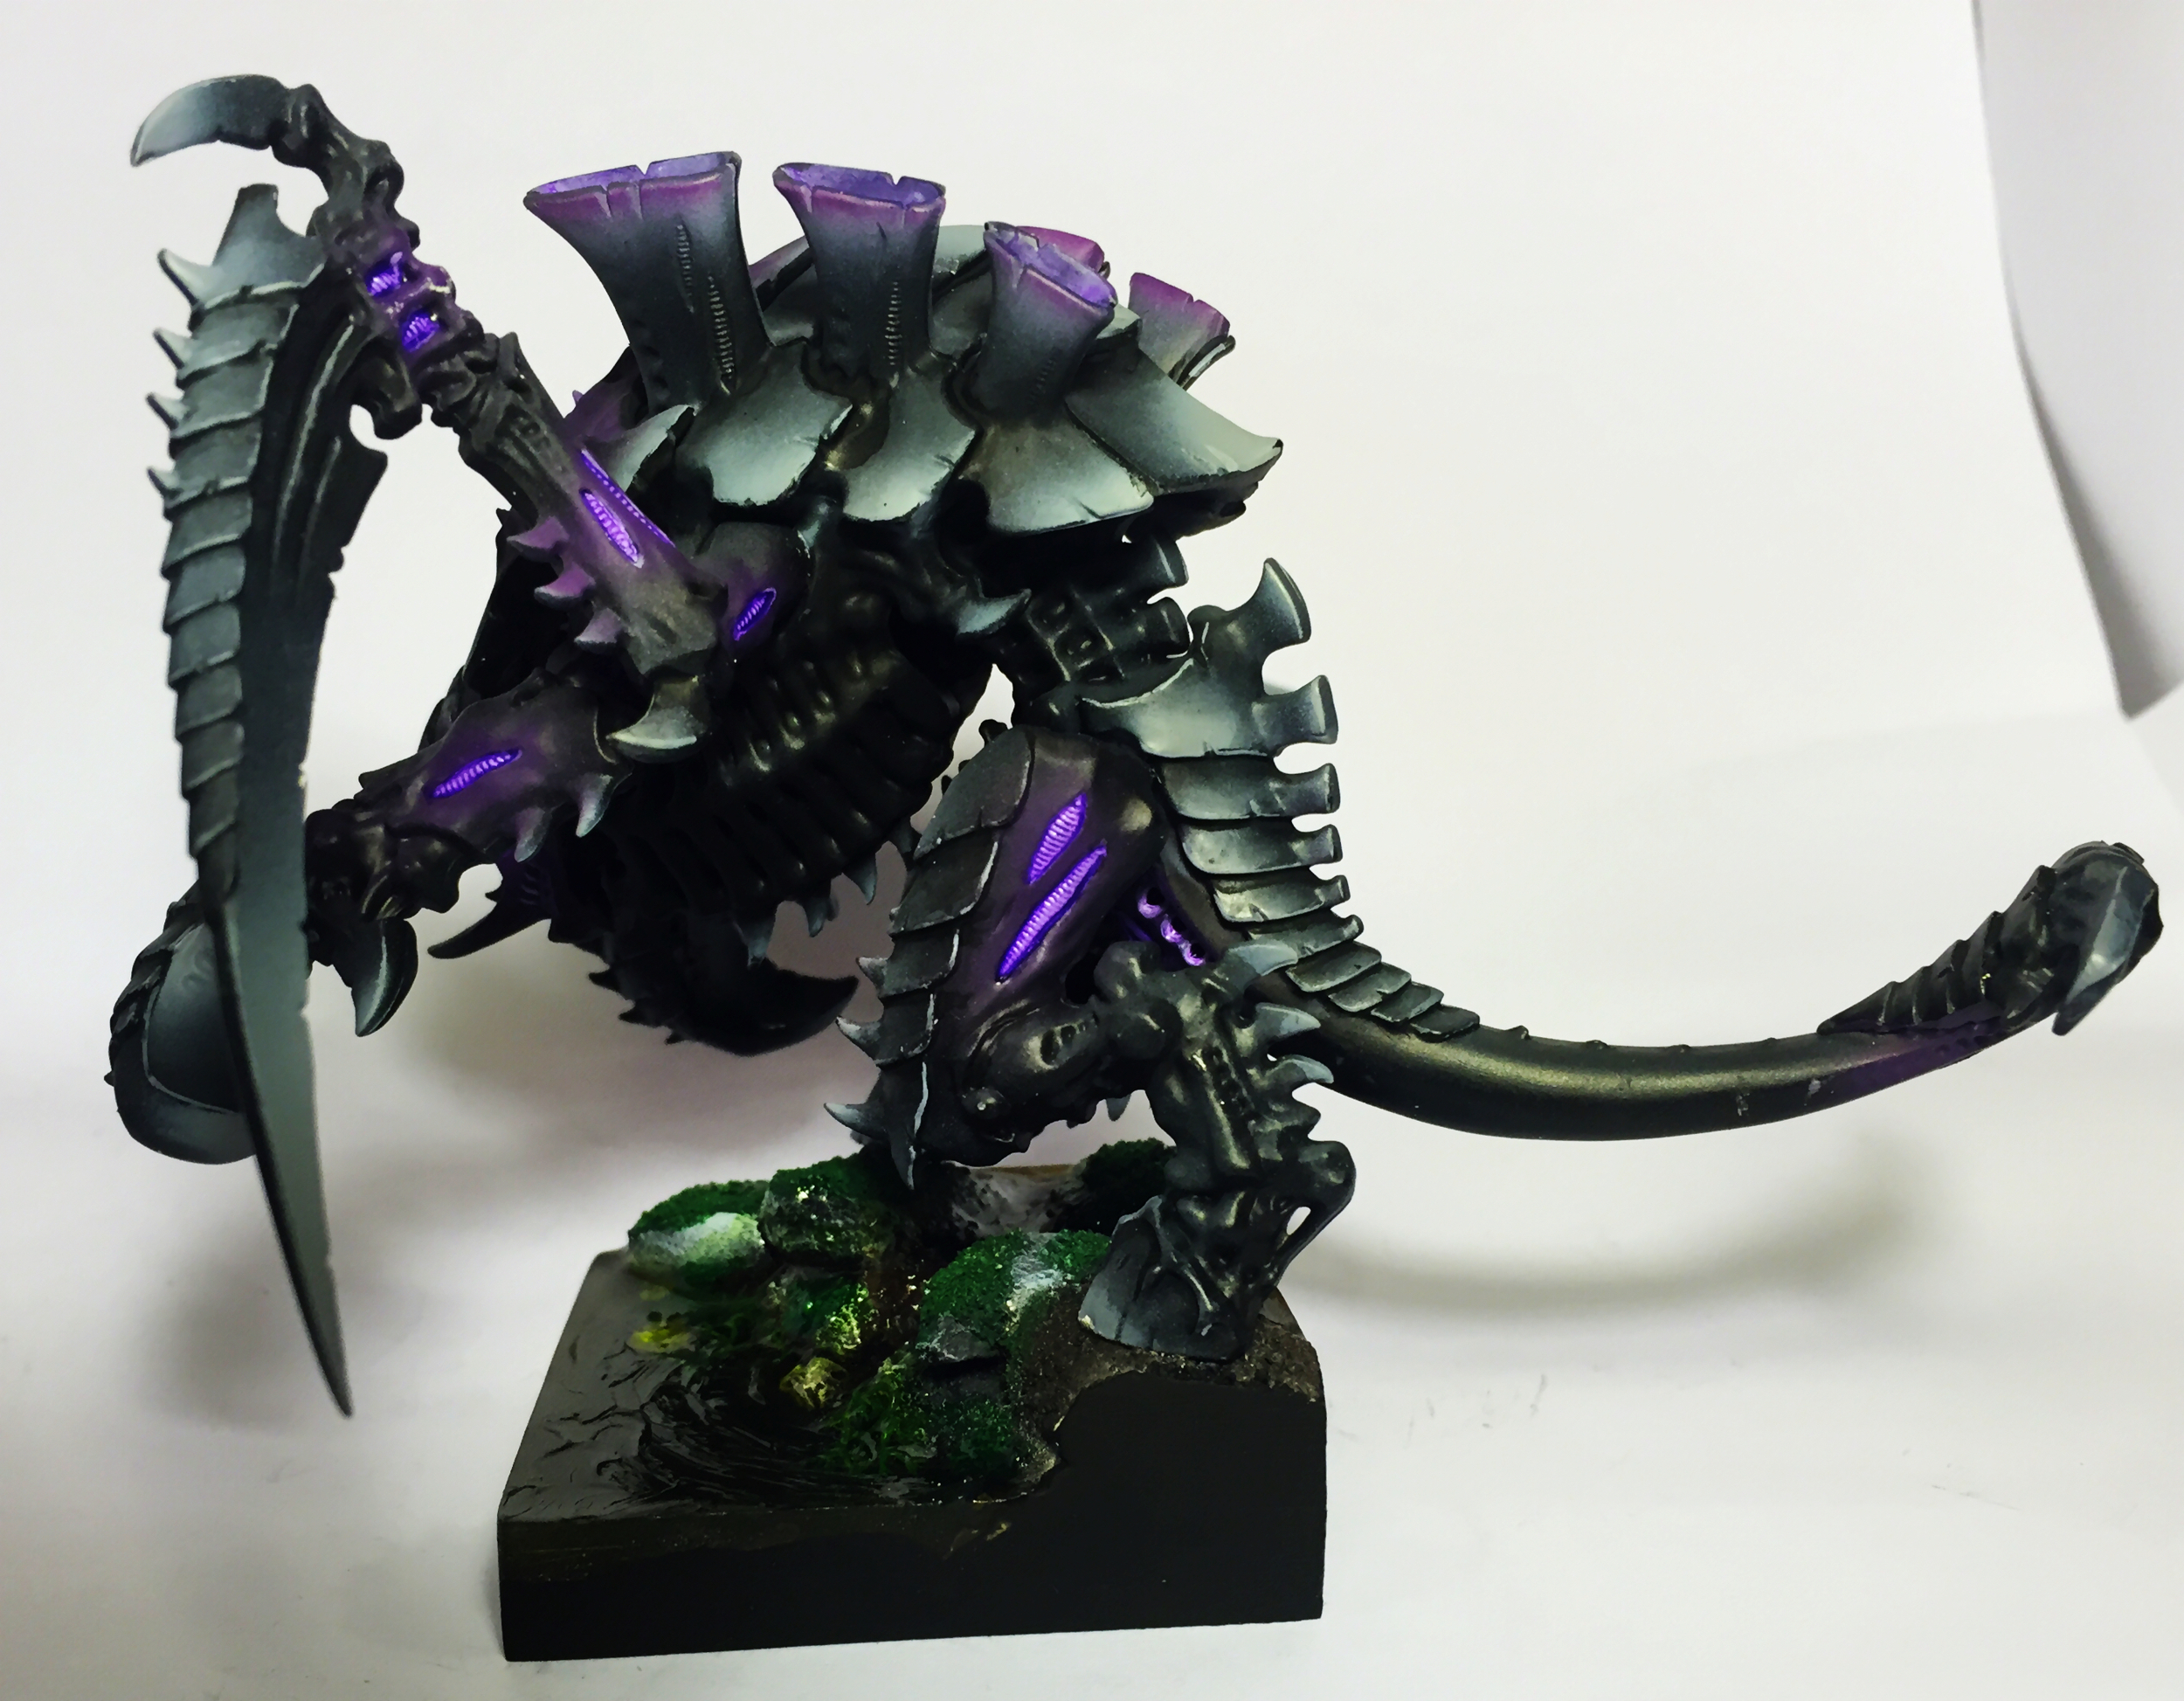
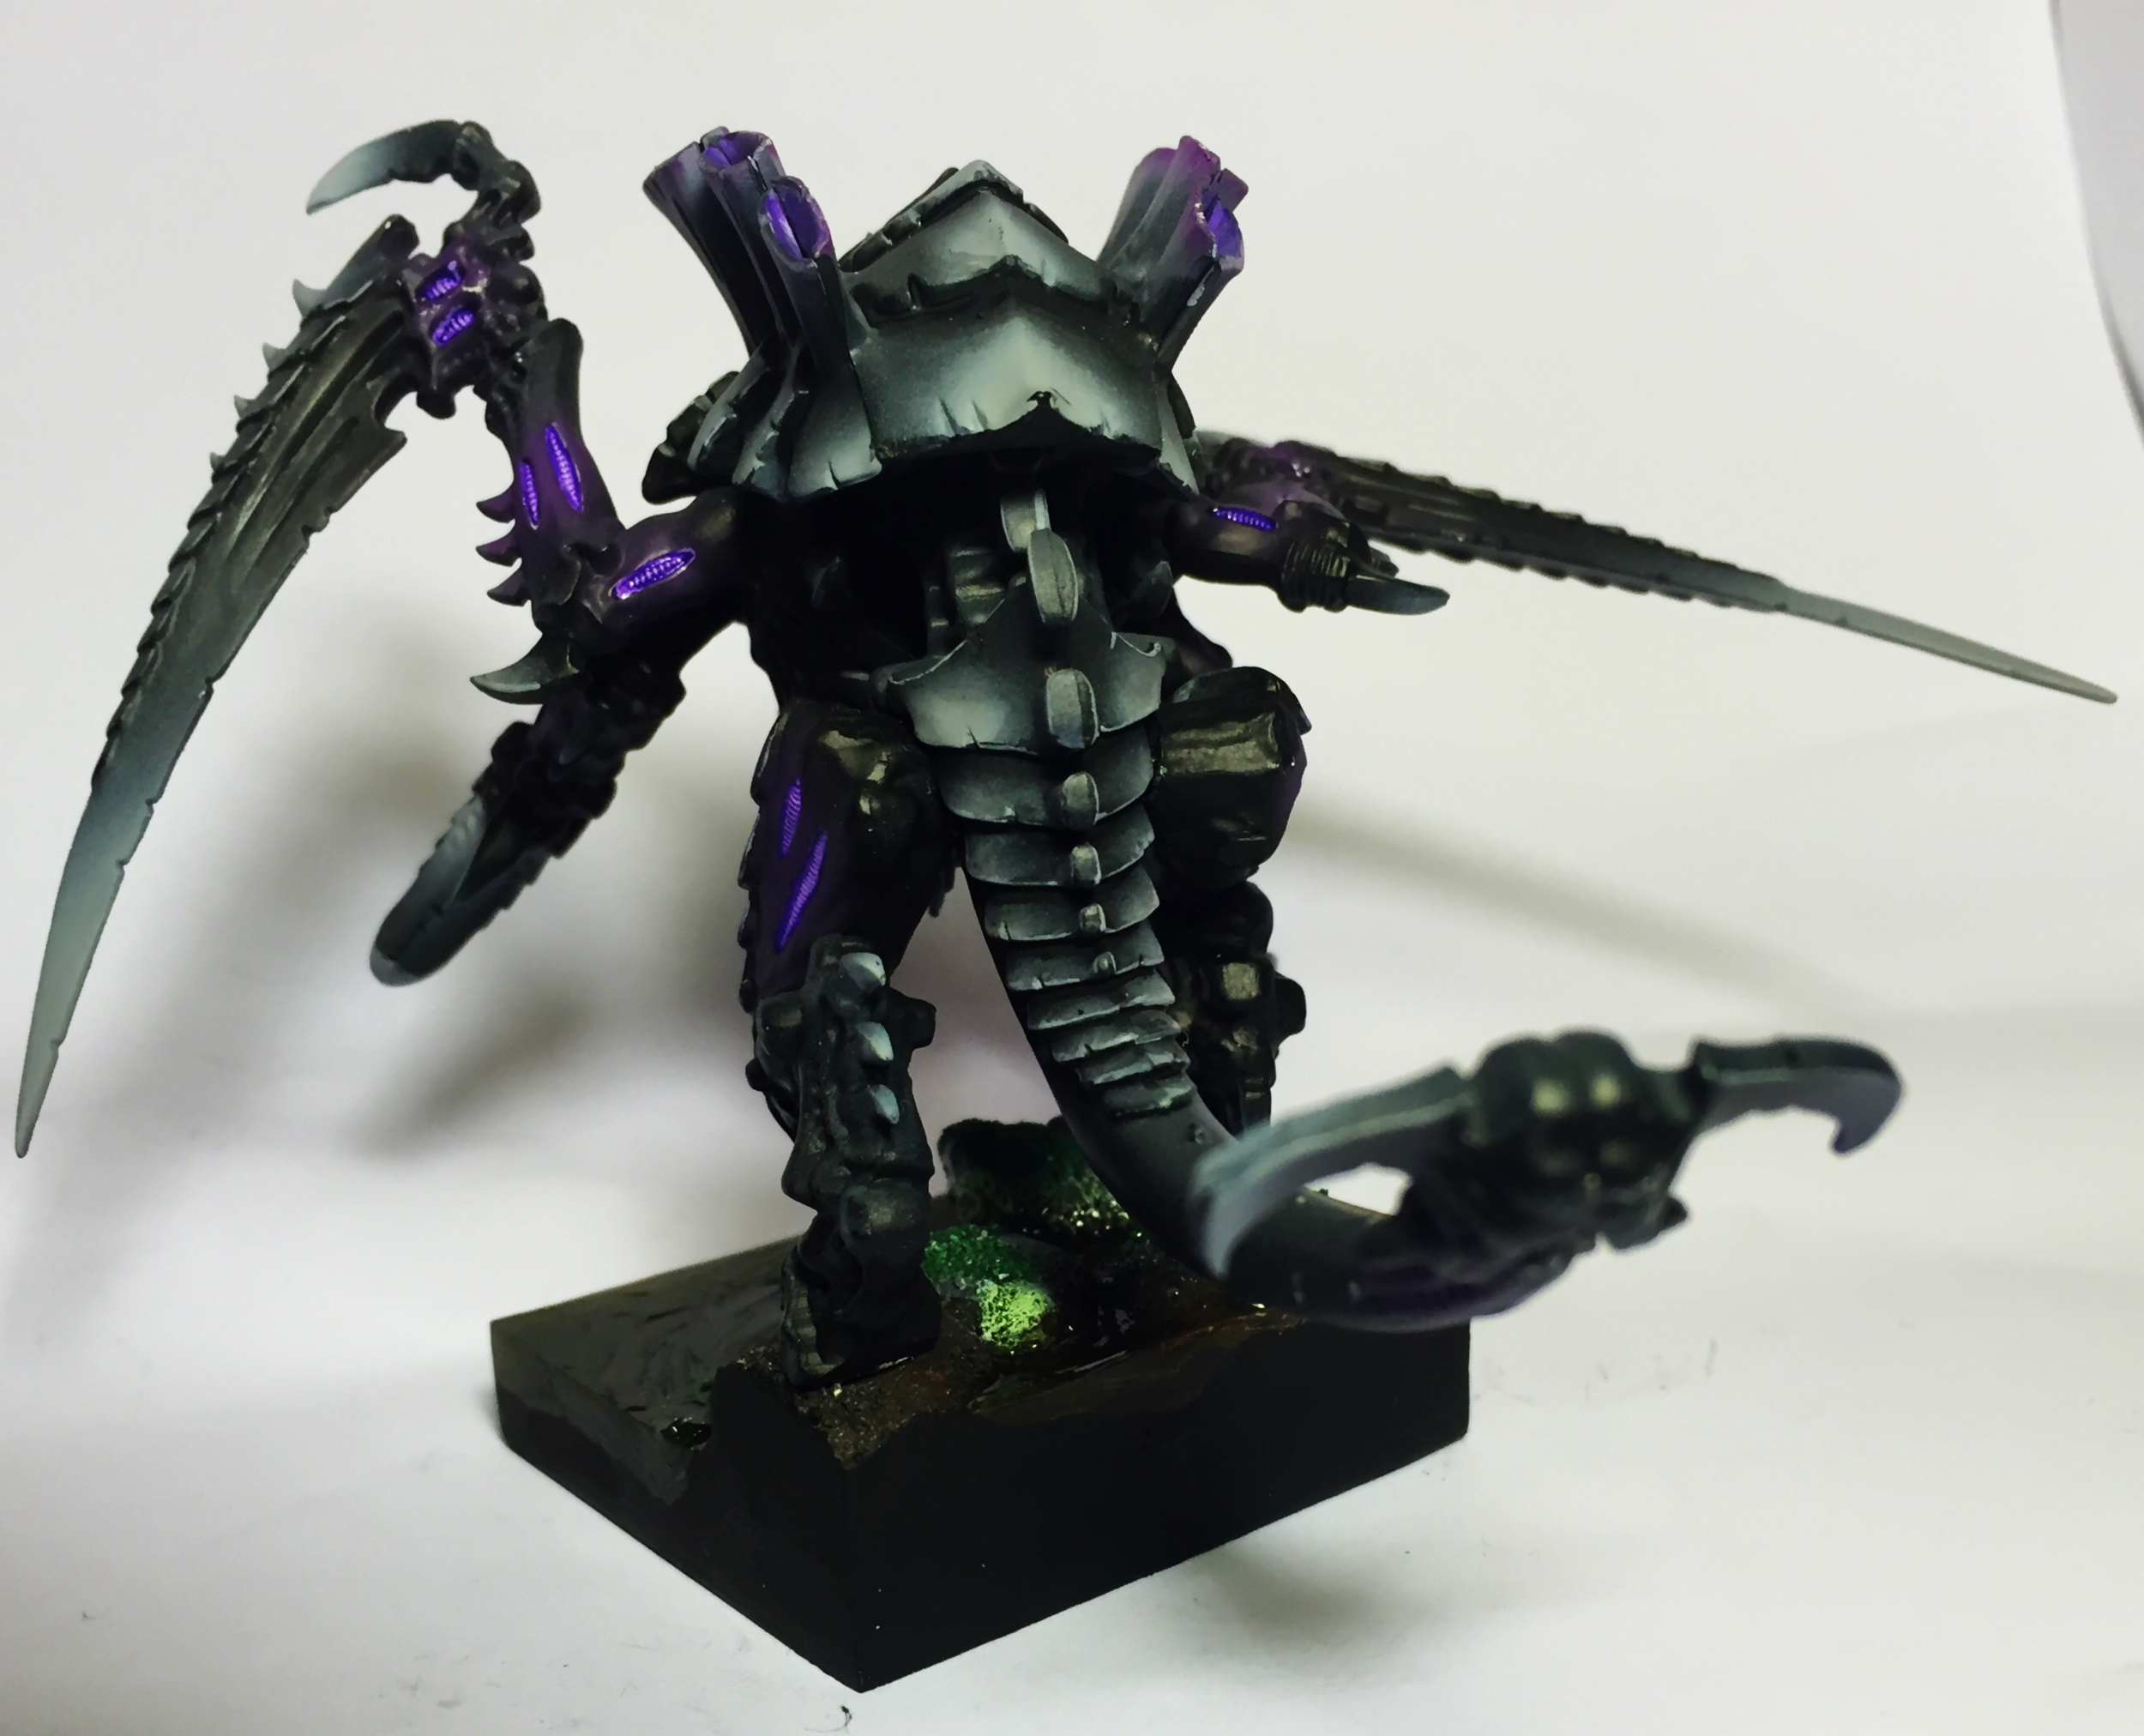
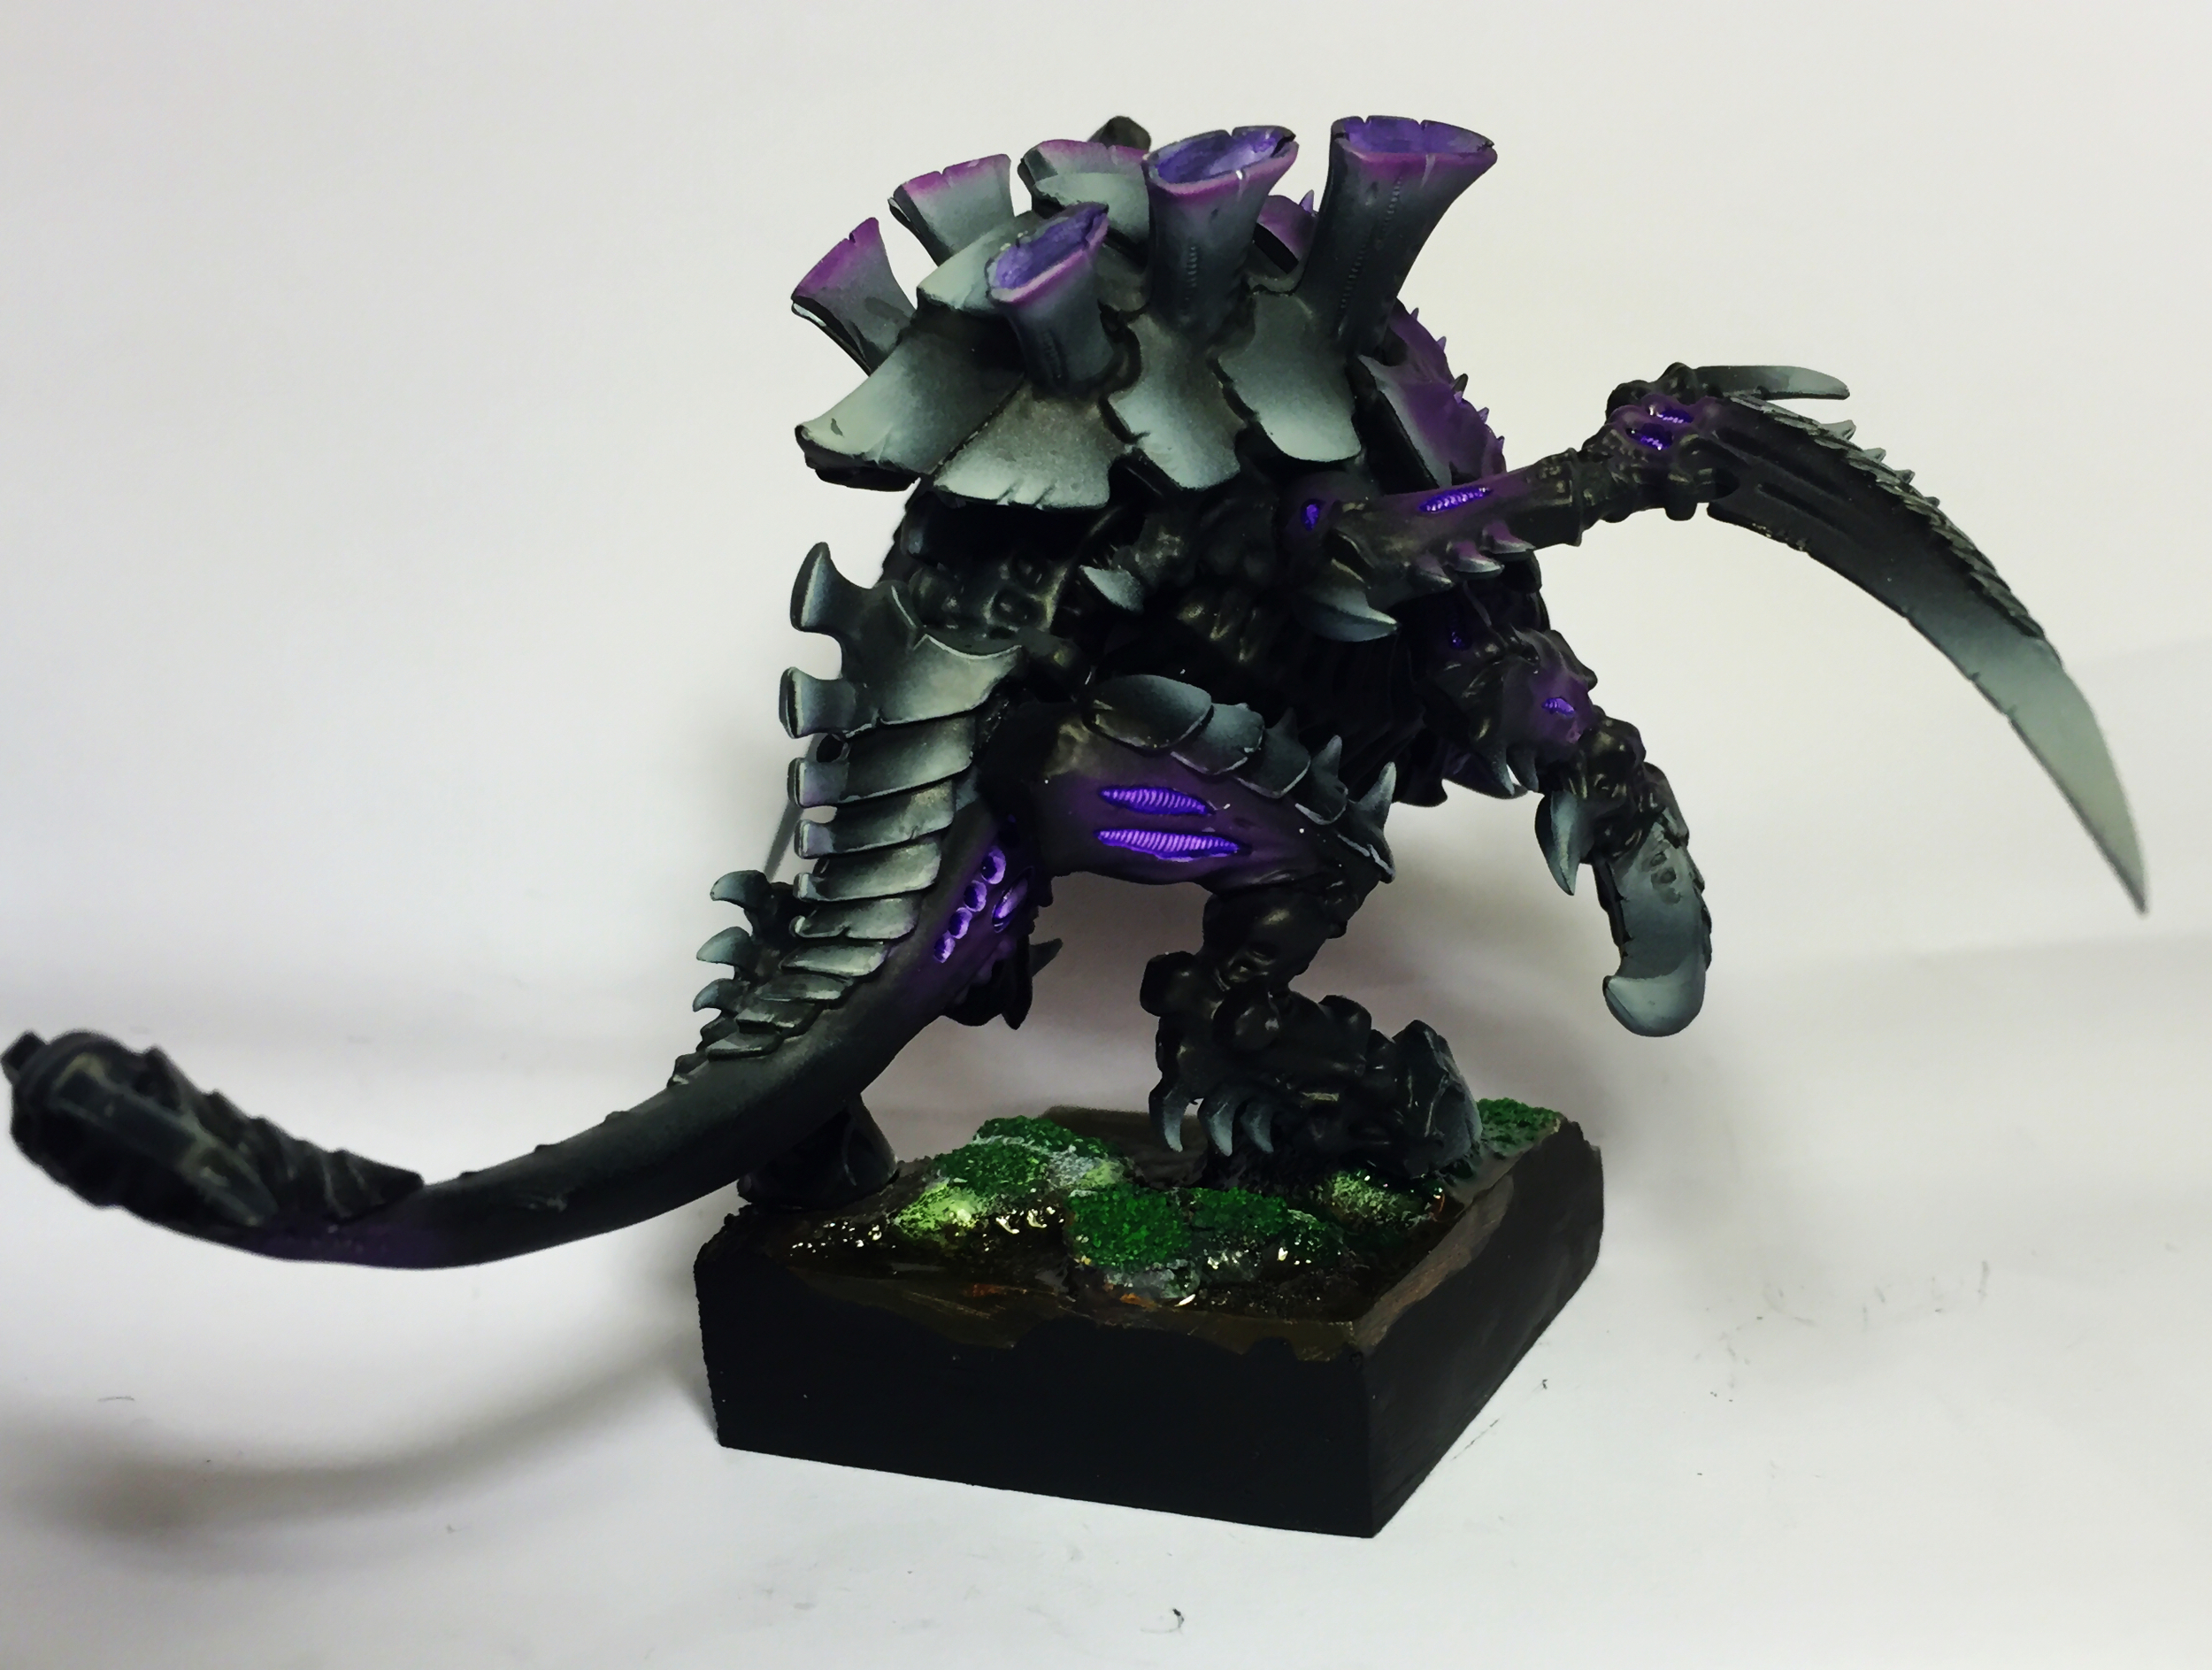
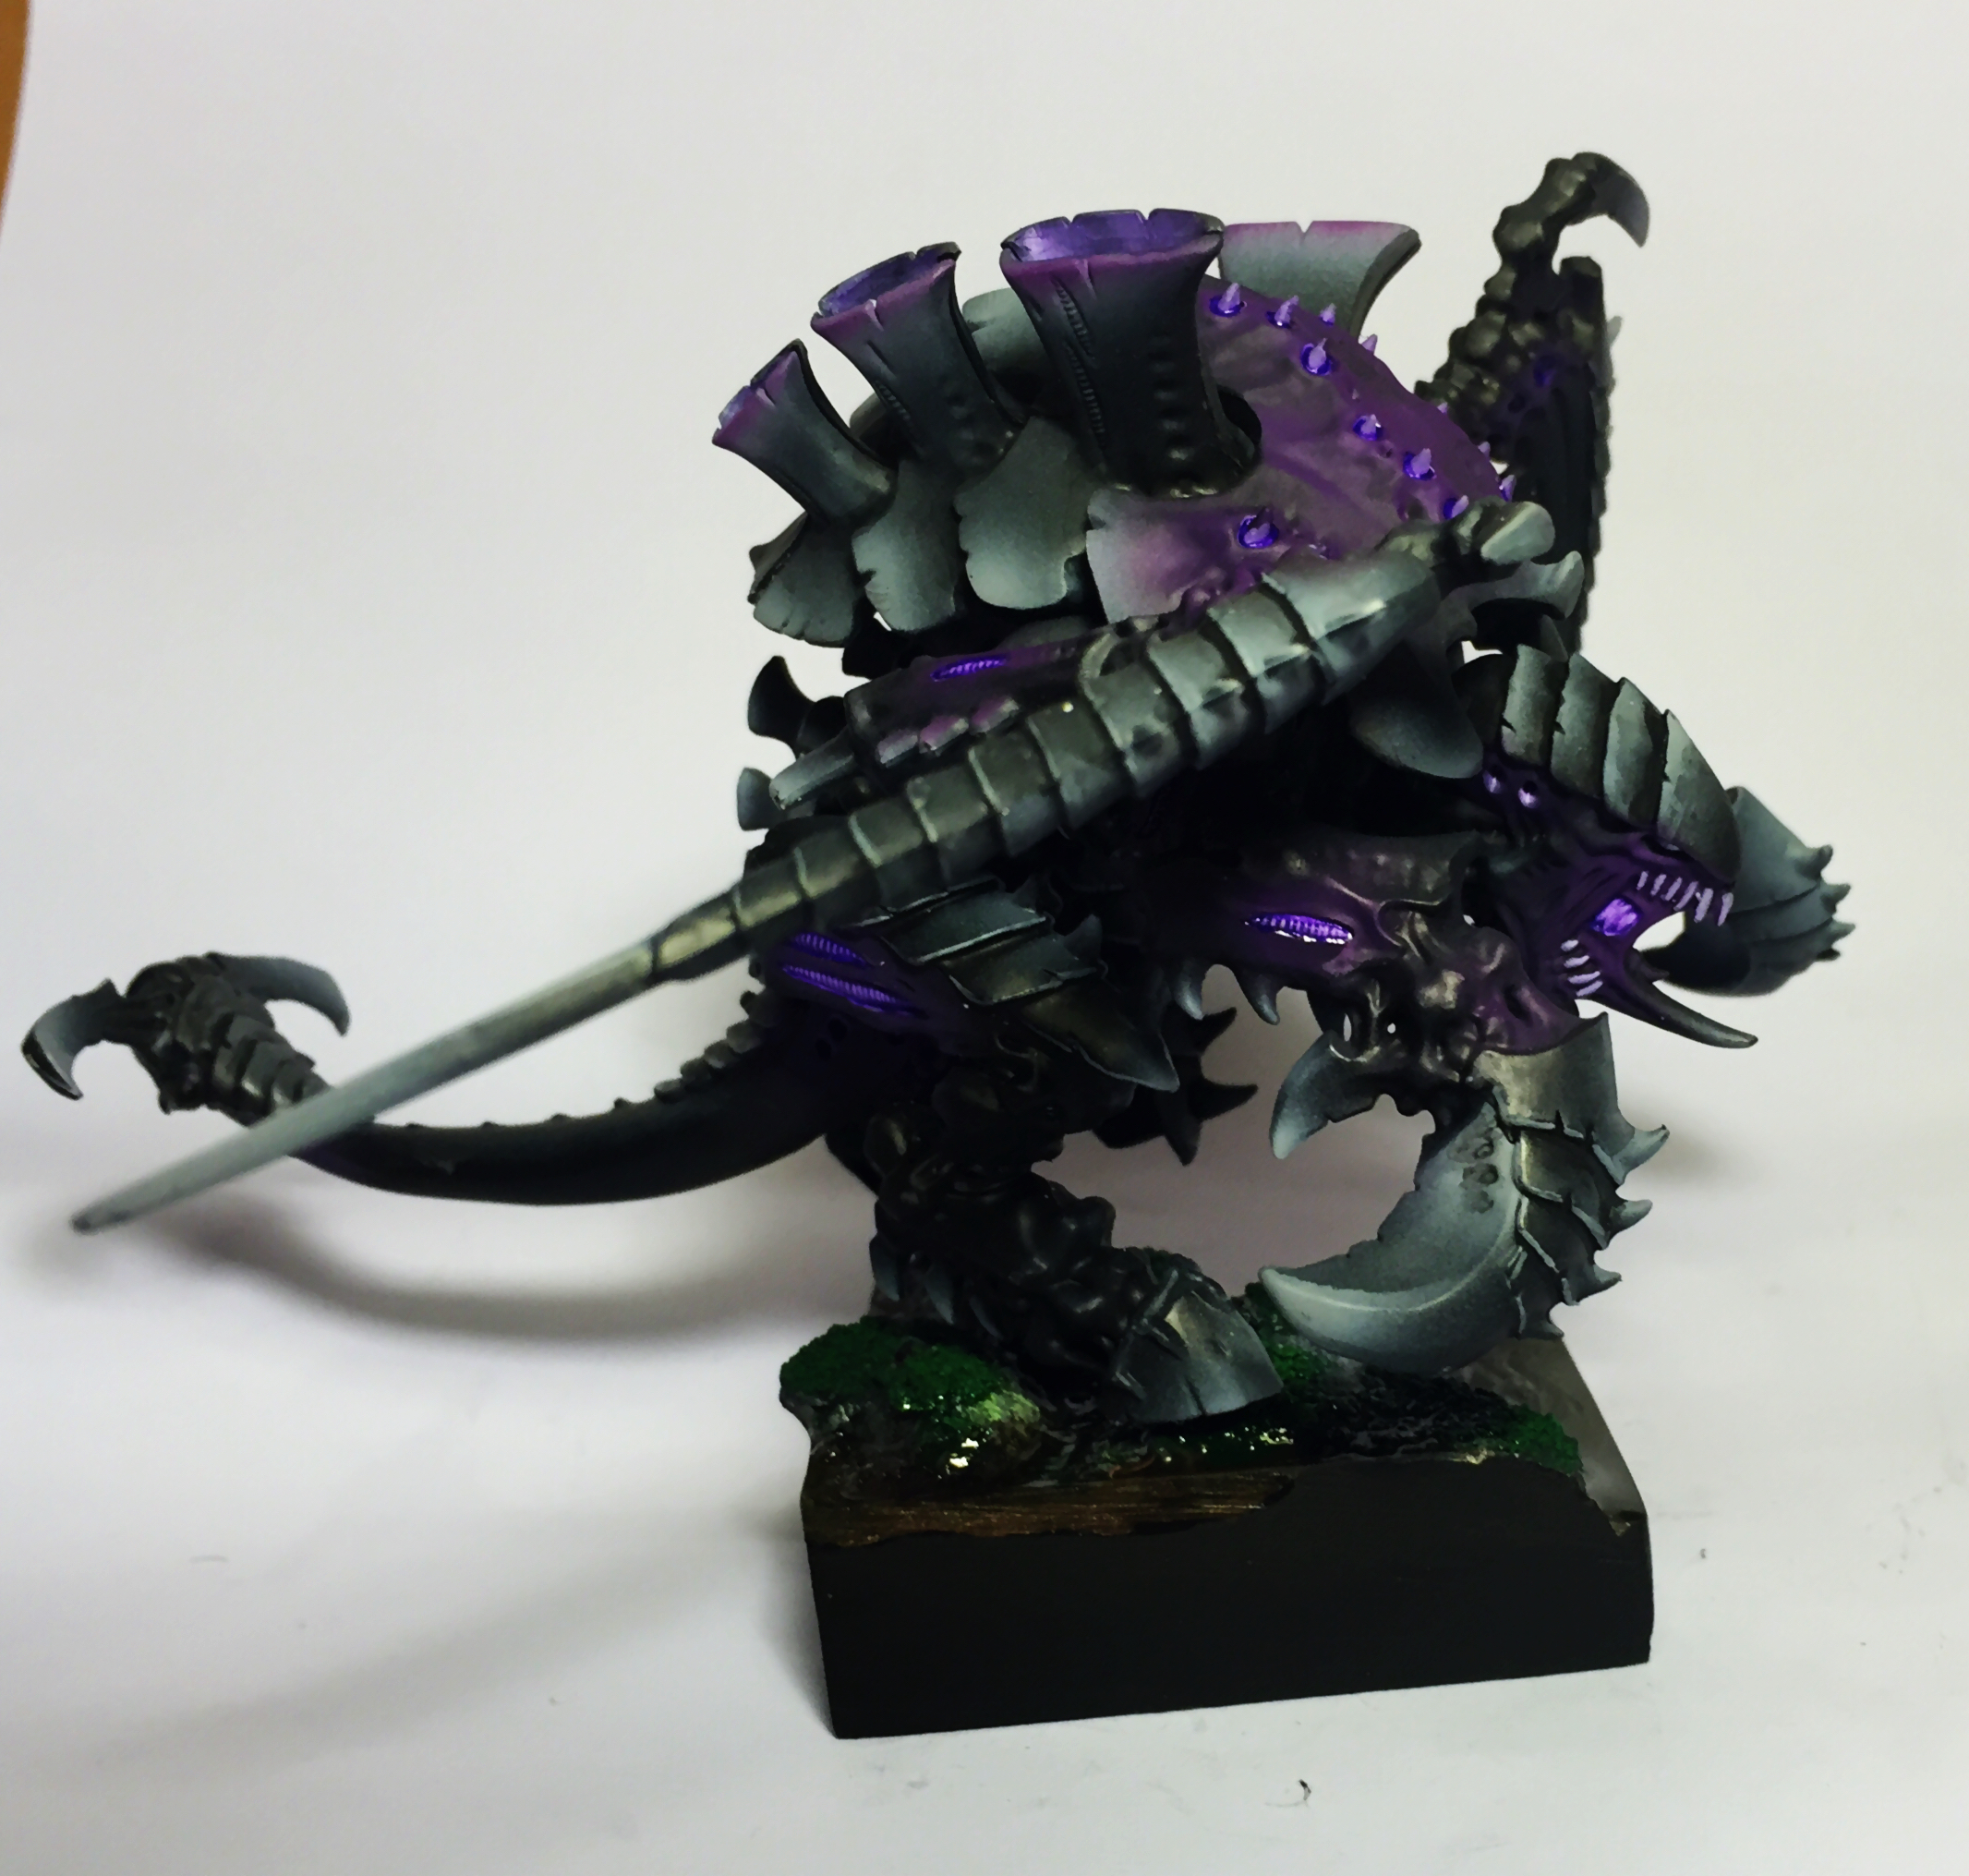
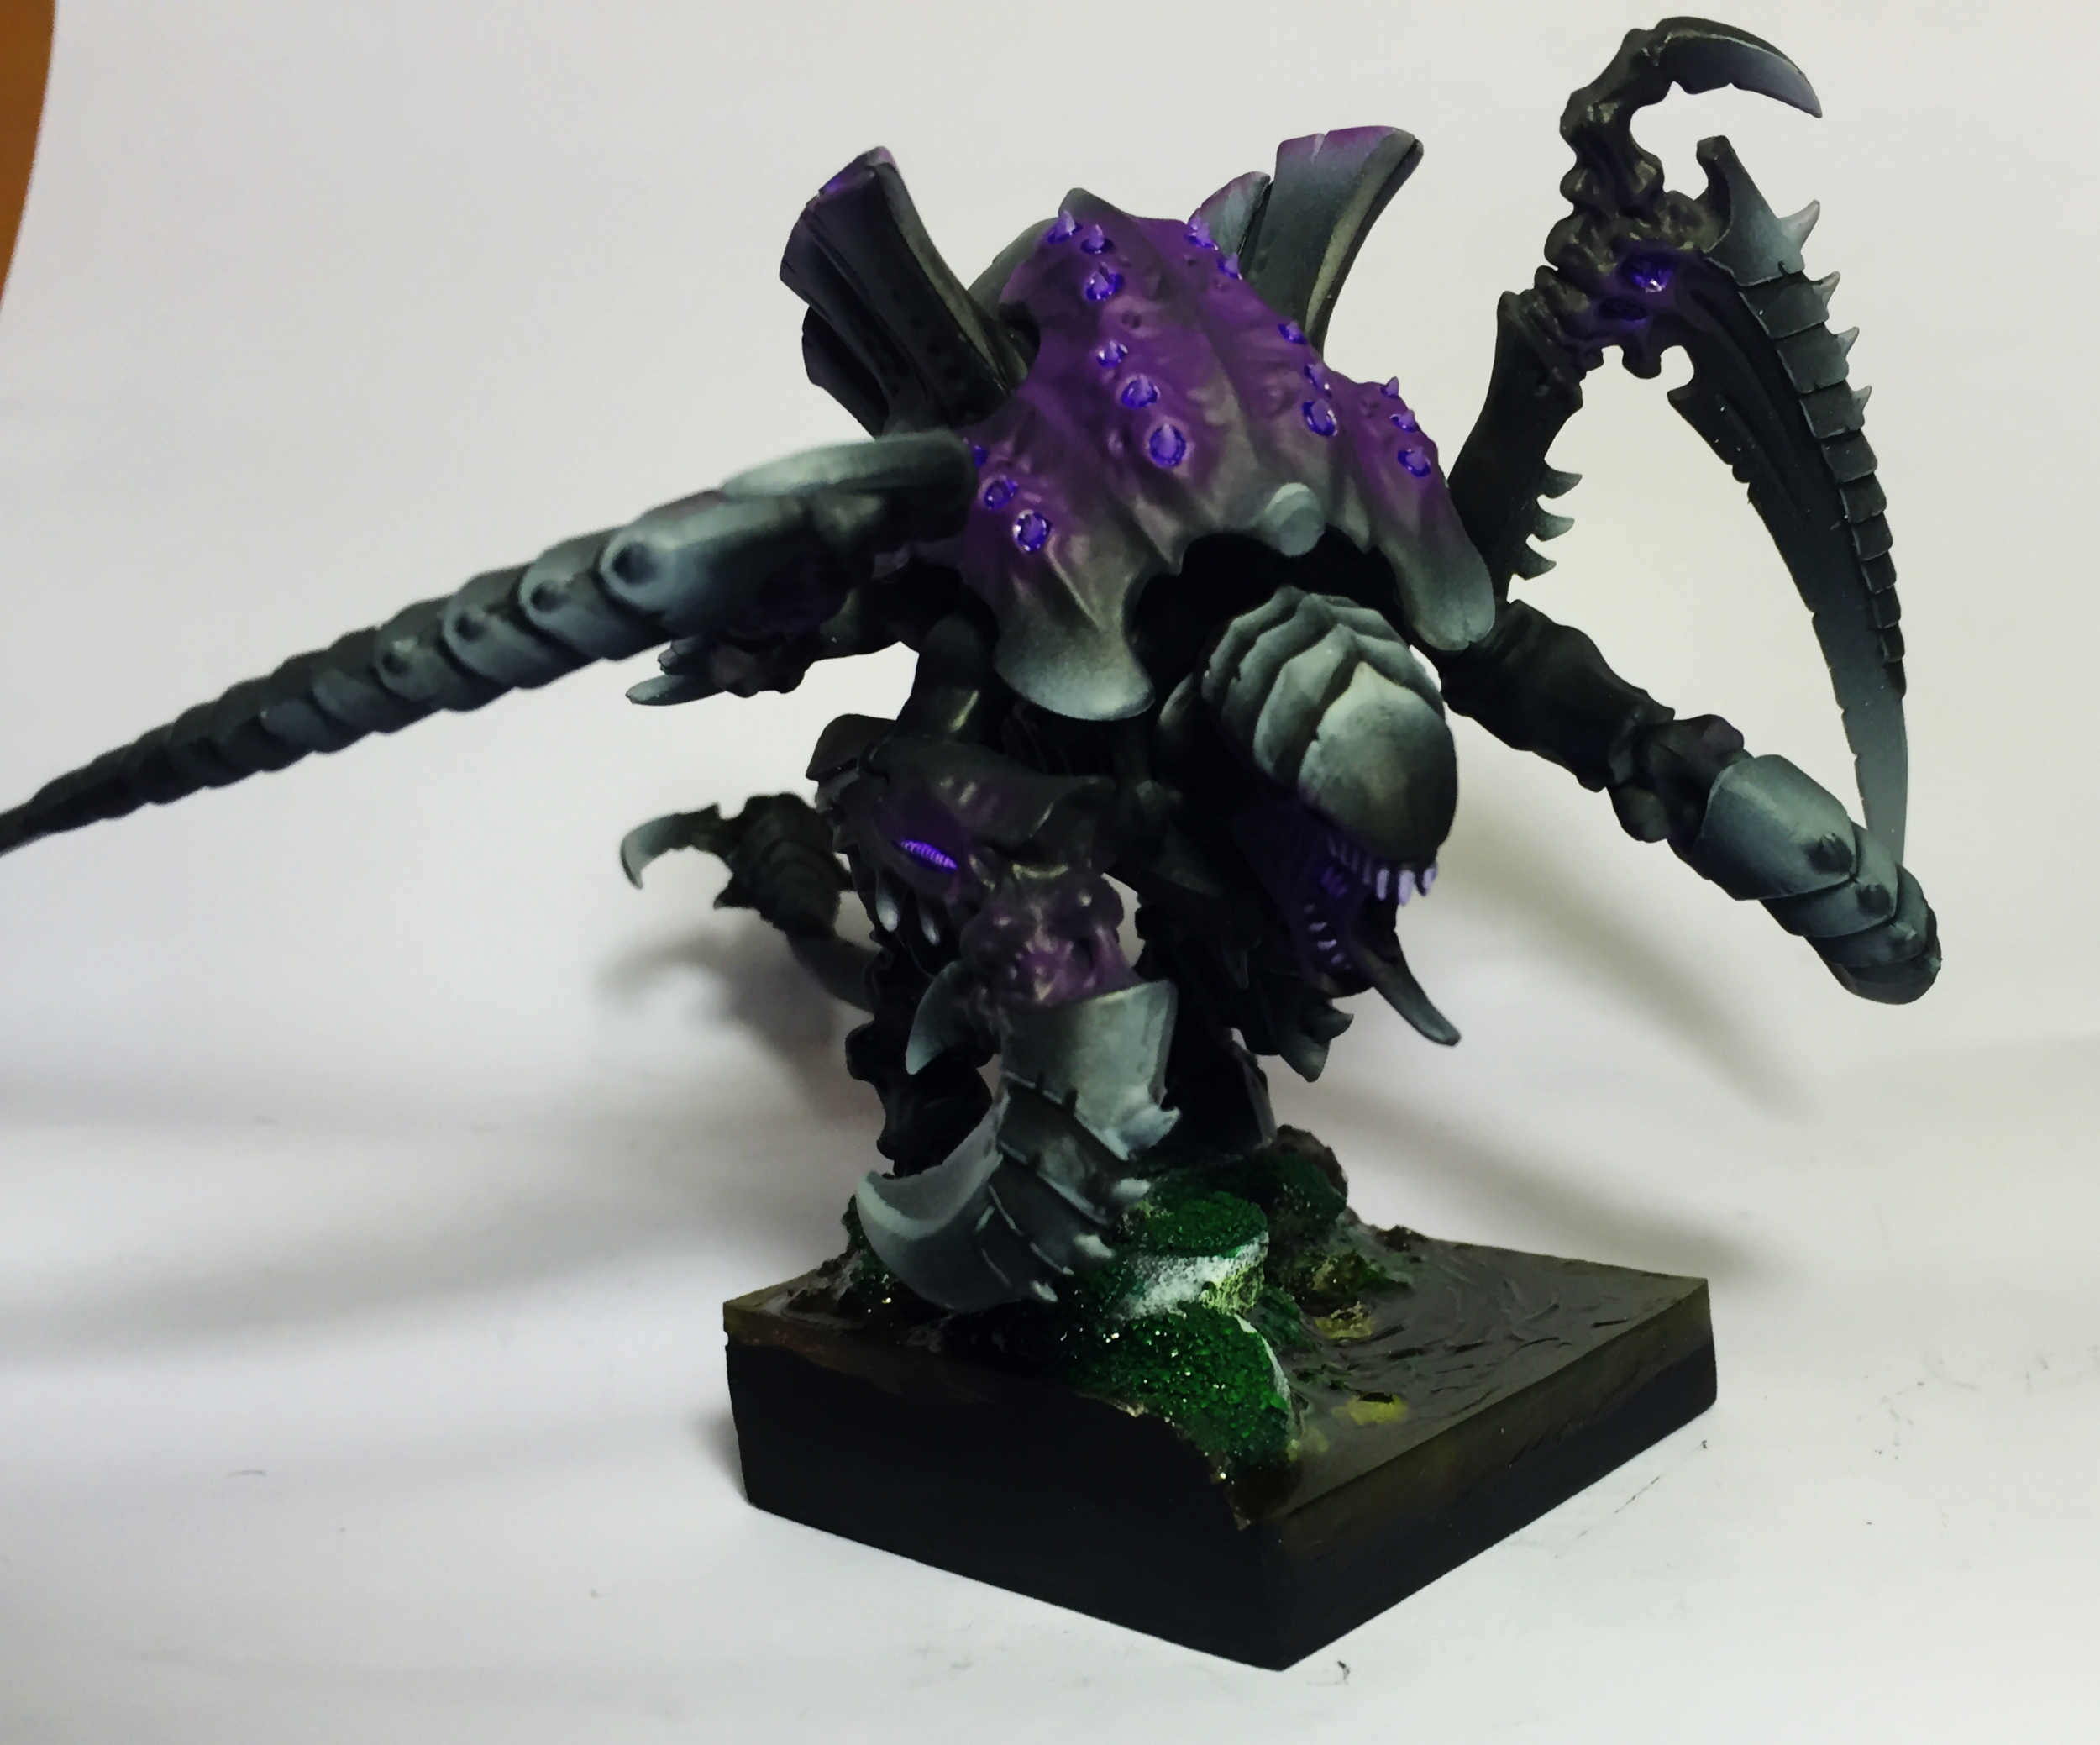
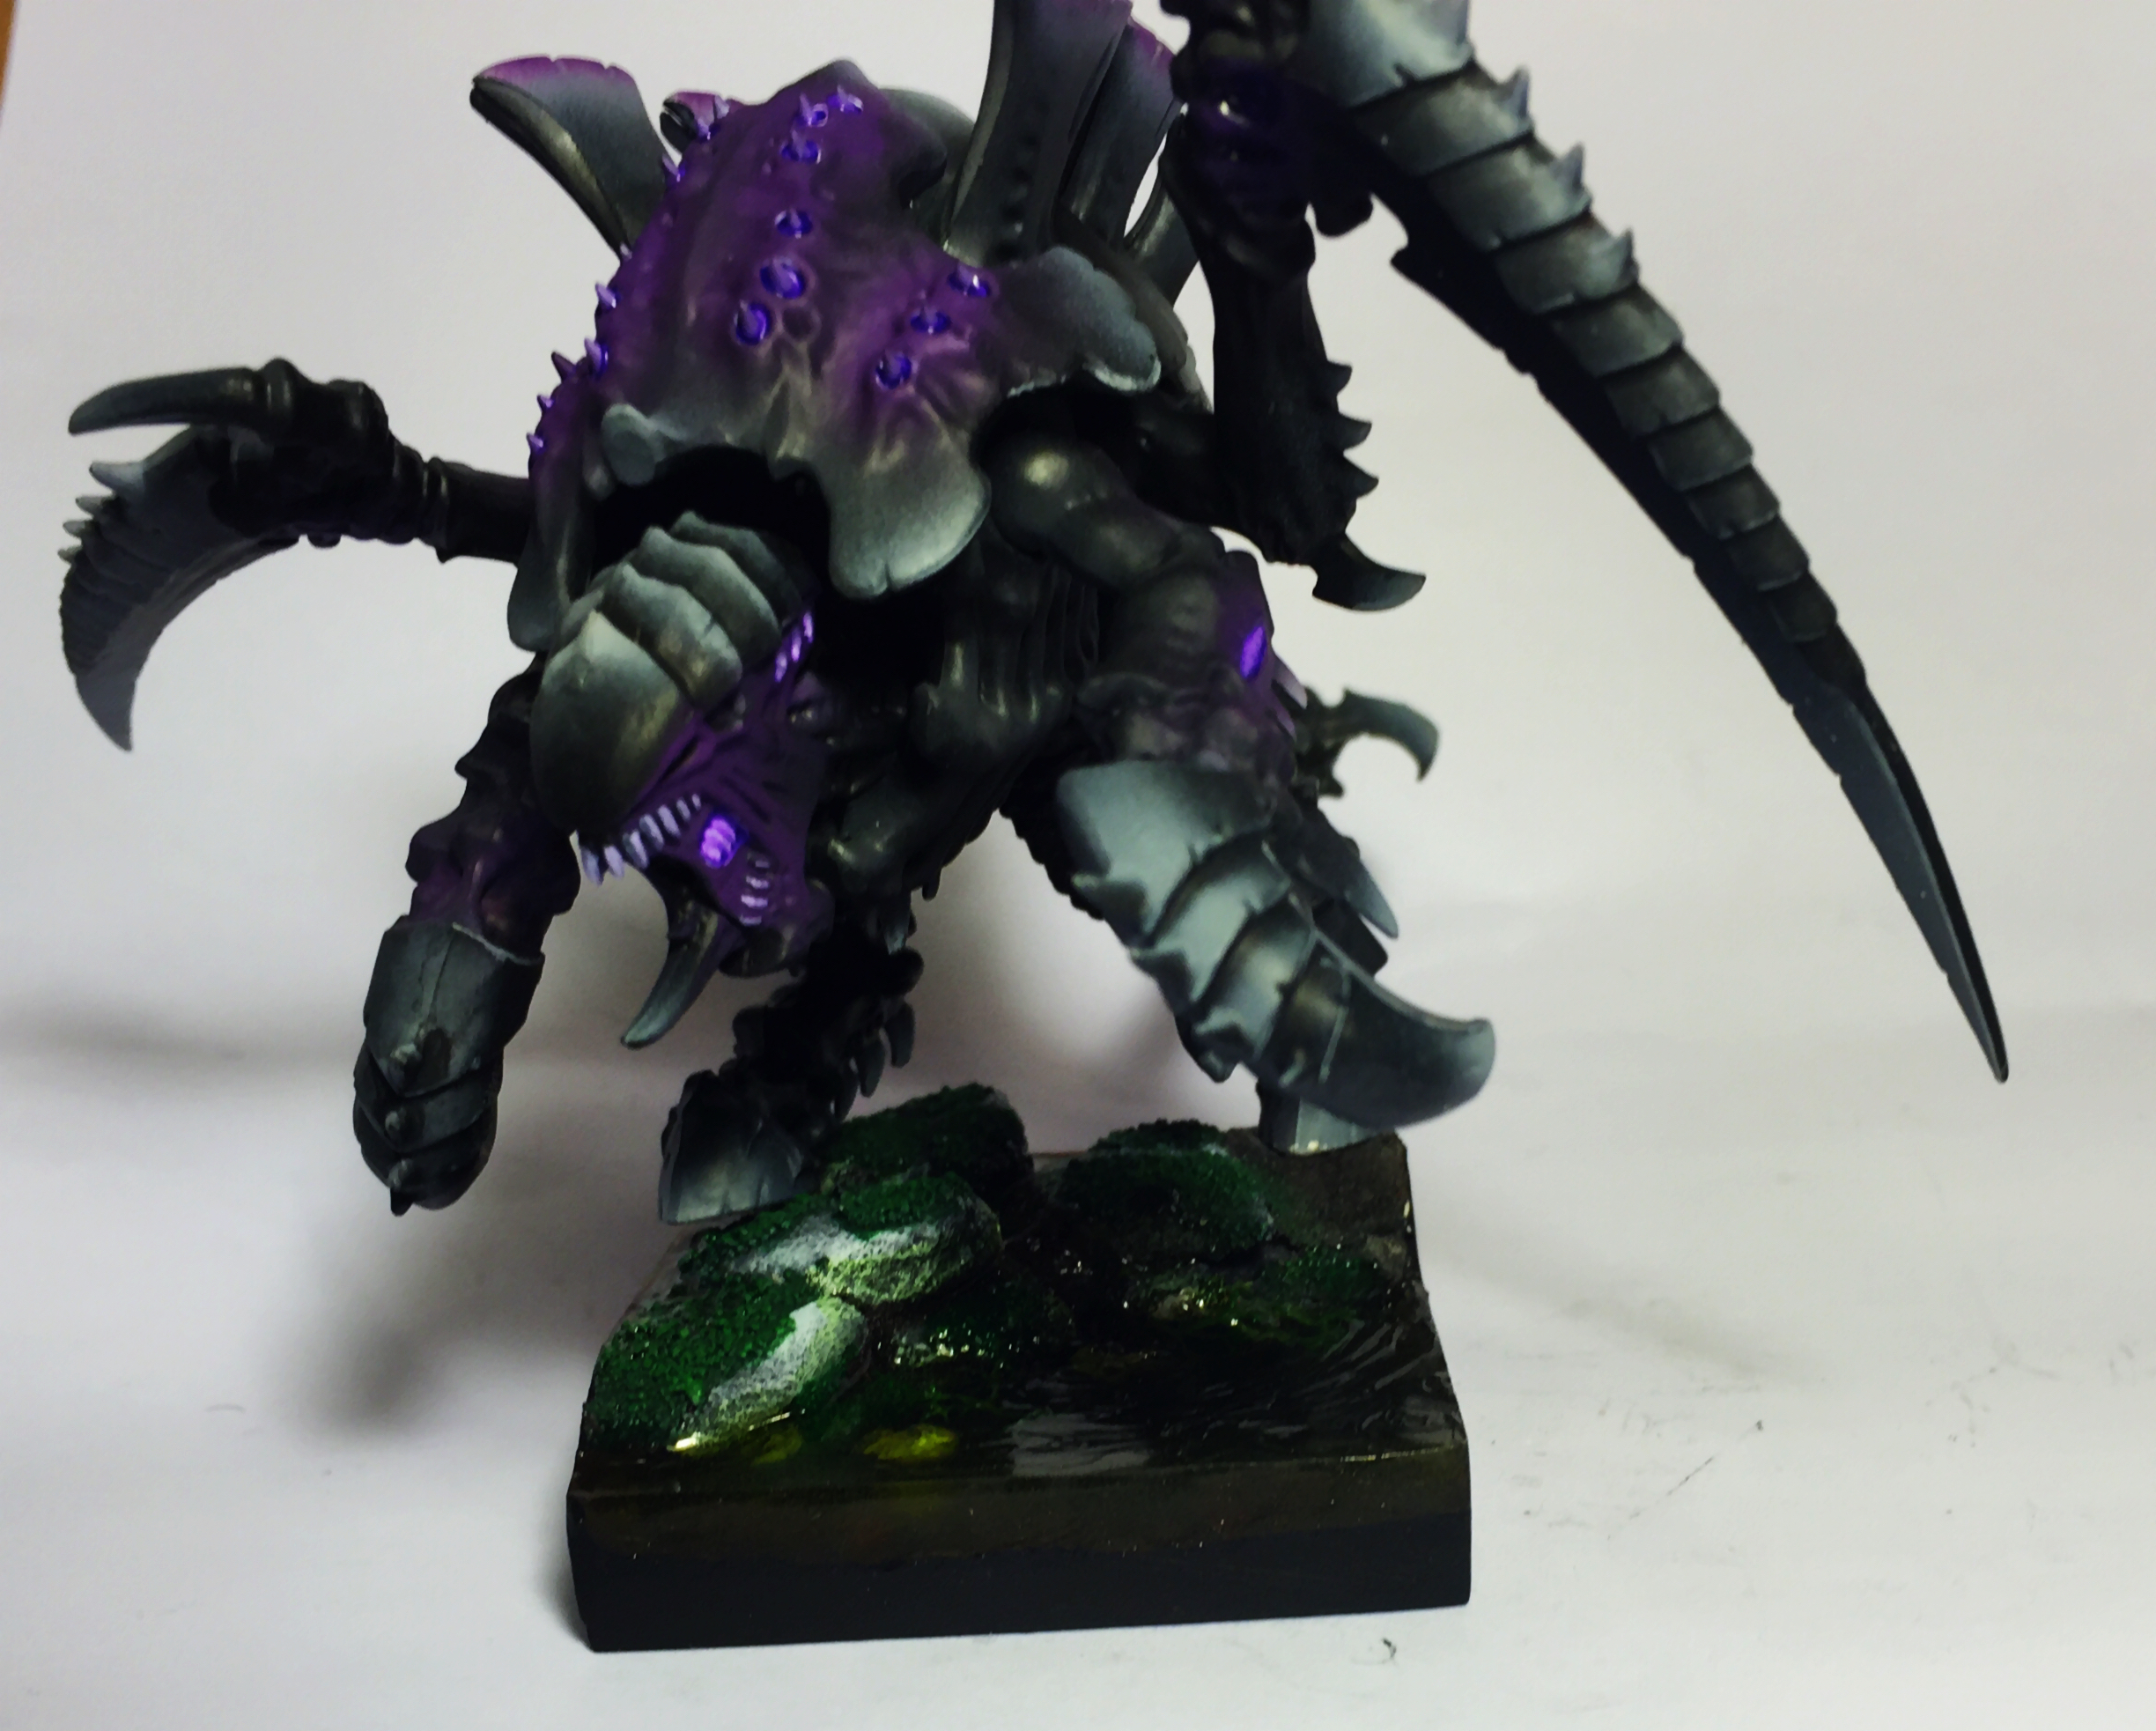
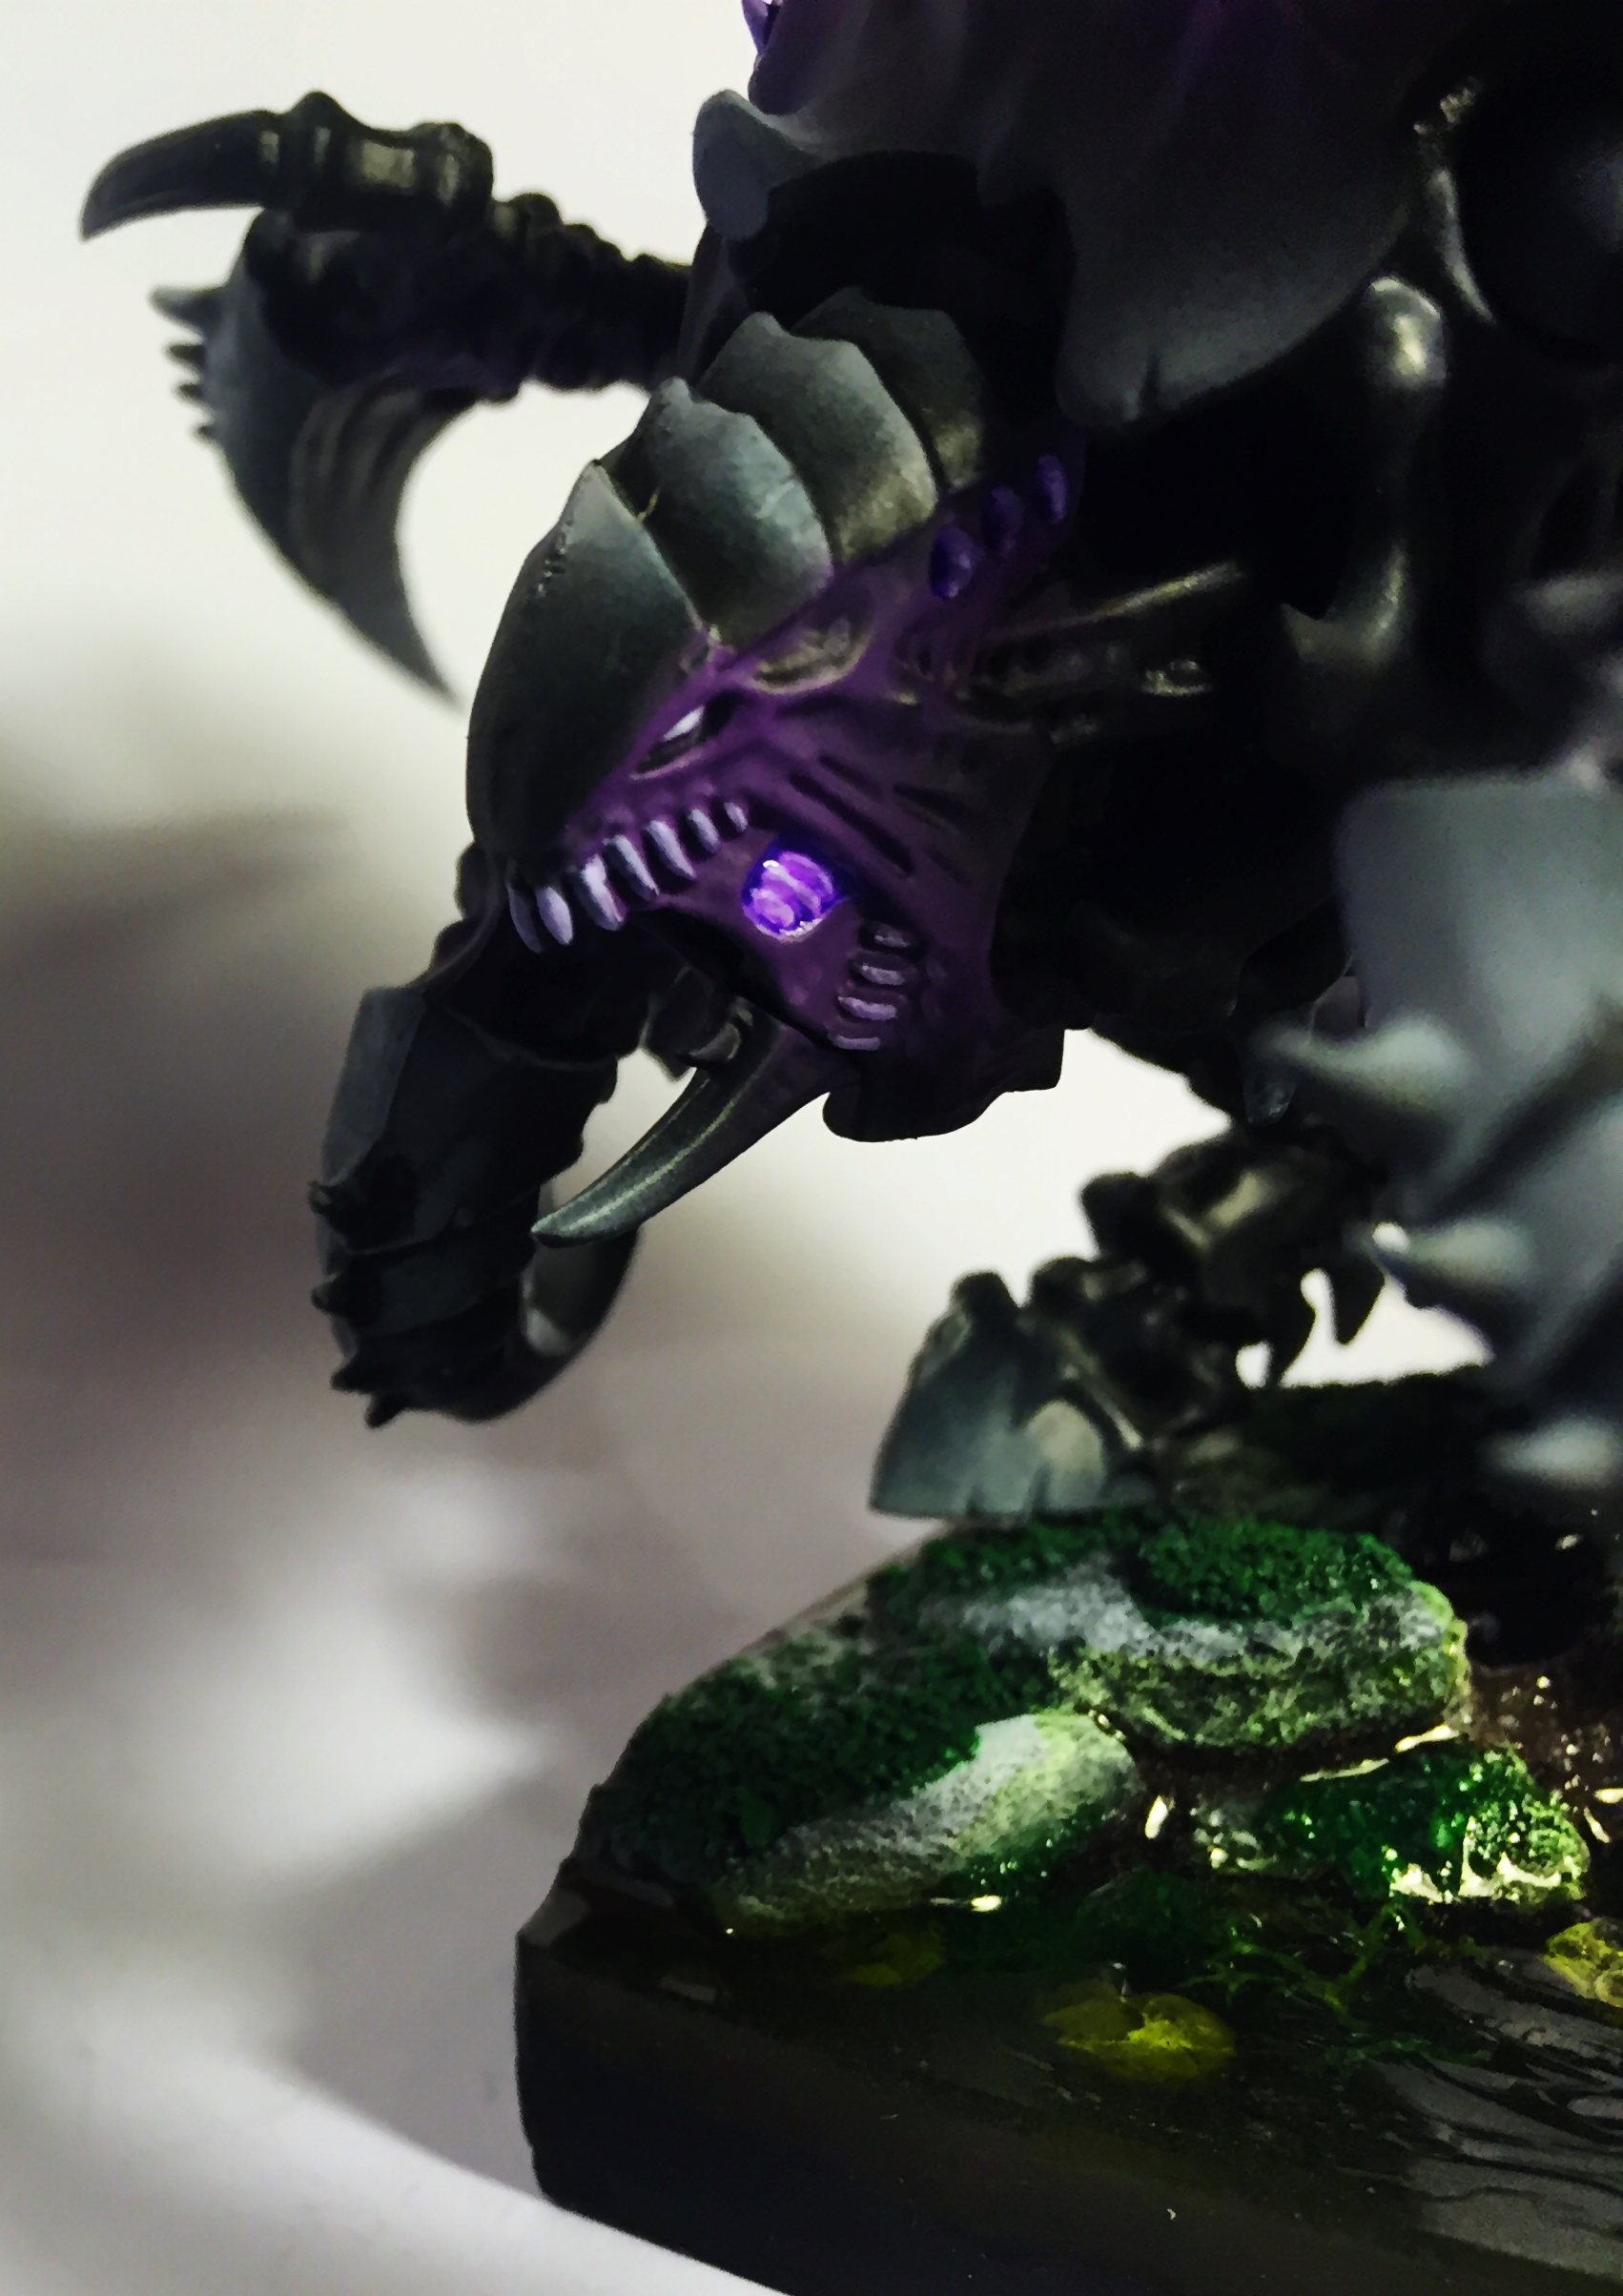
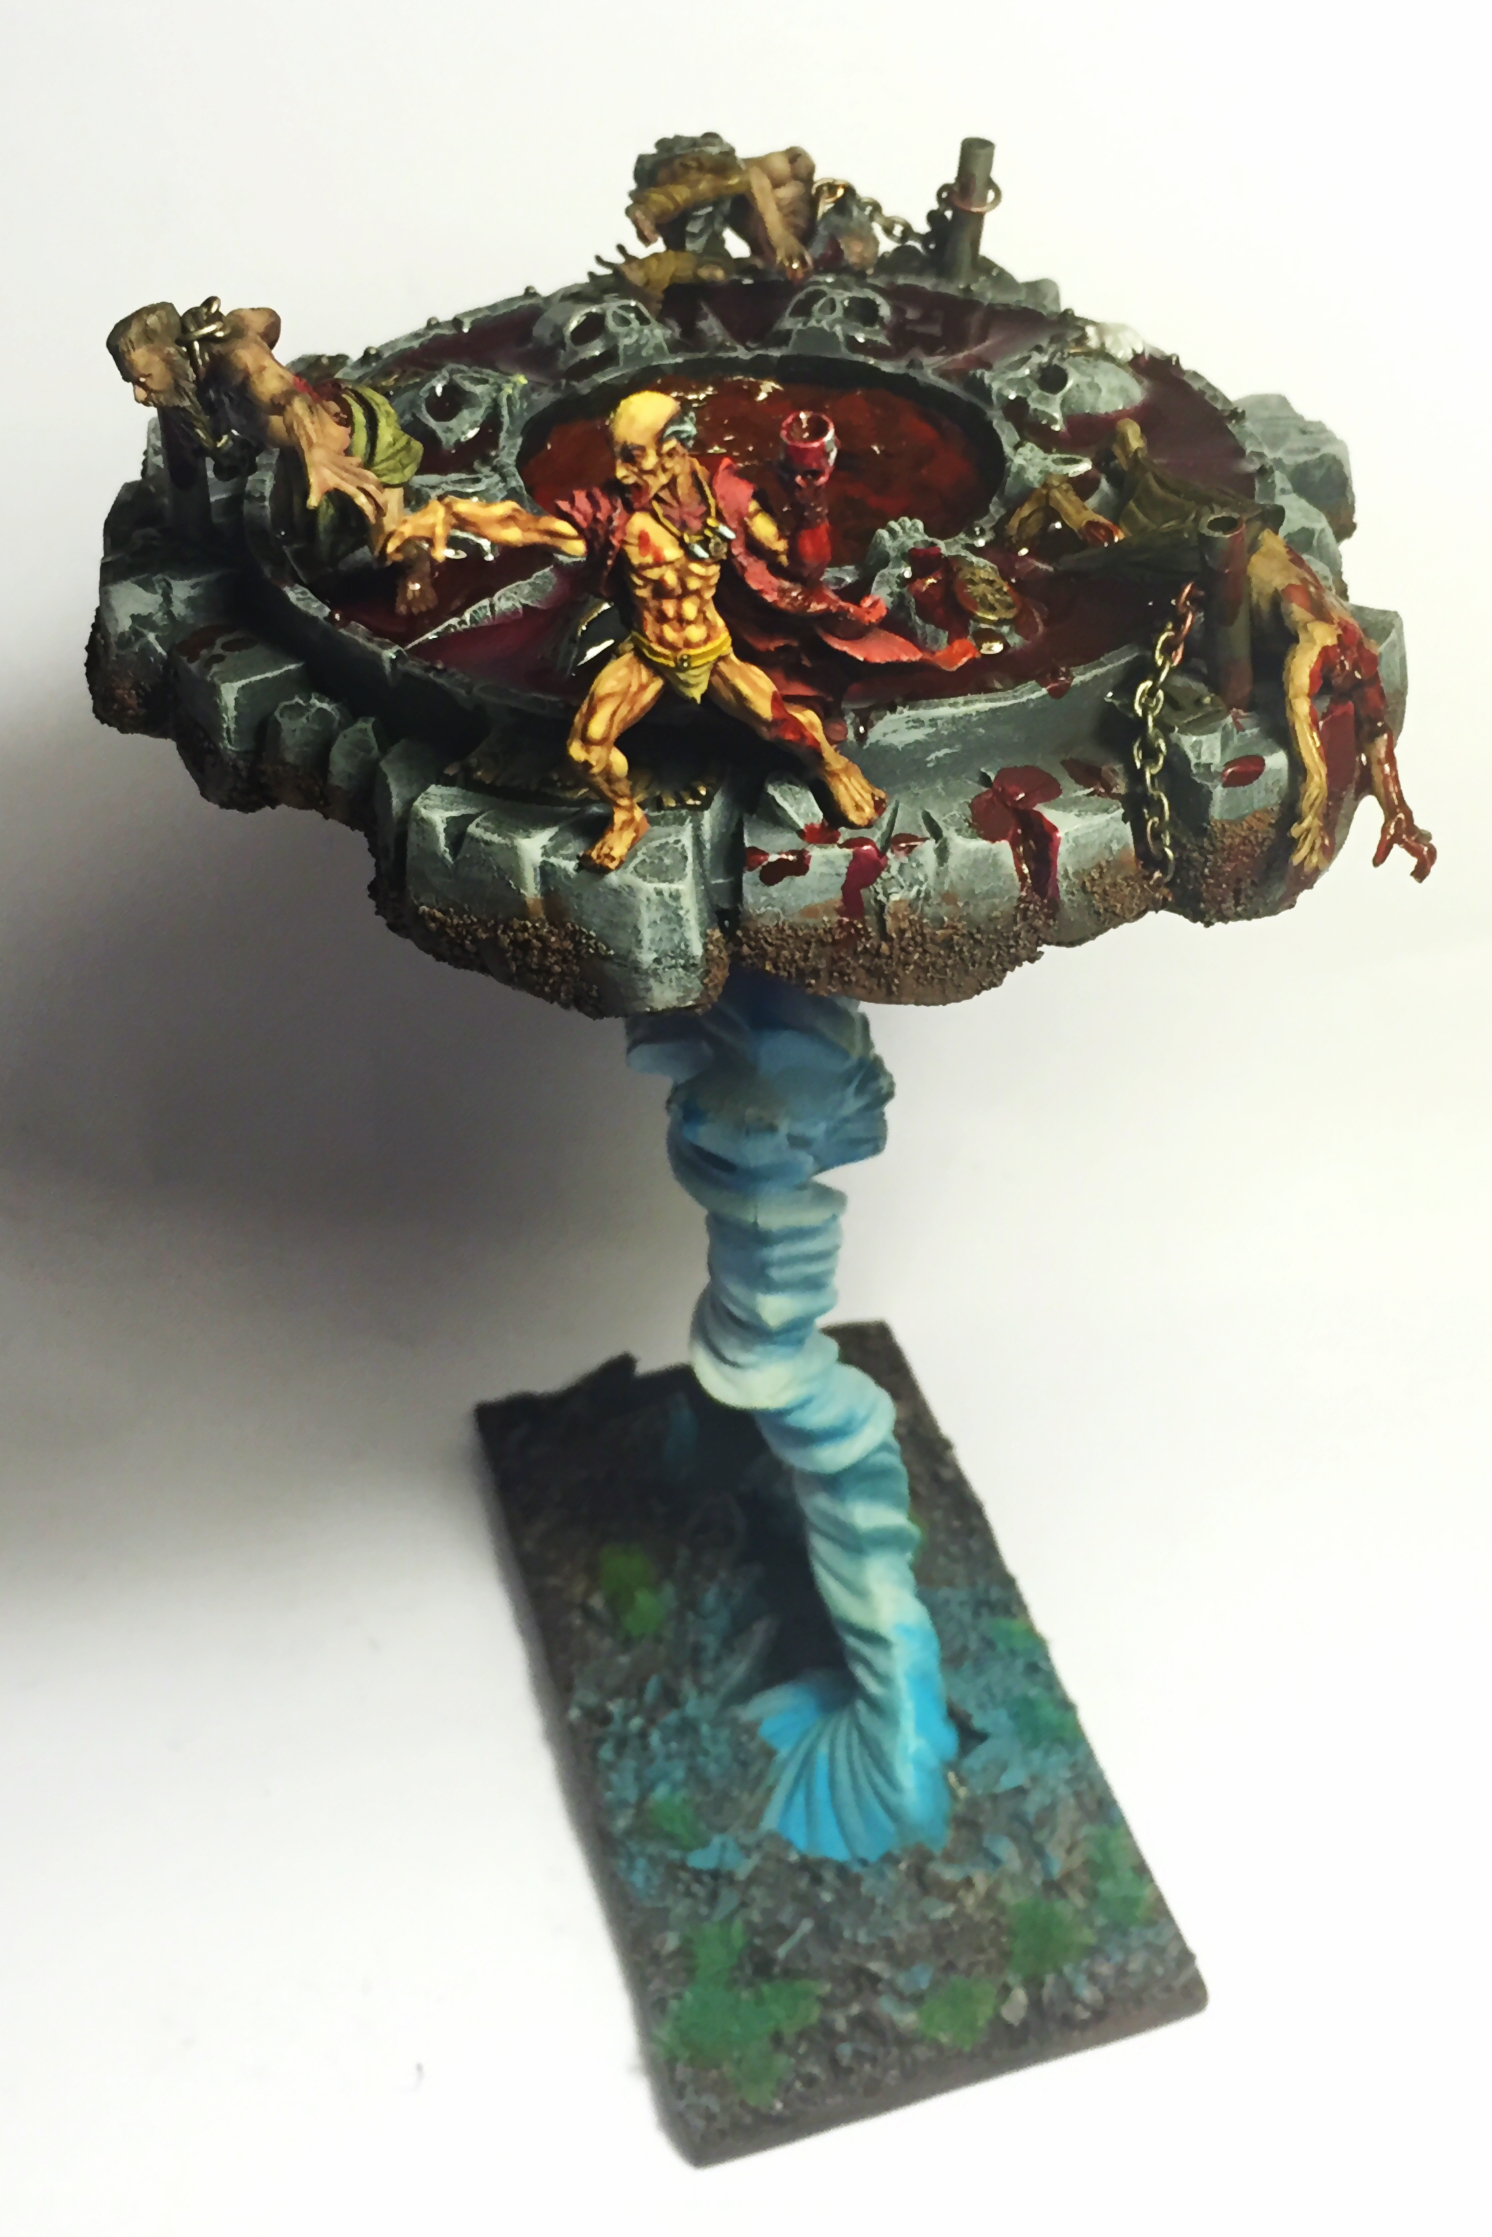
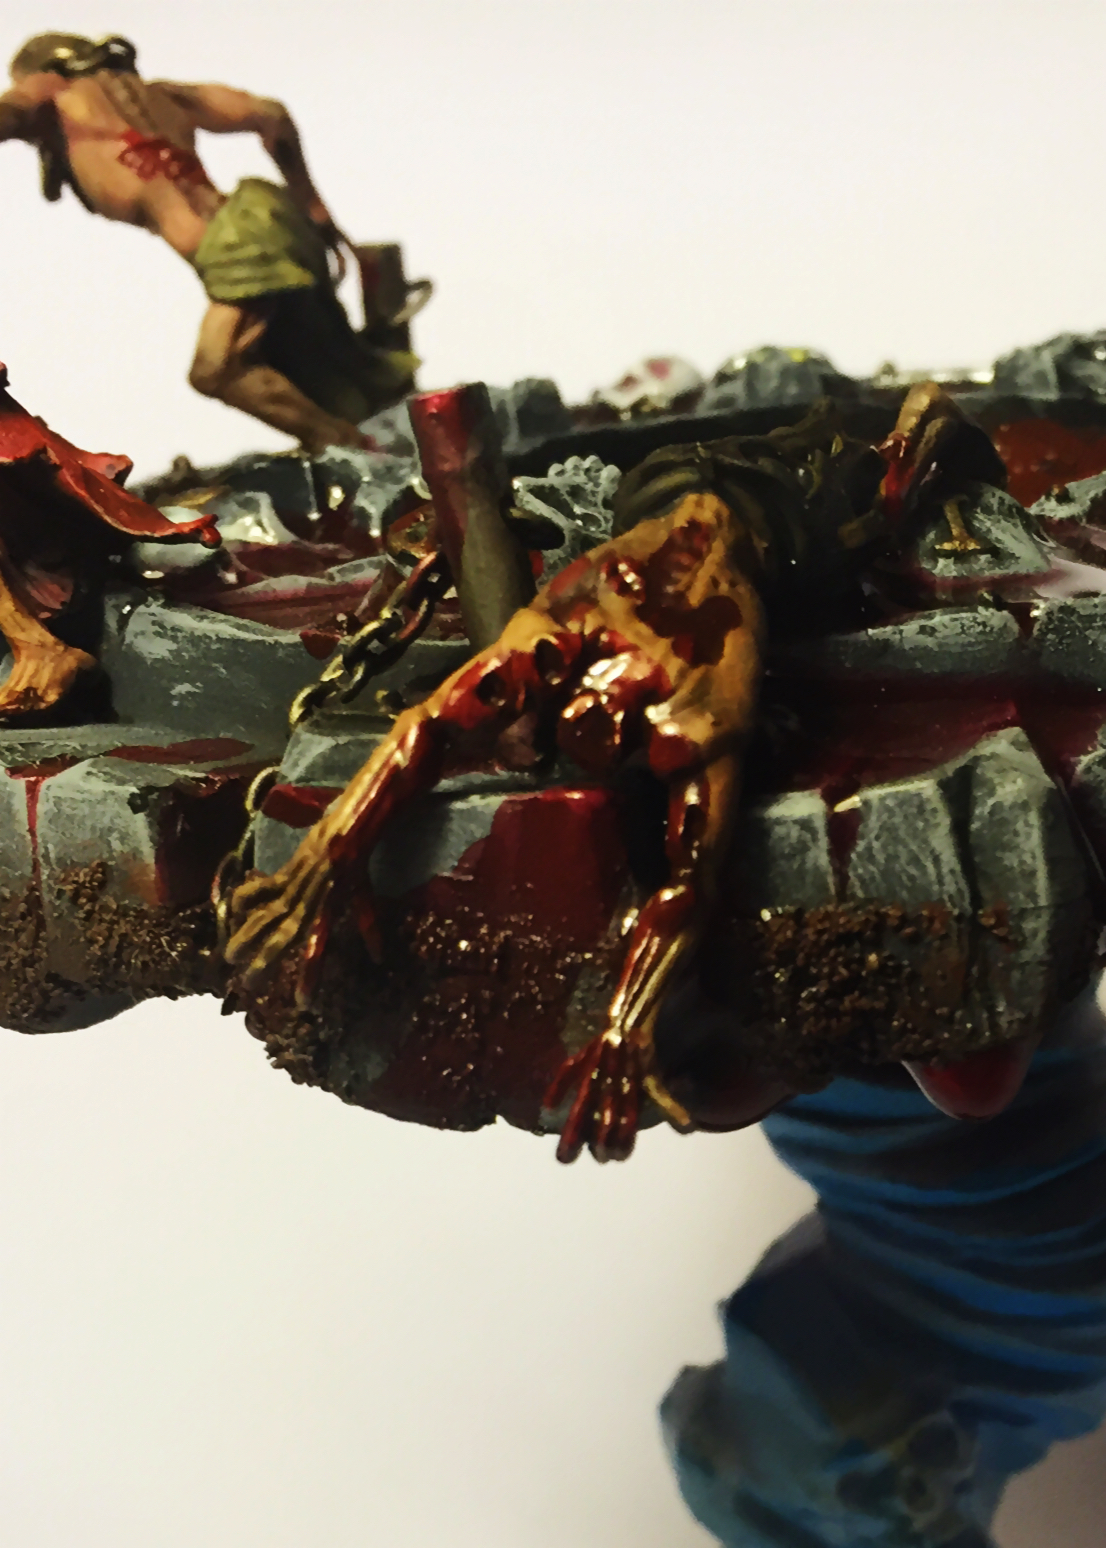
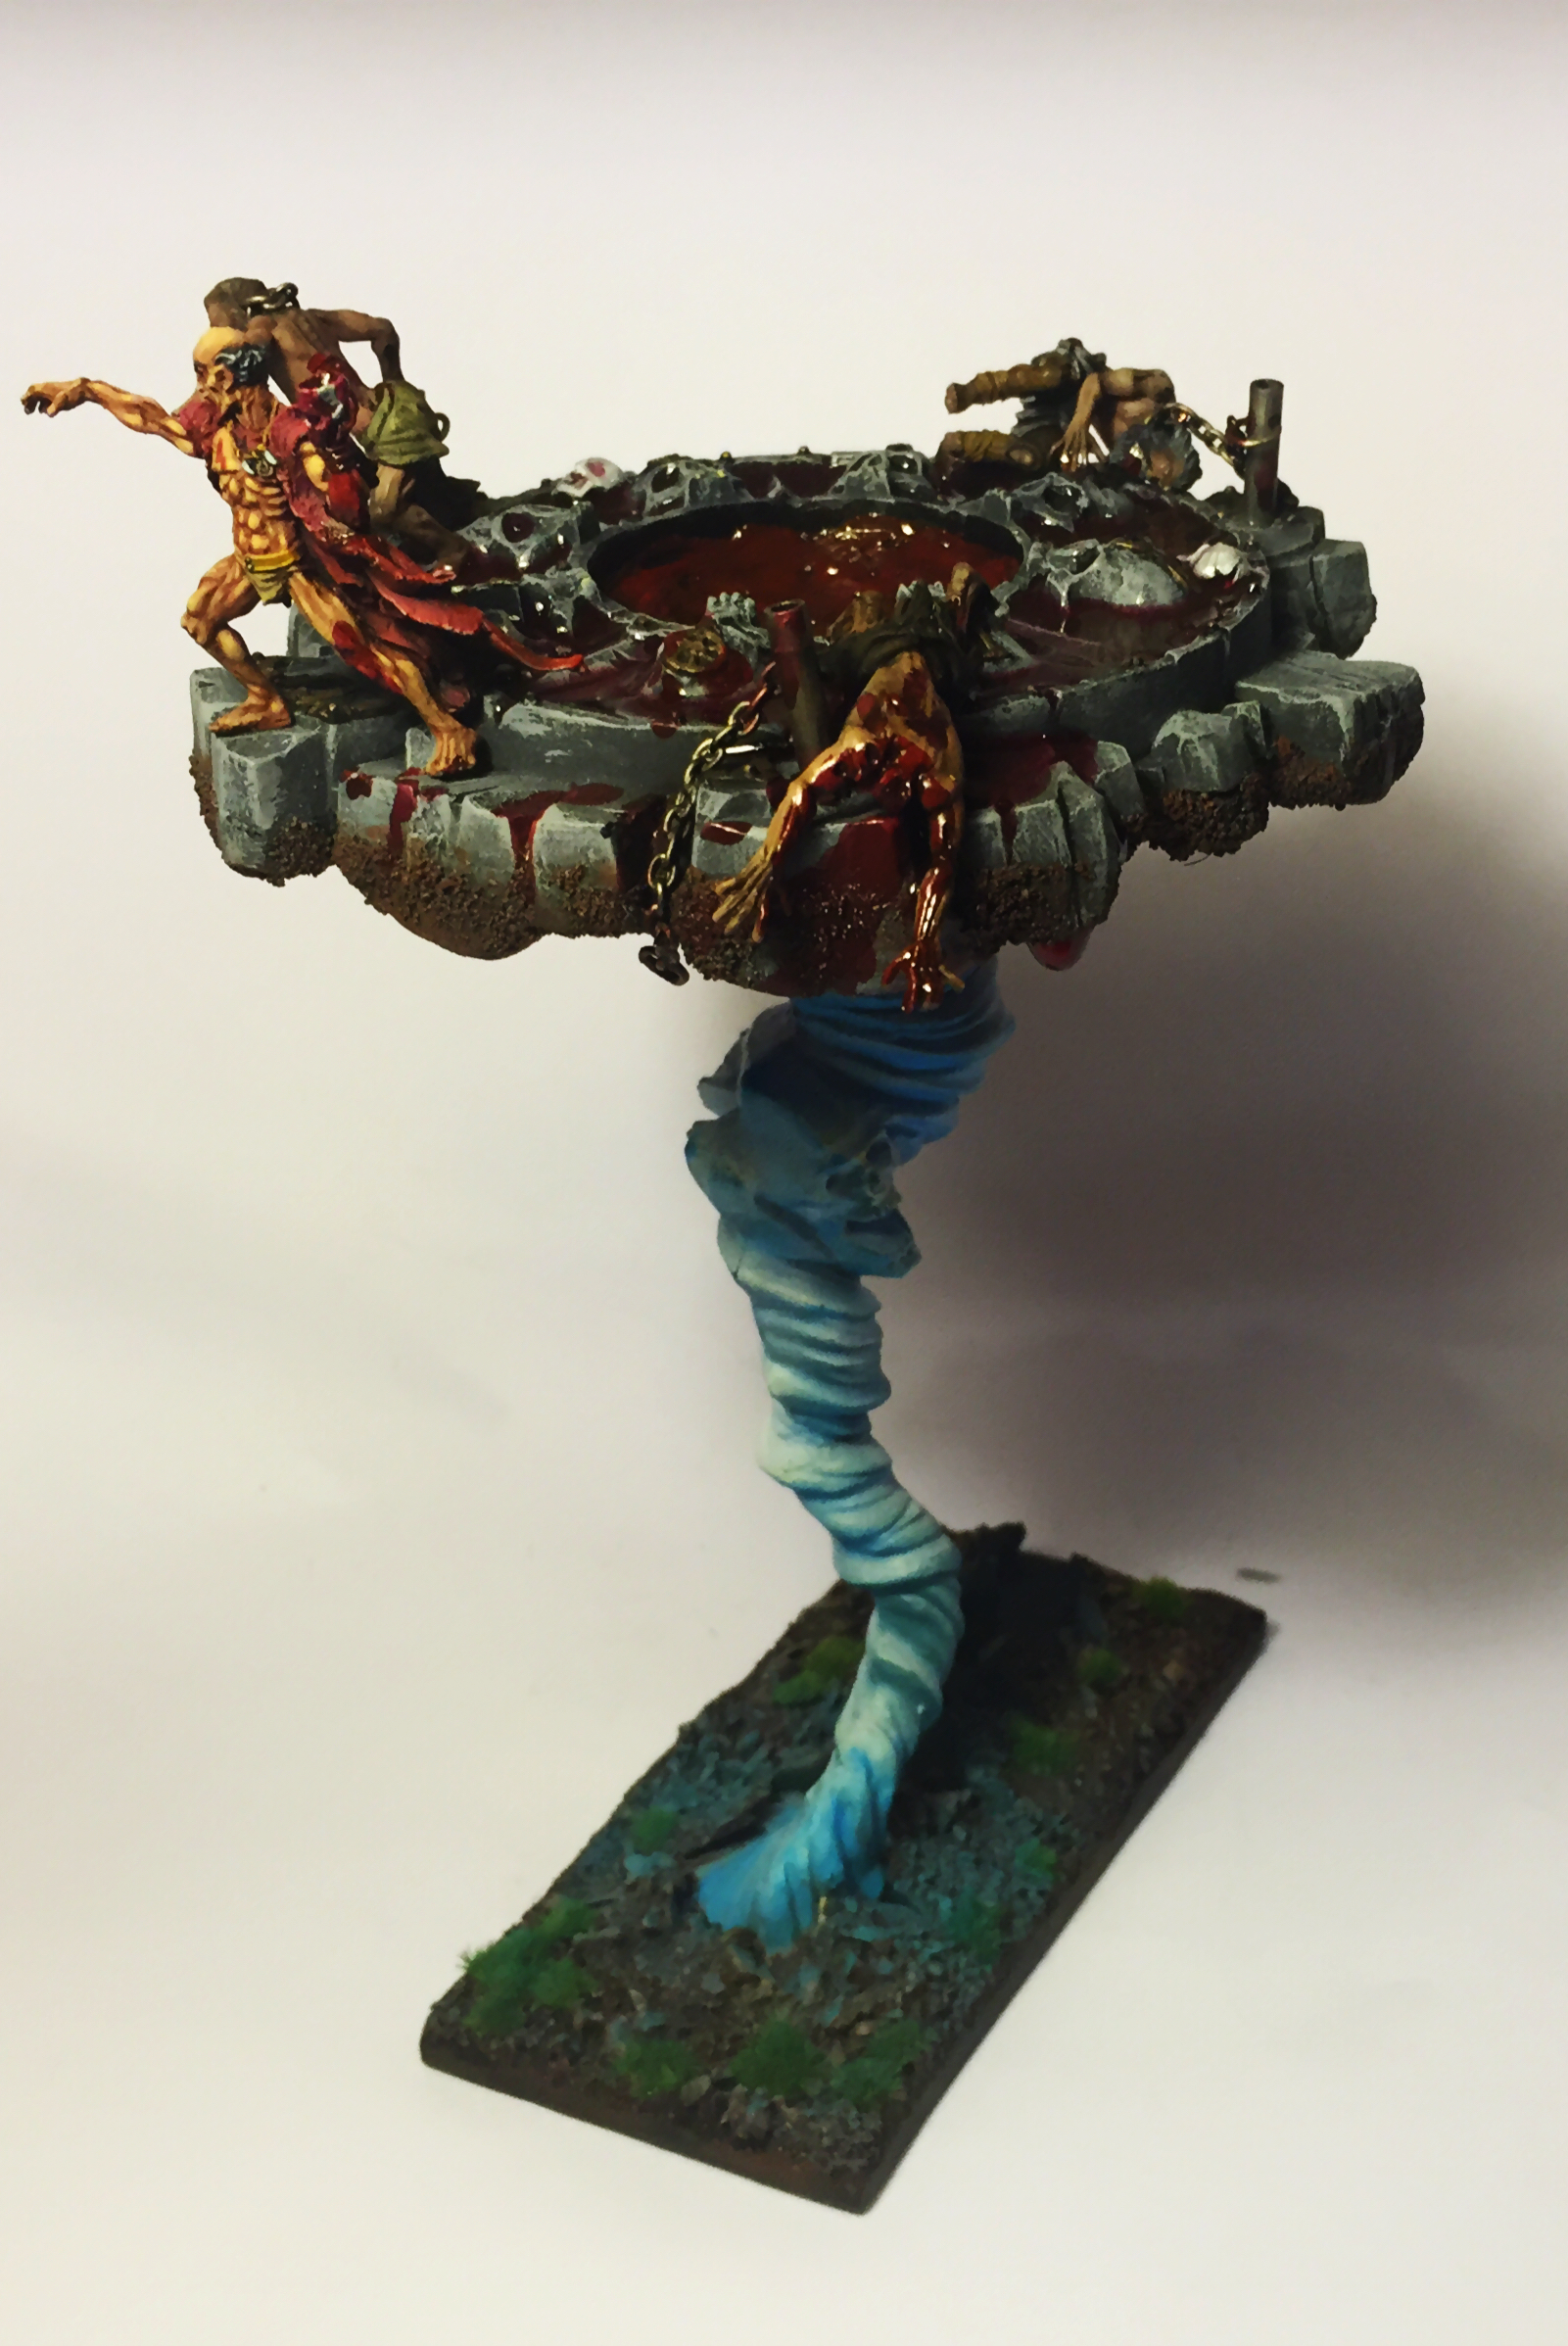
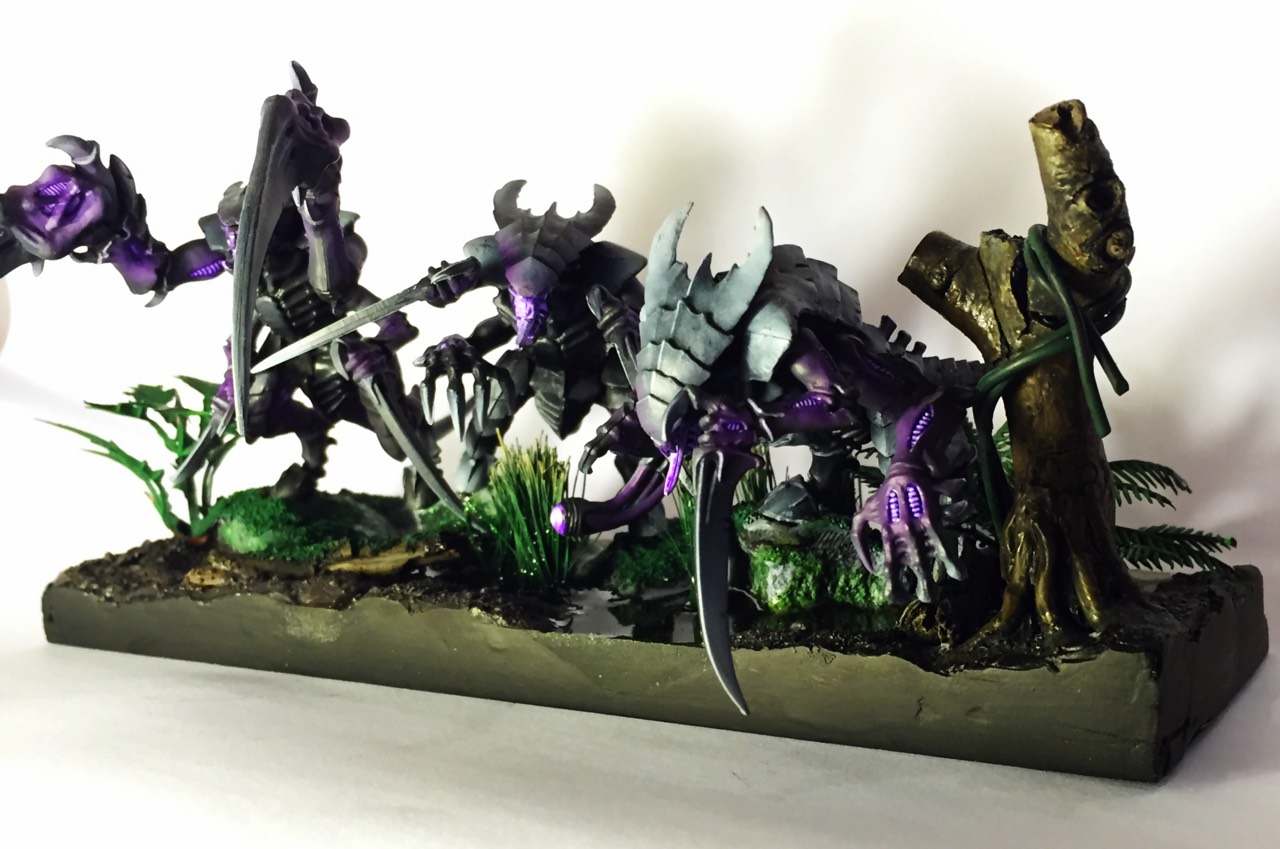
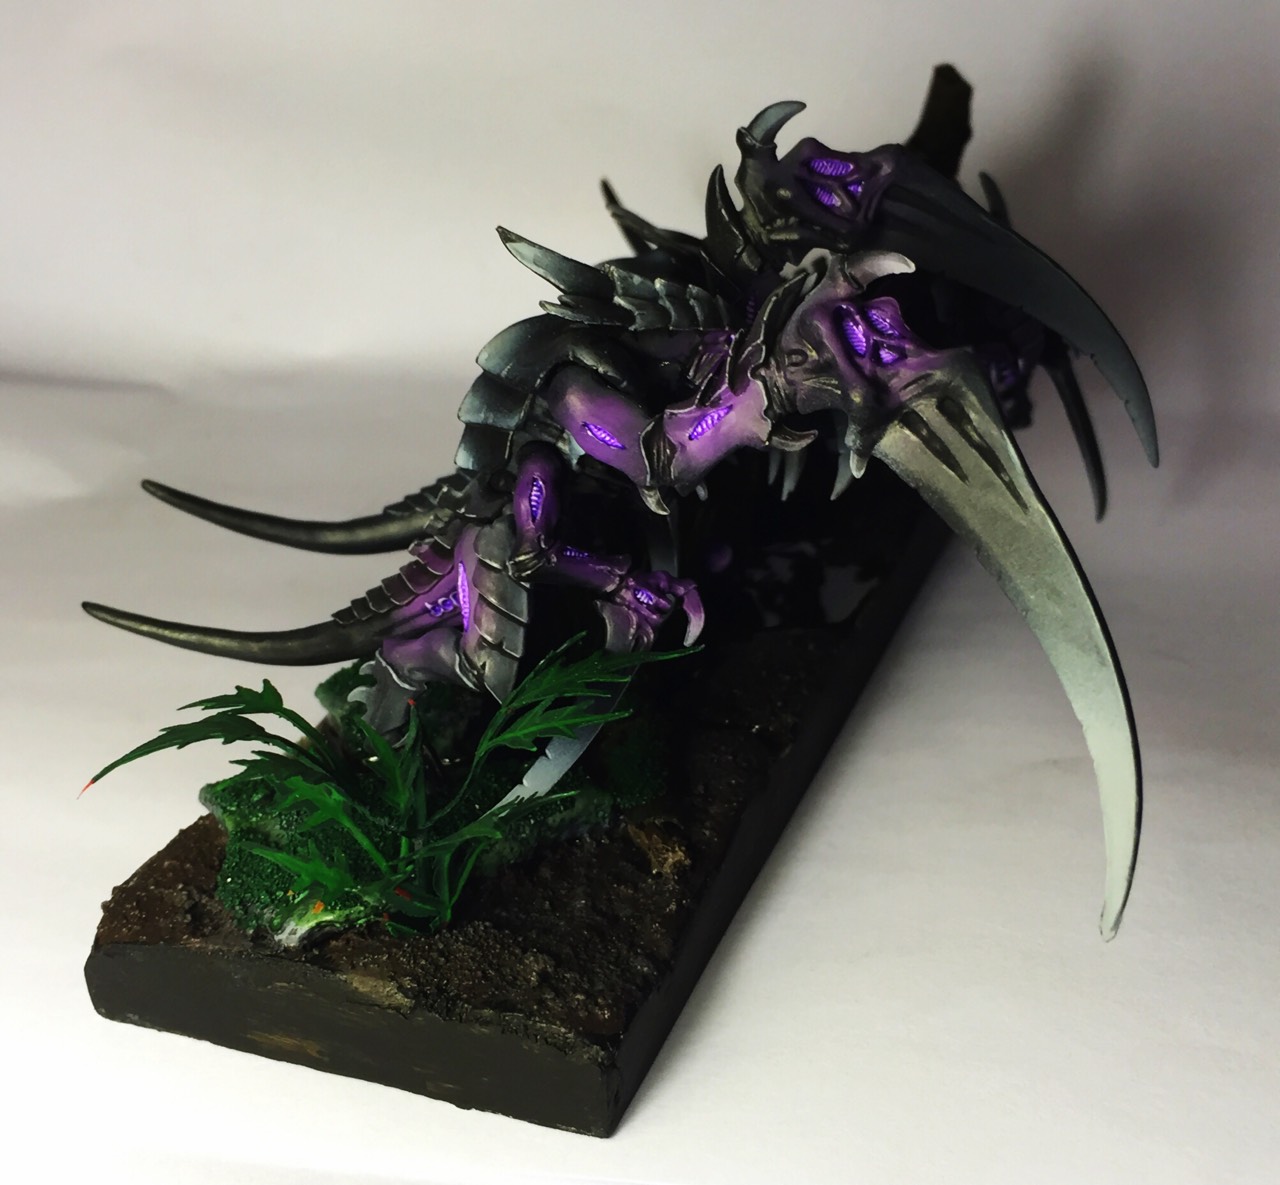
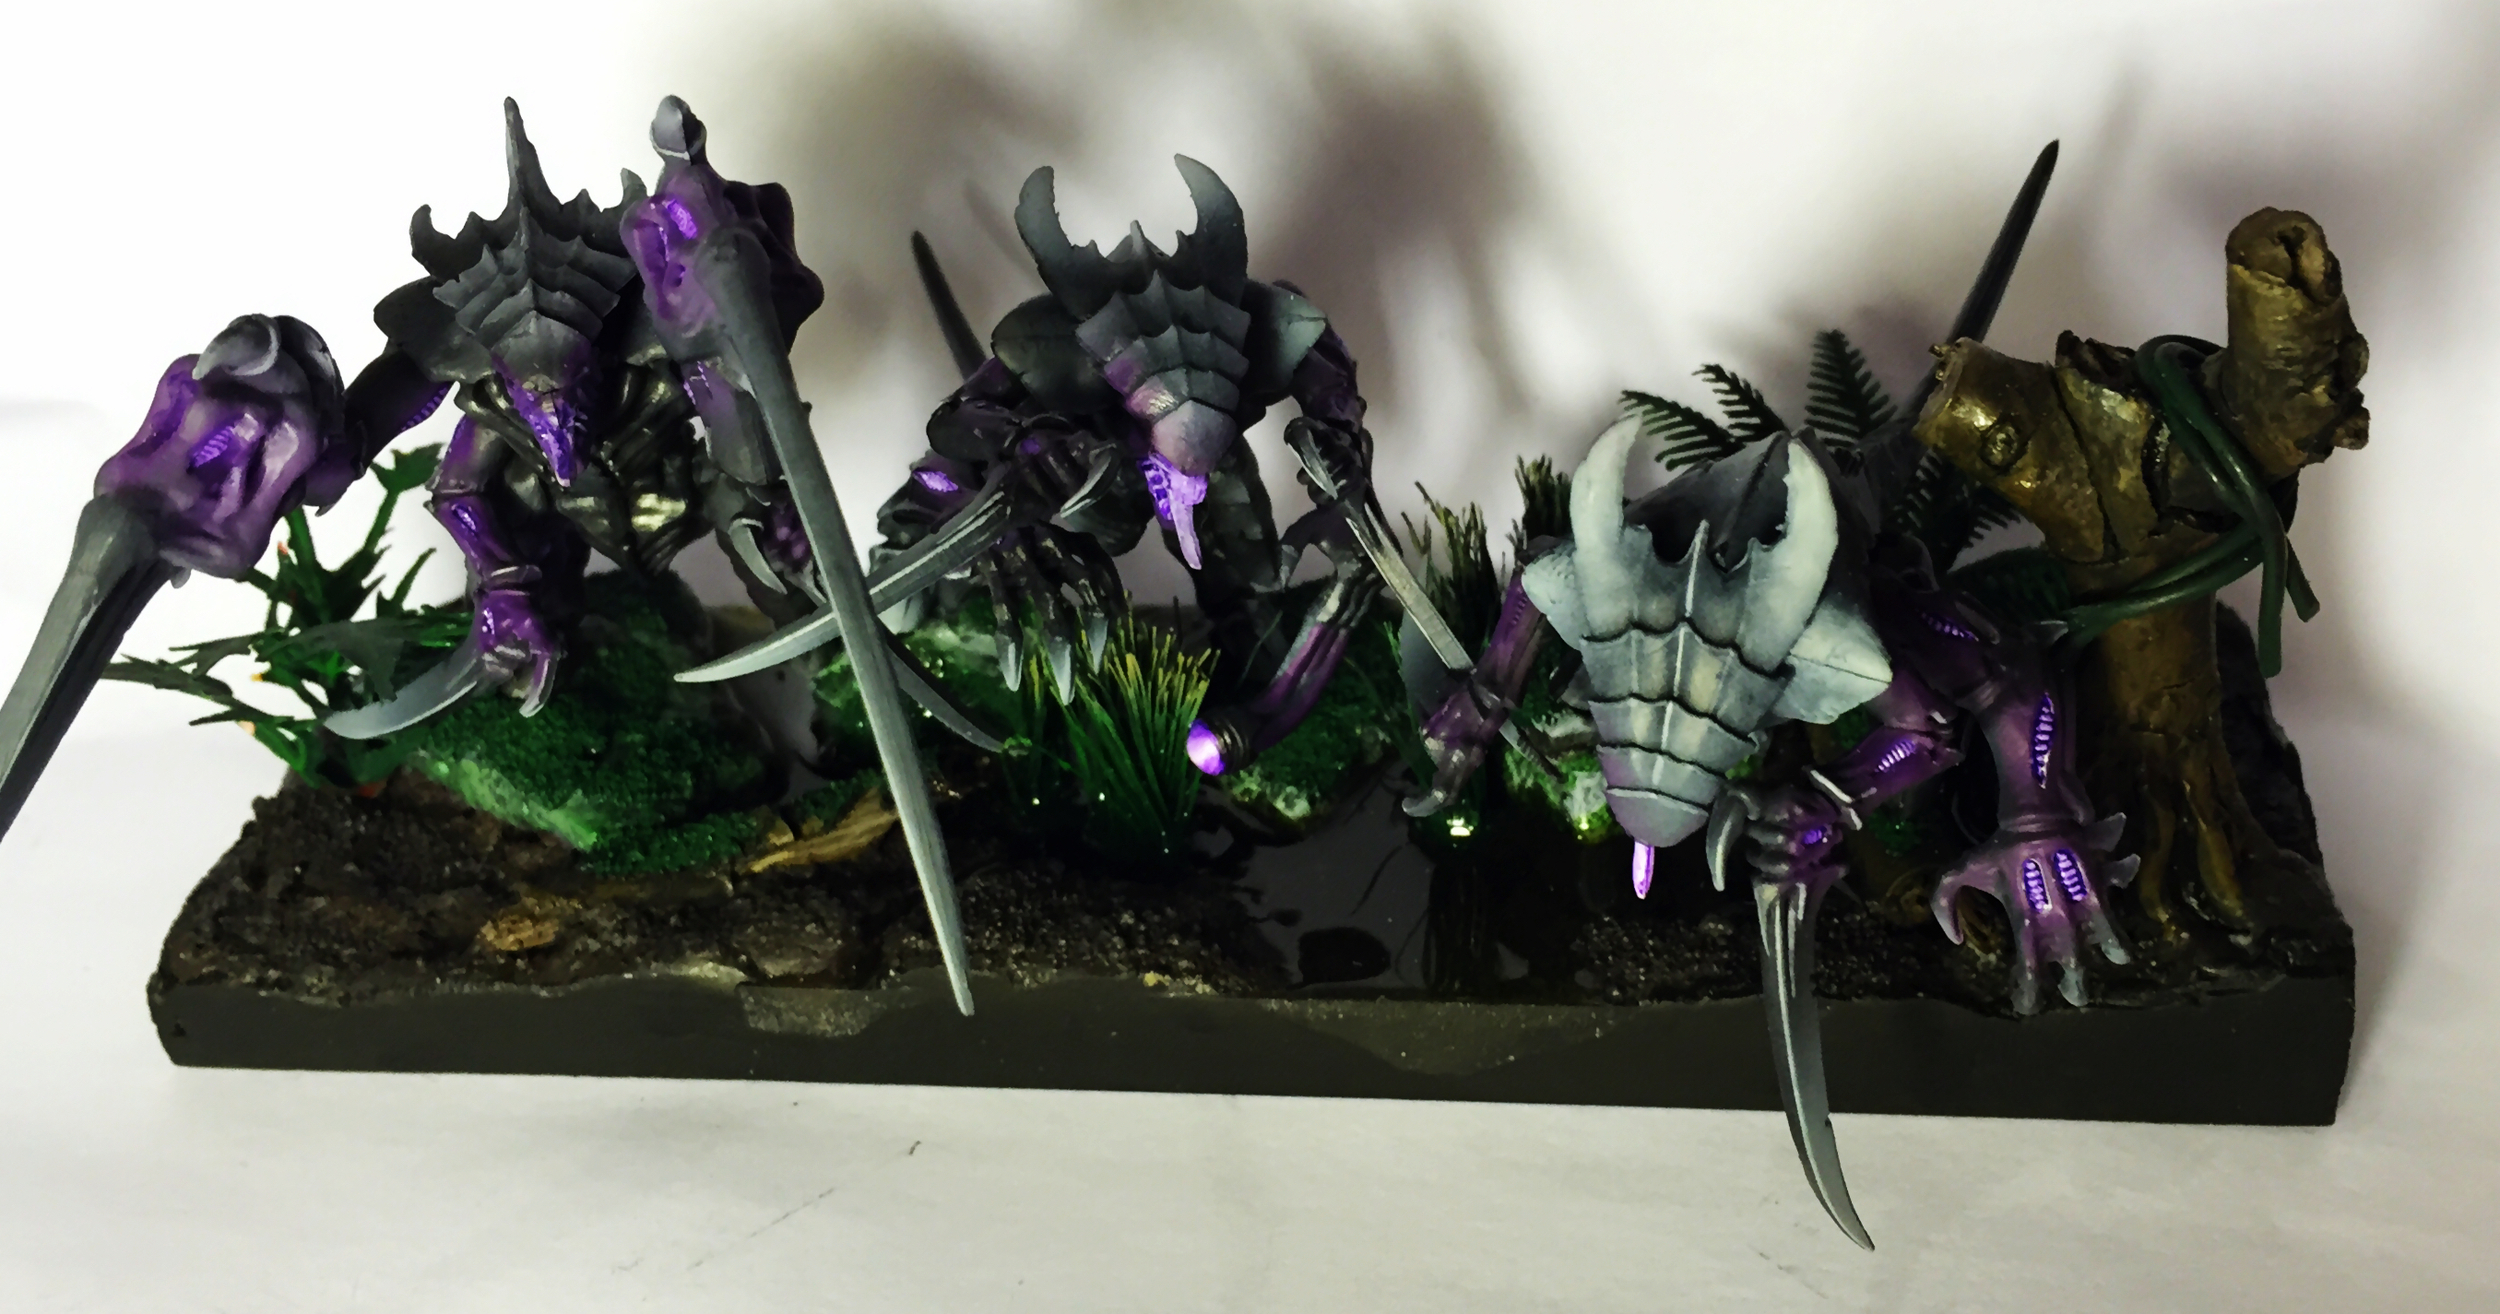
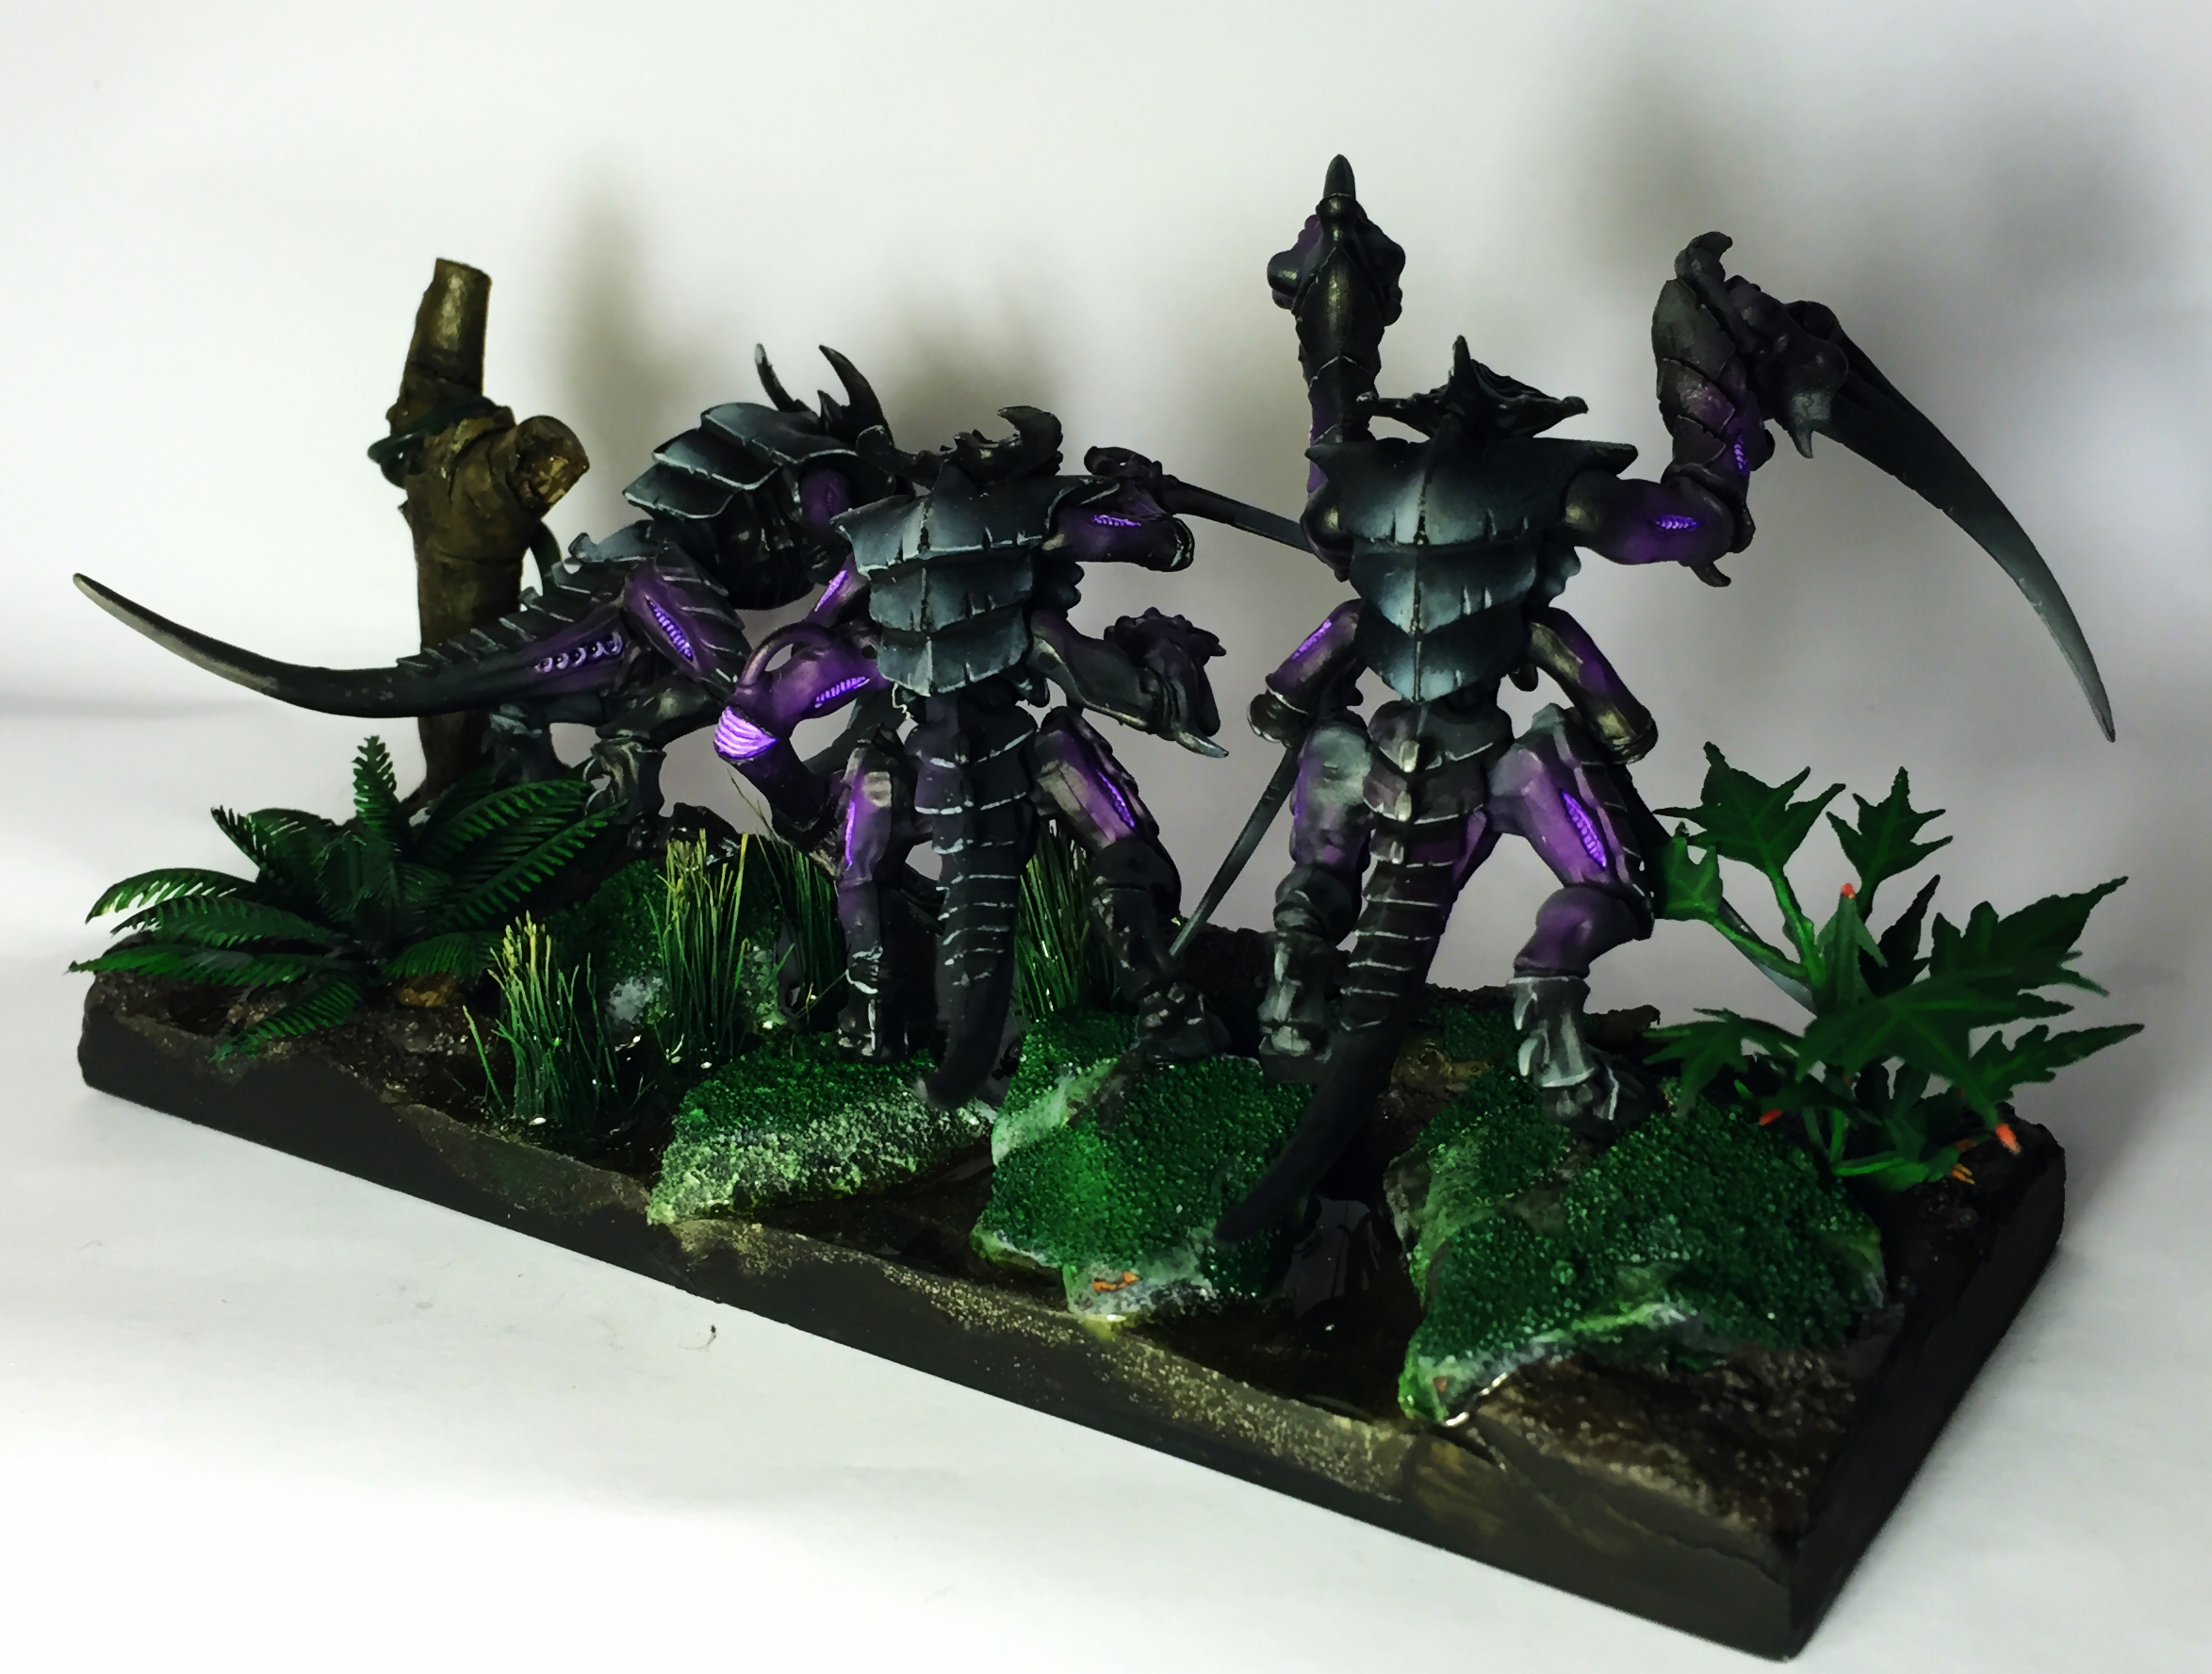
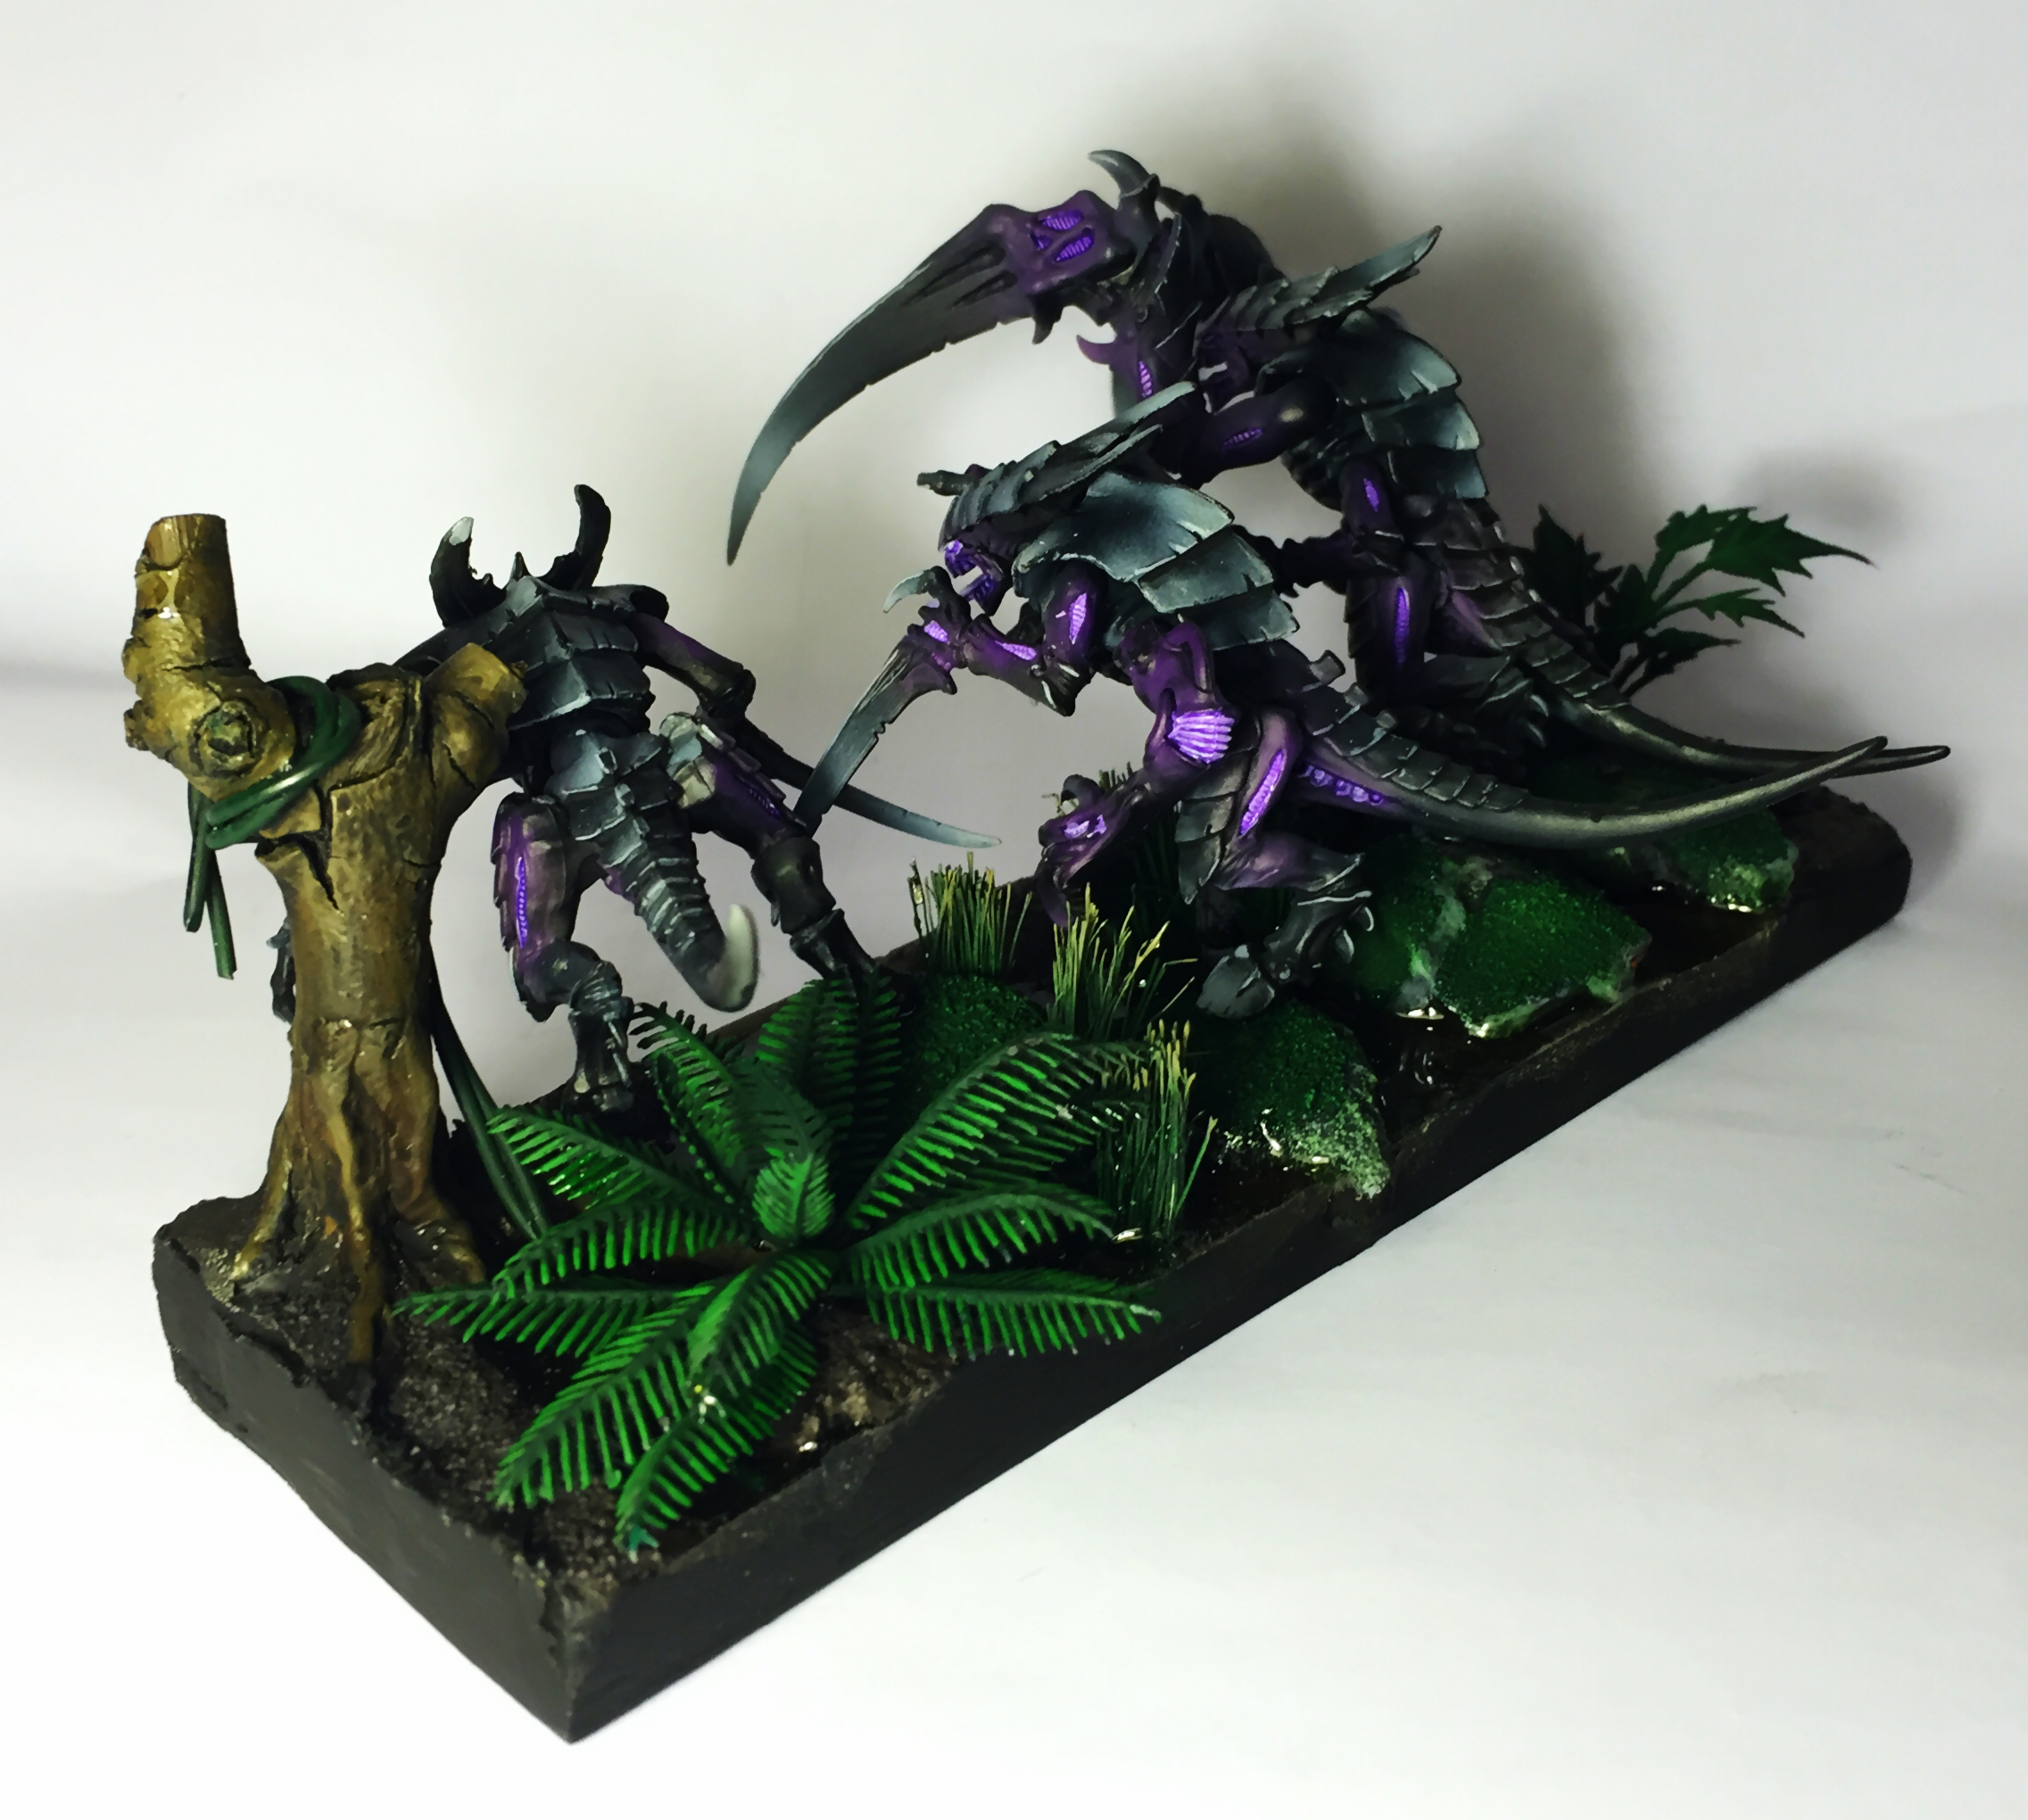
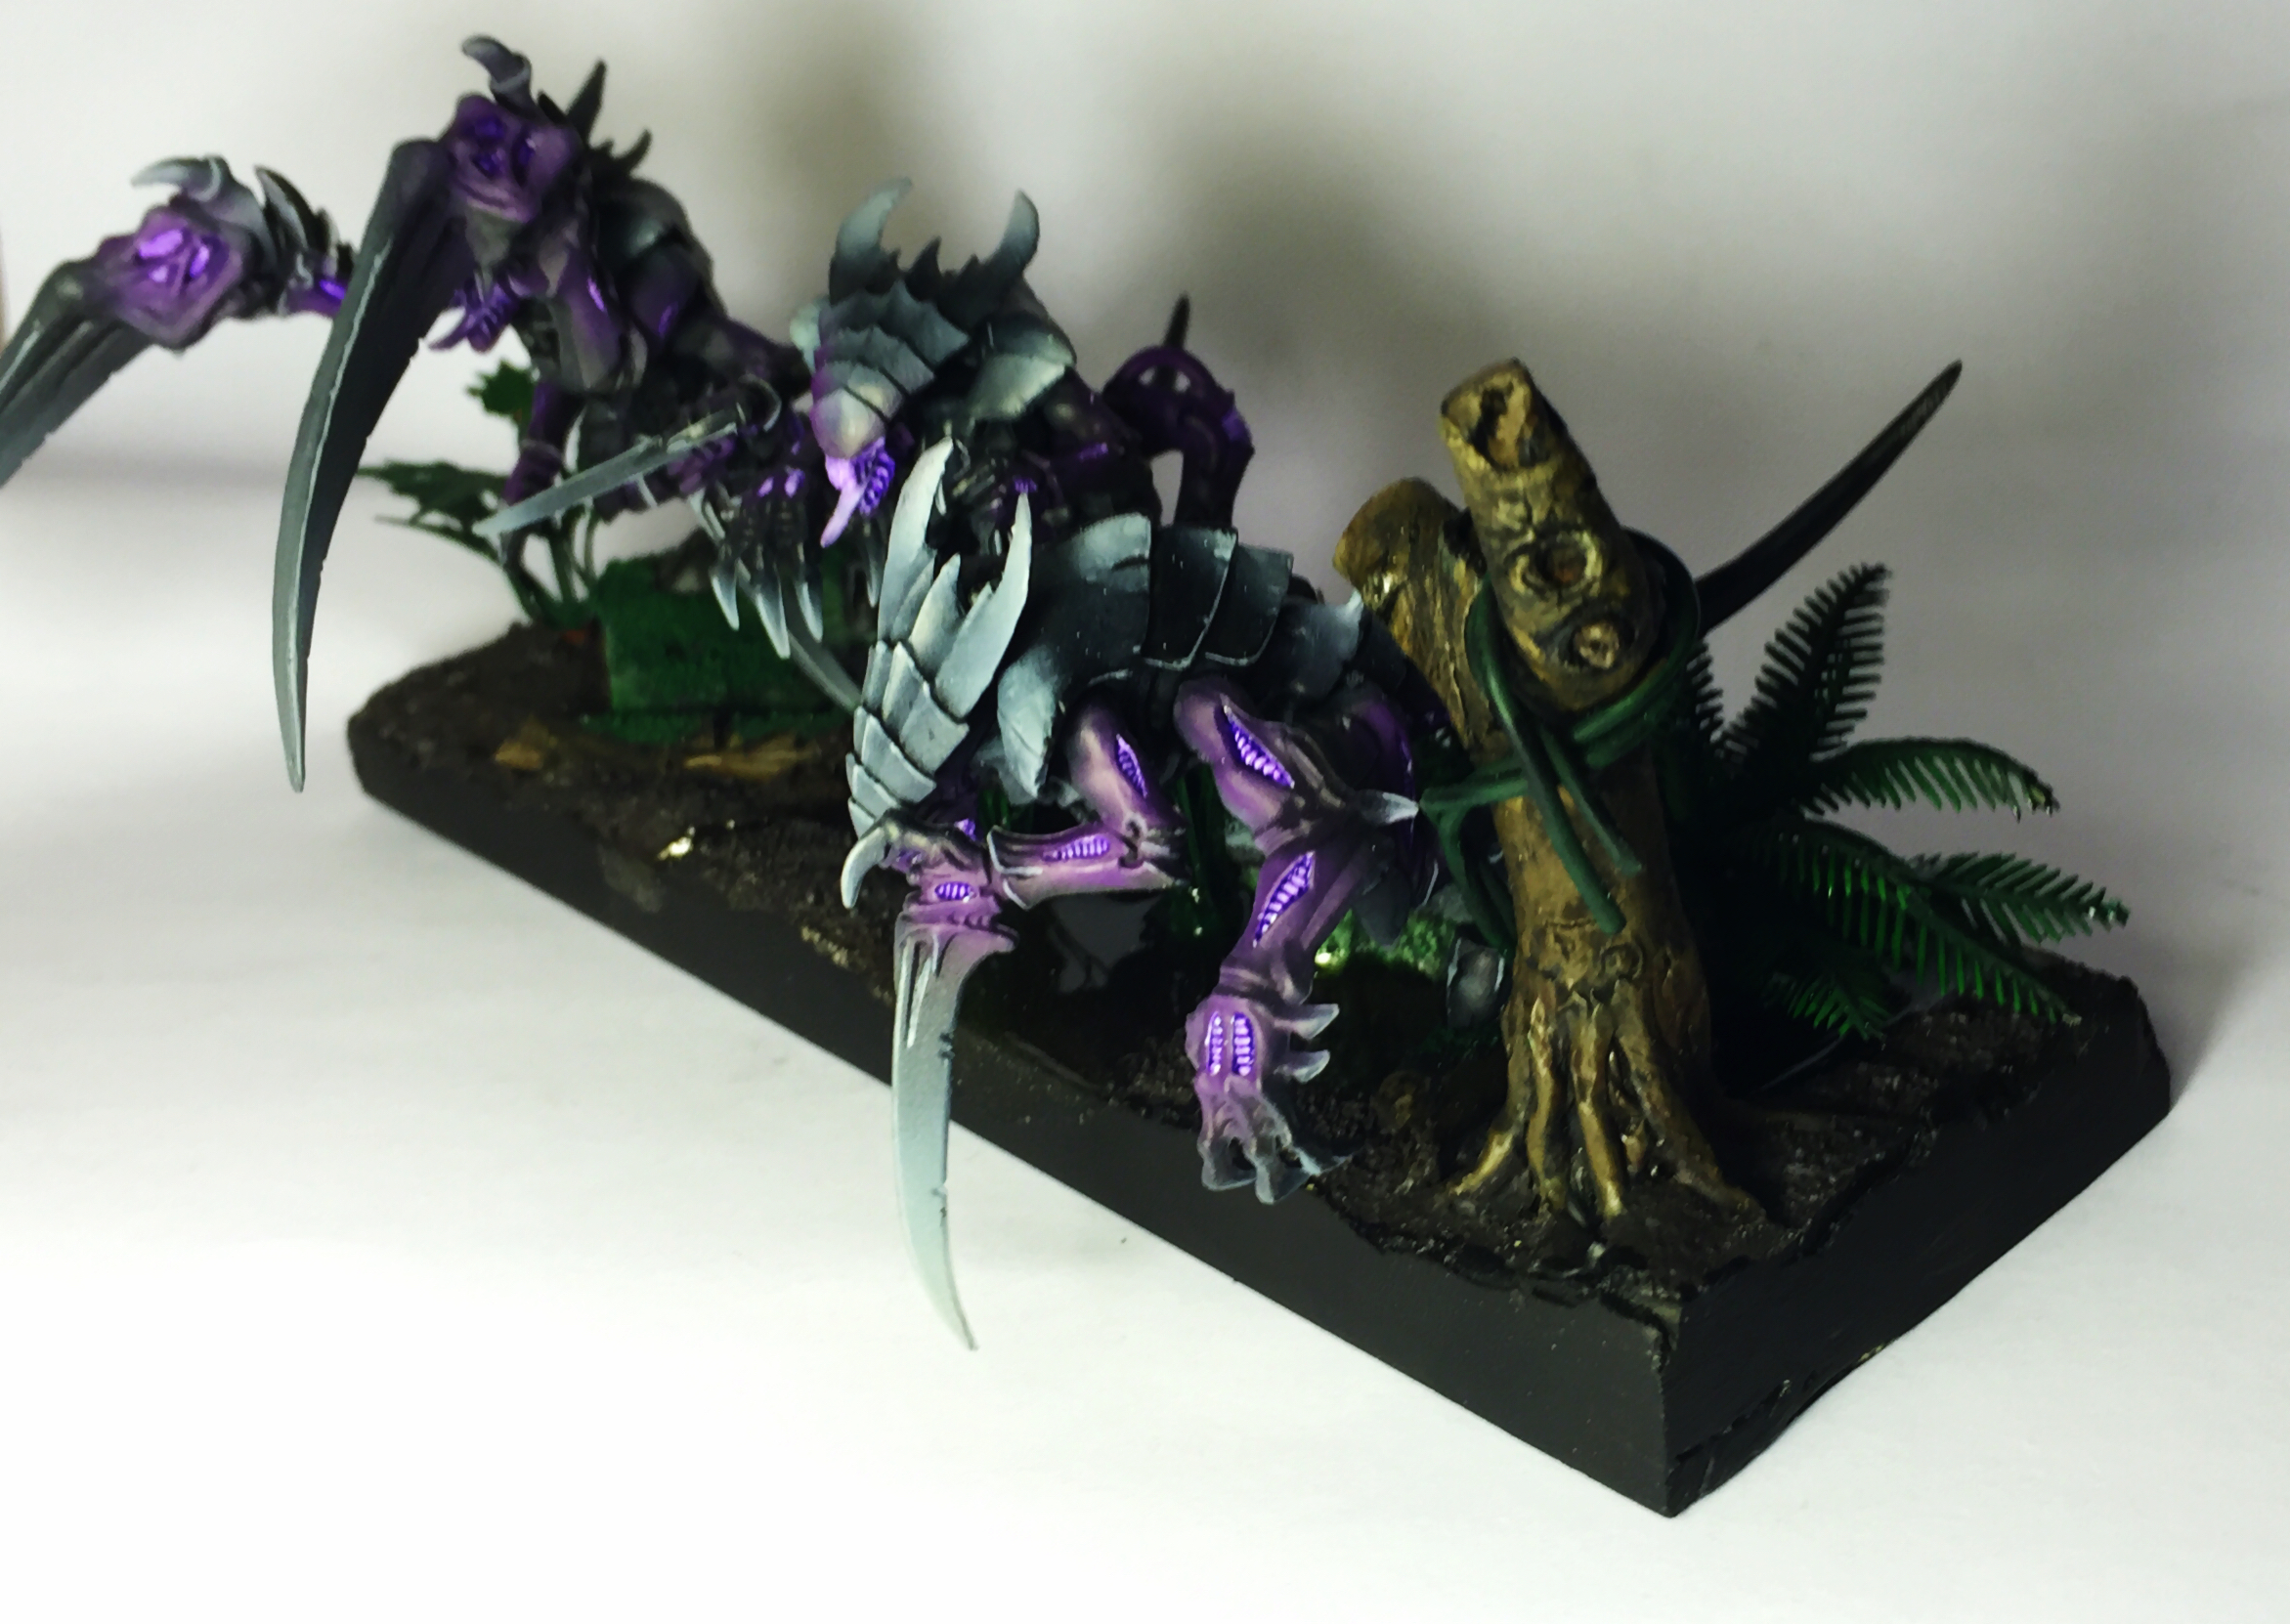
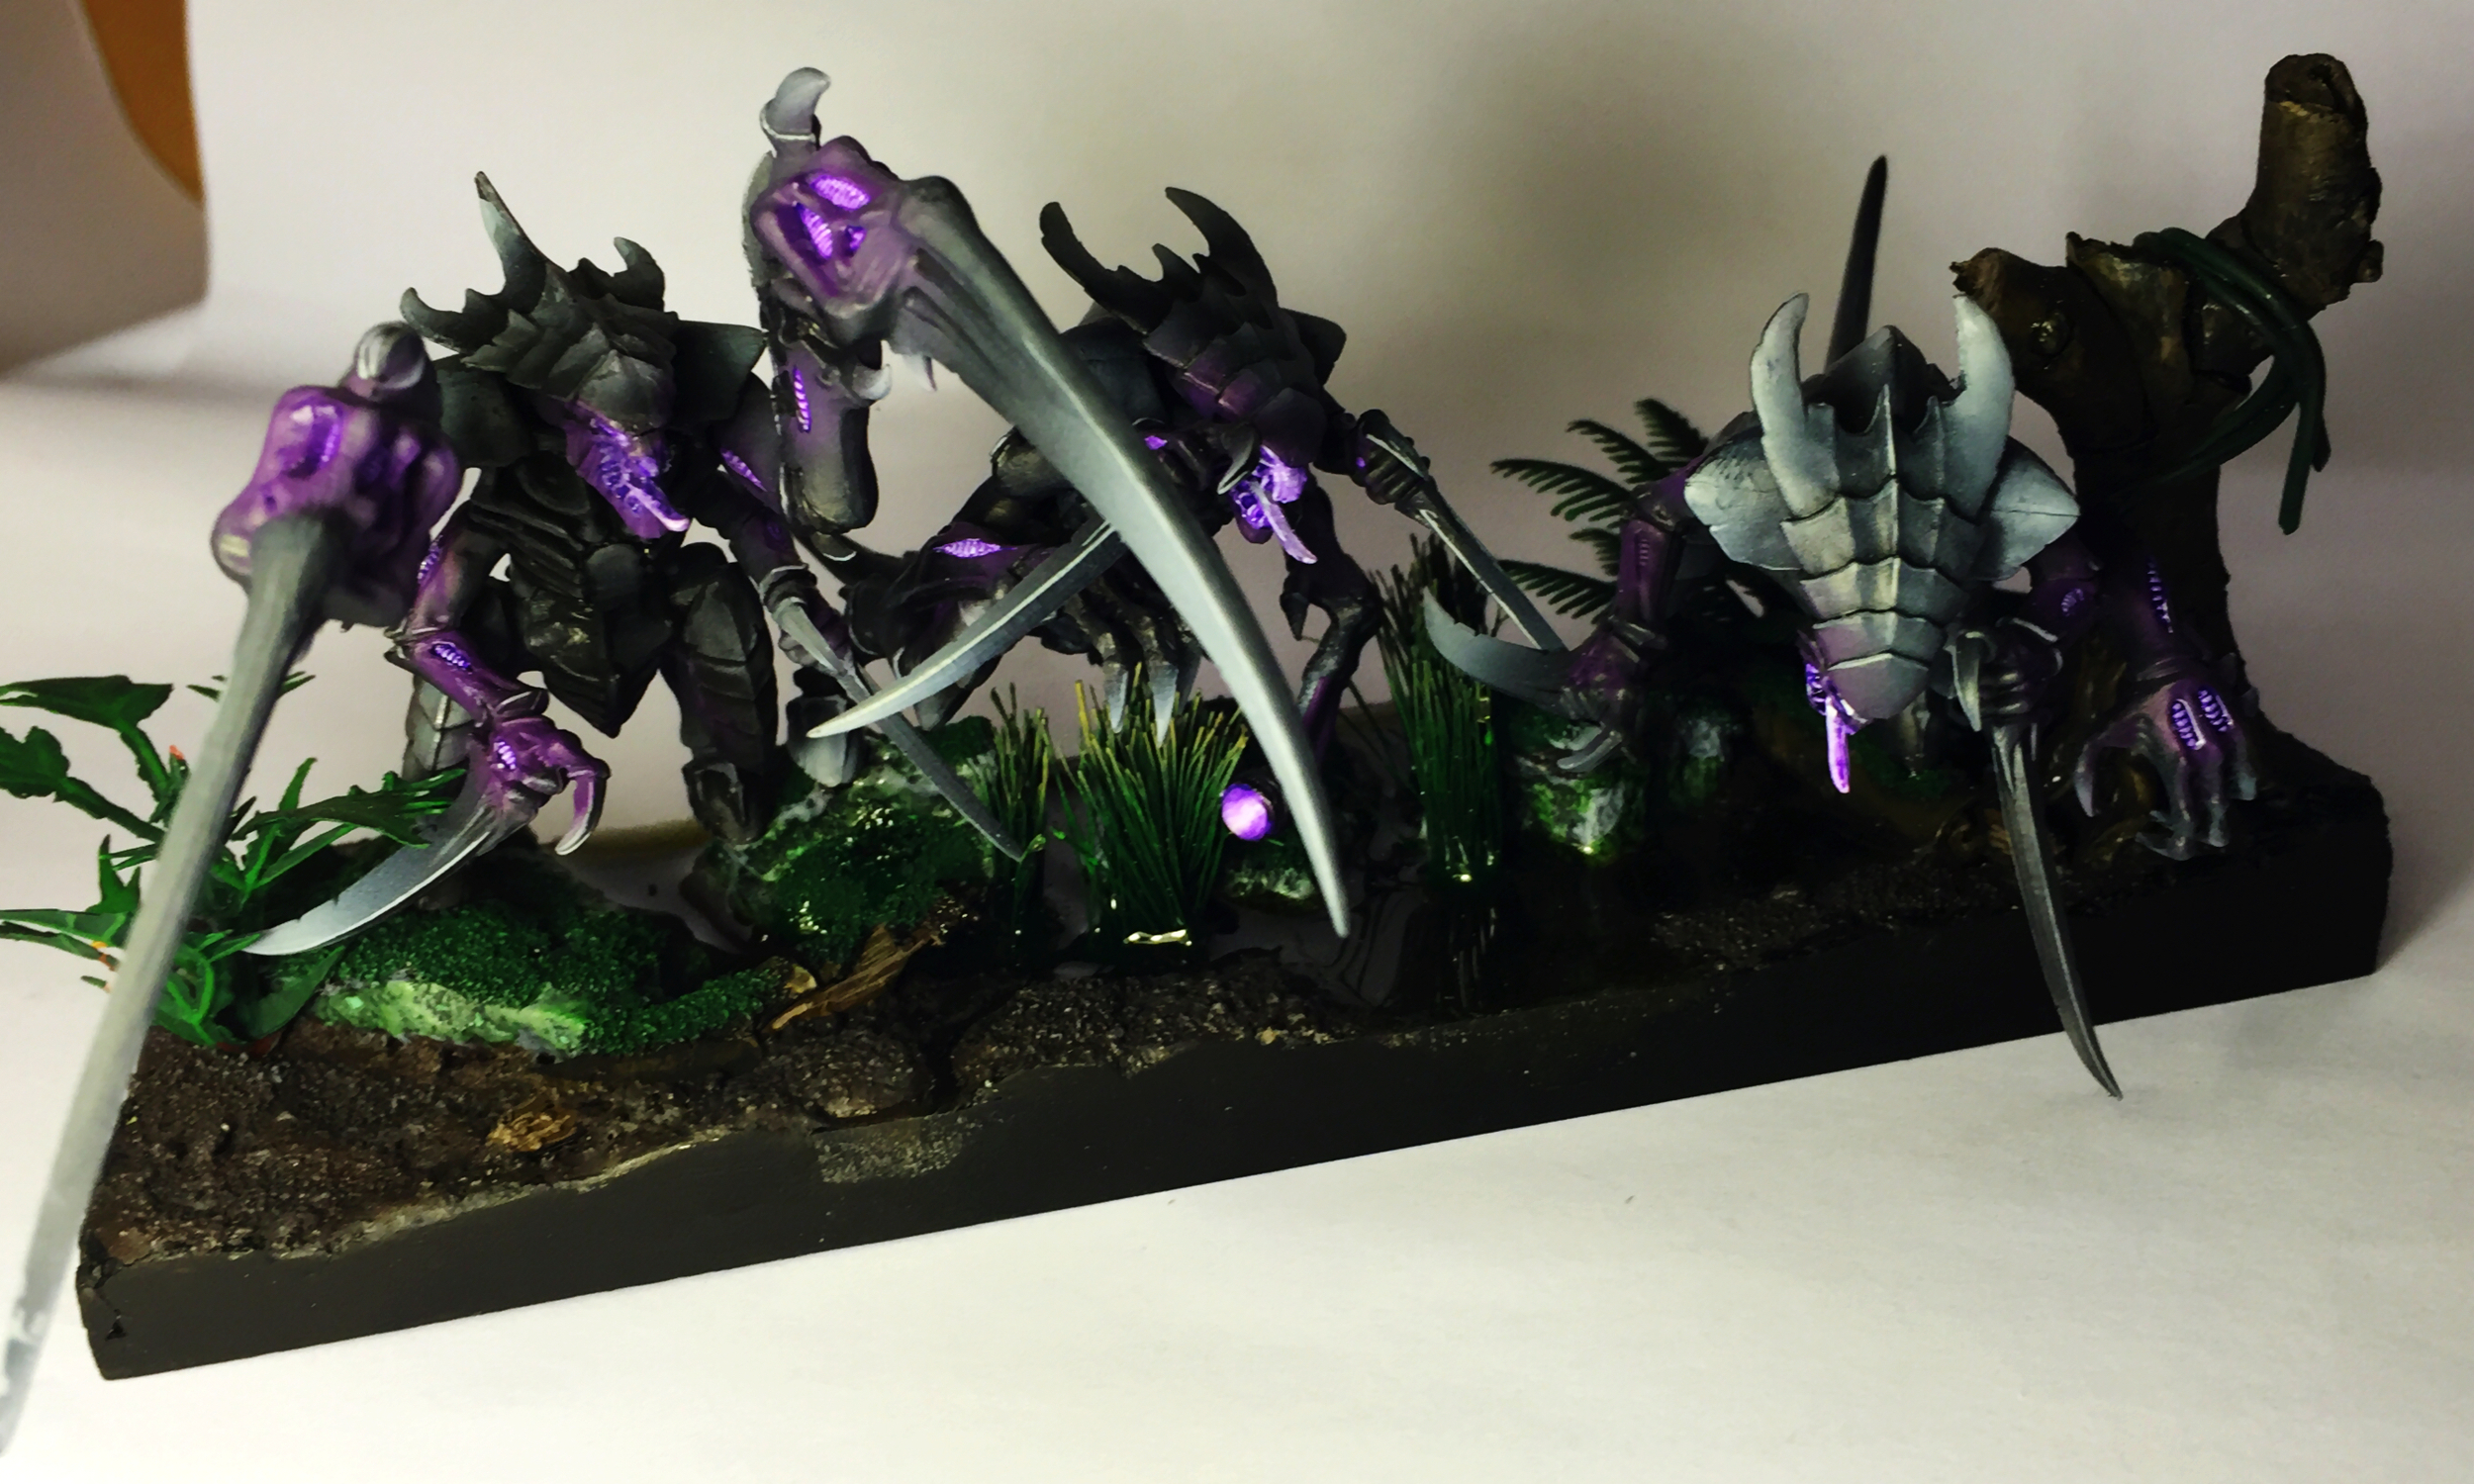
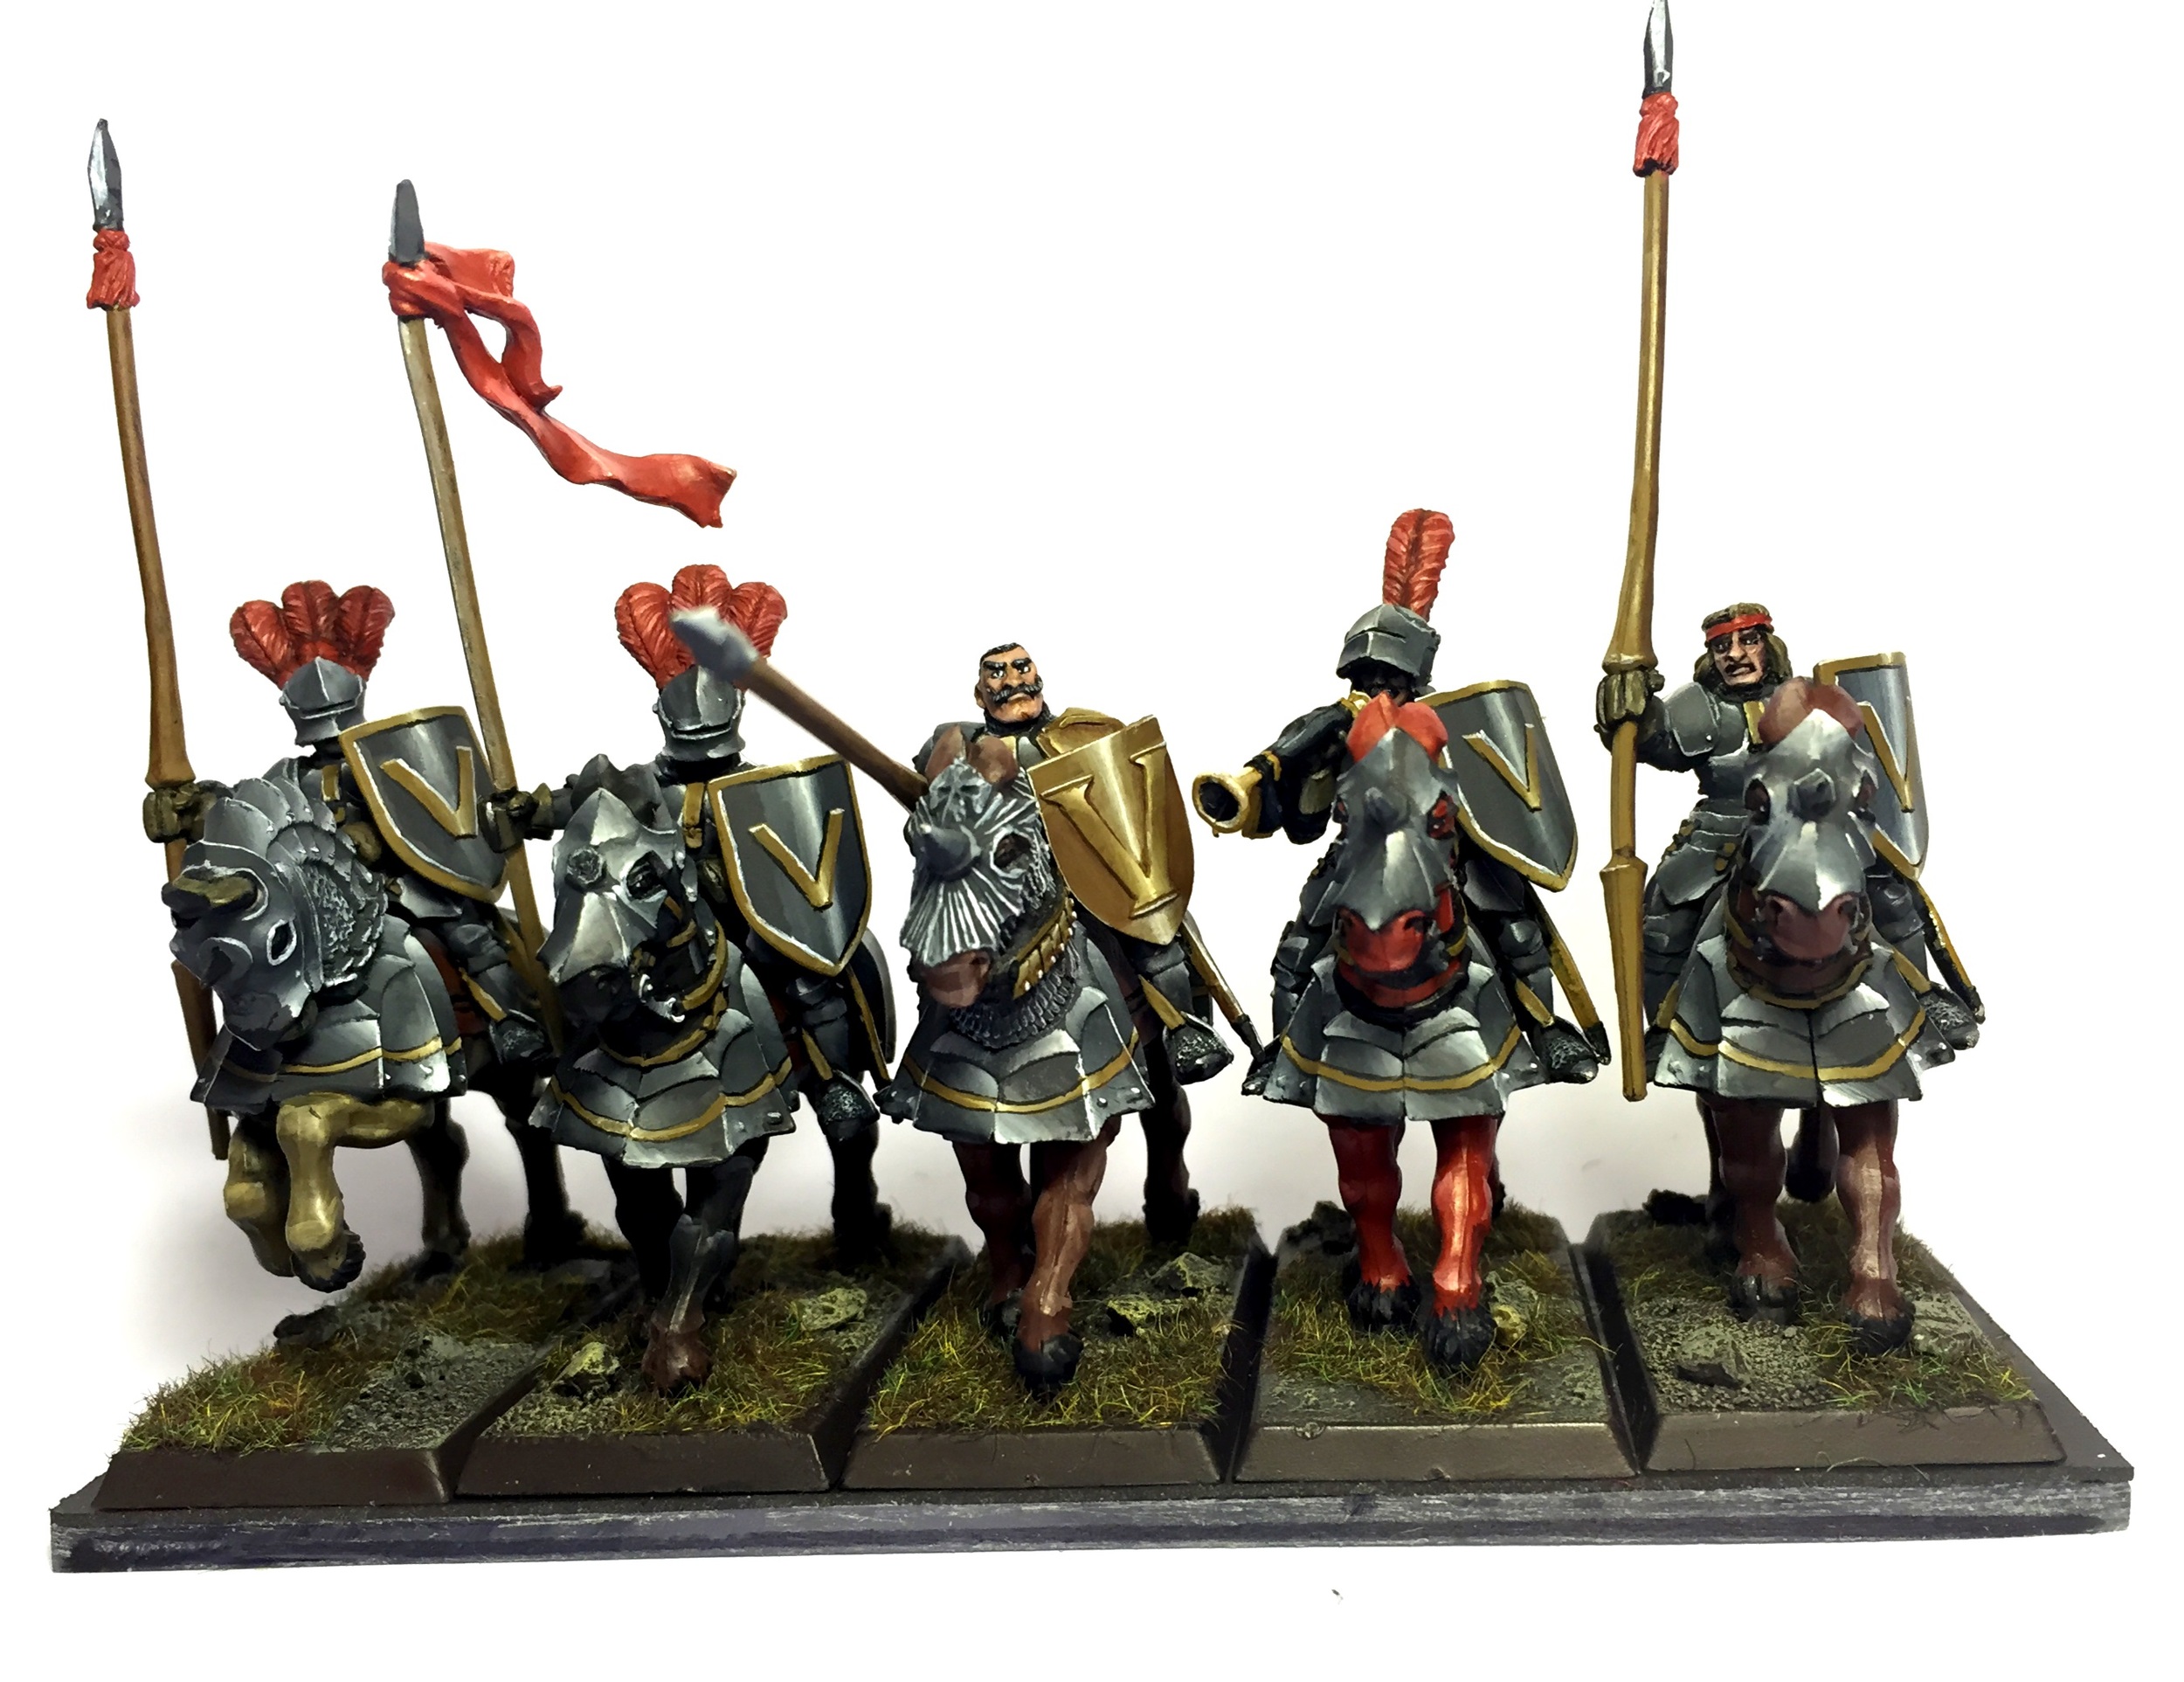
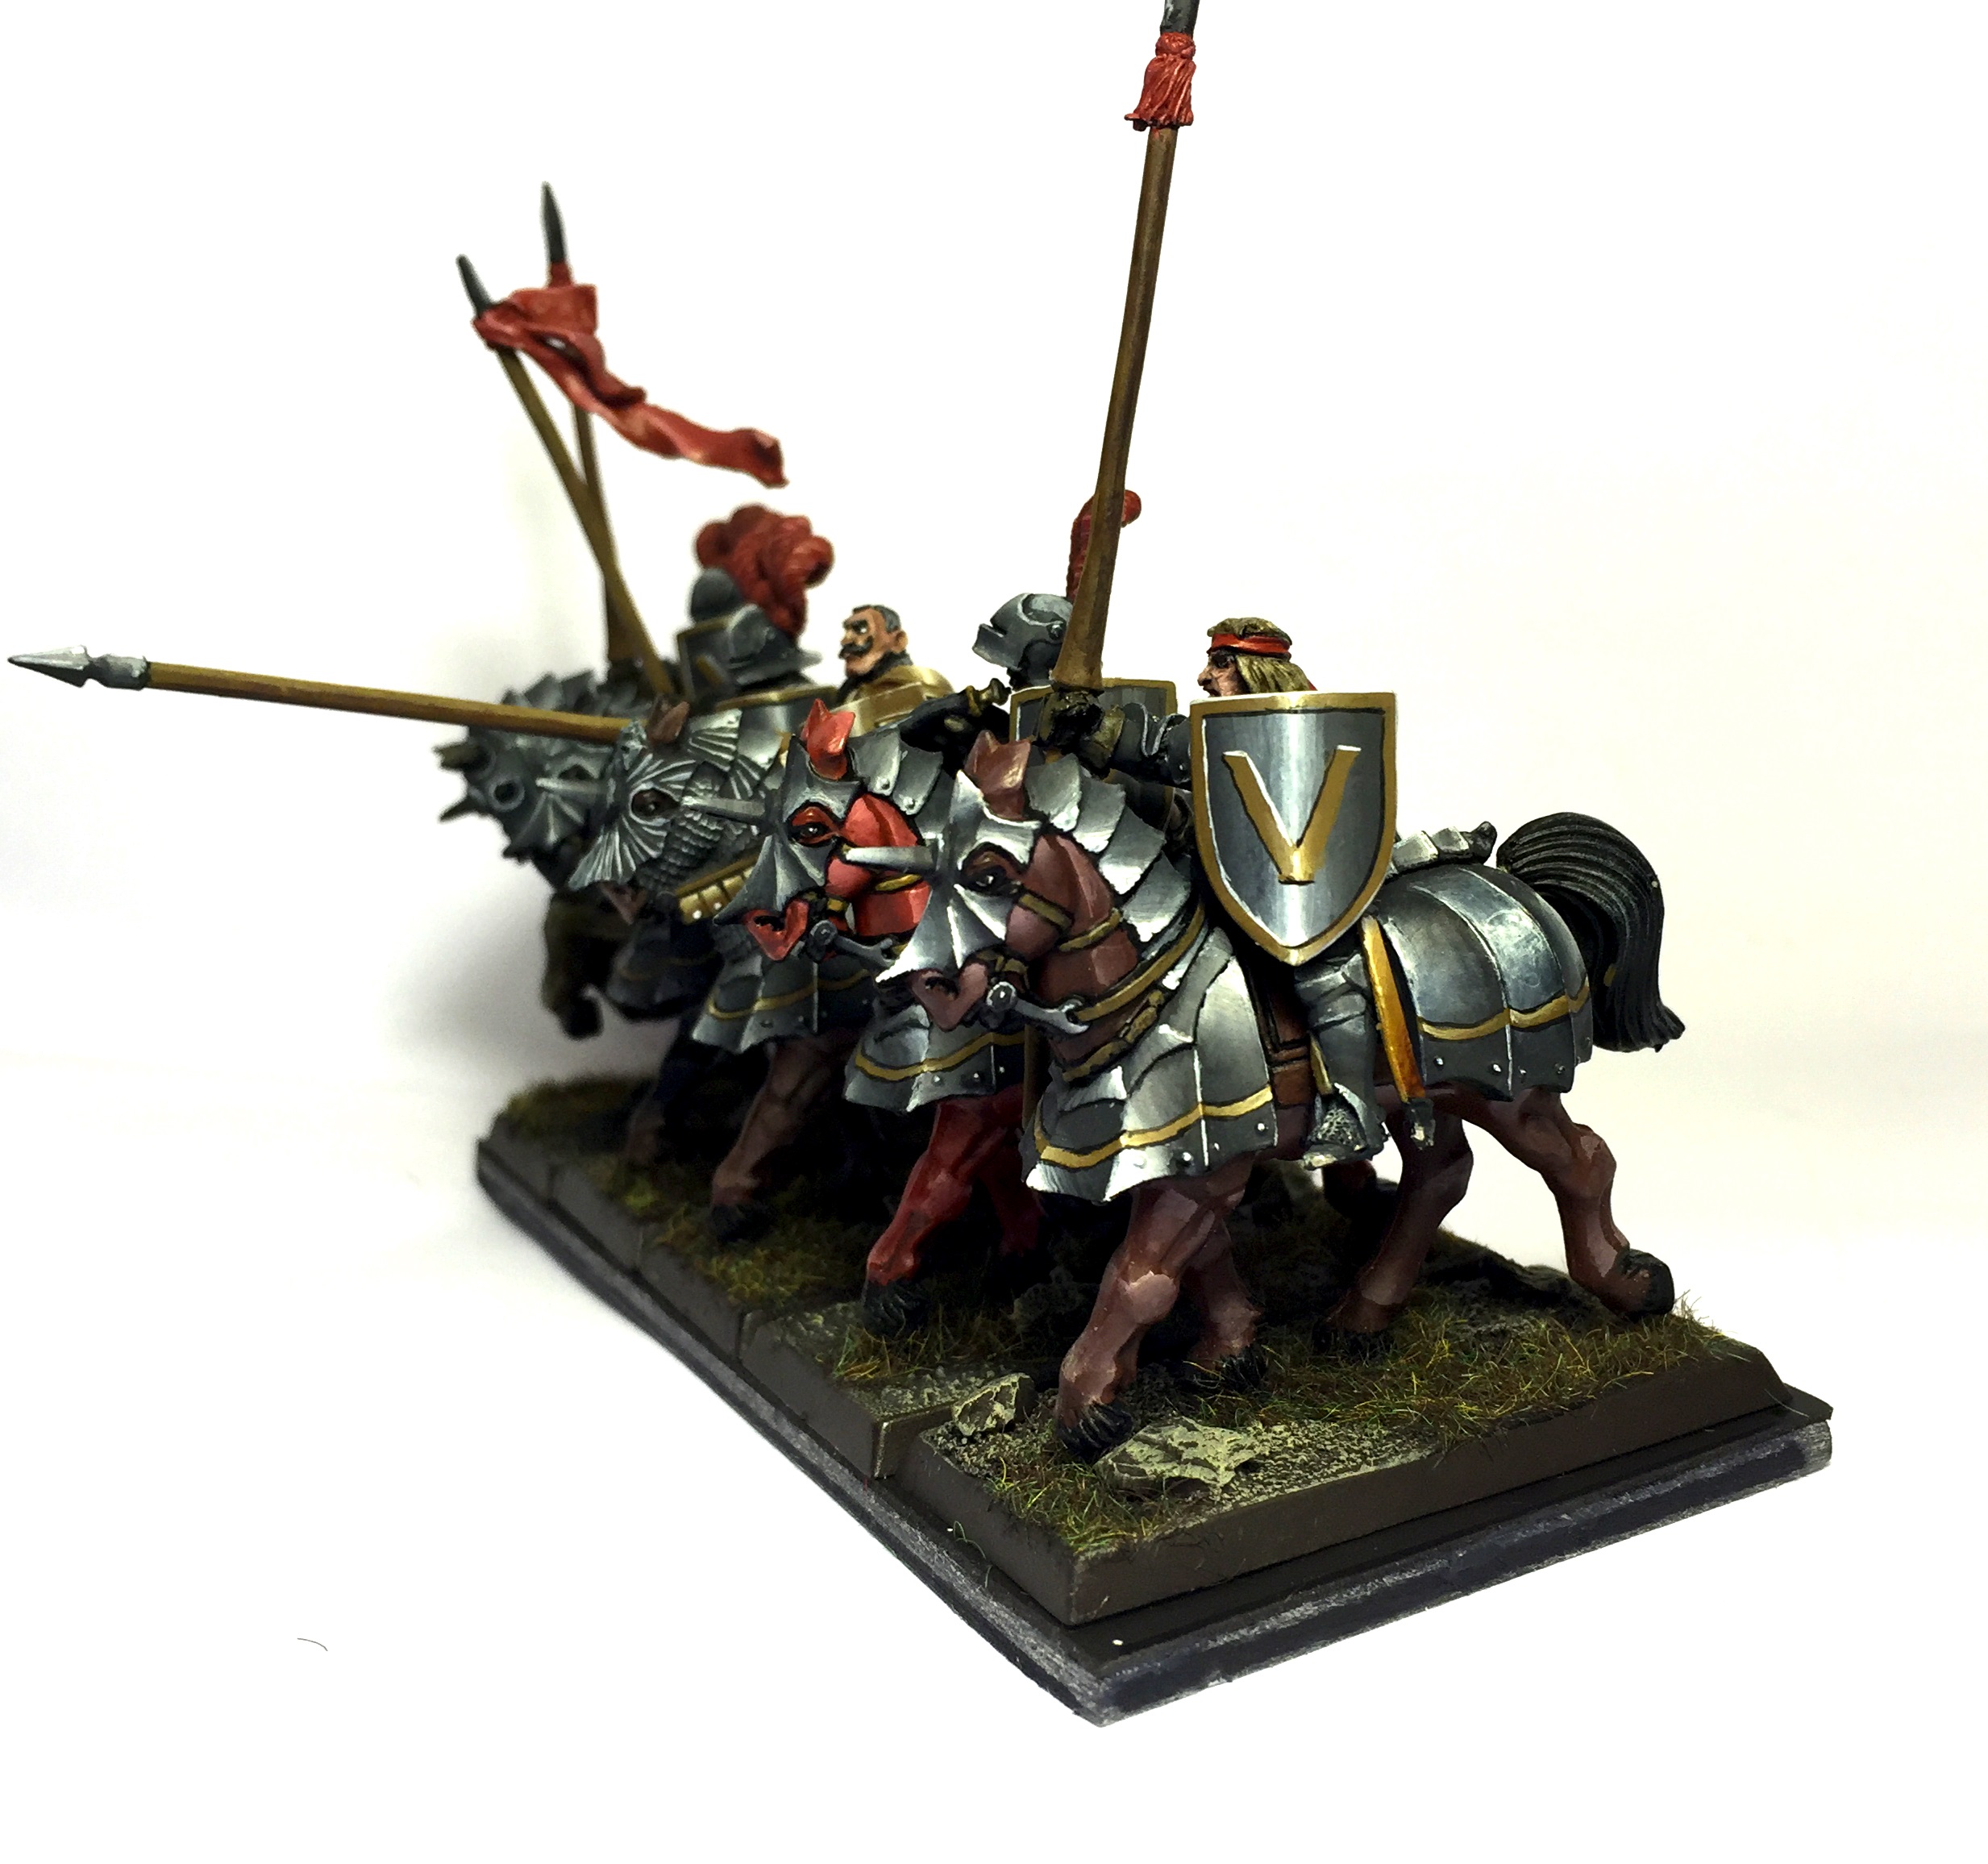
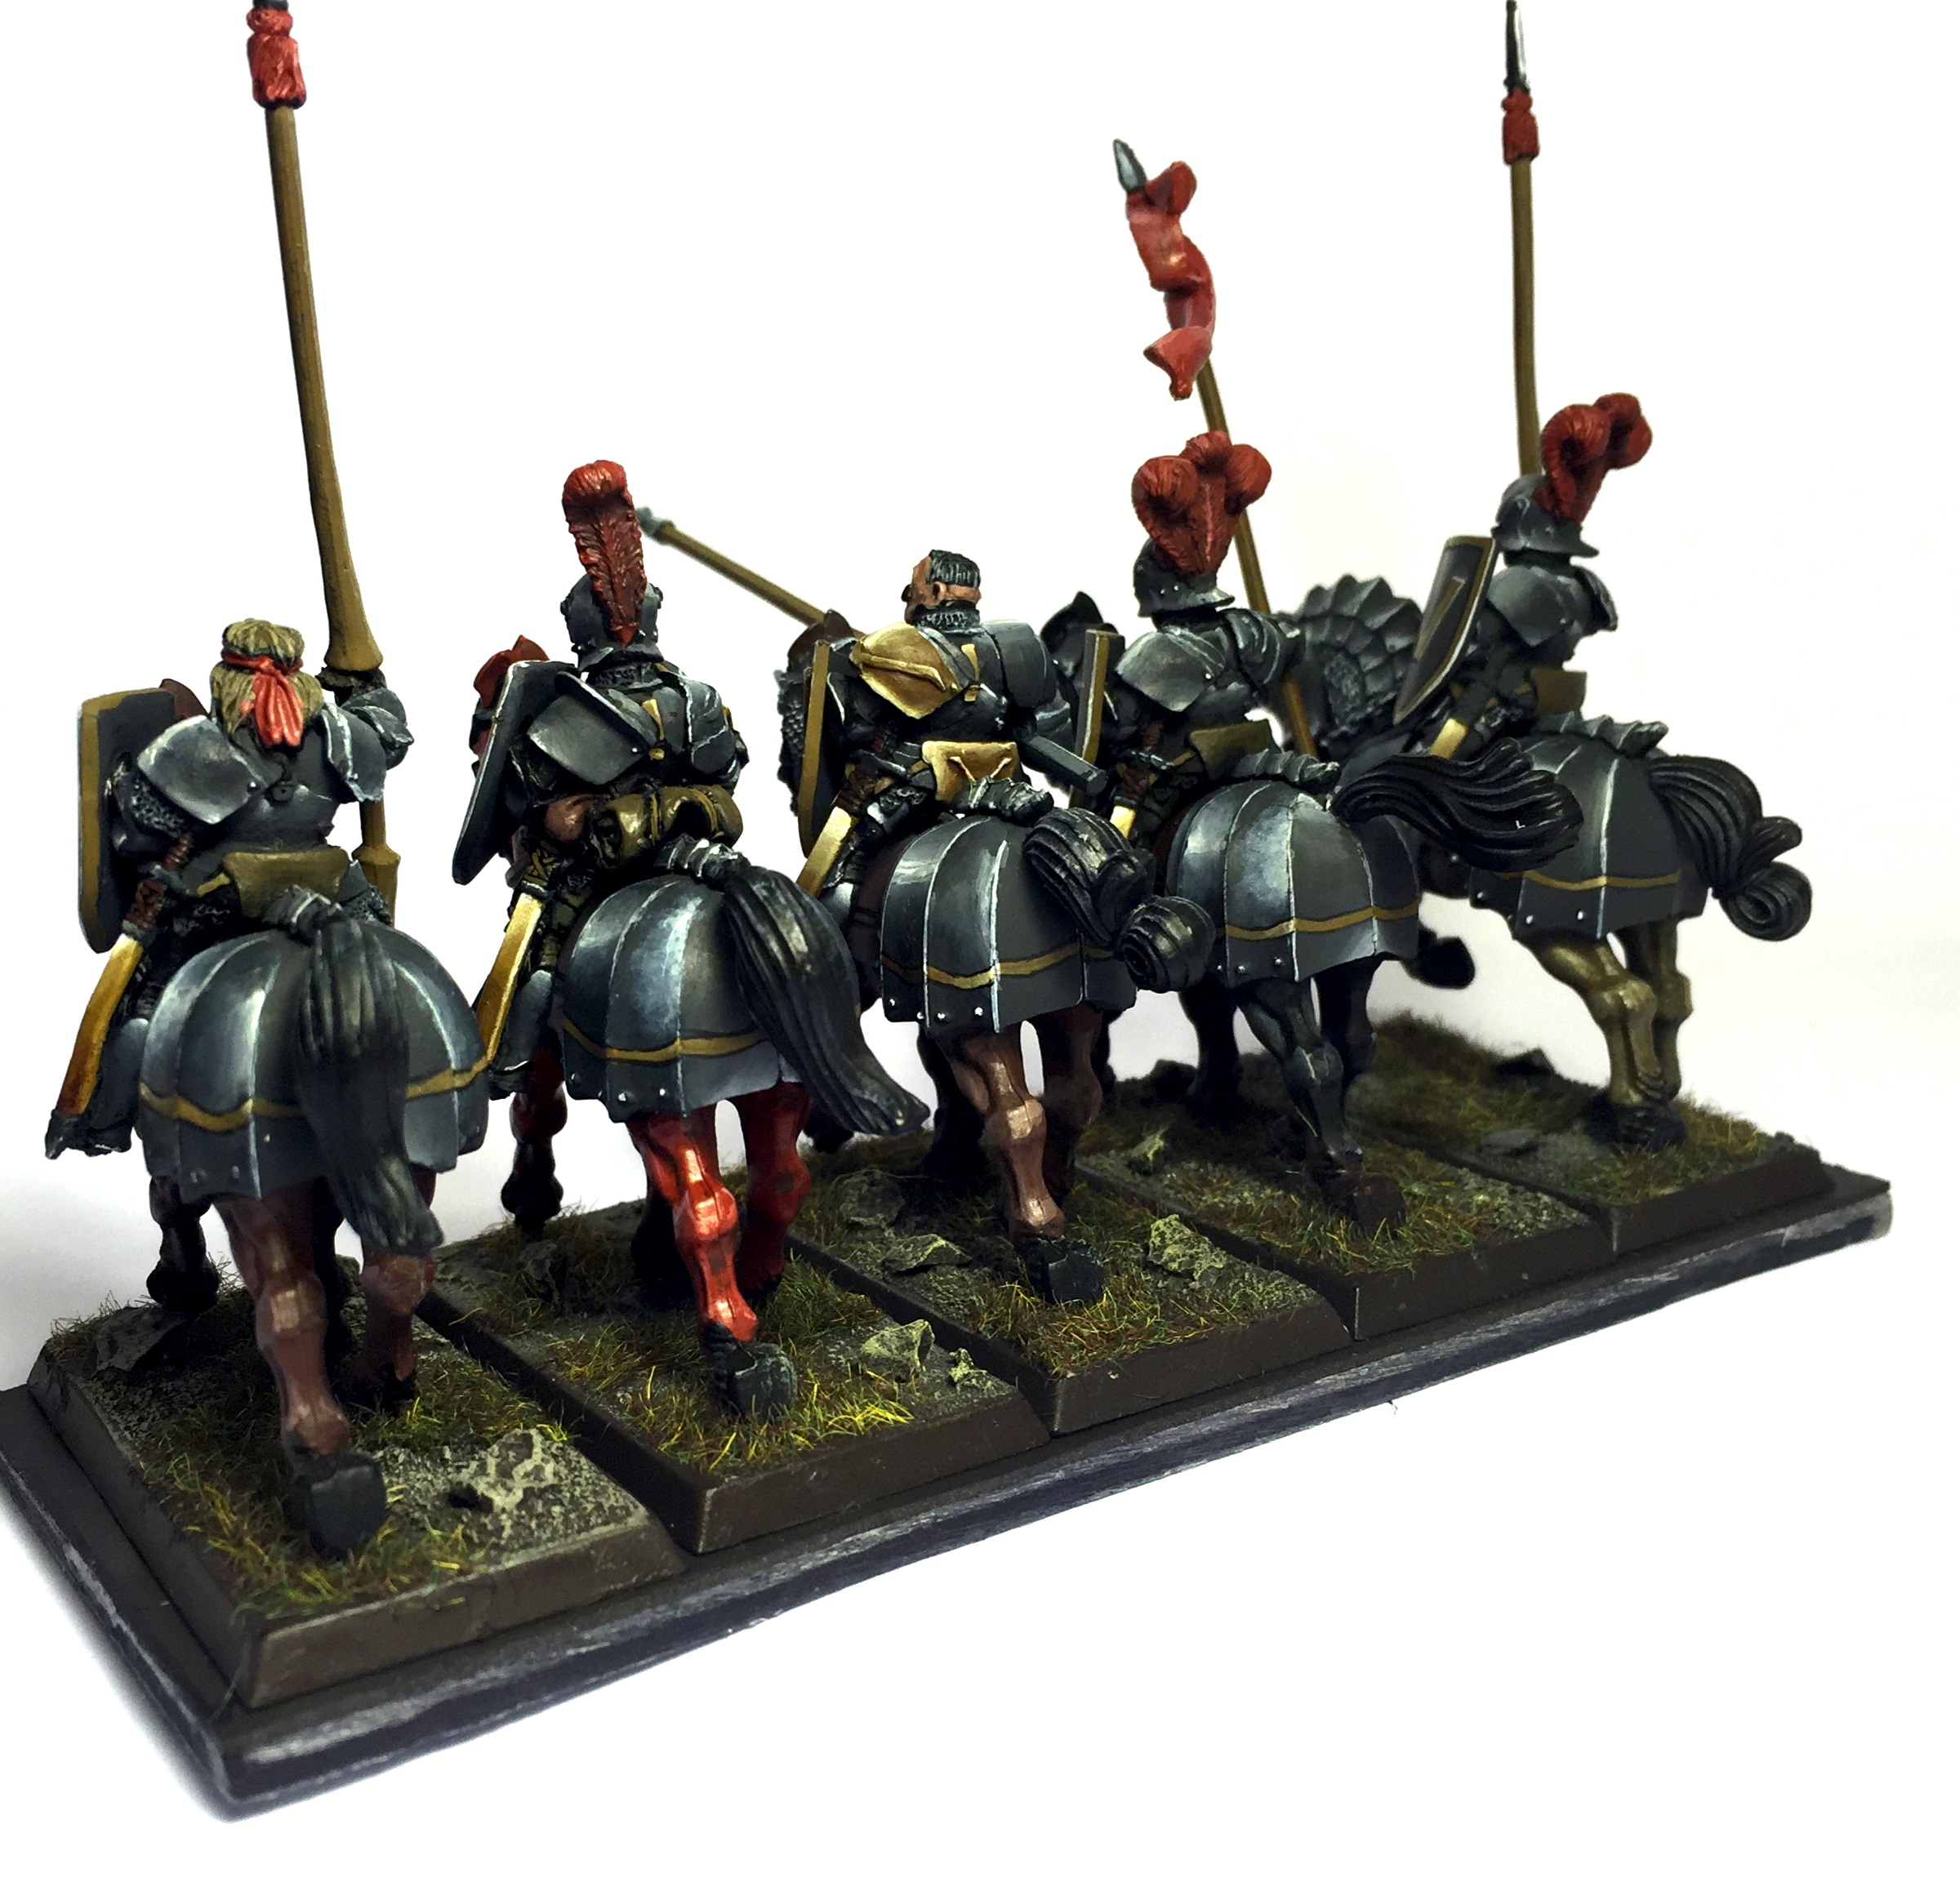
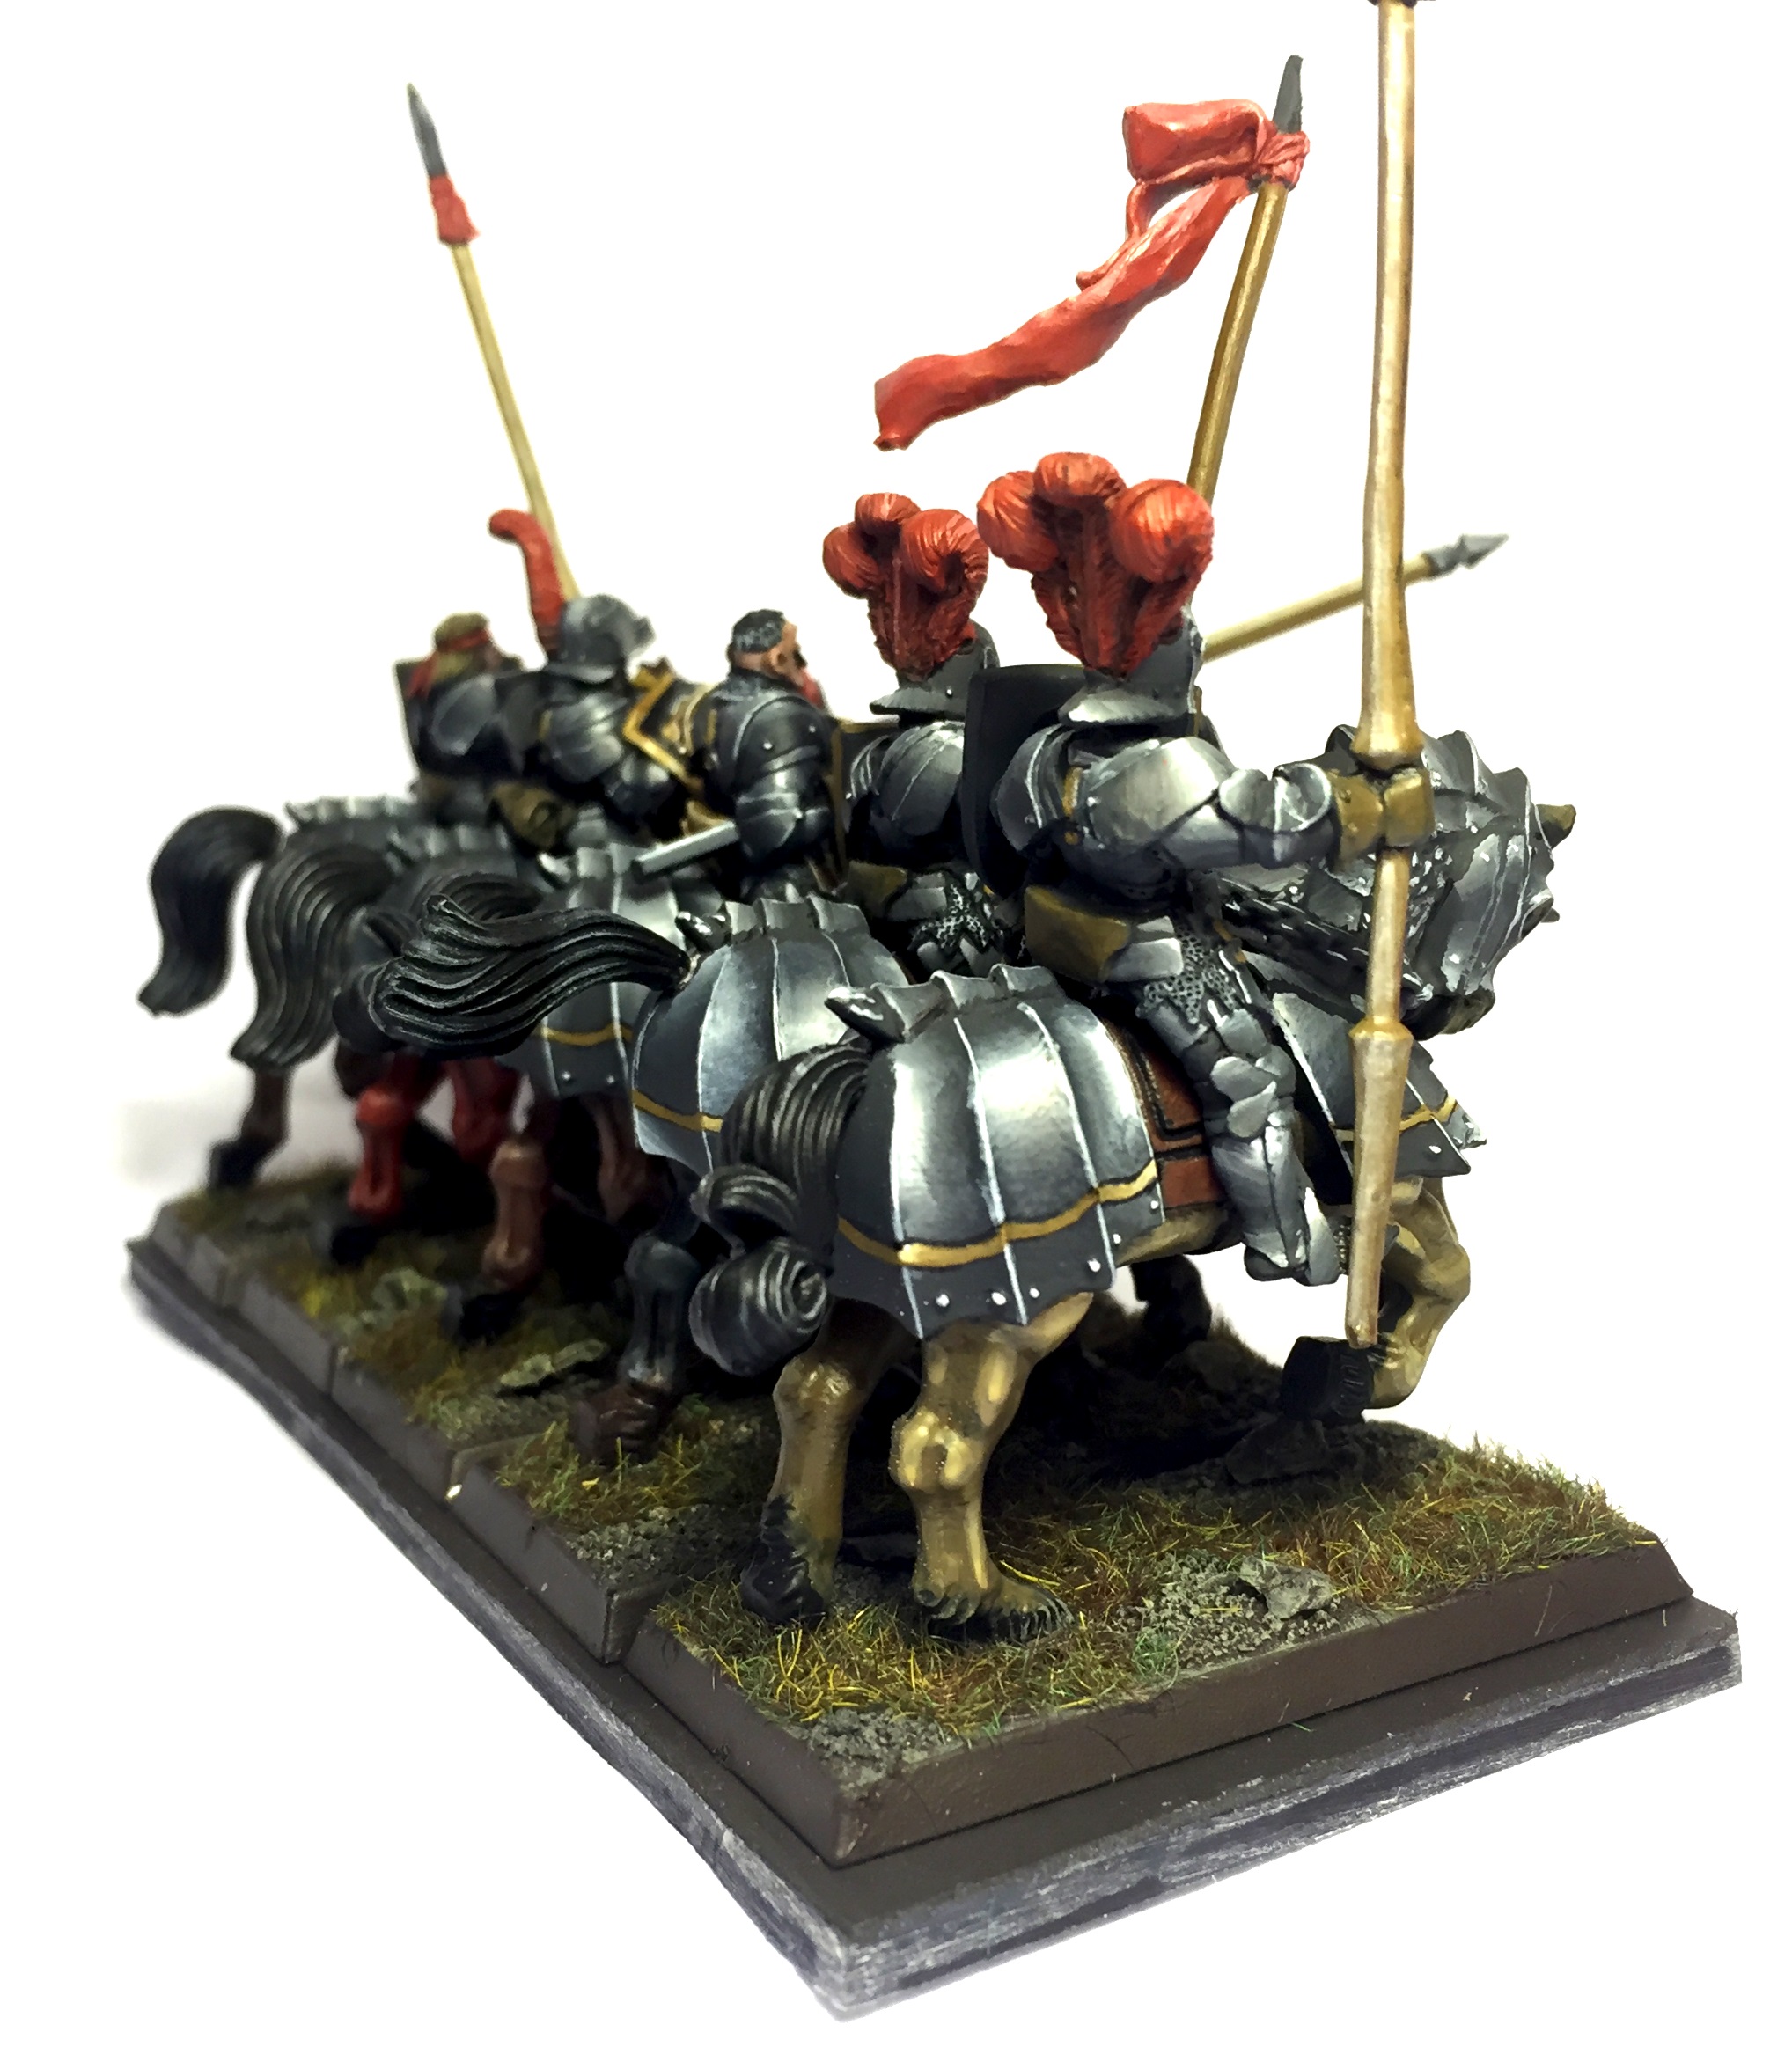
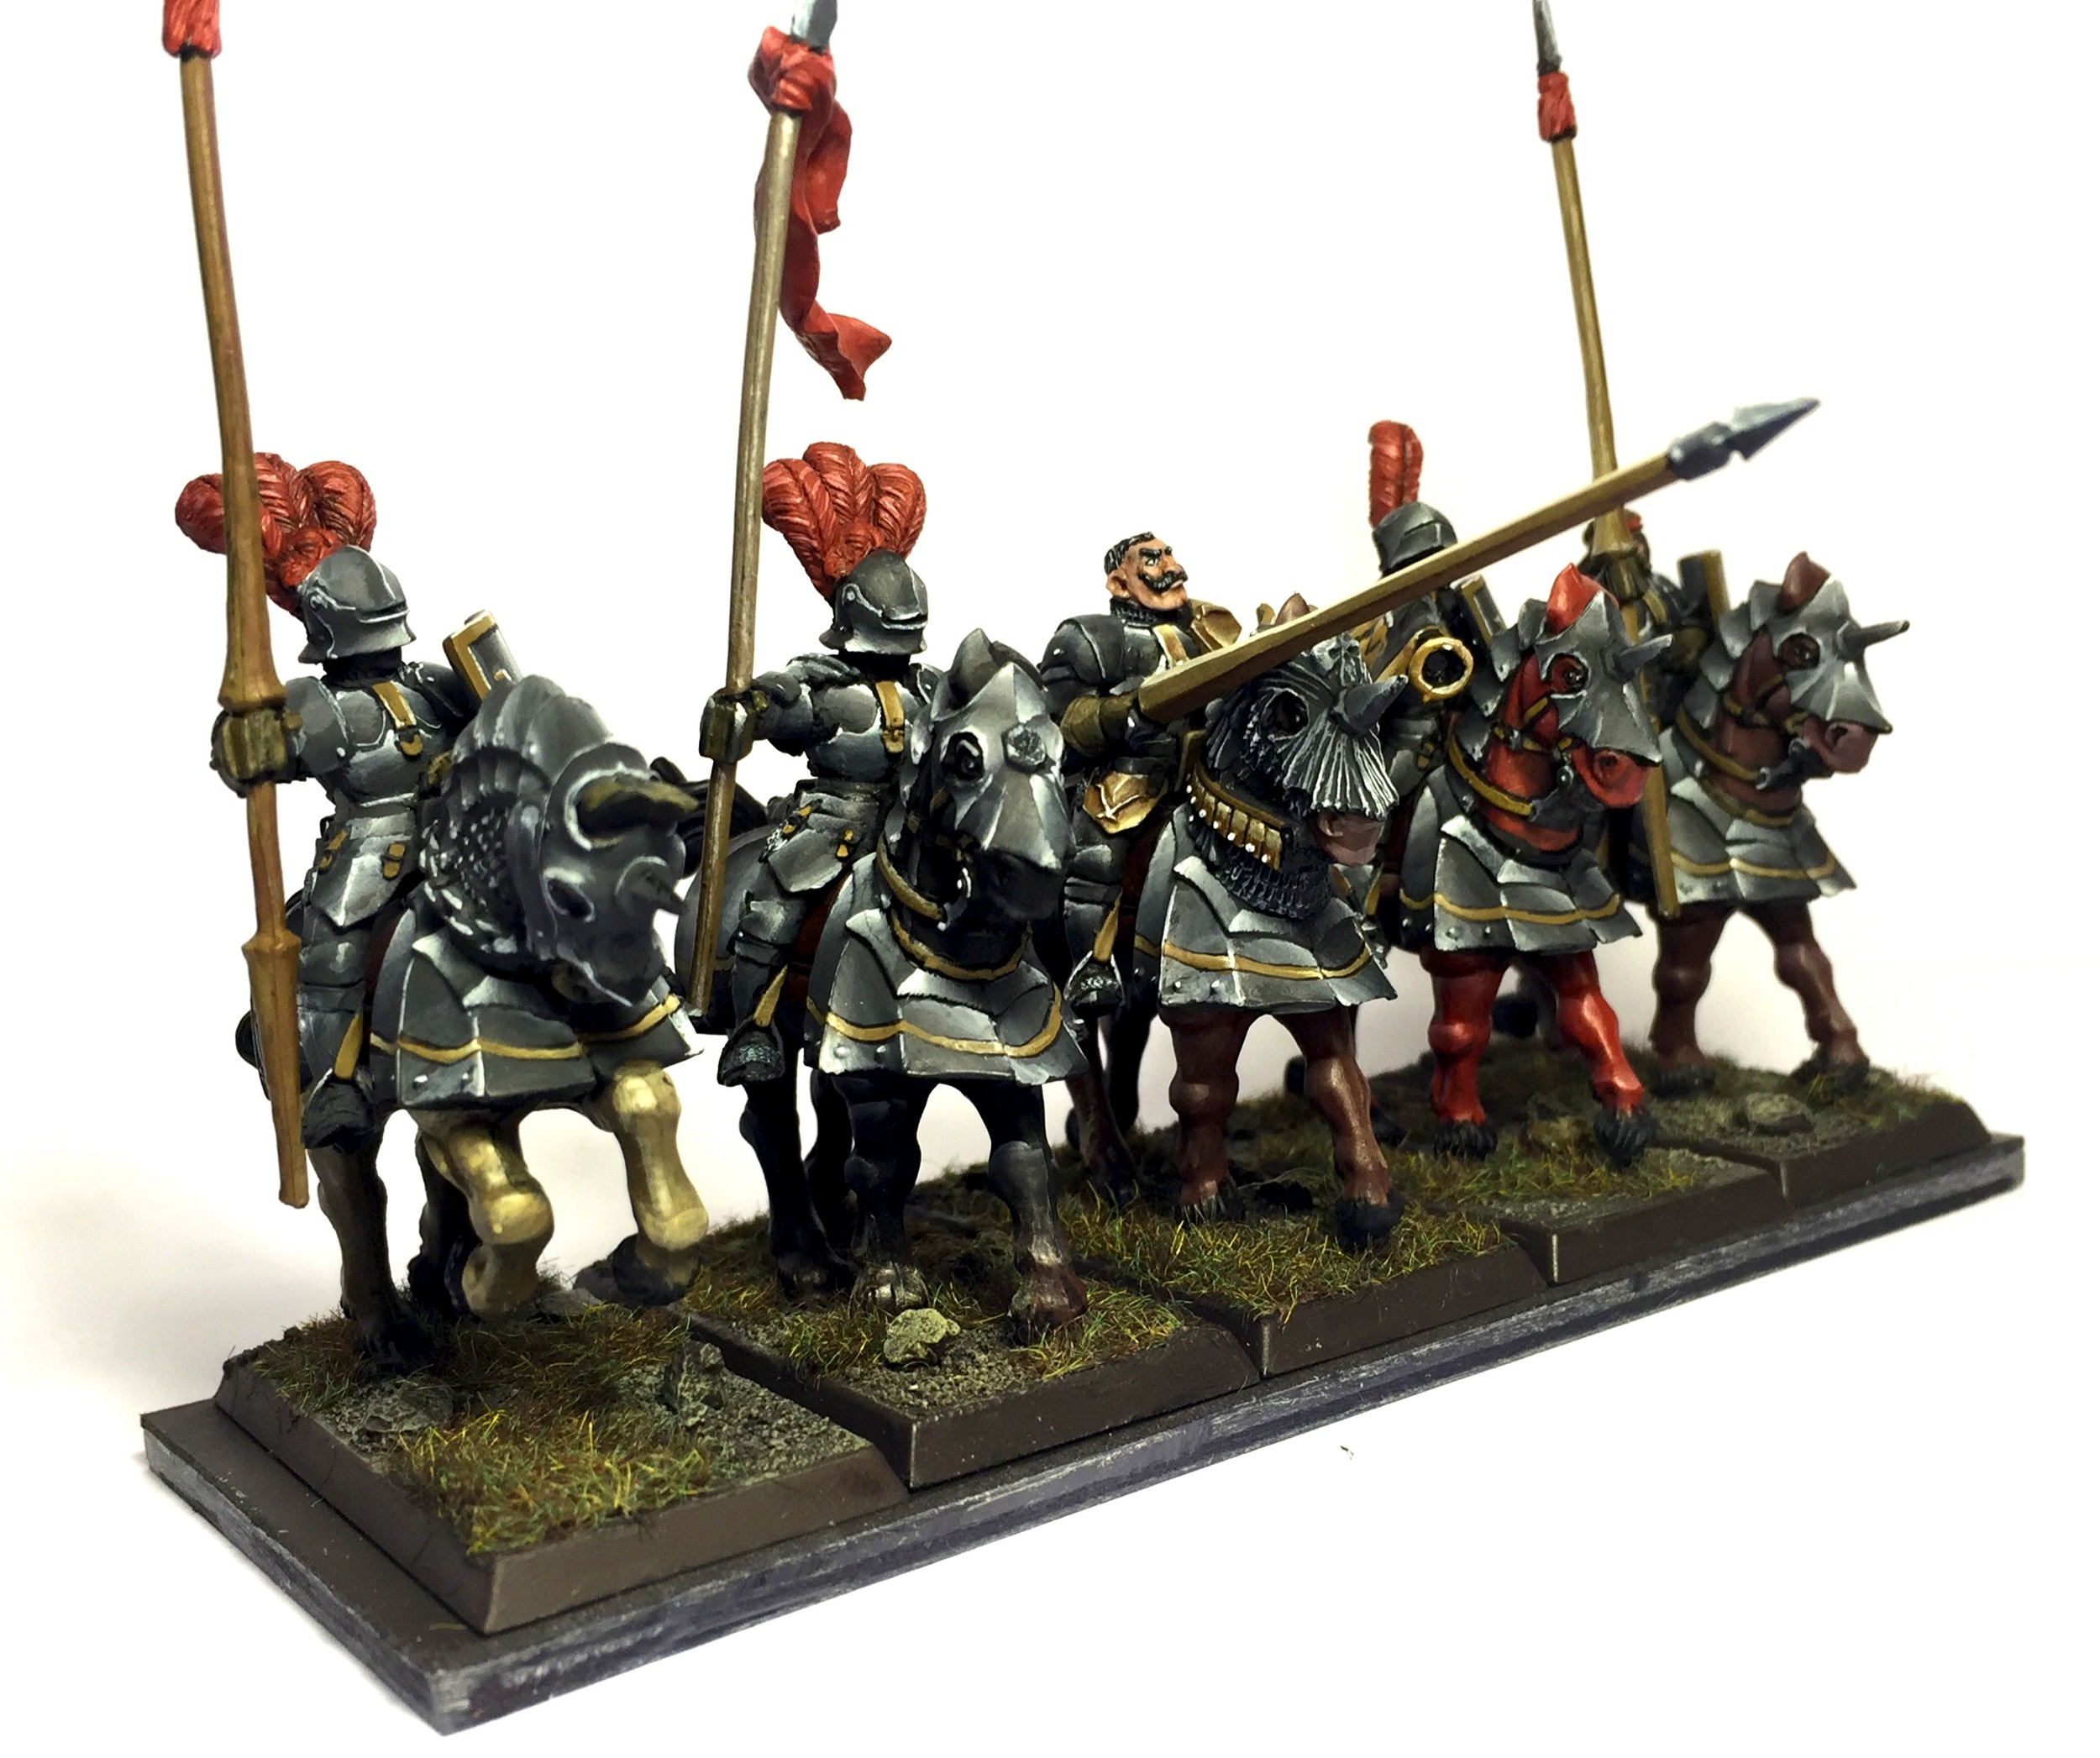
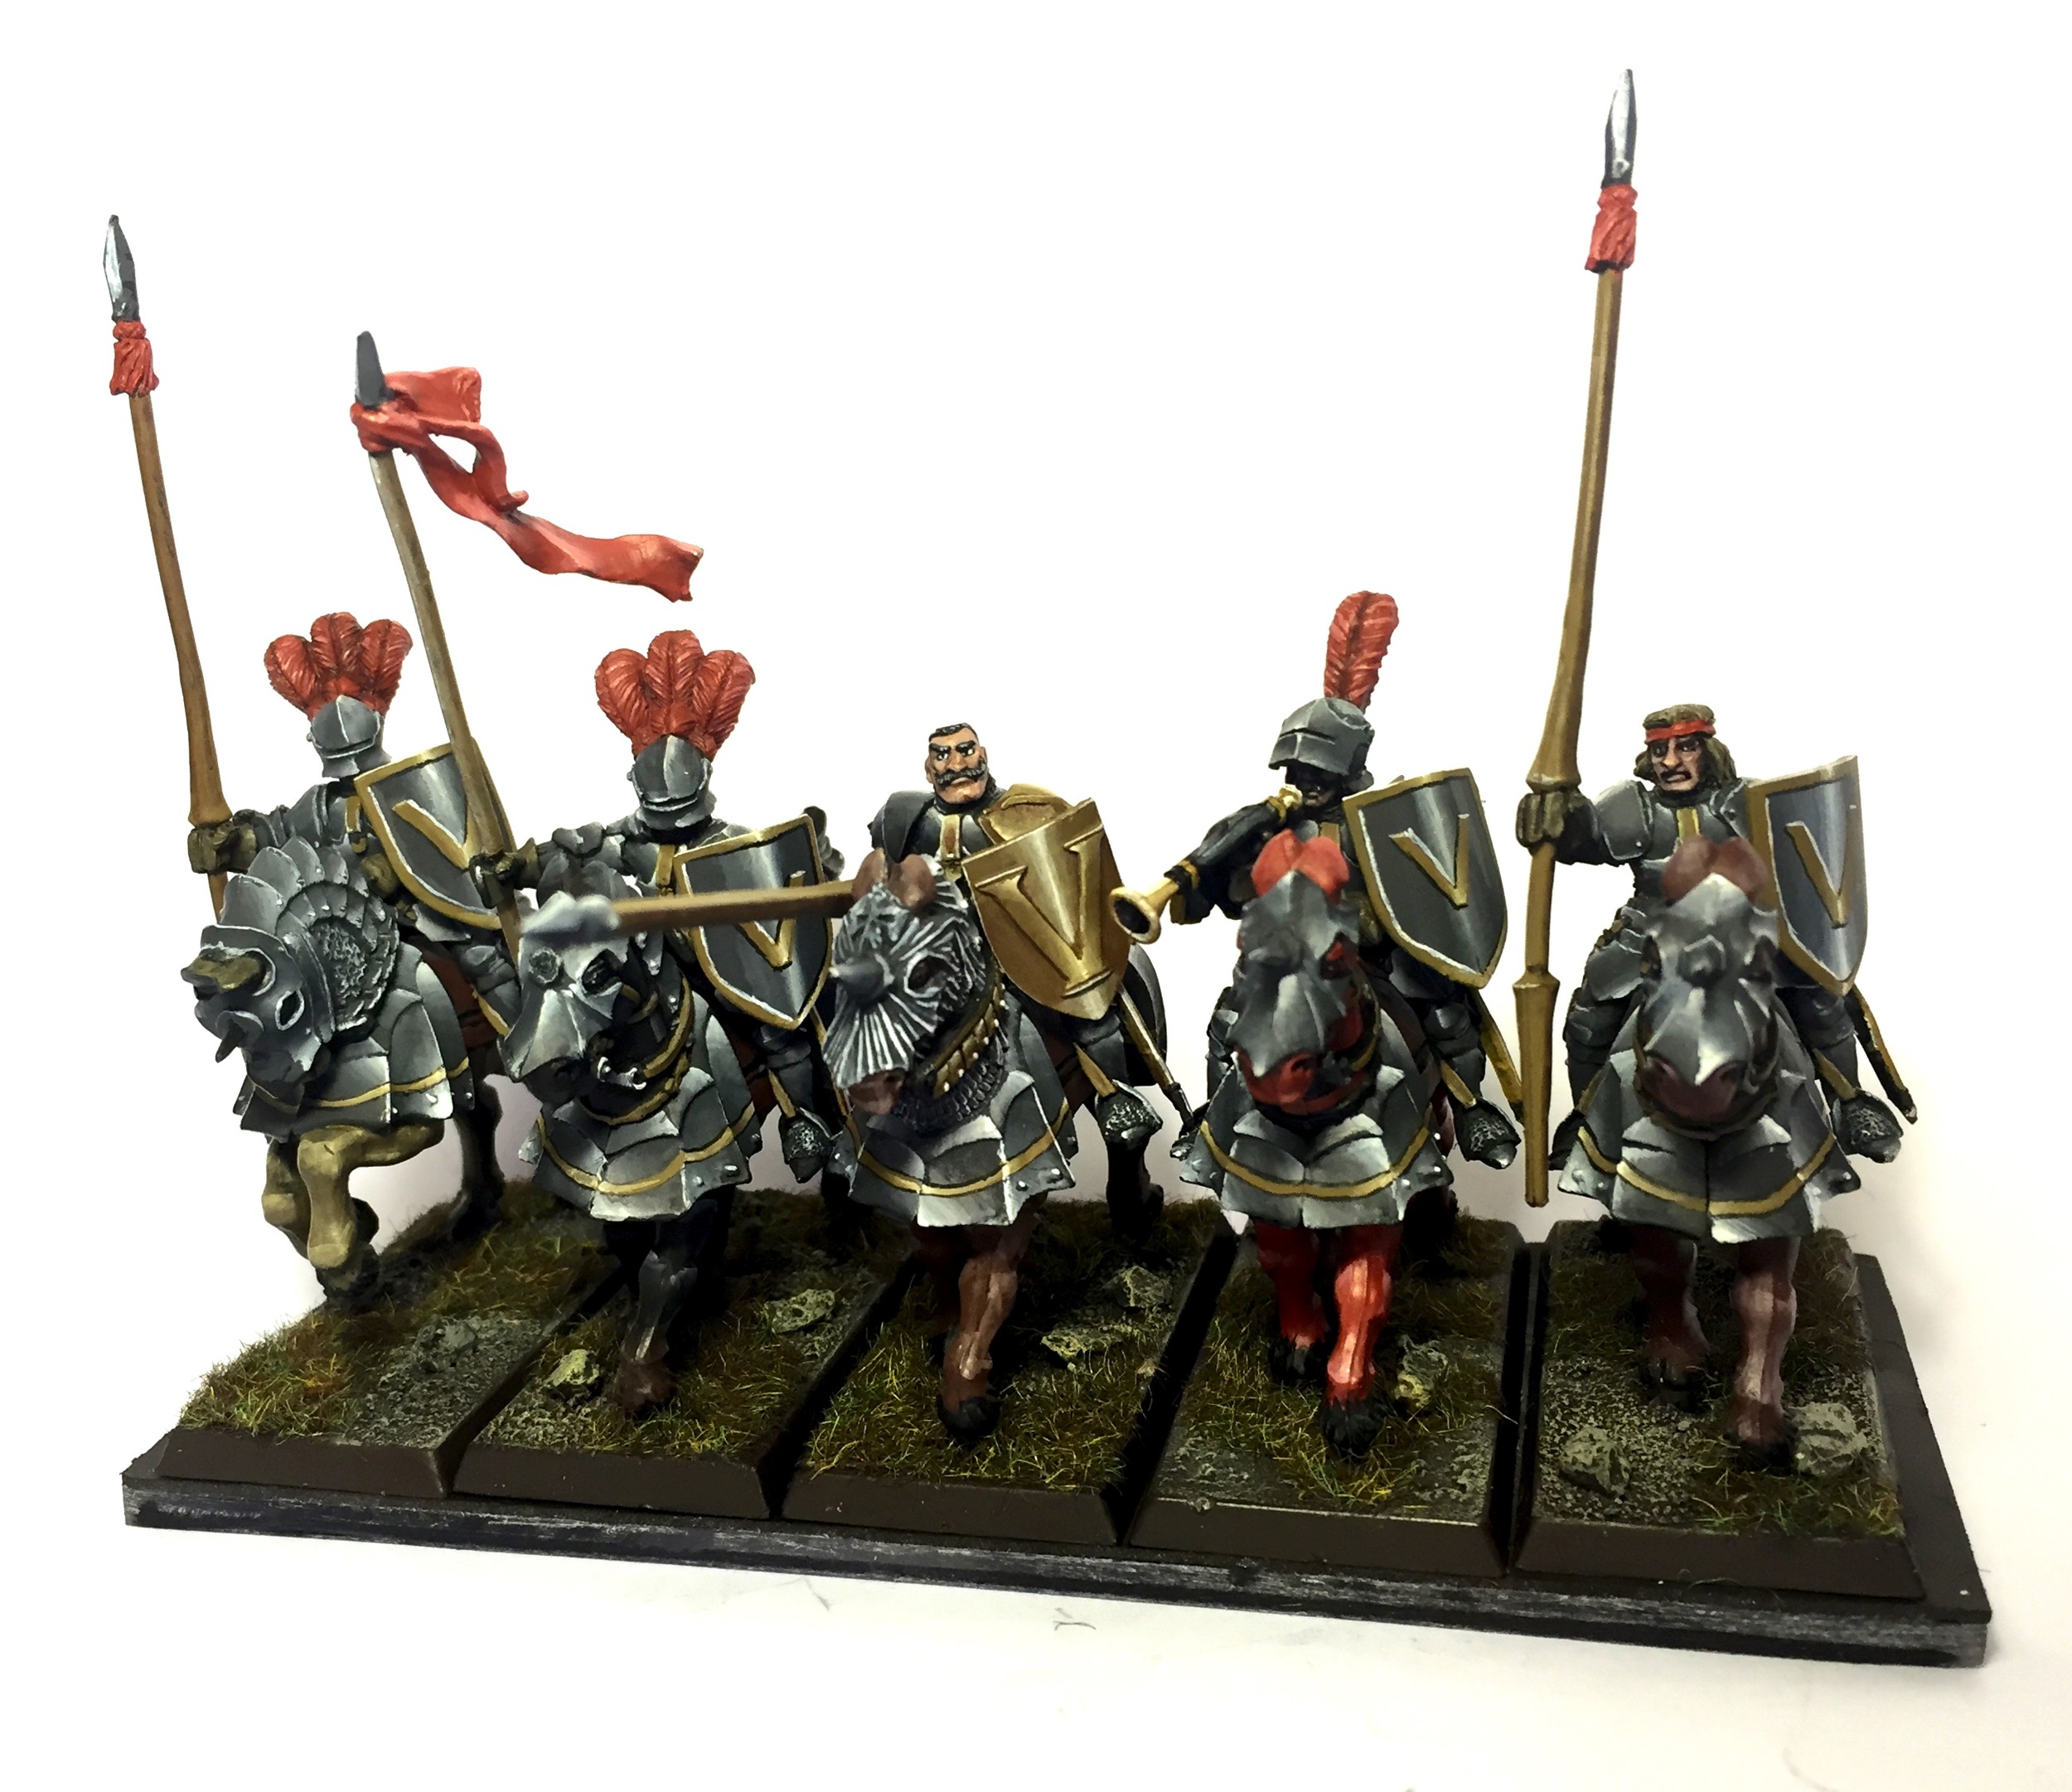
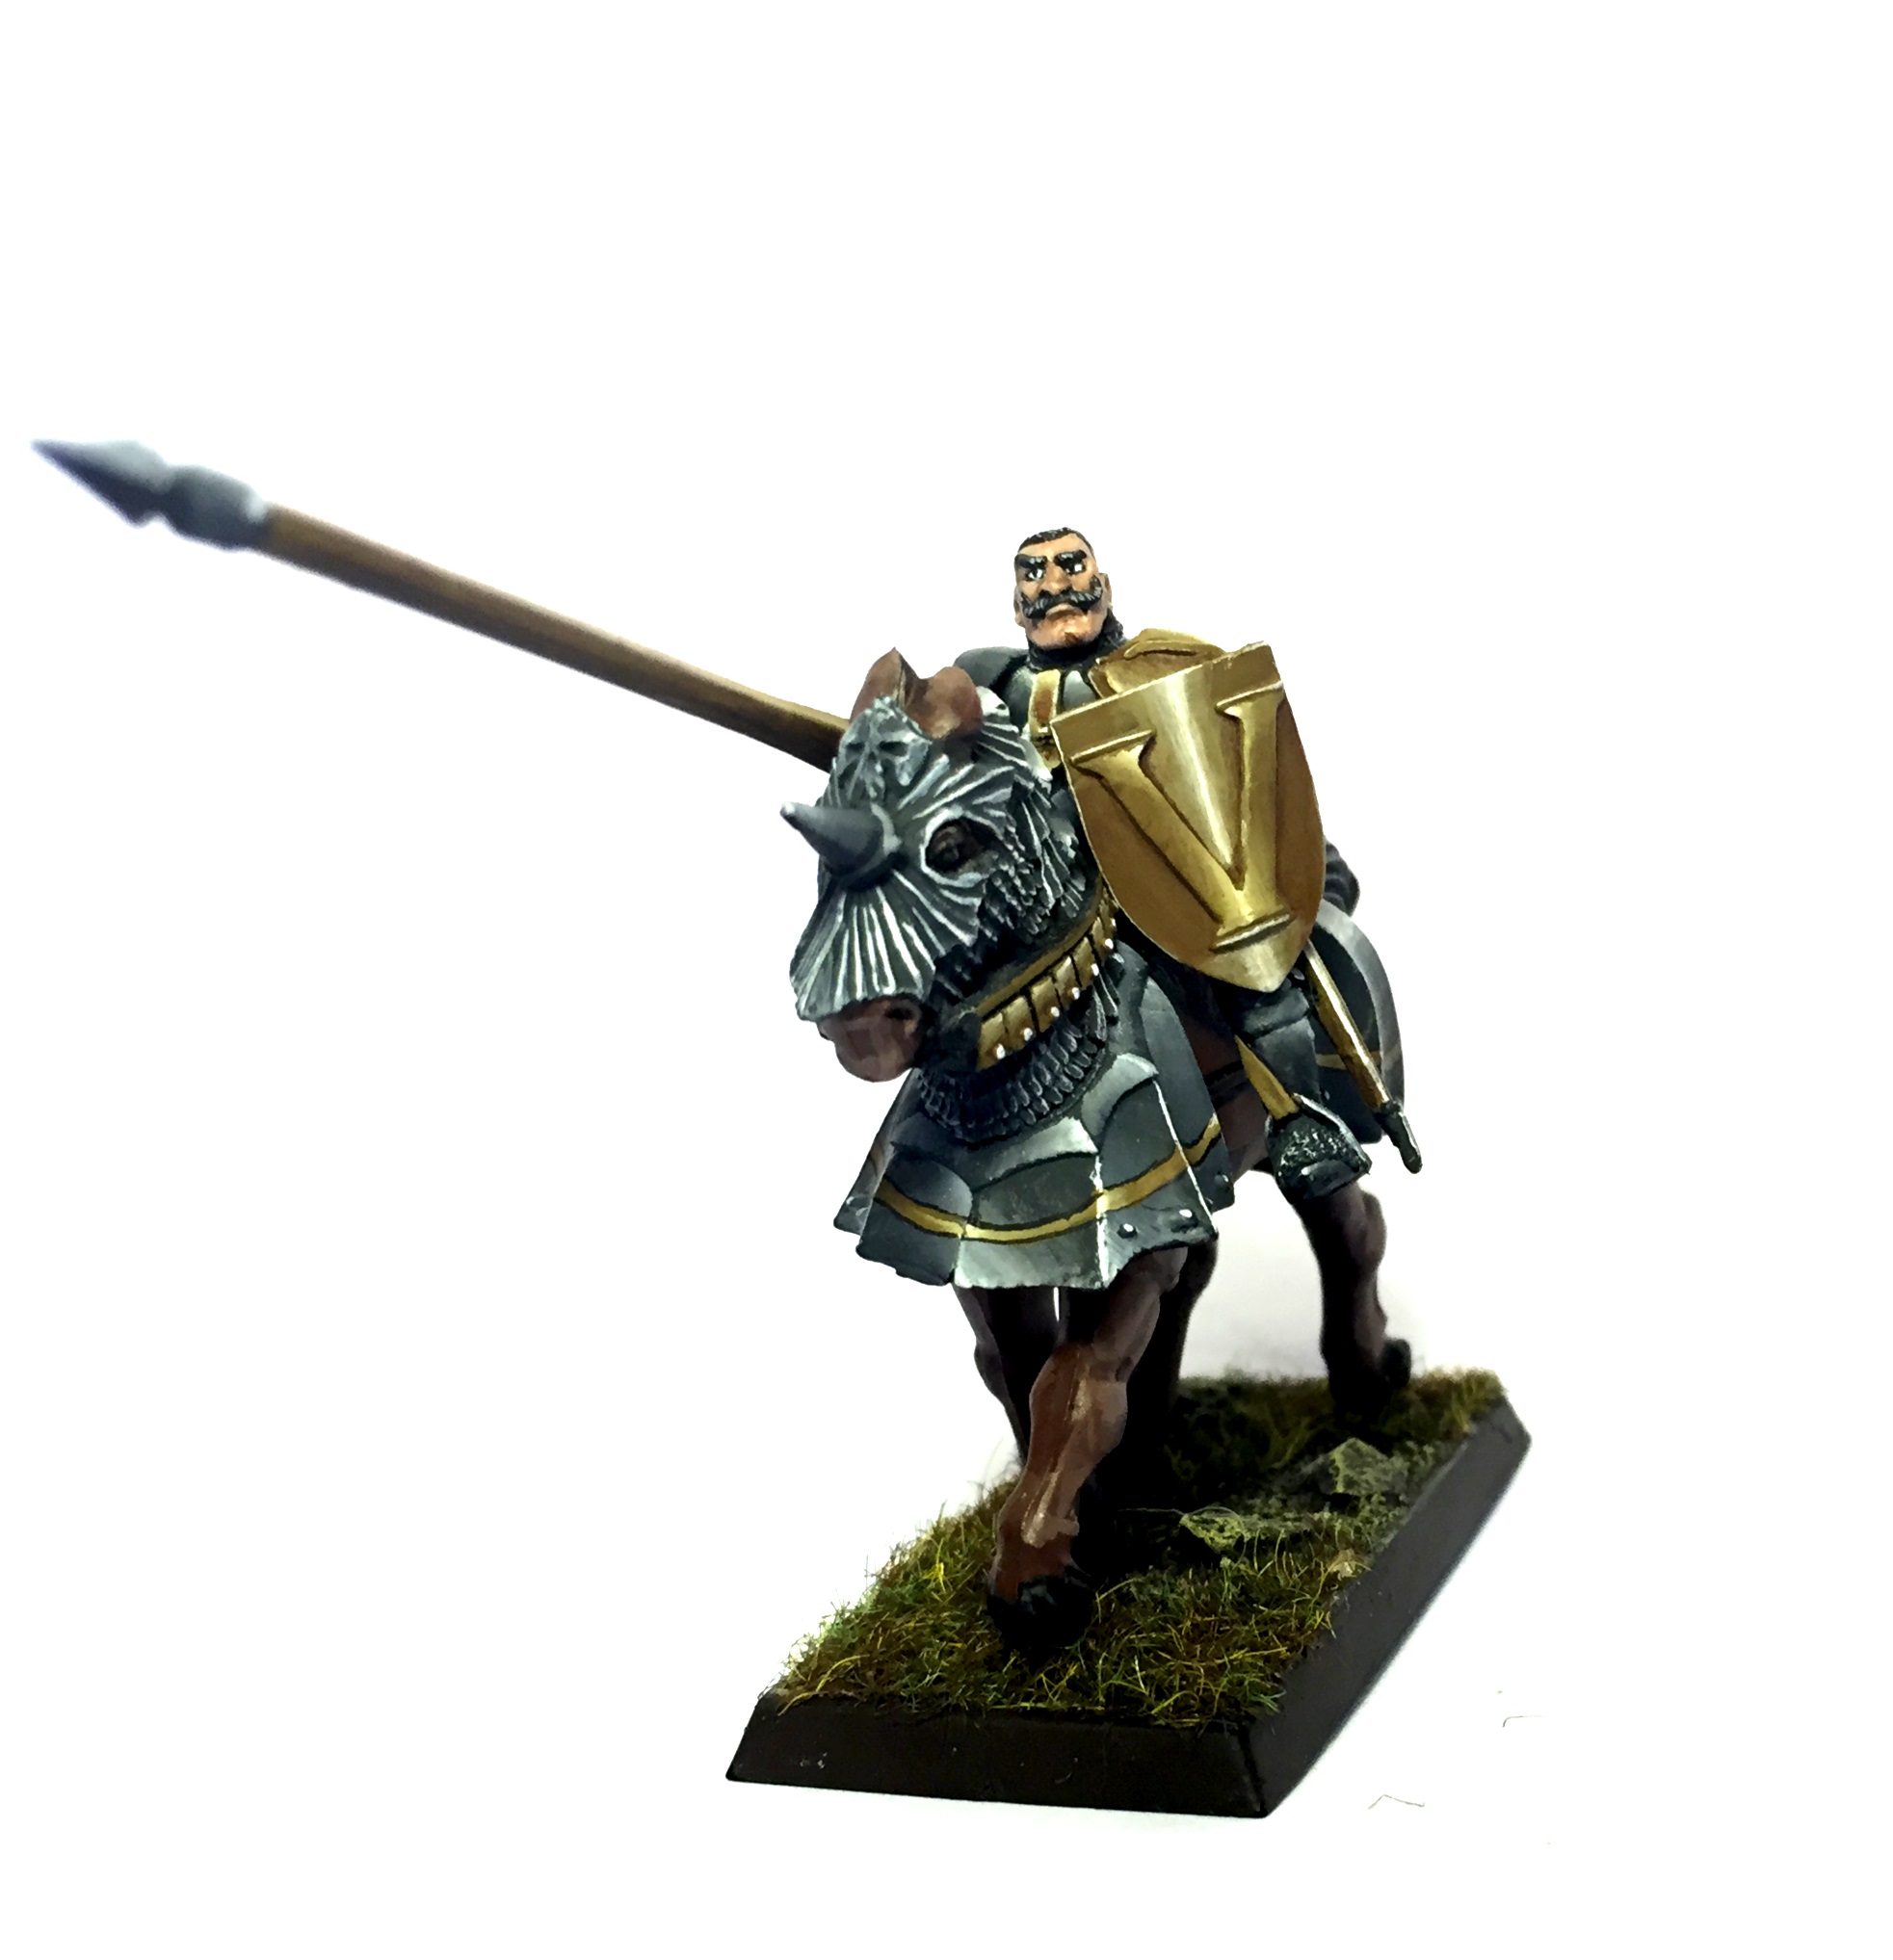
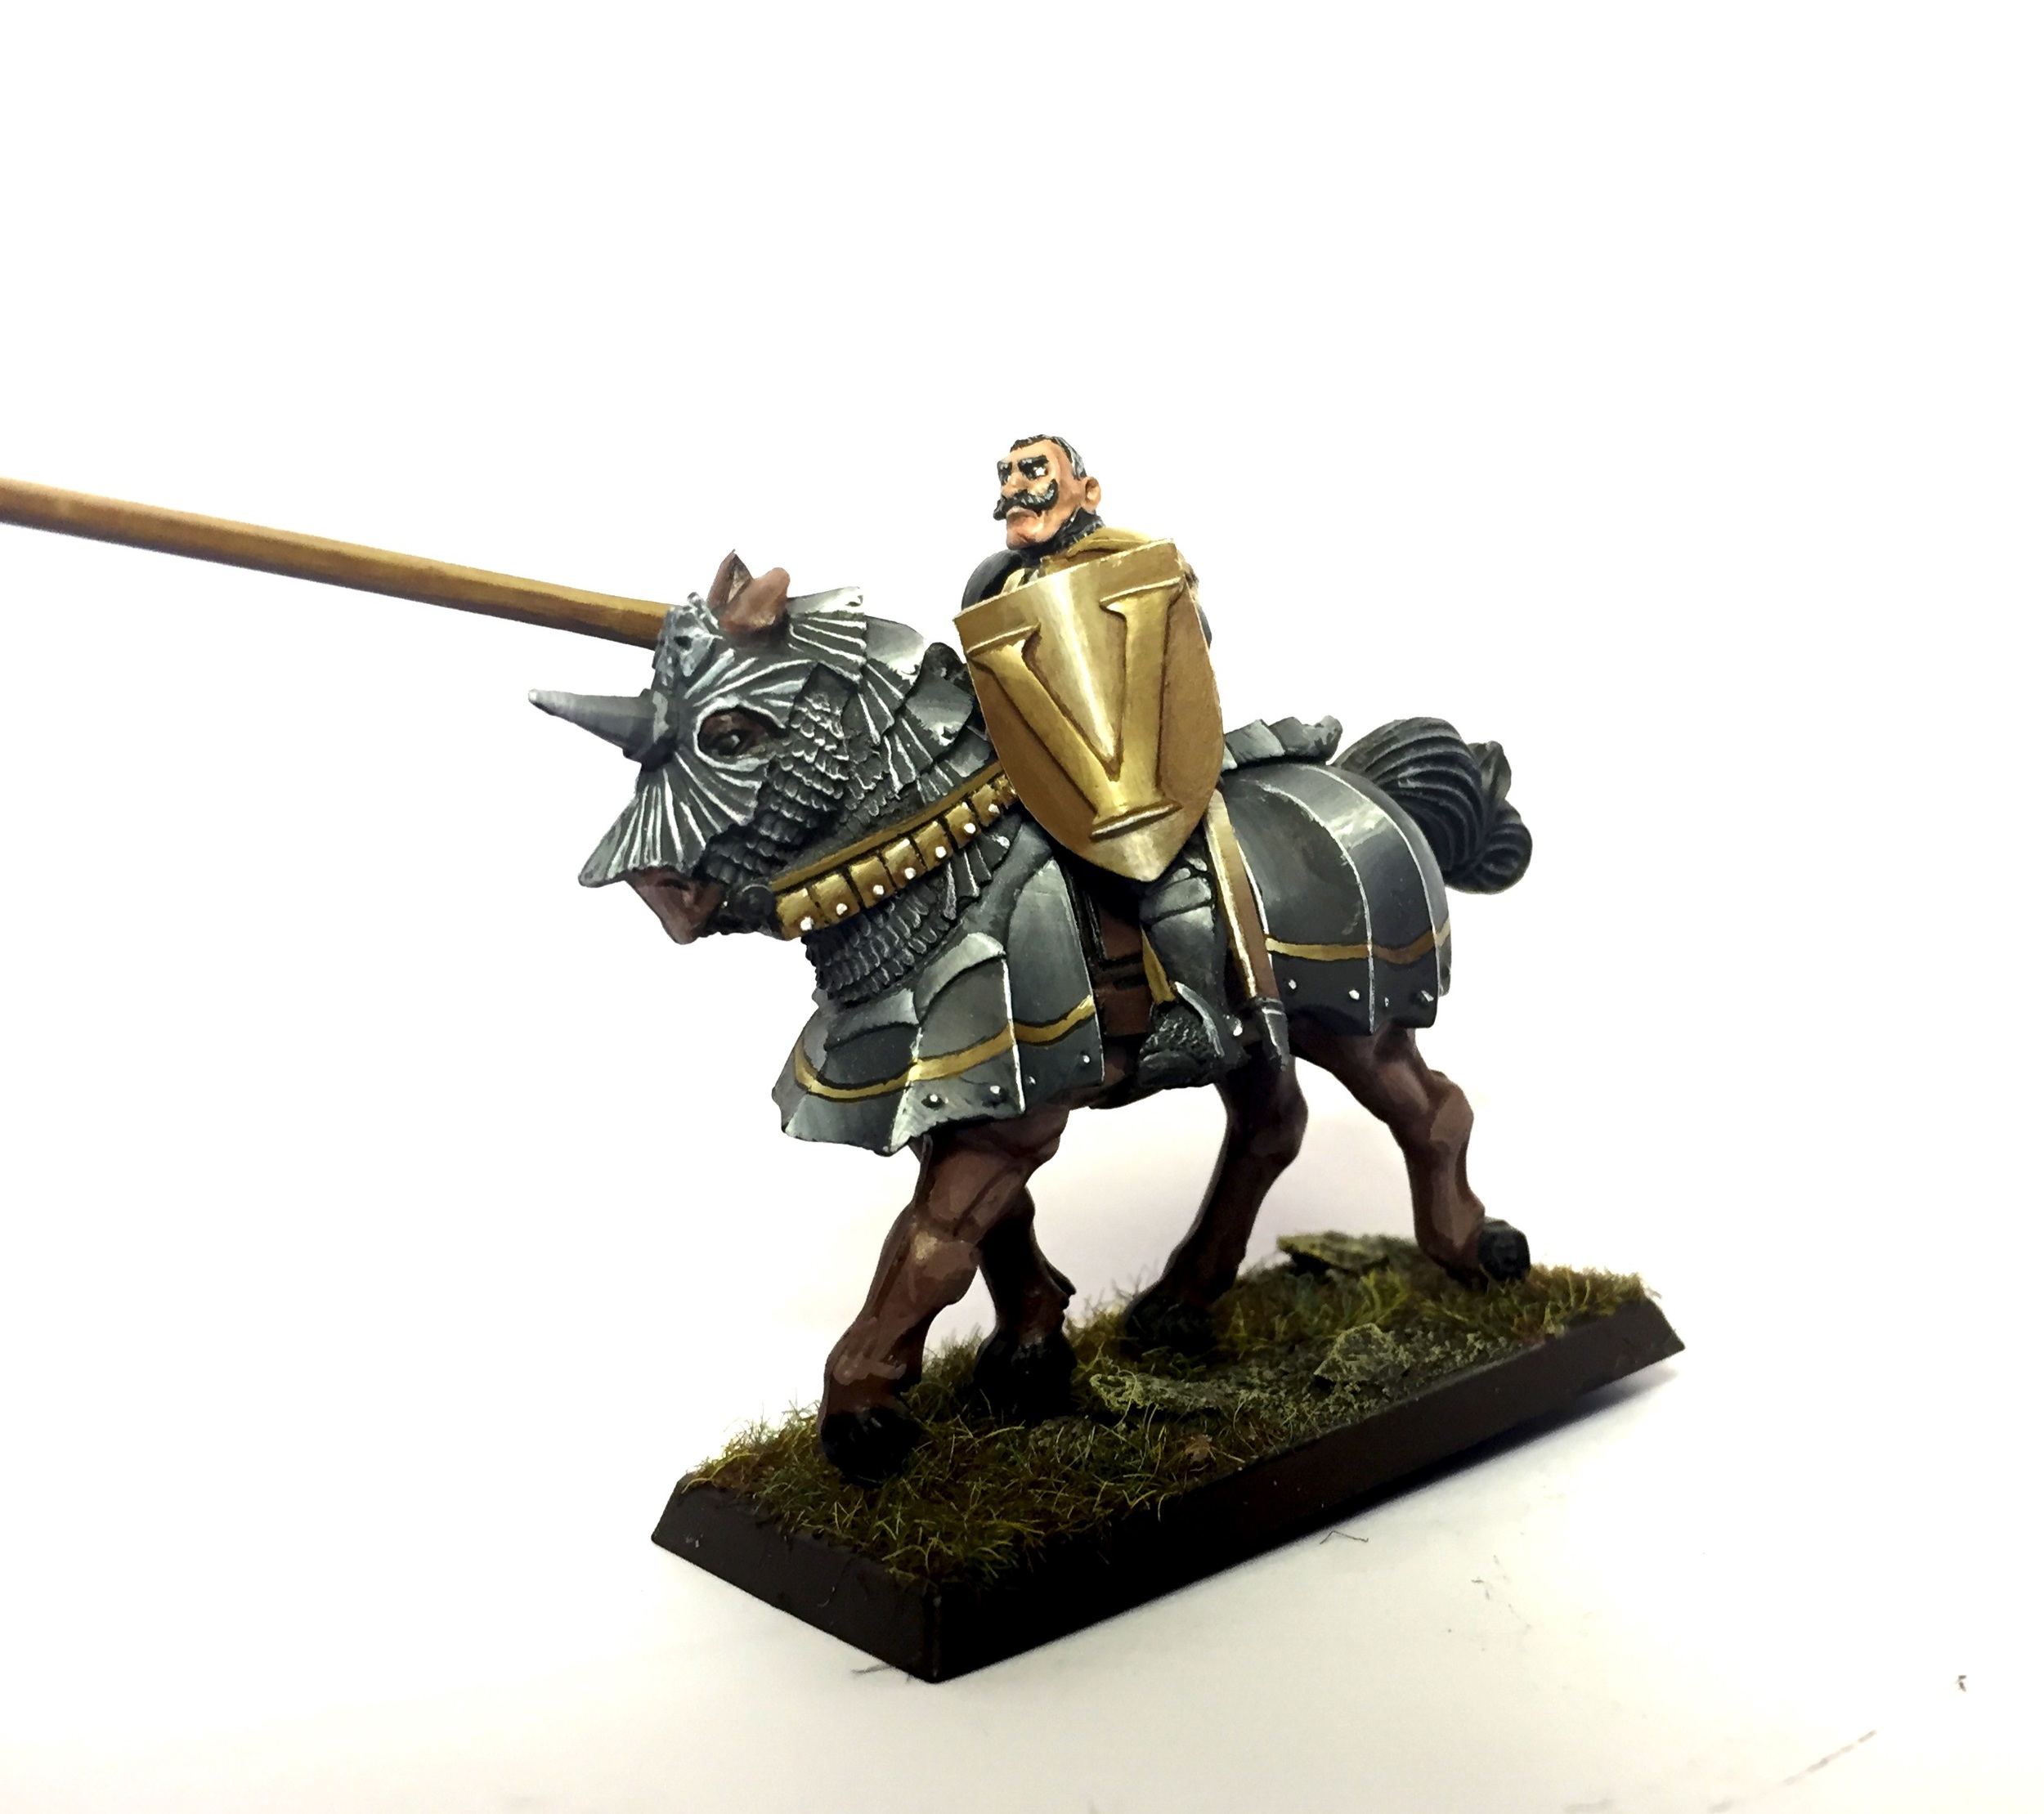
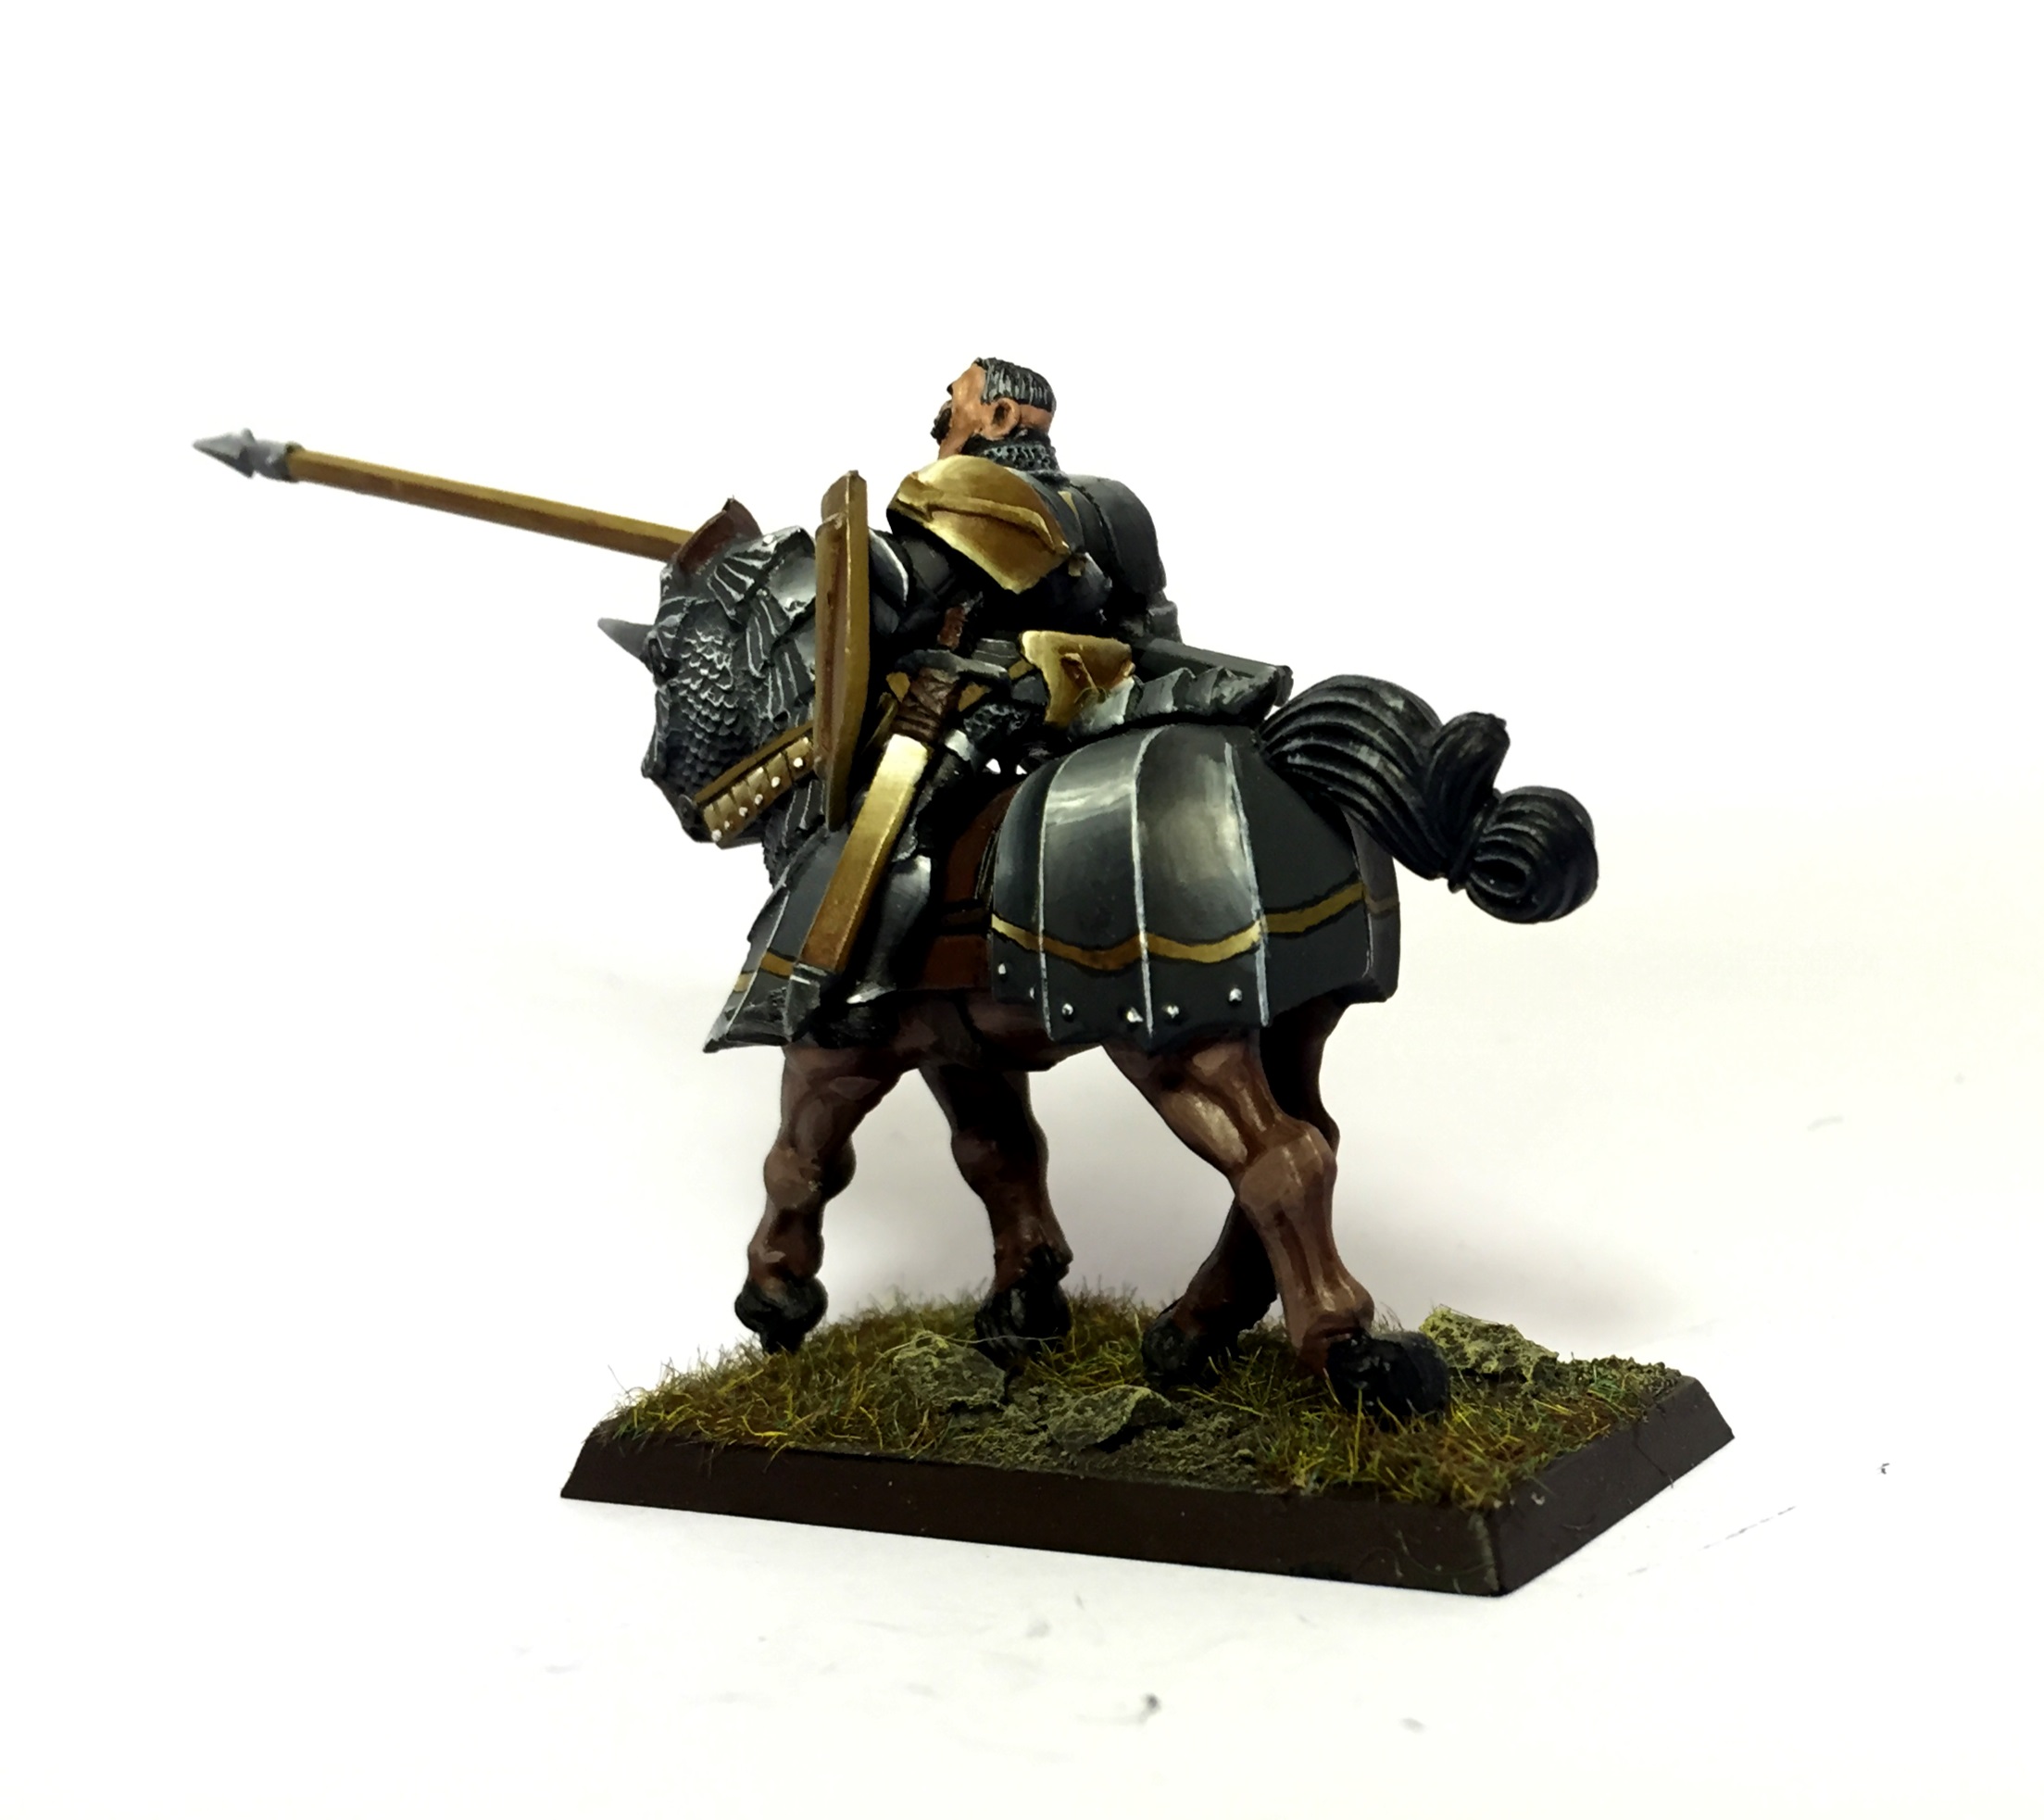
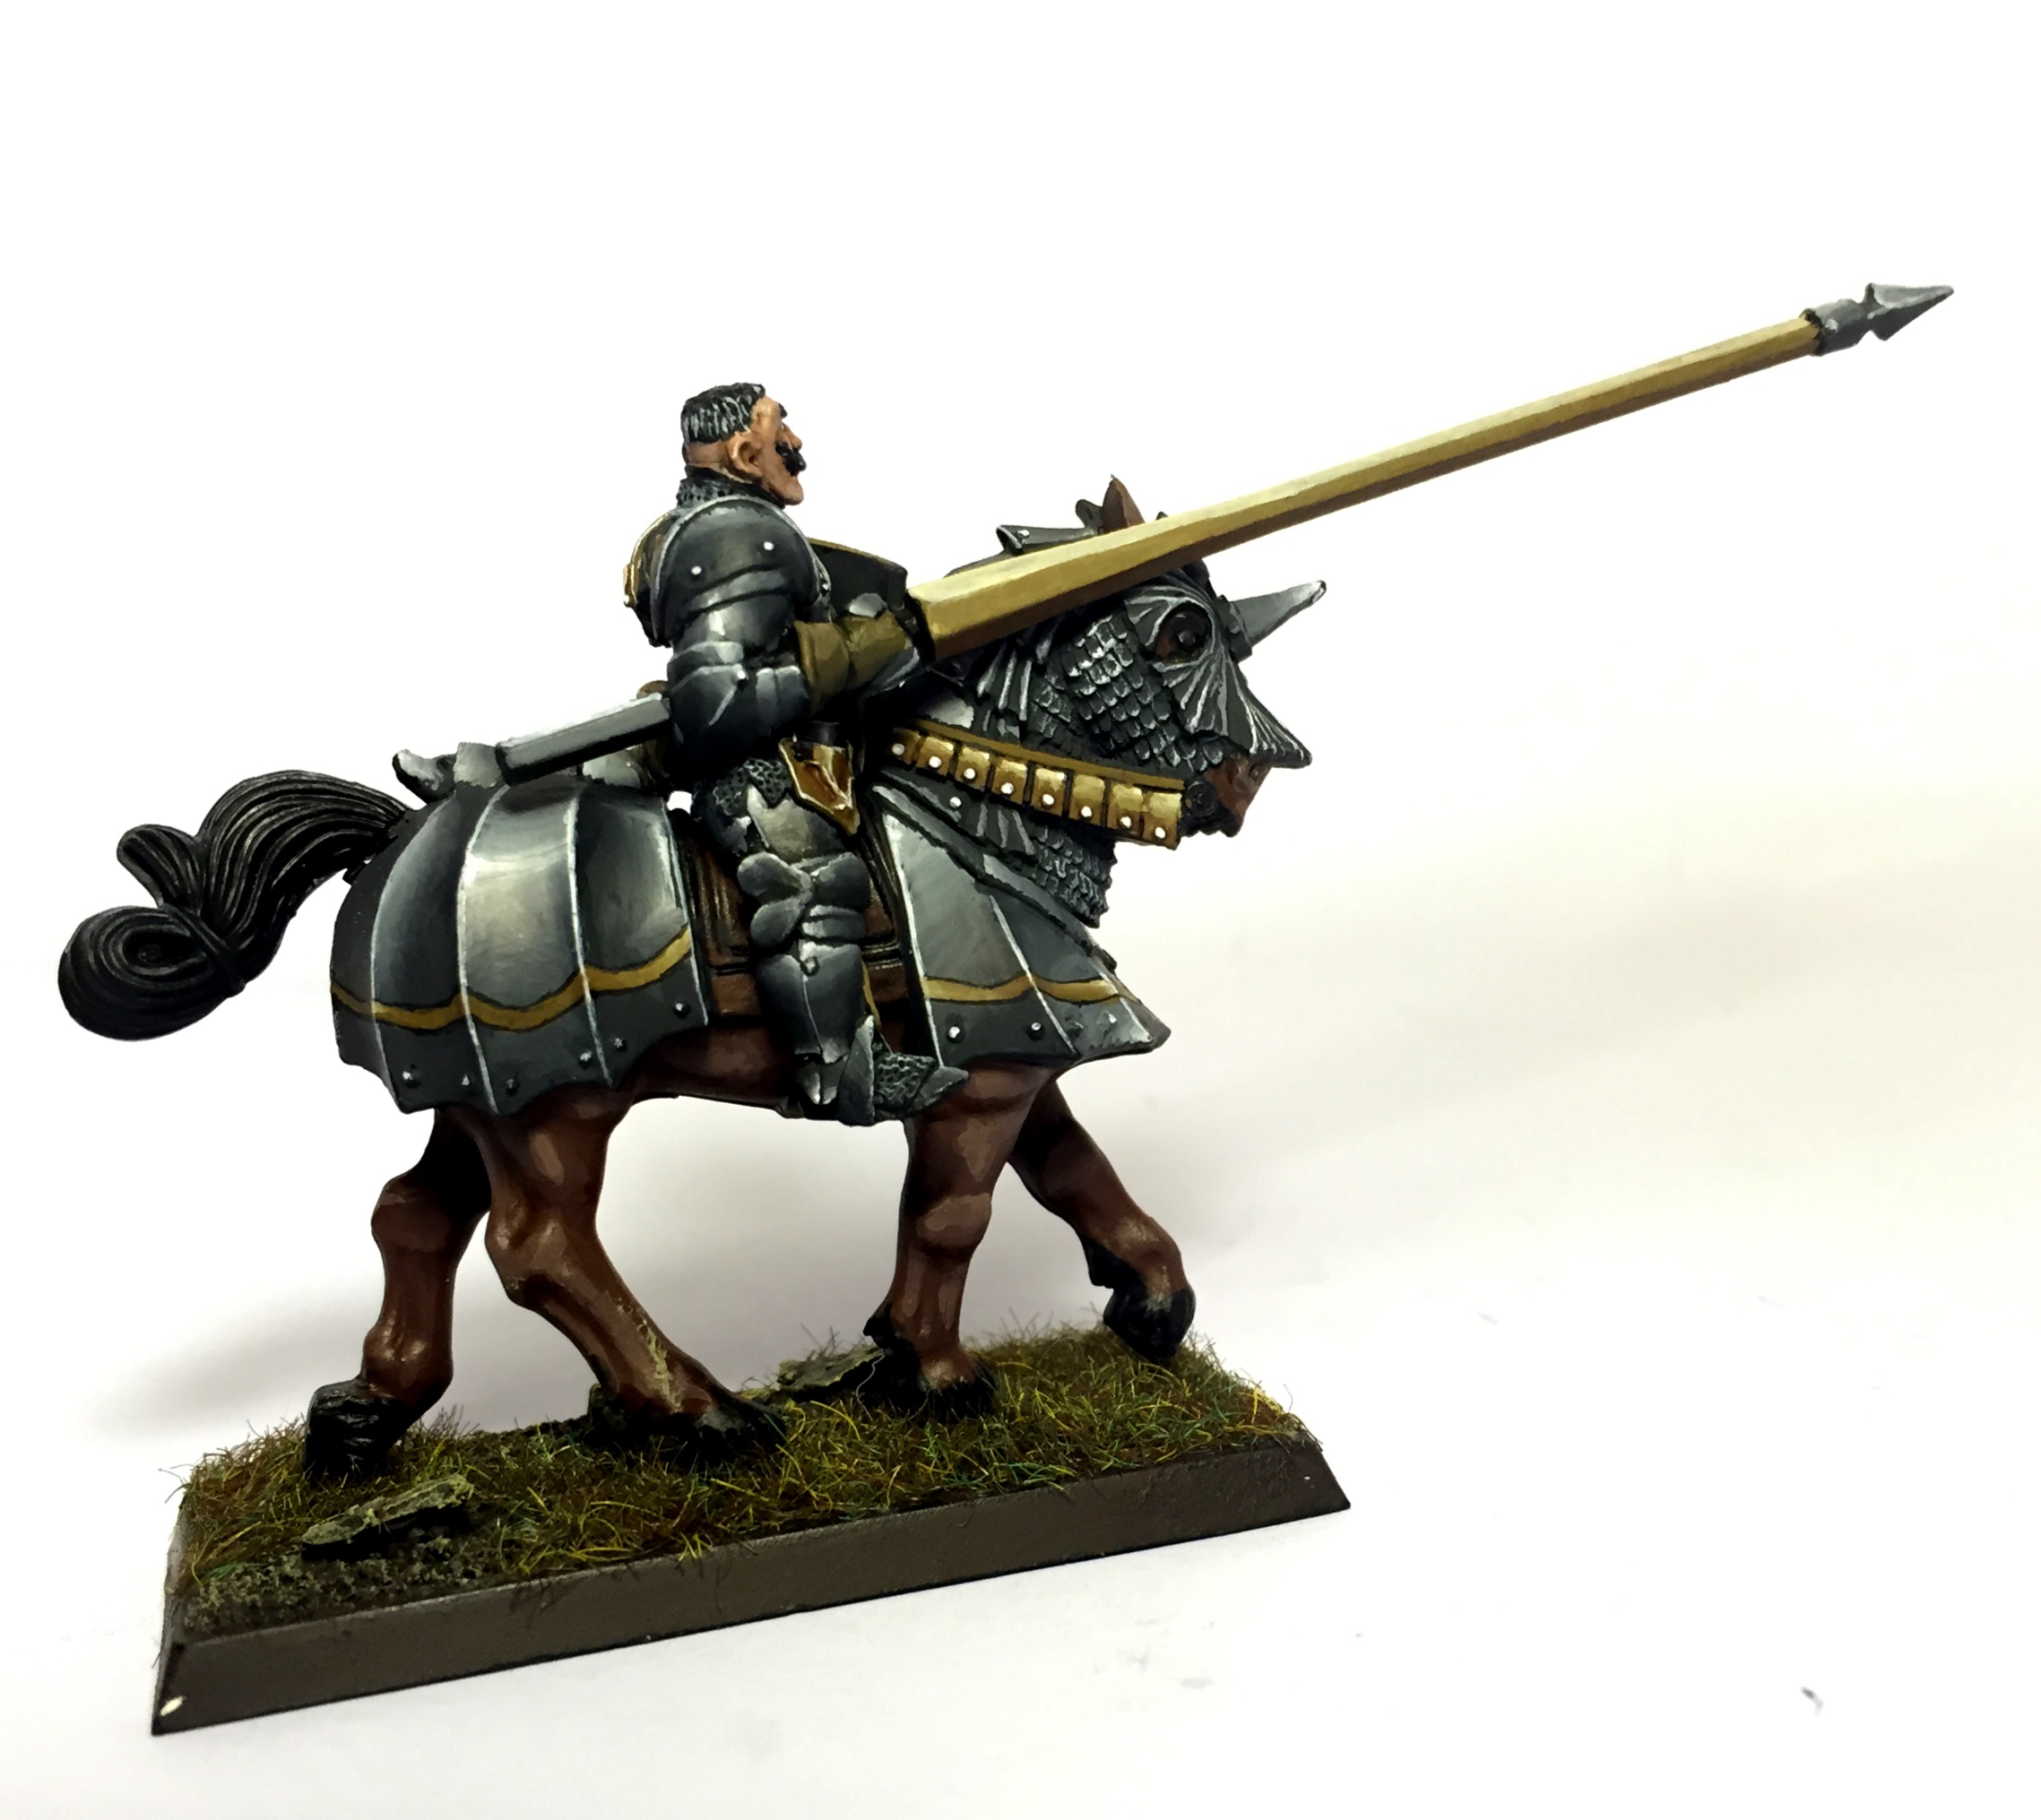
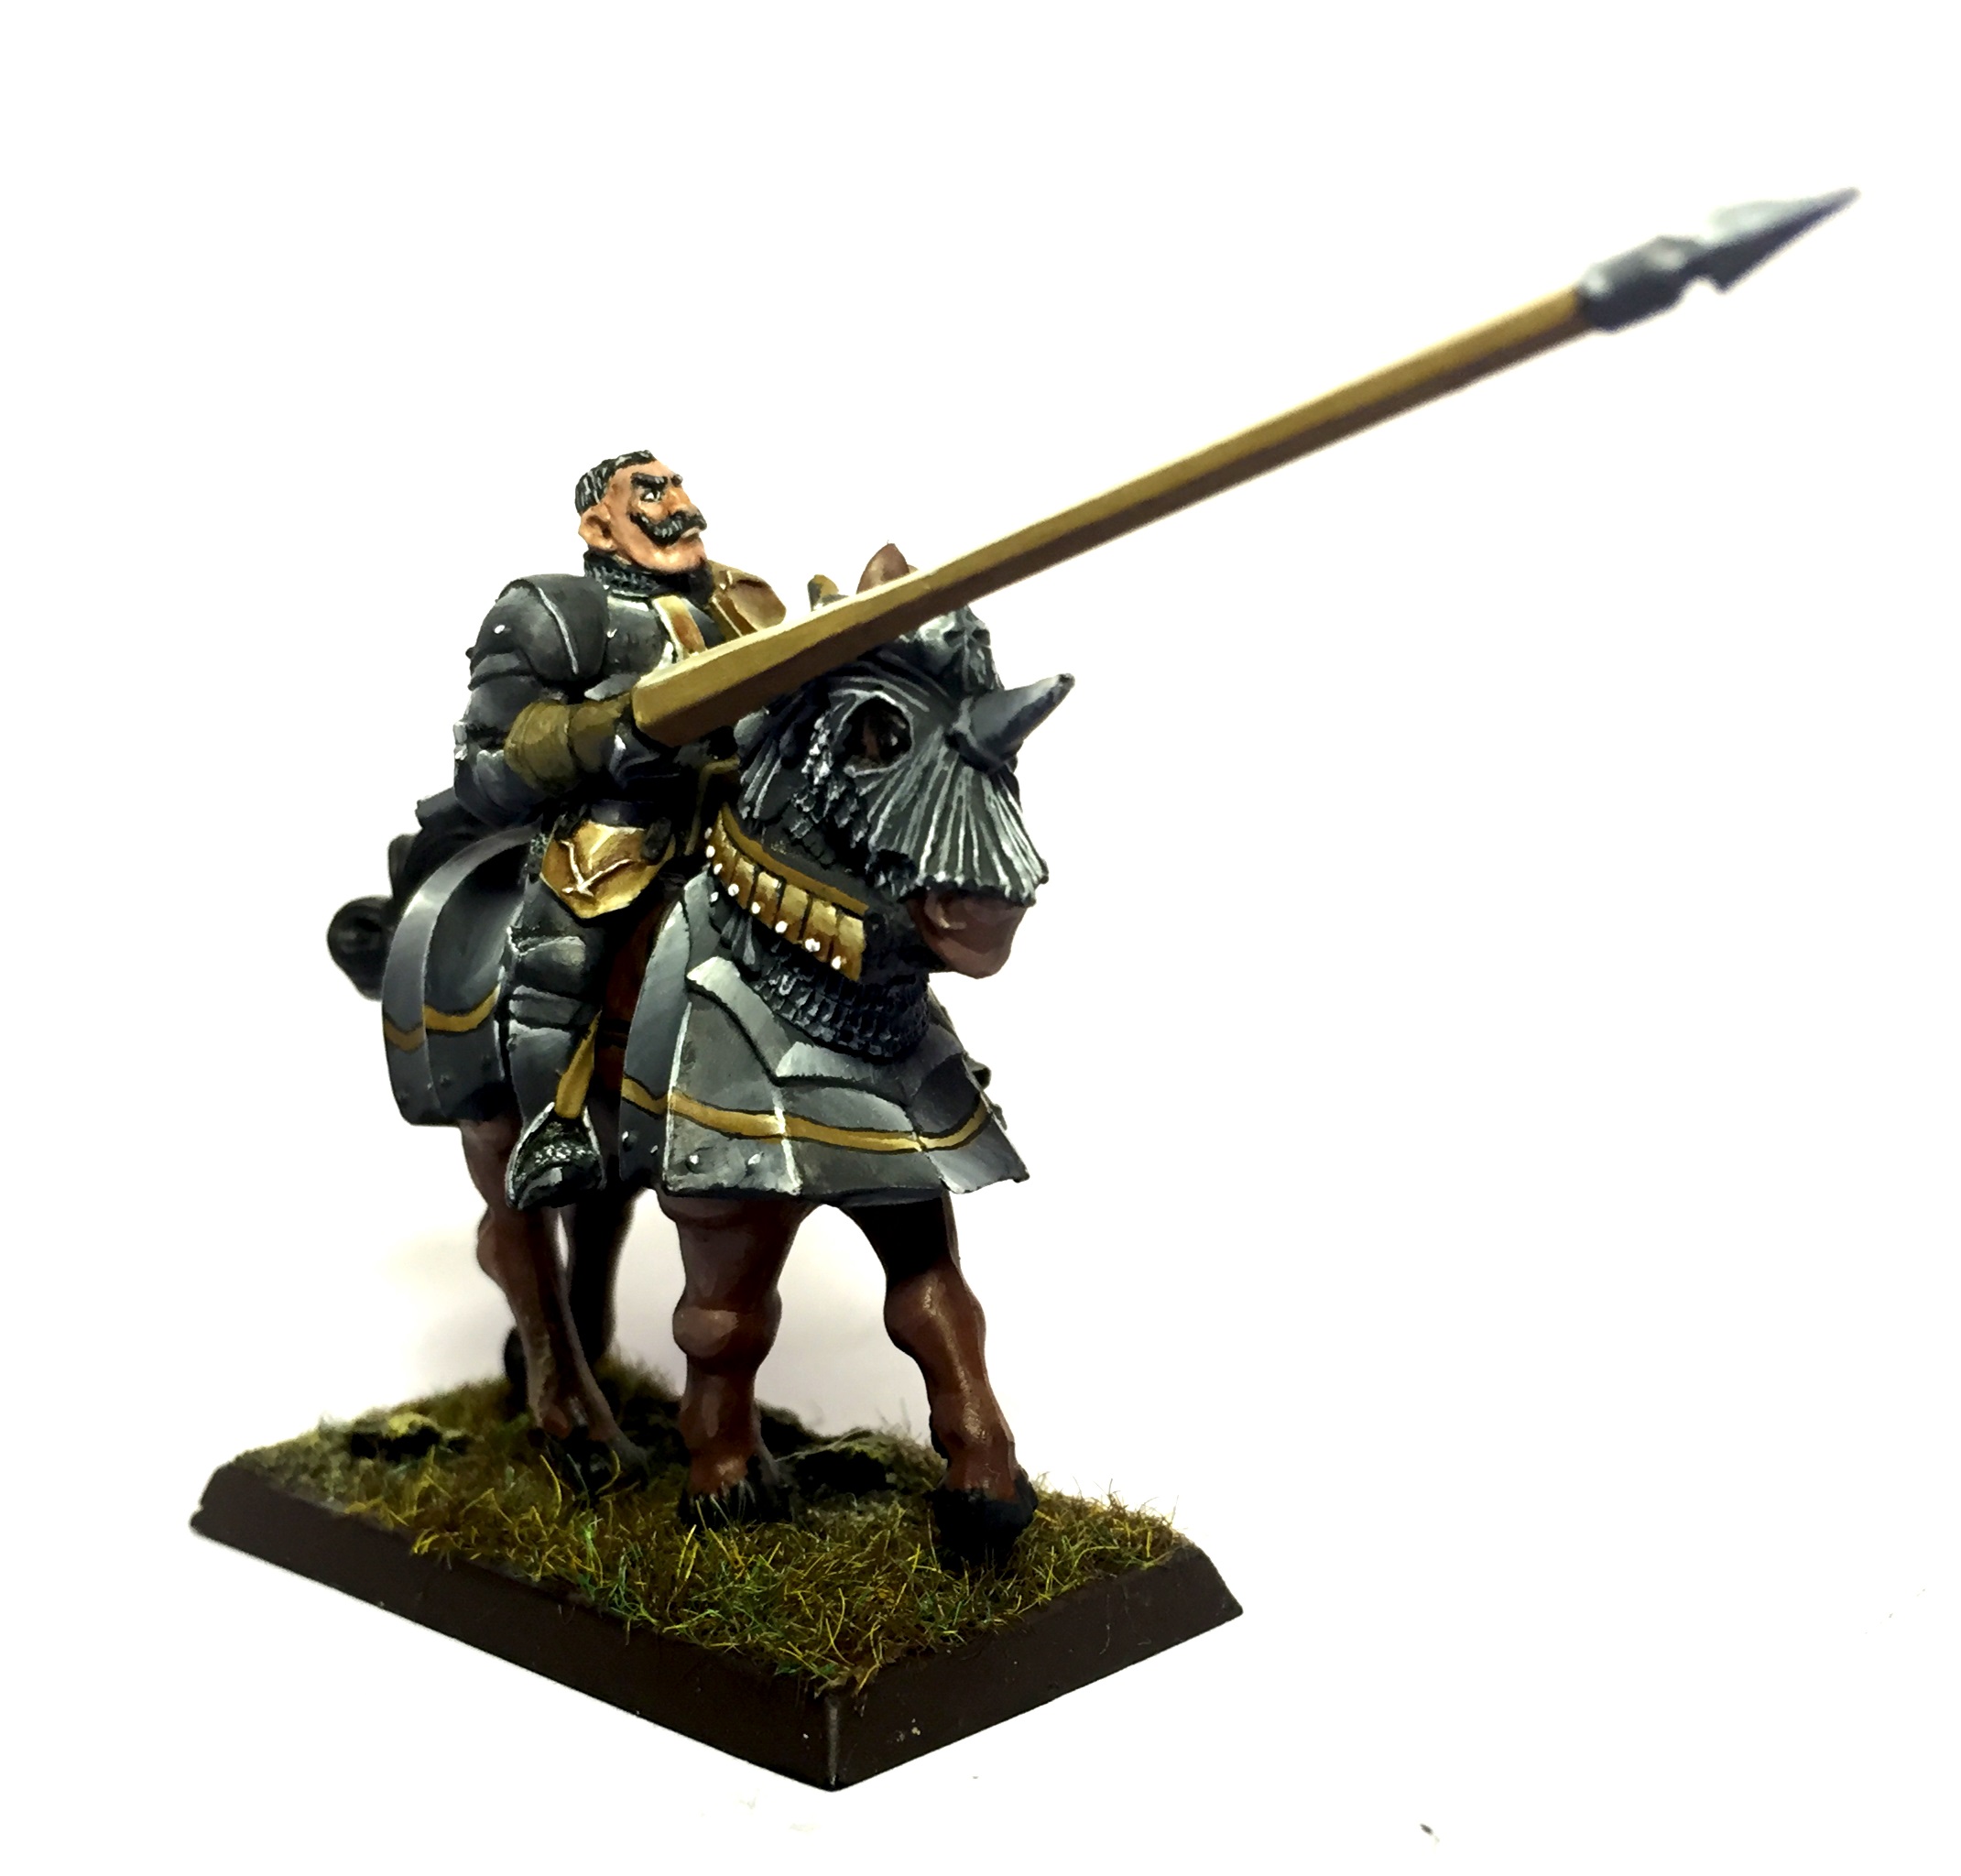
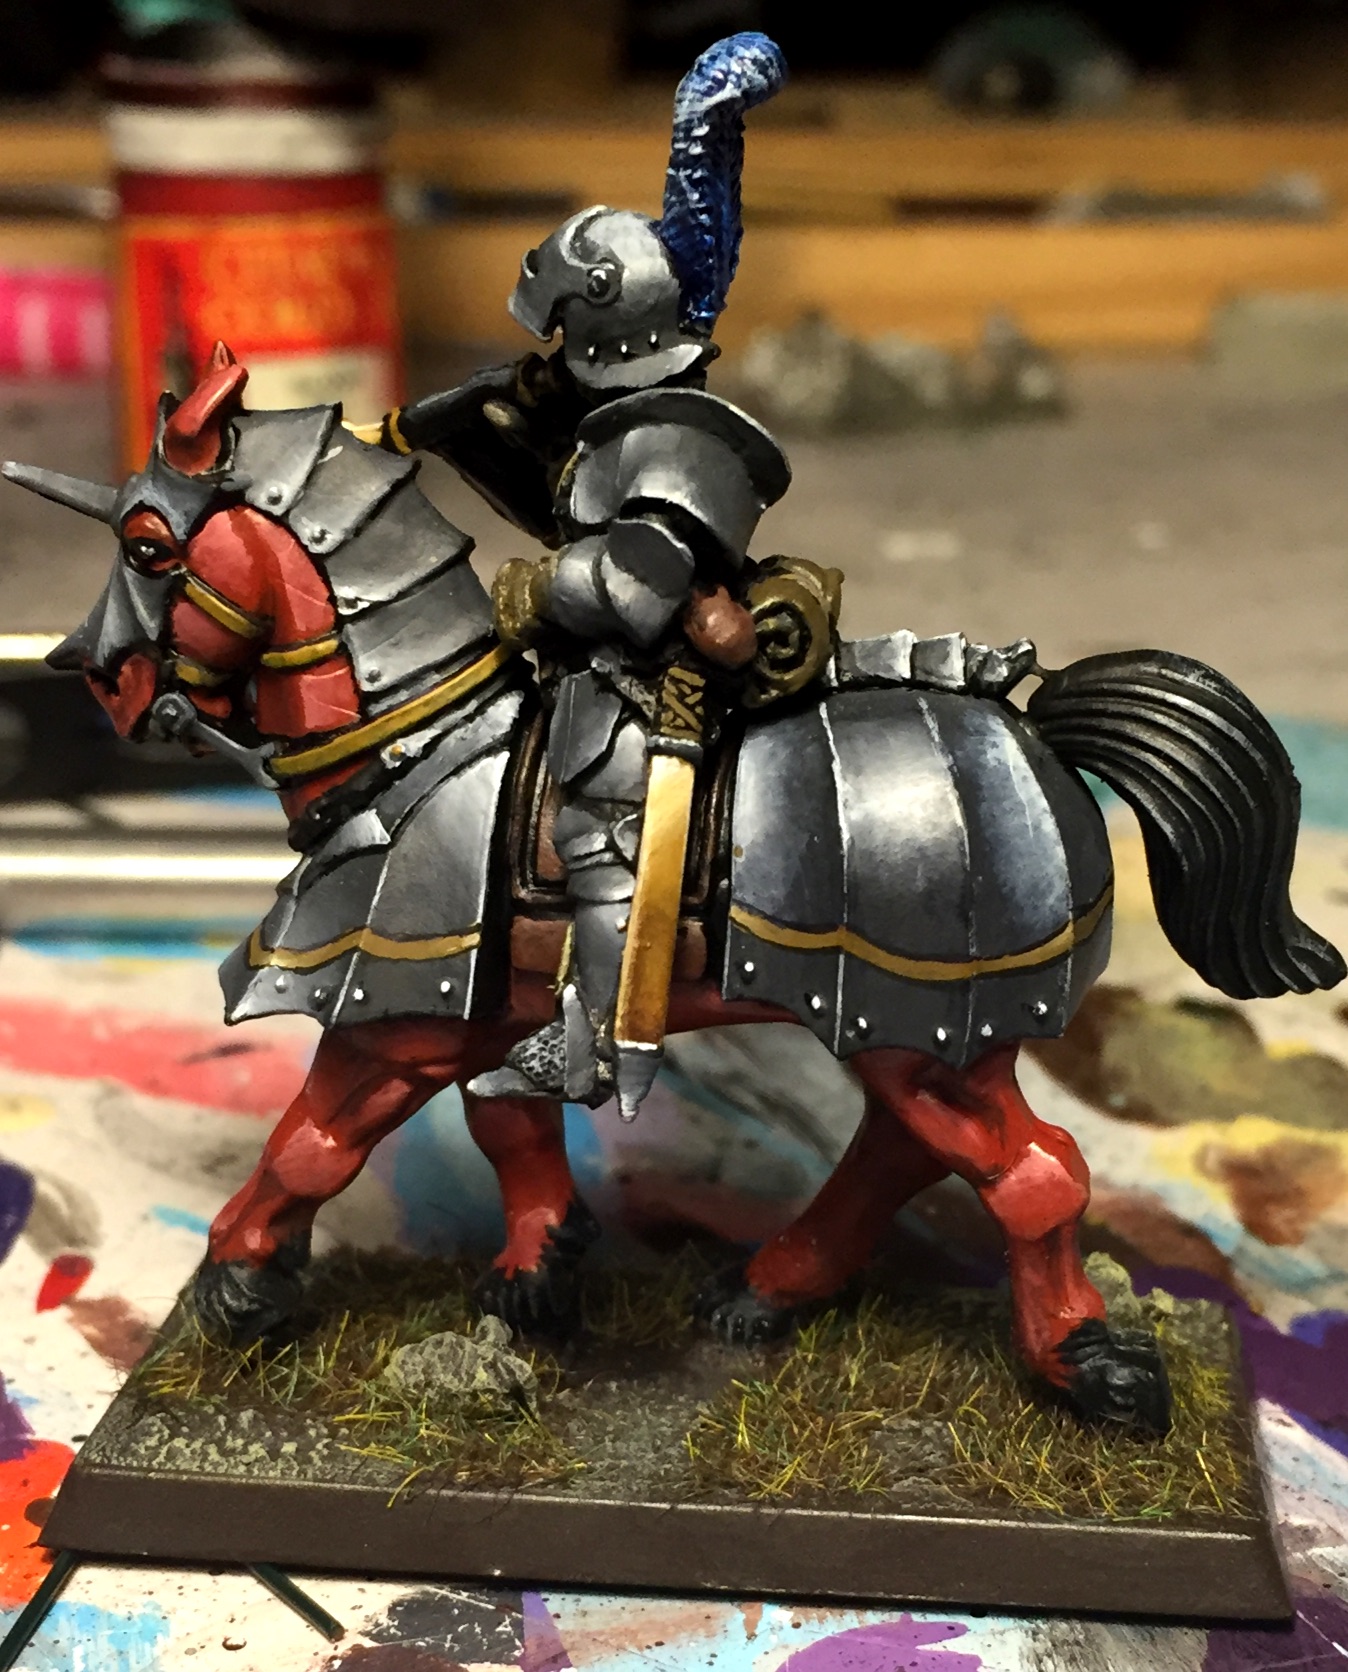
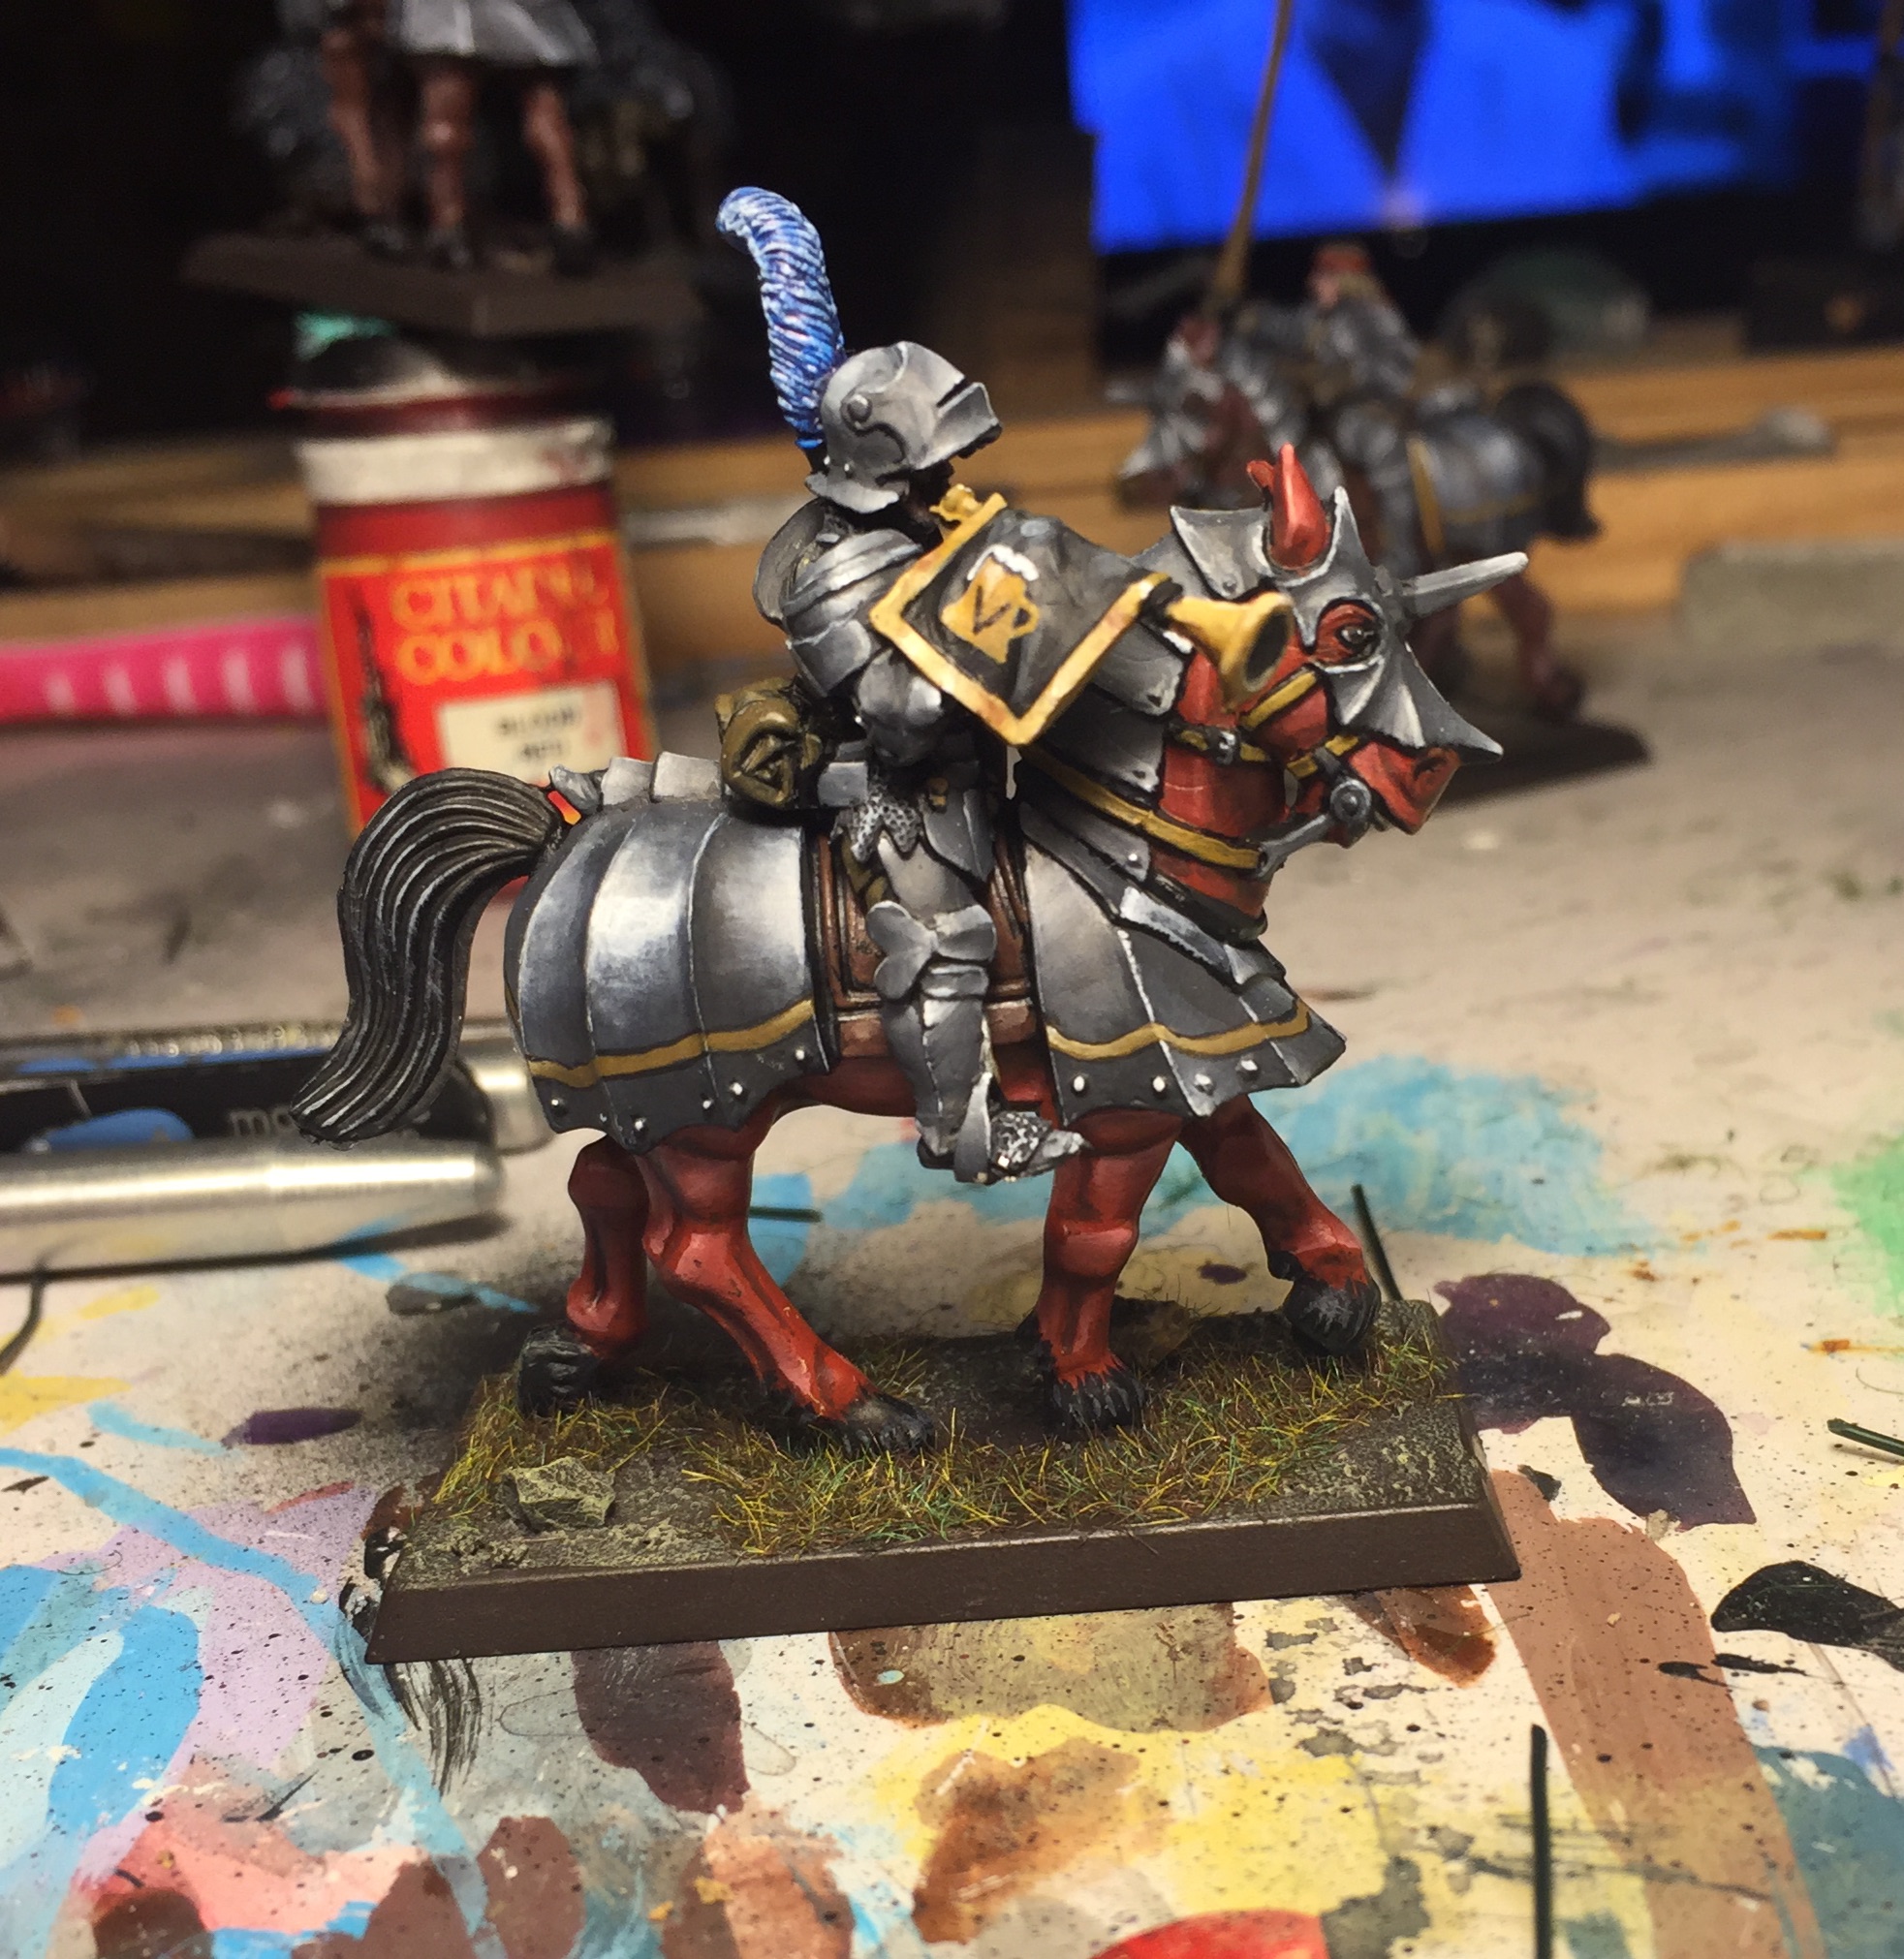
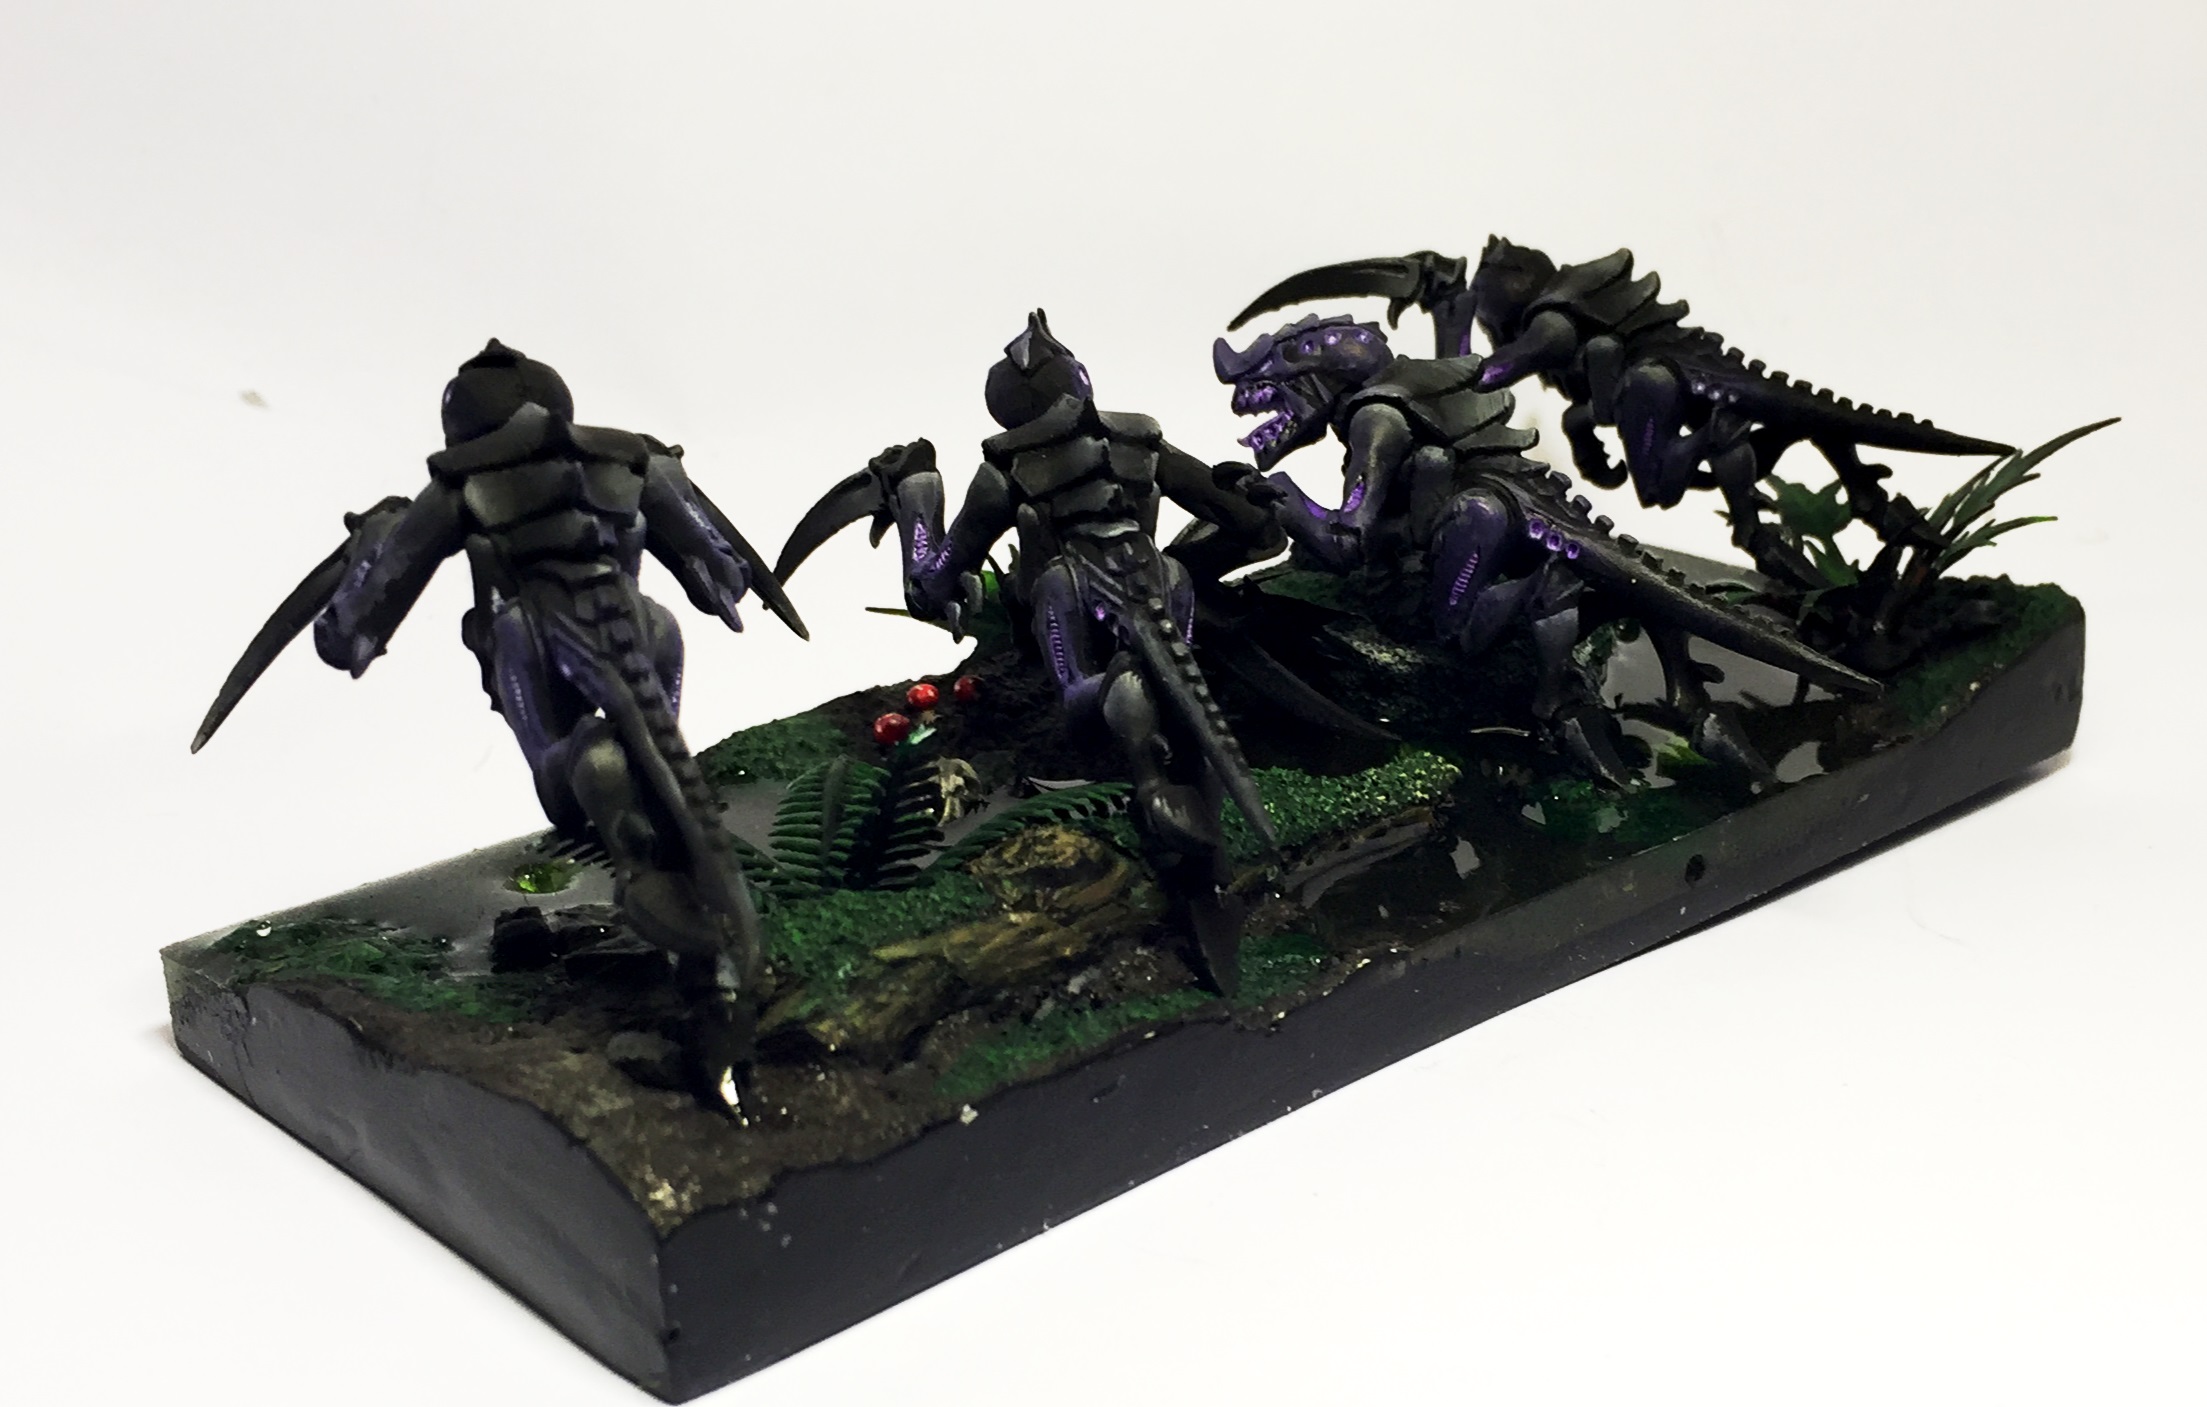
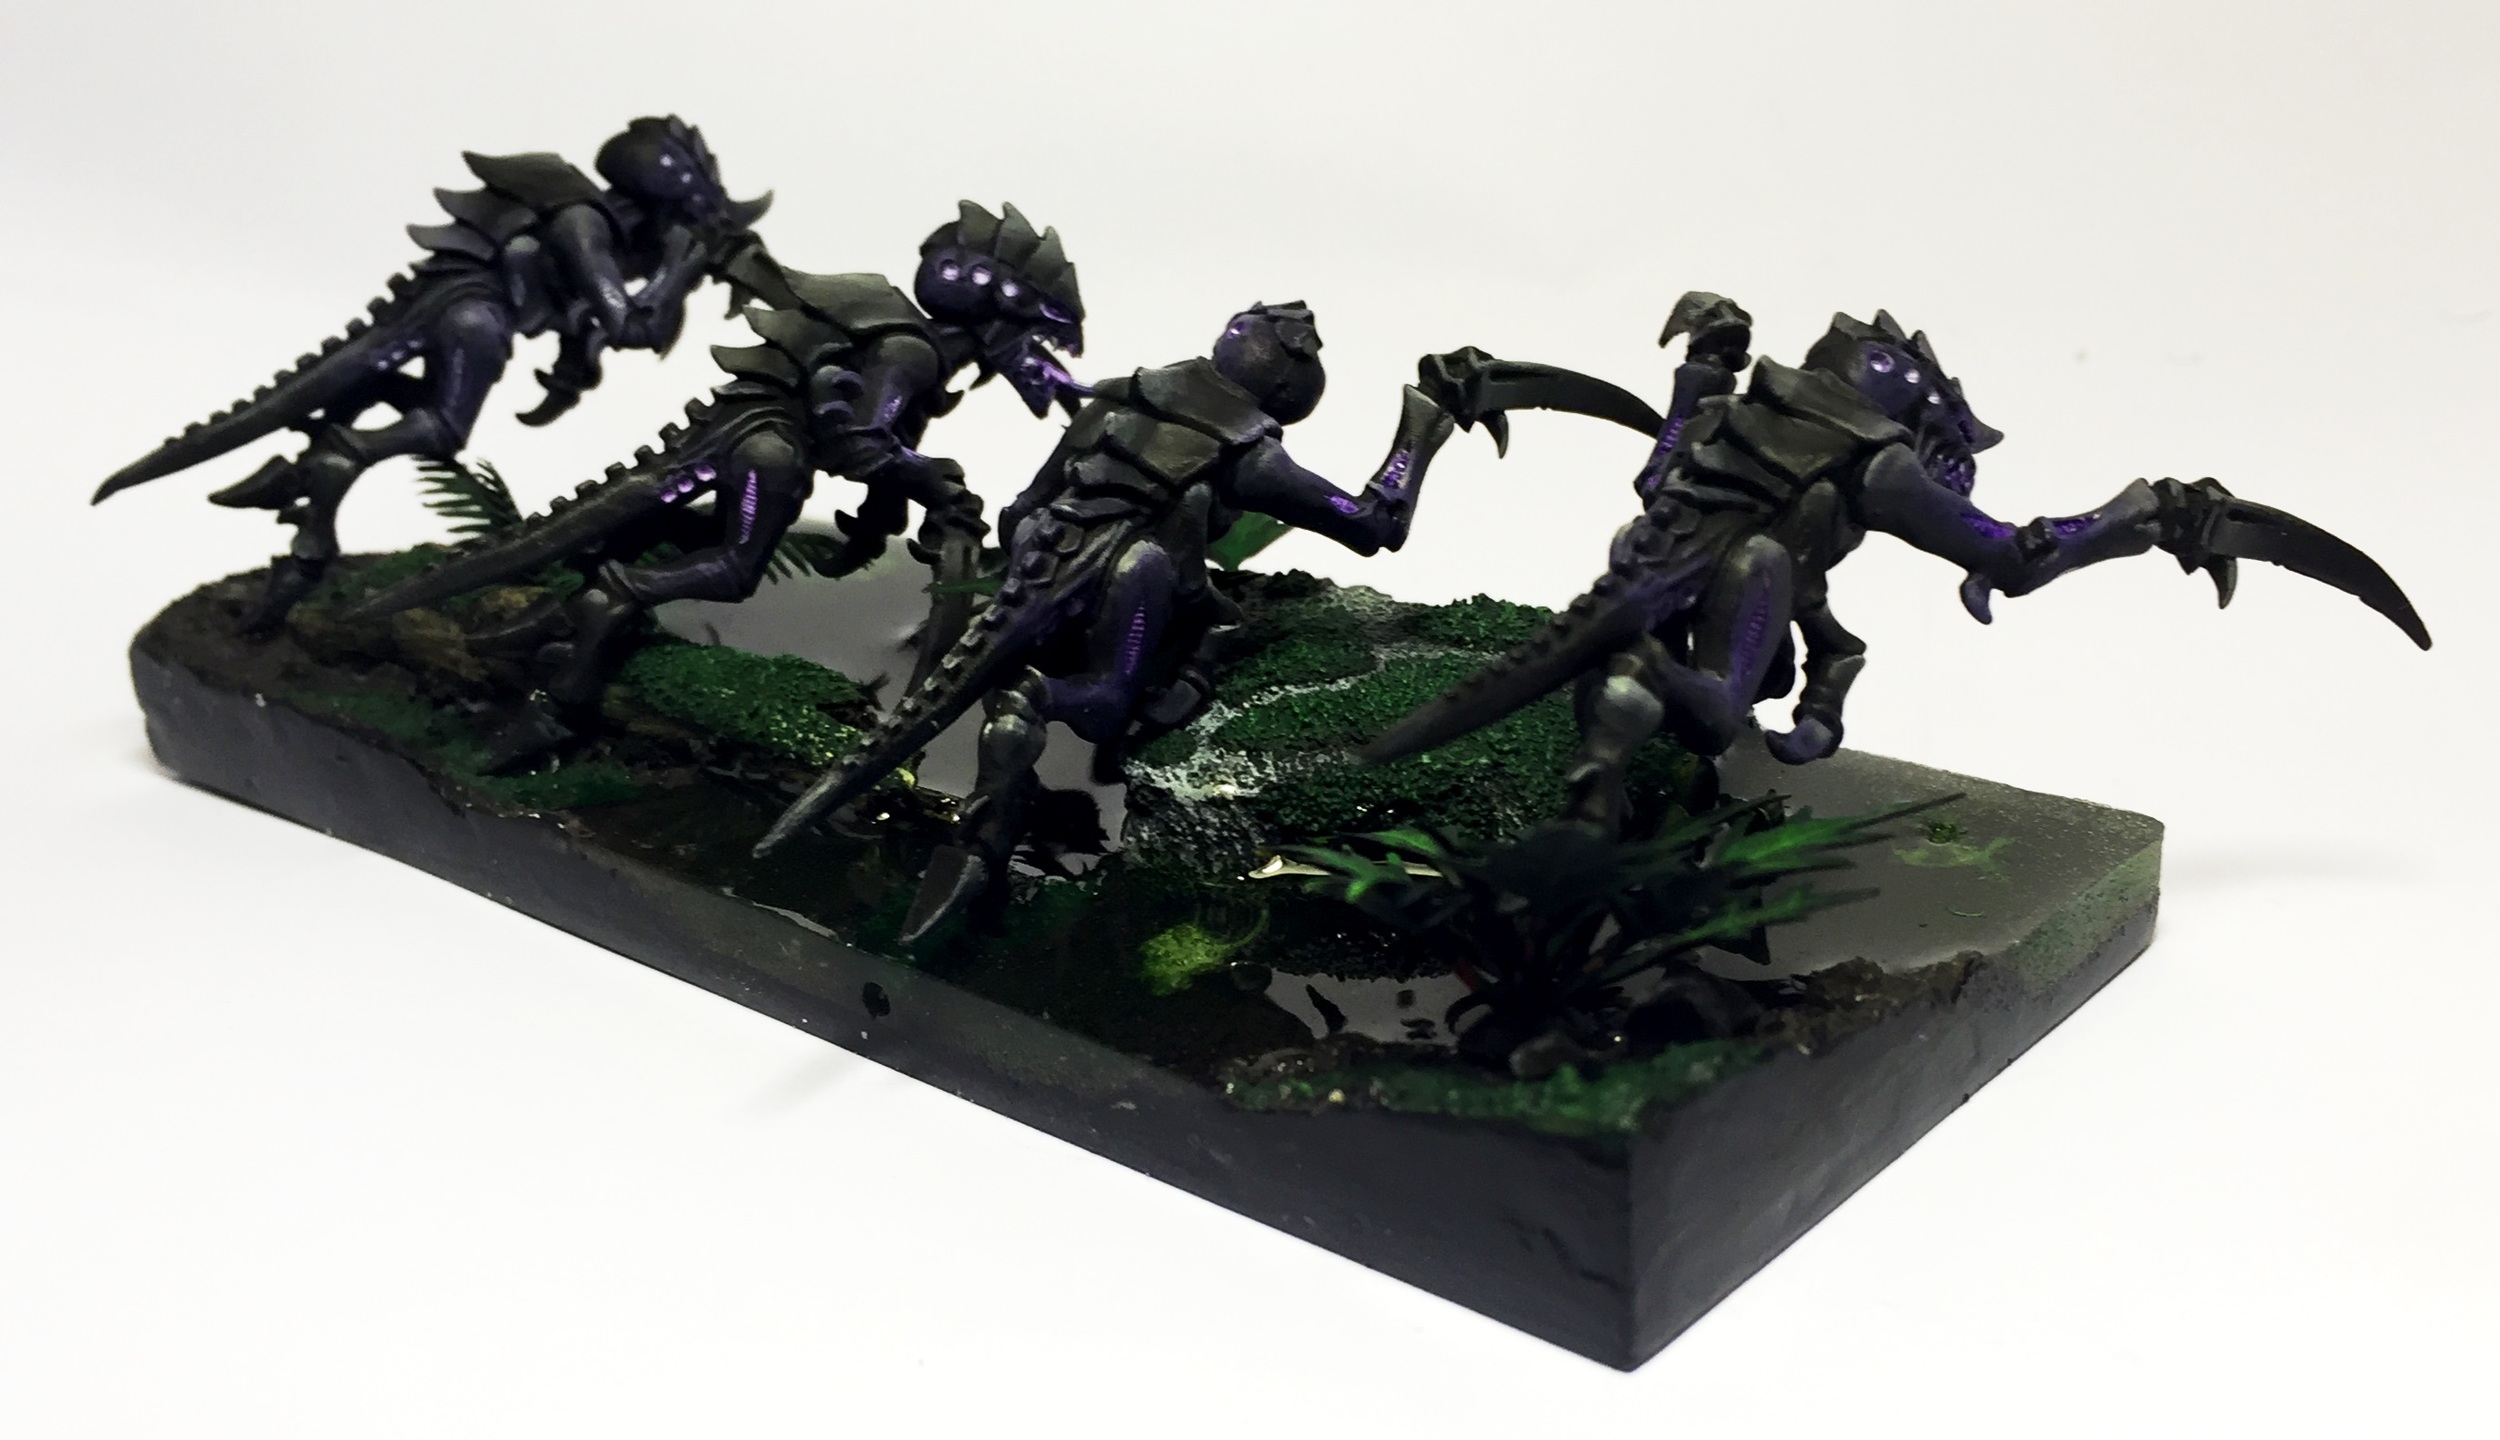
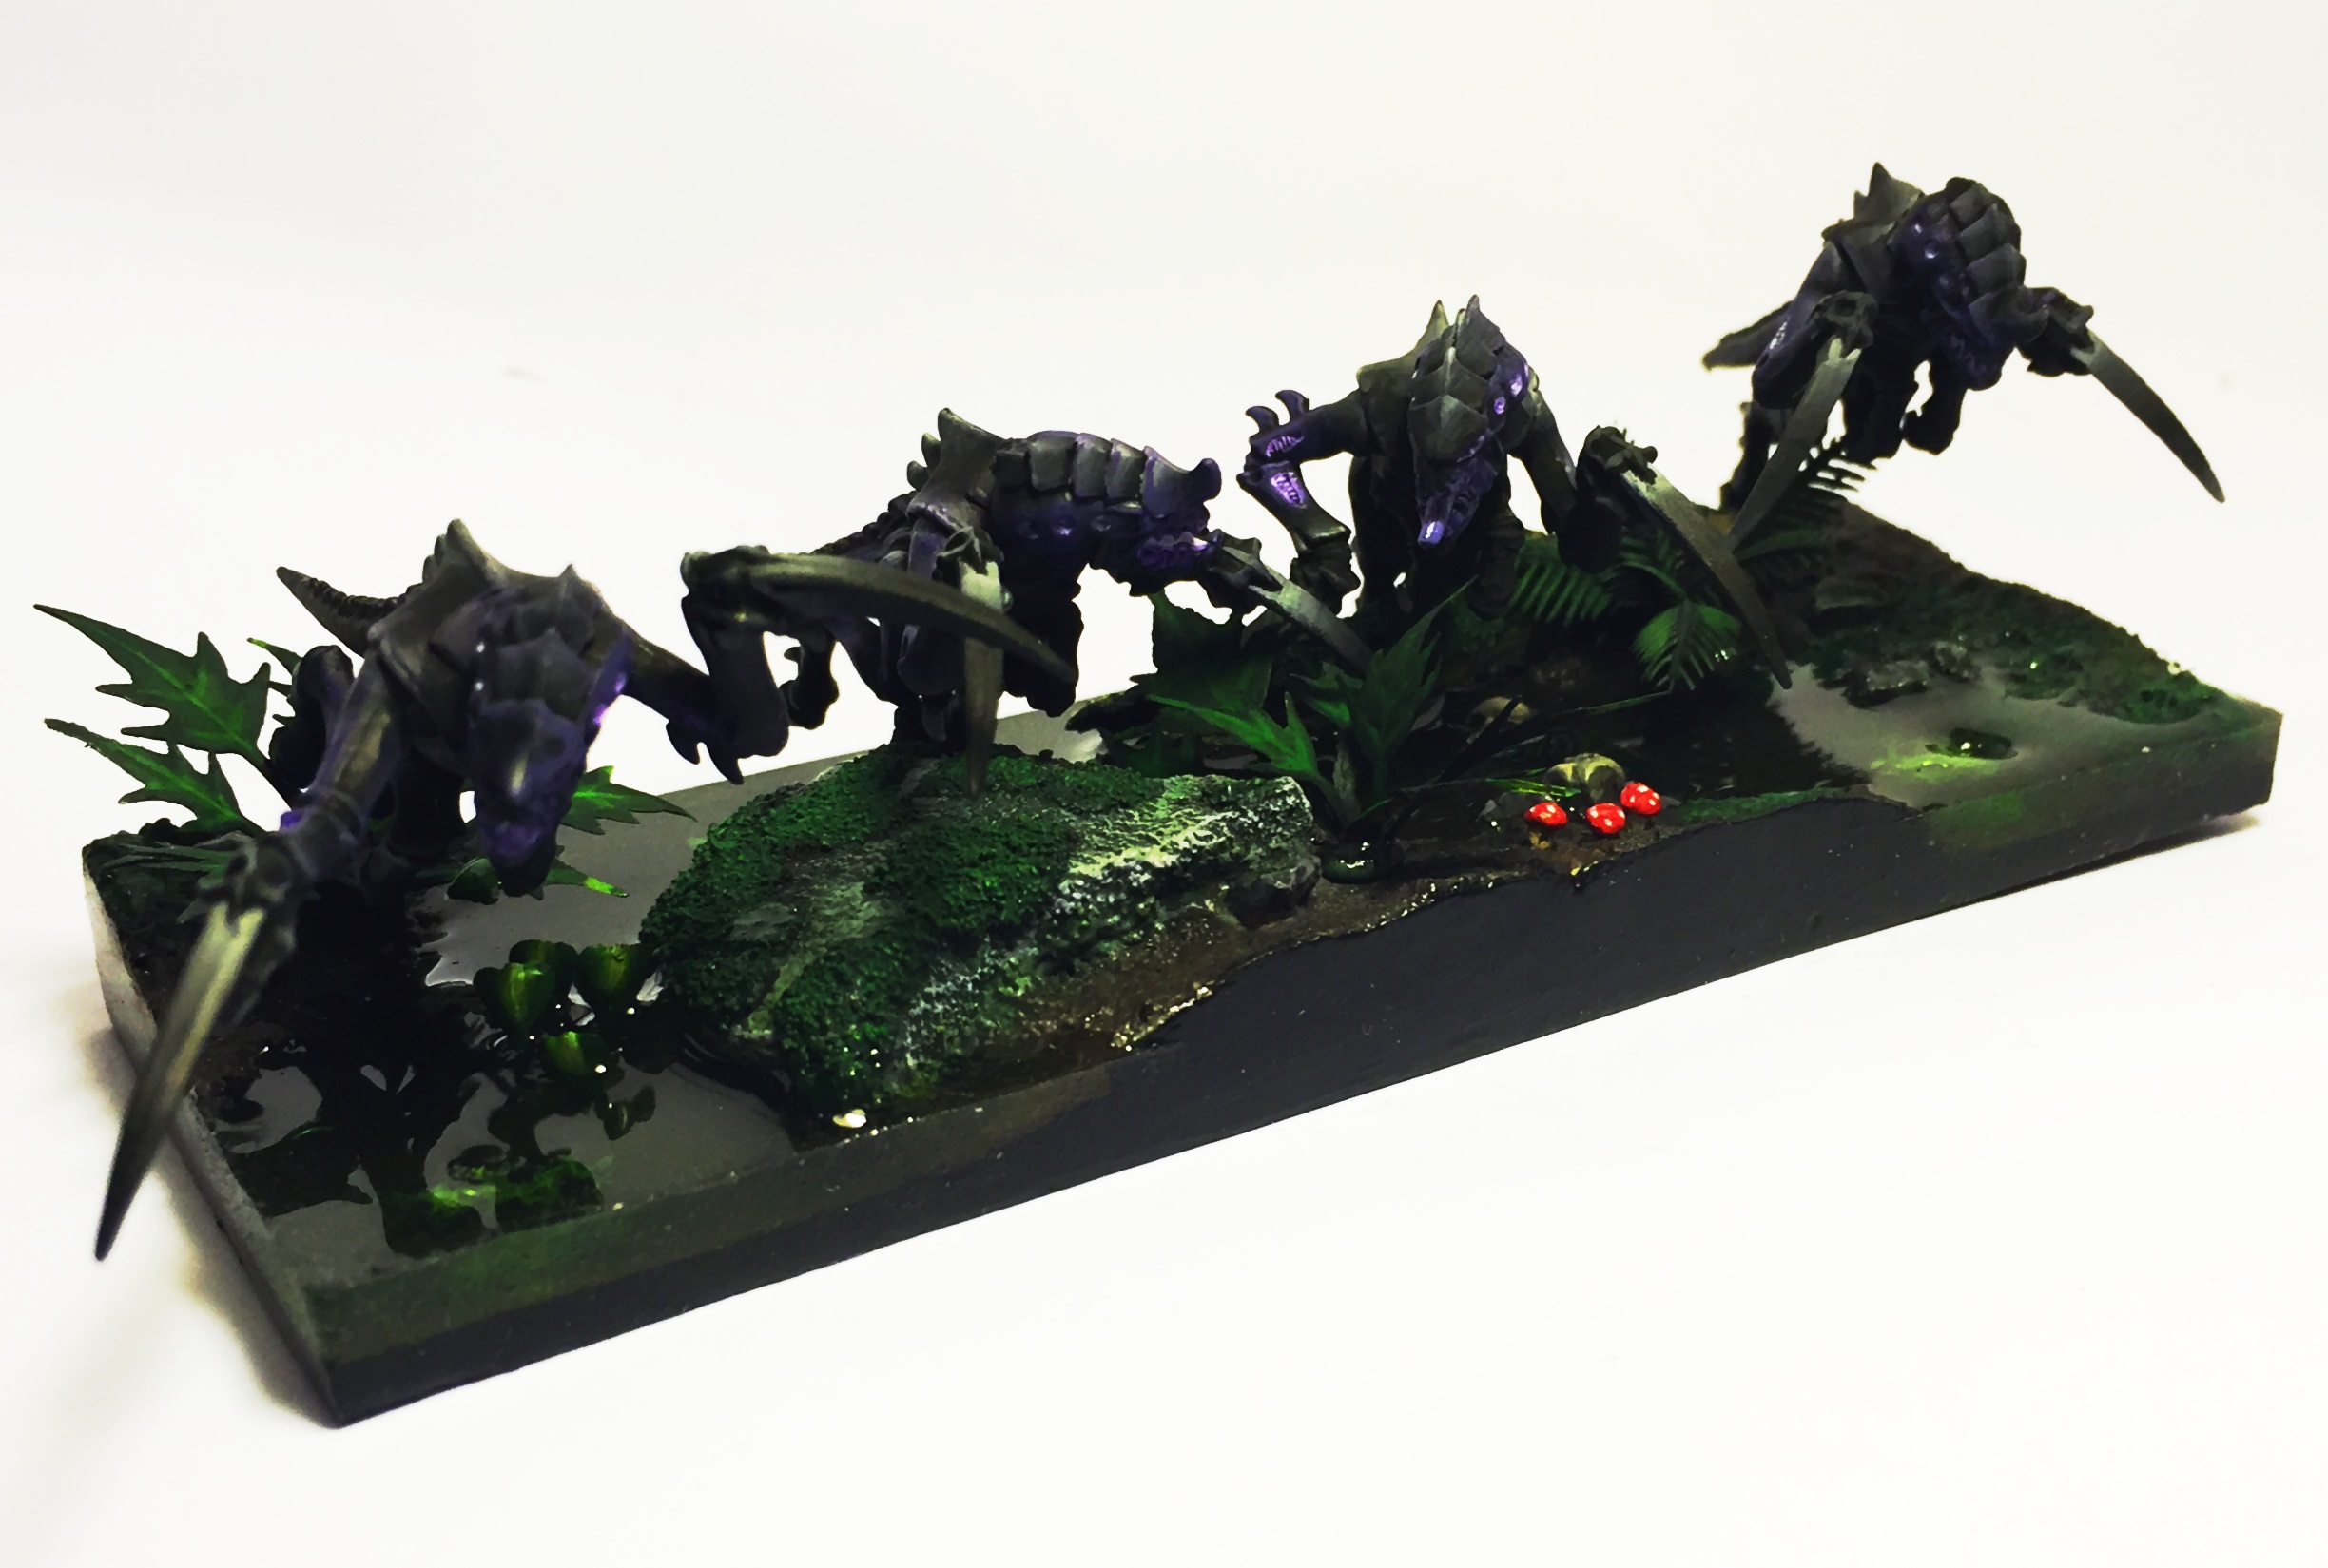
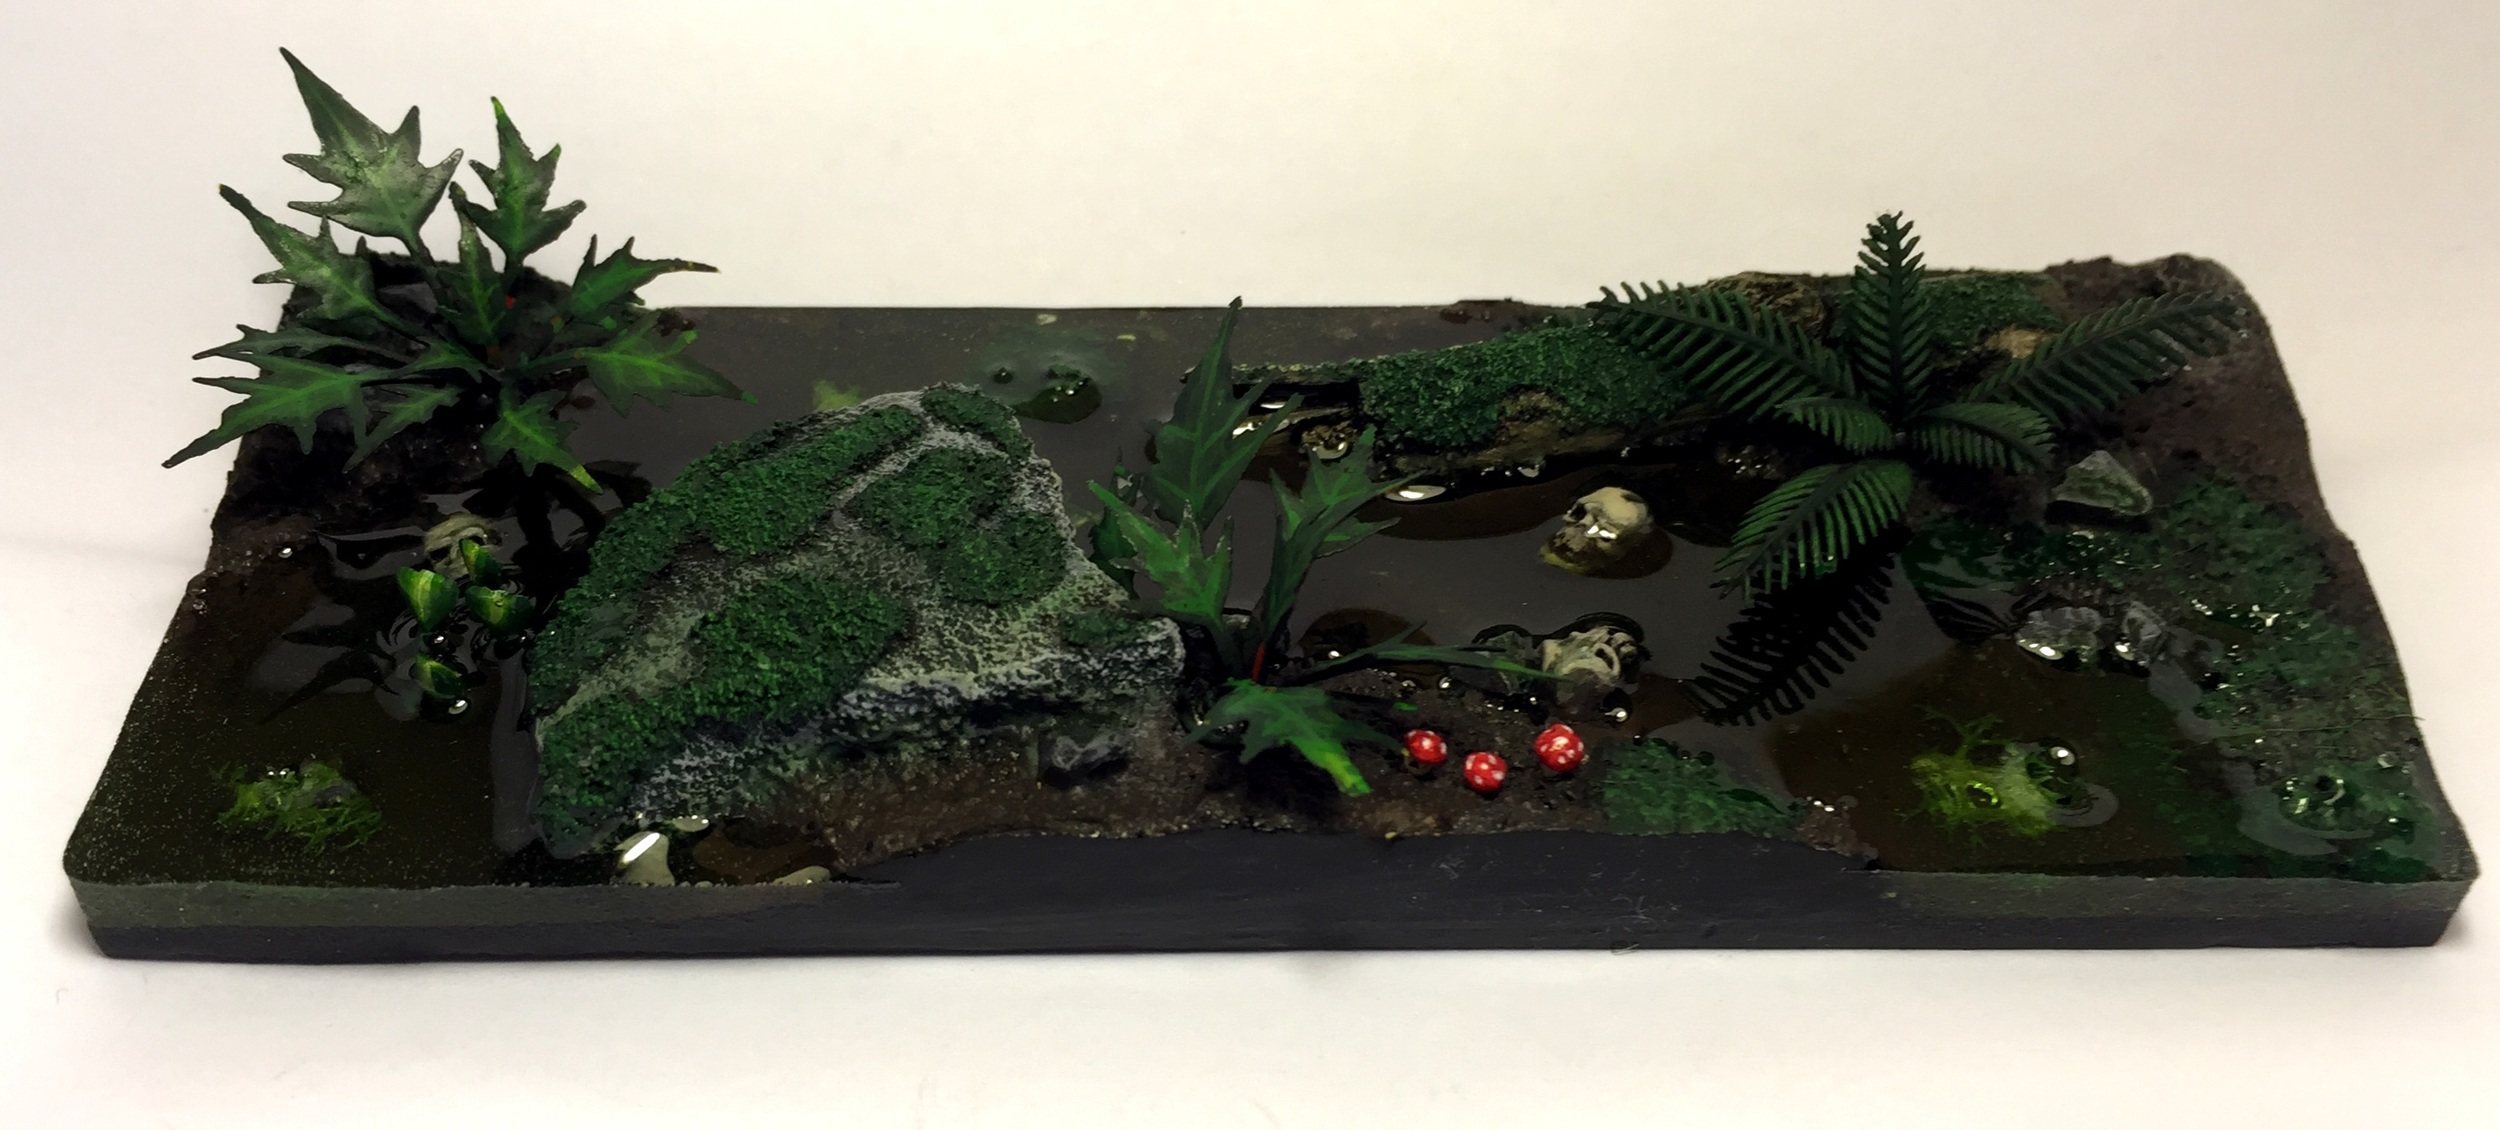
Armies on Parade

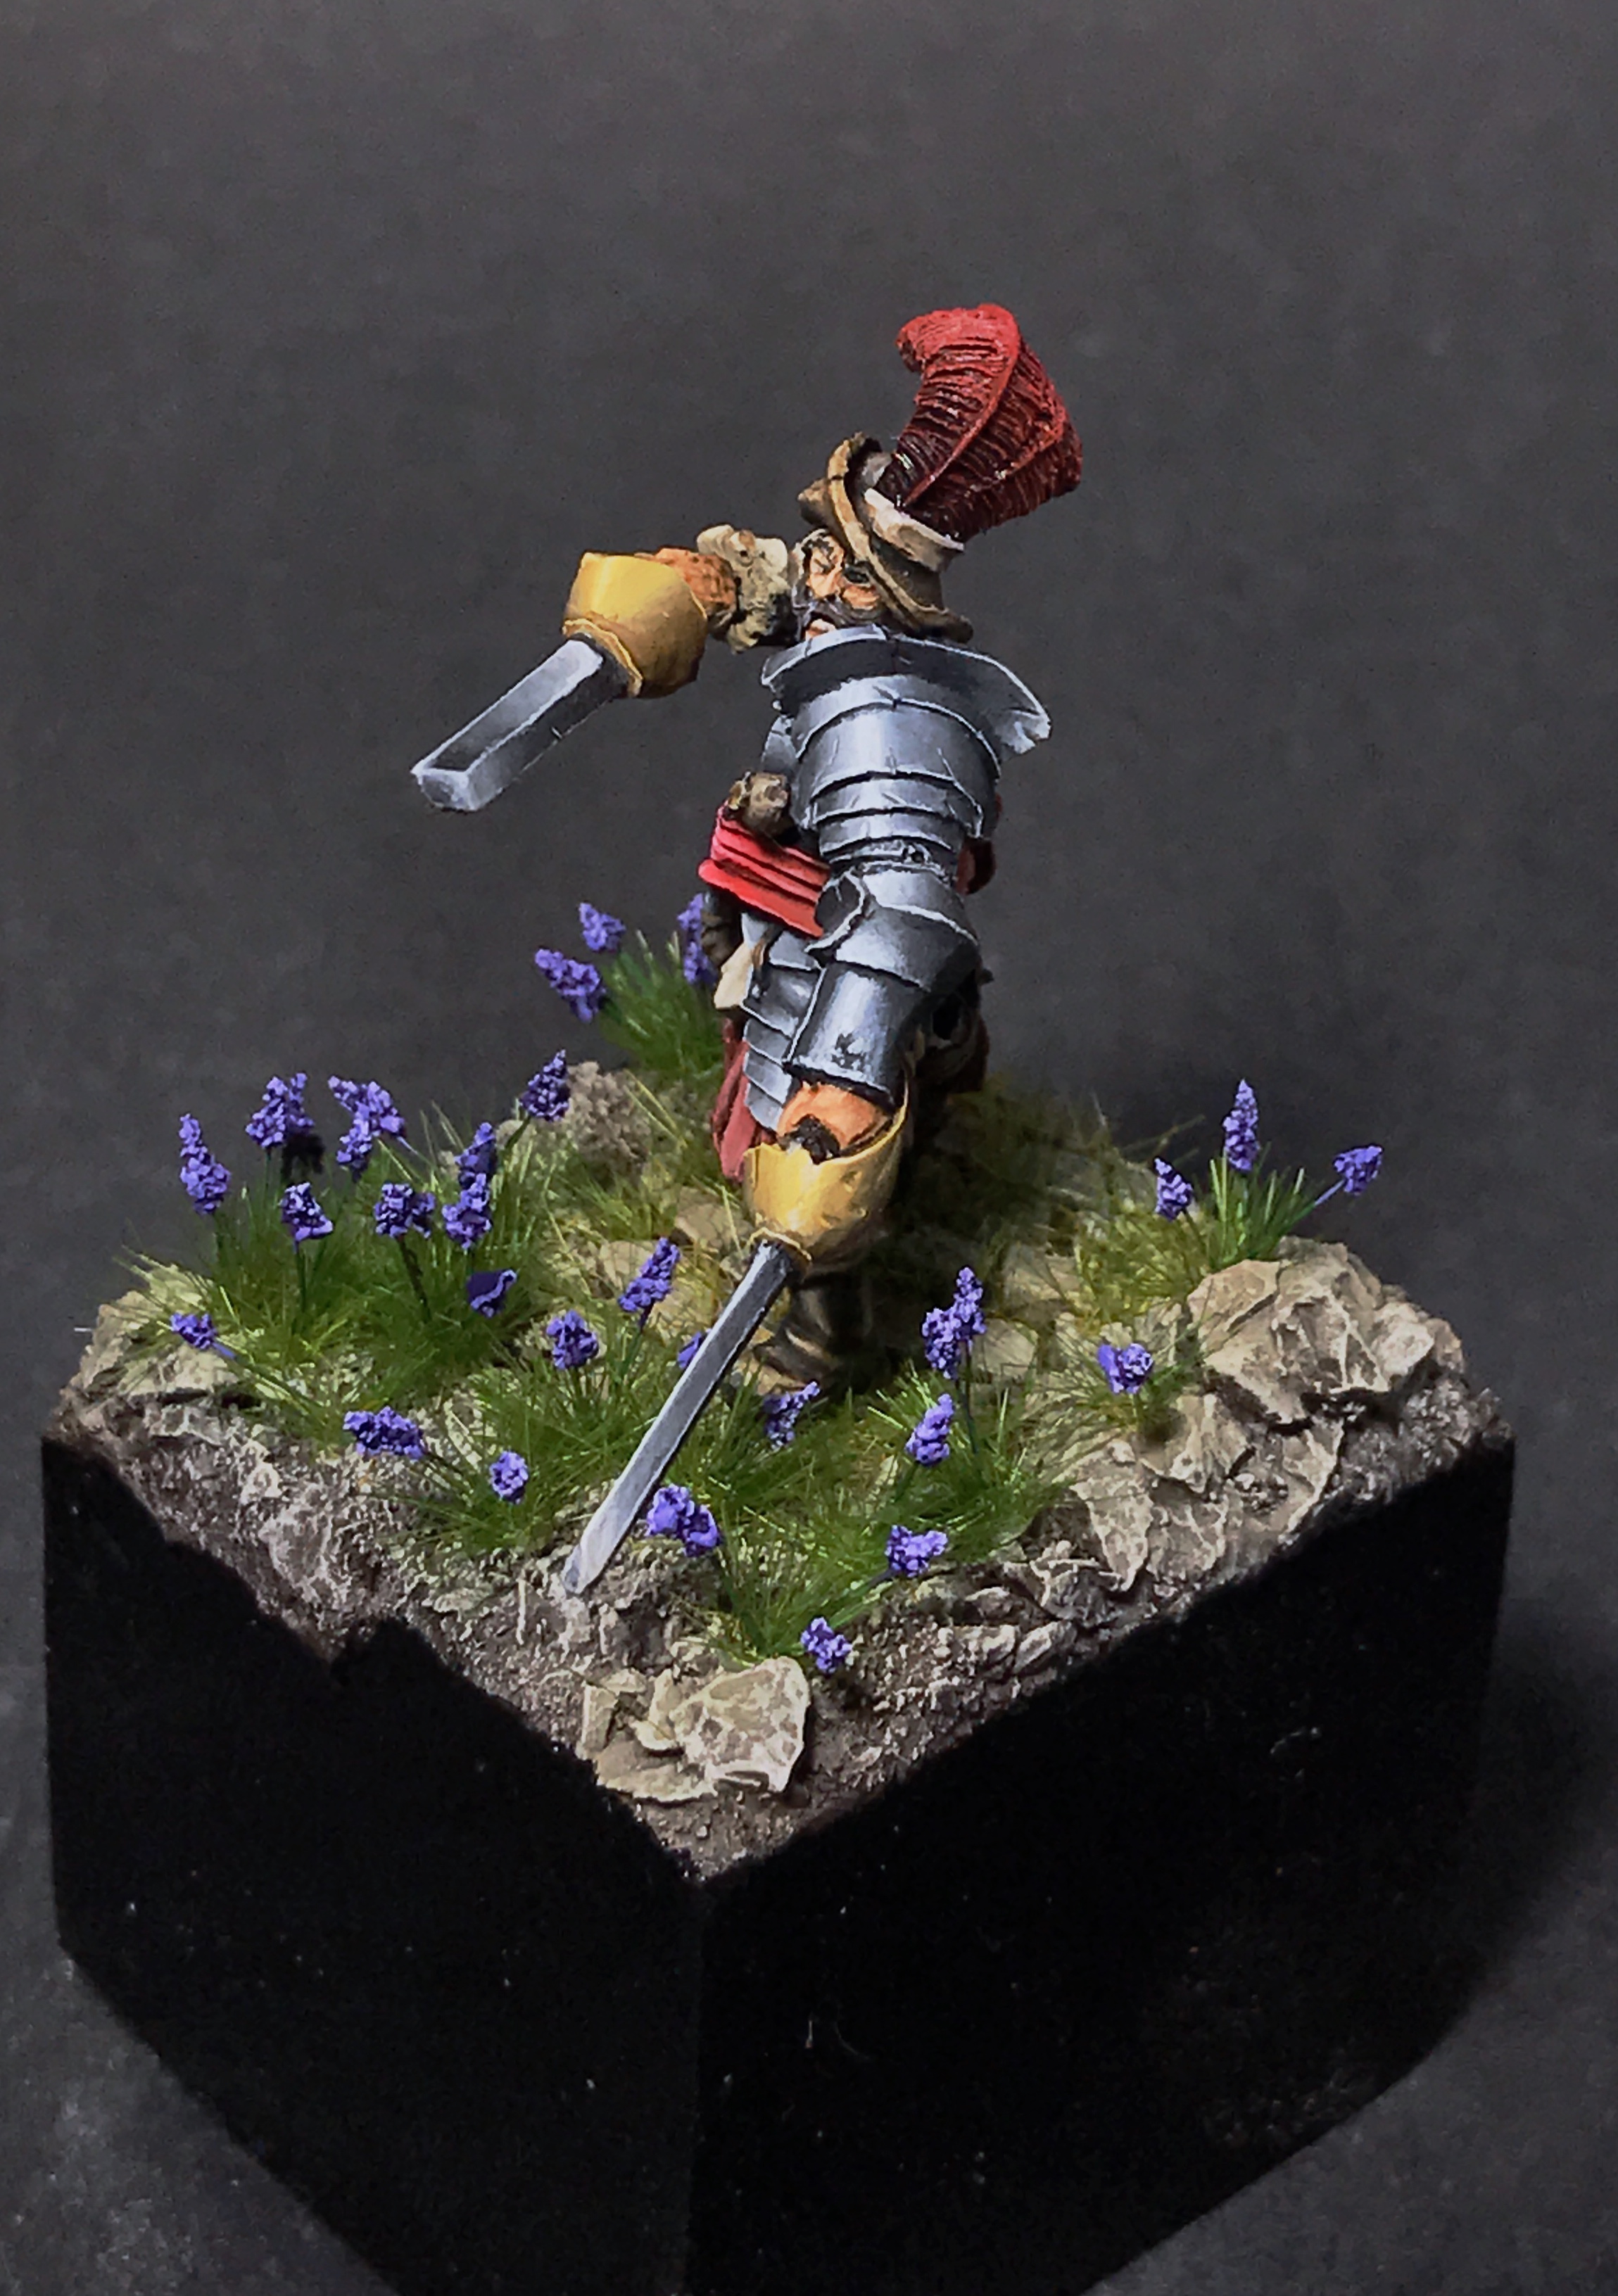
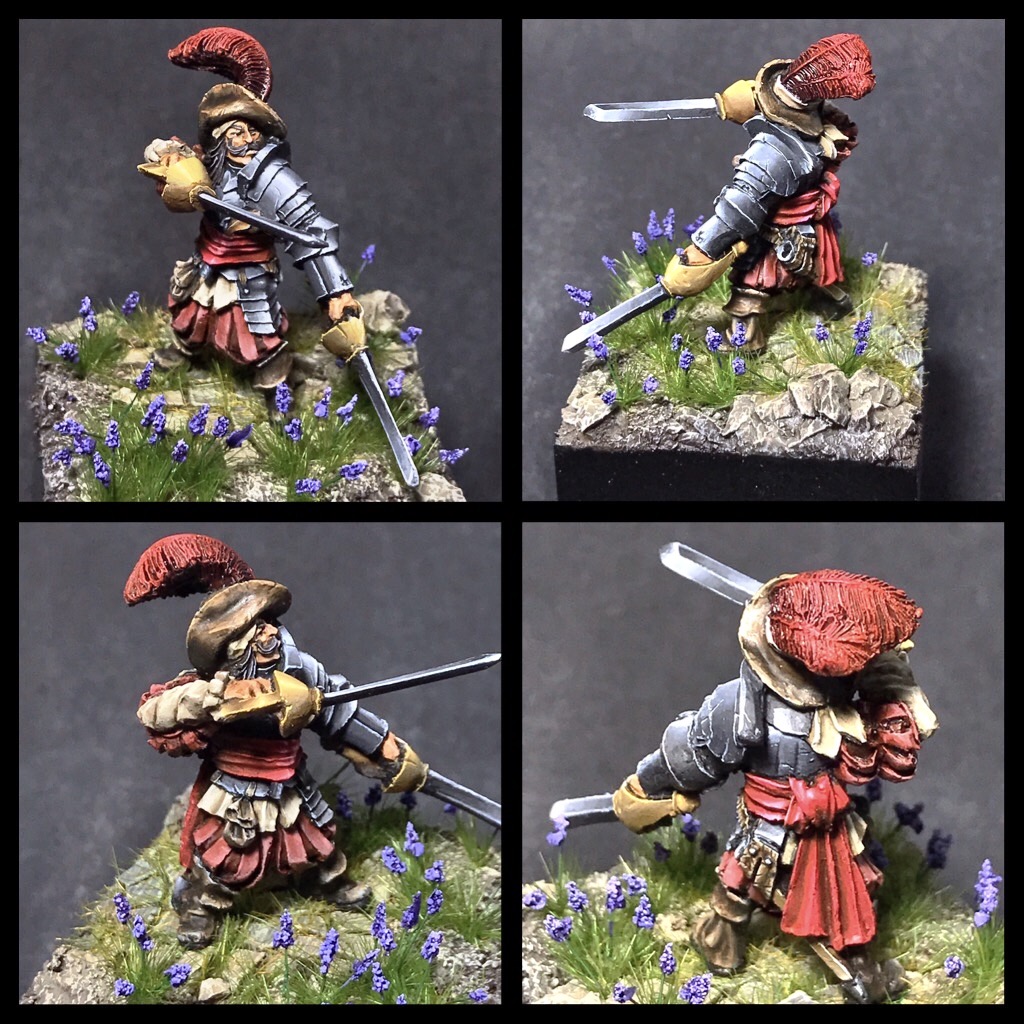
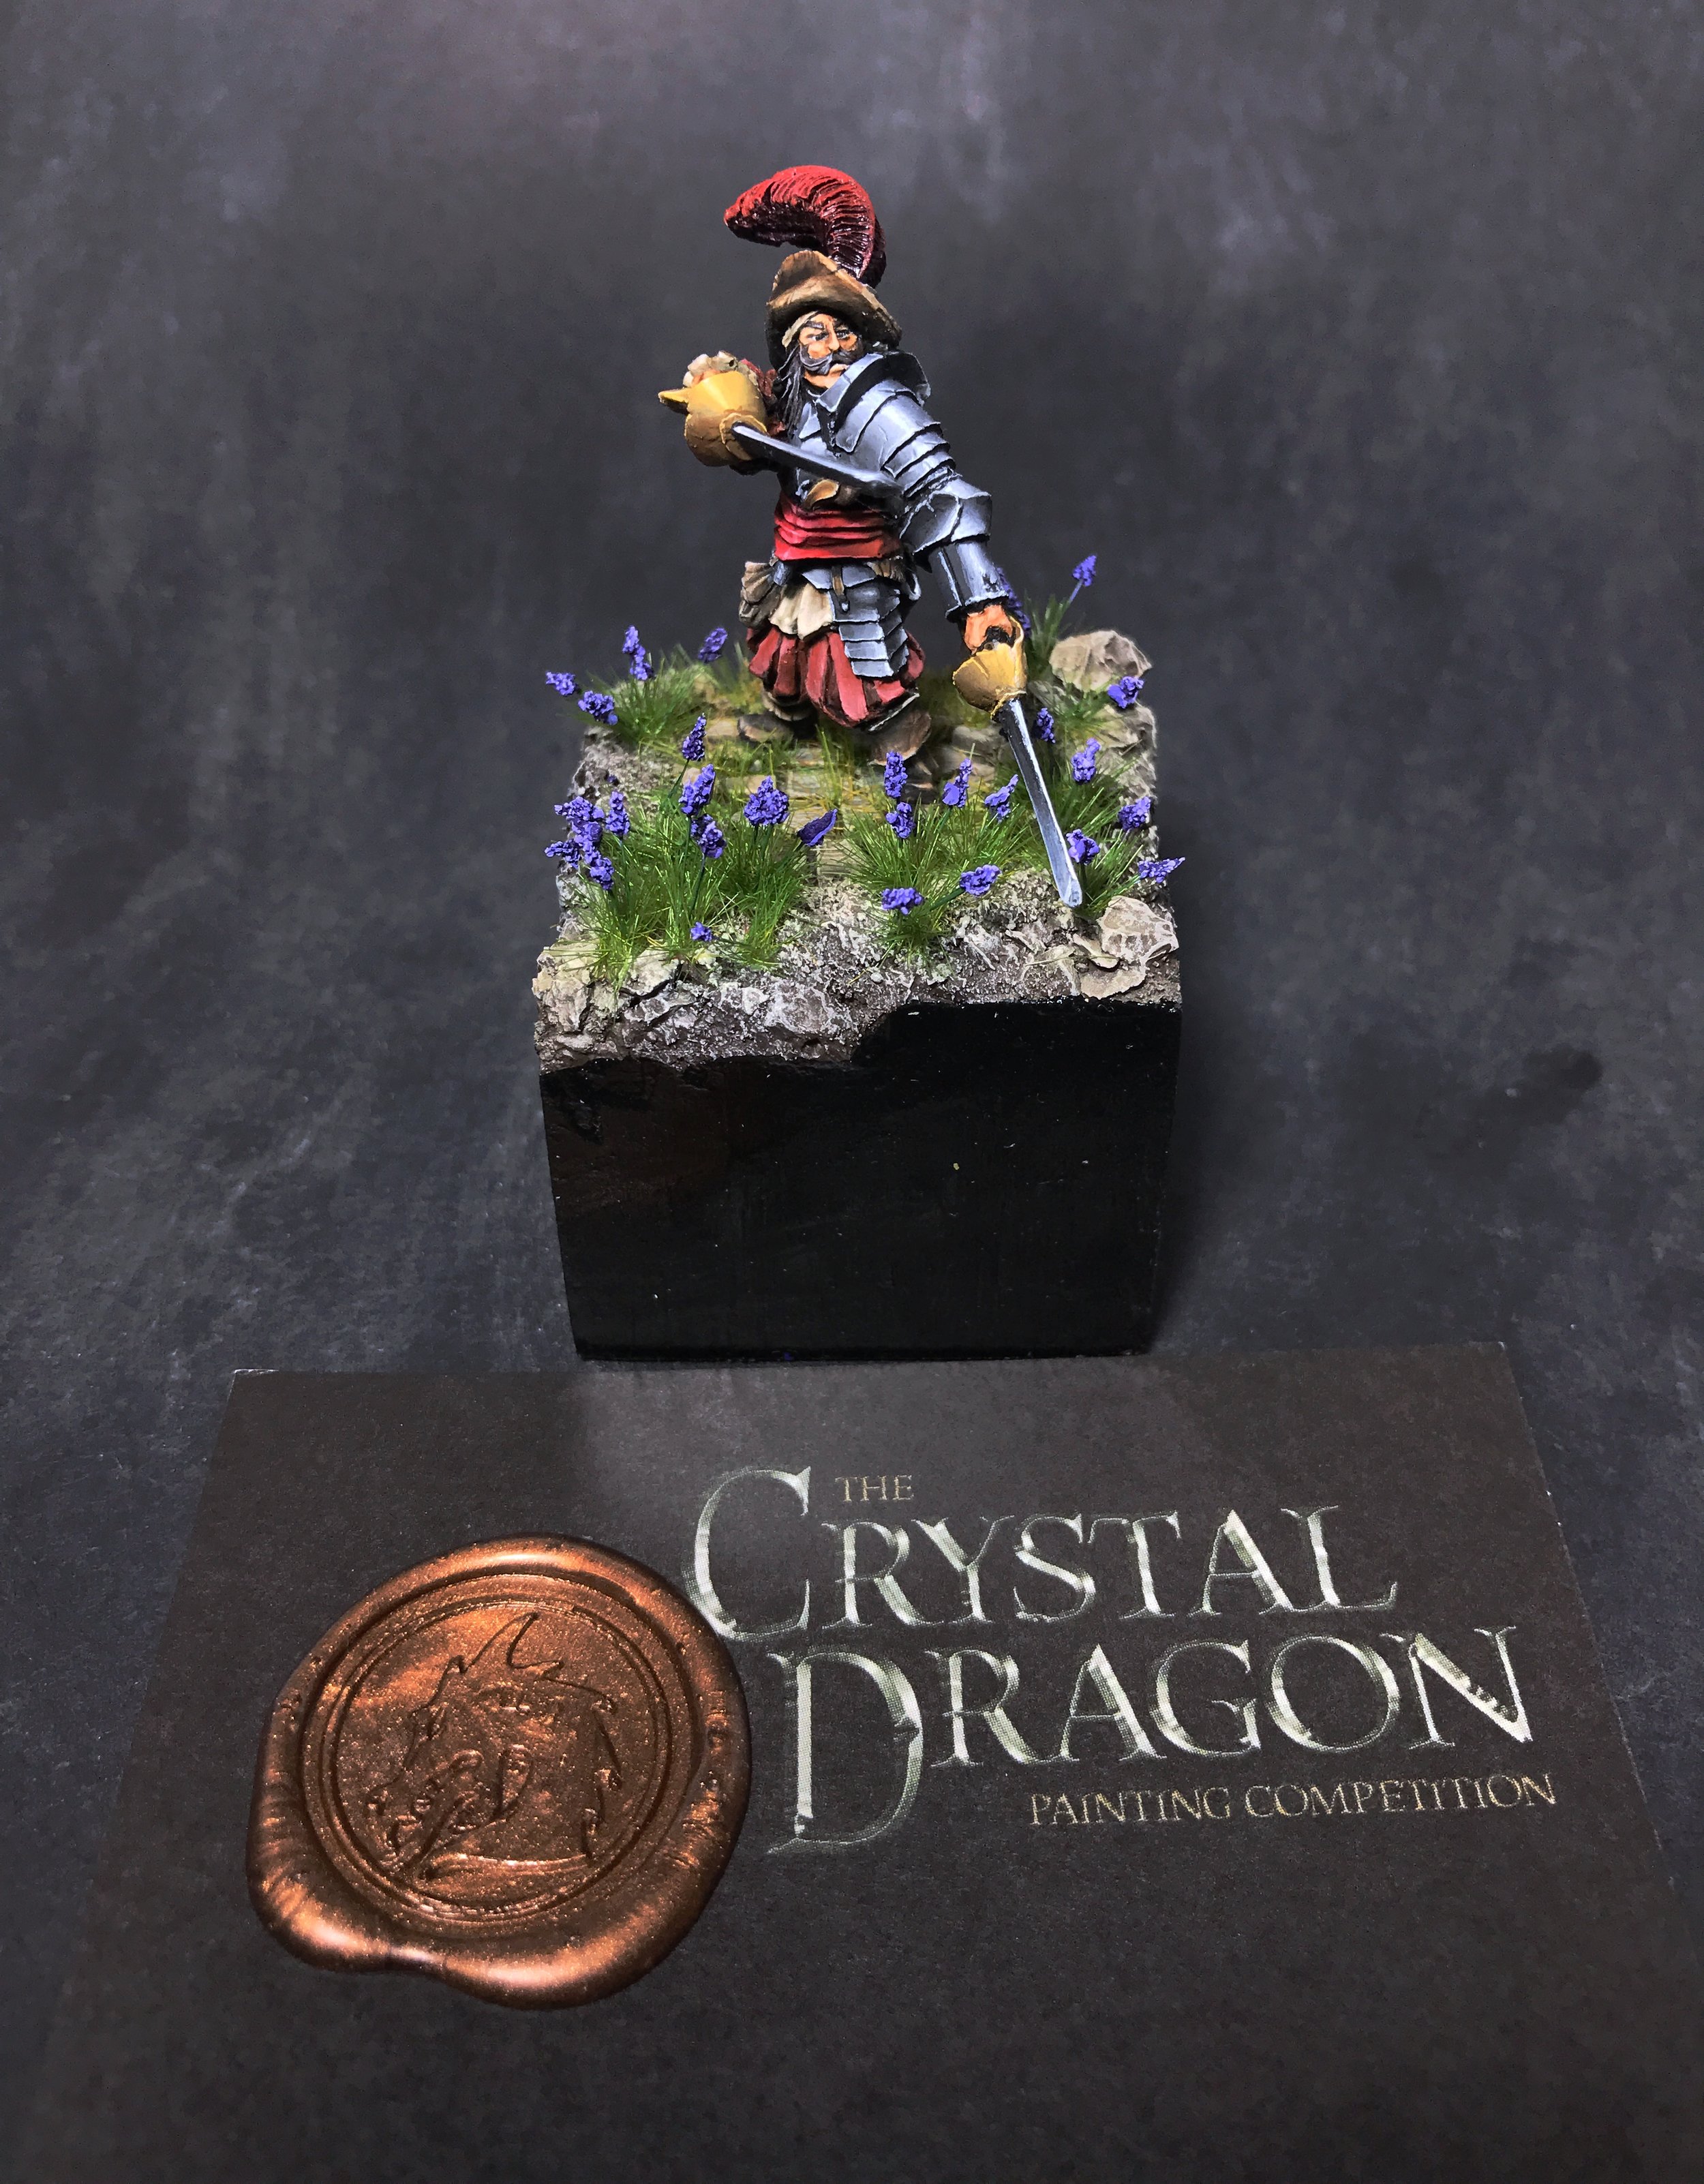
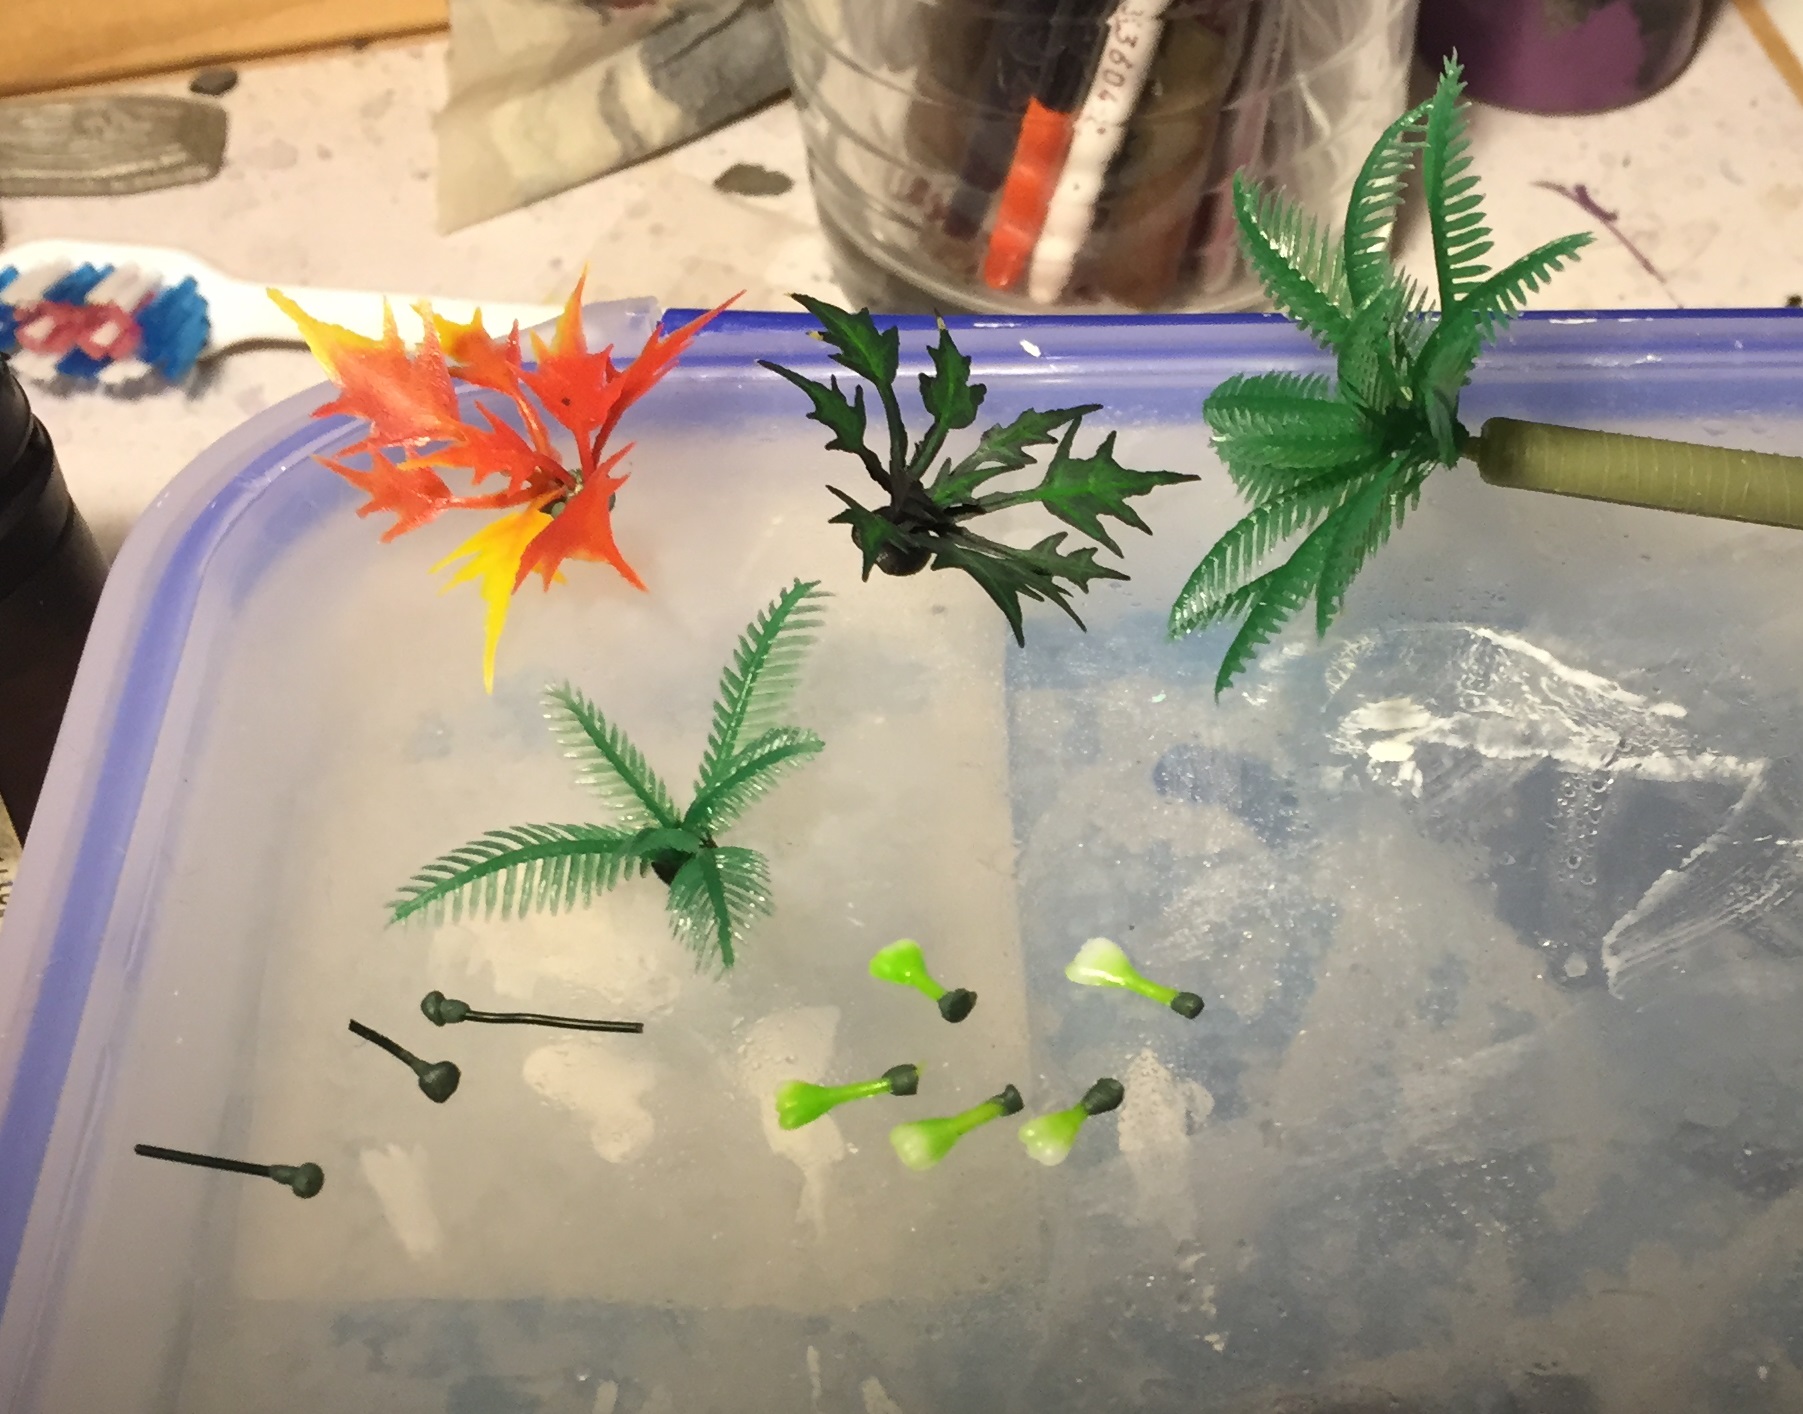
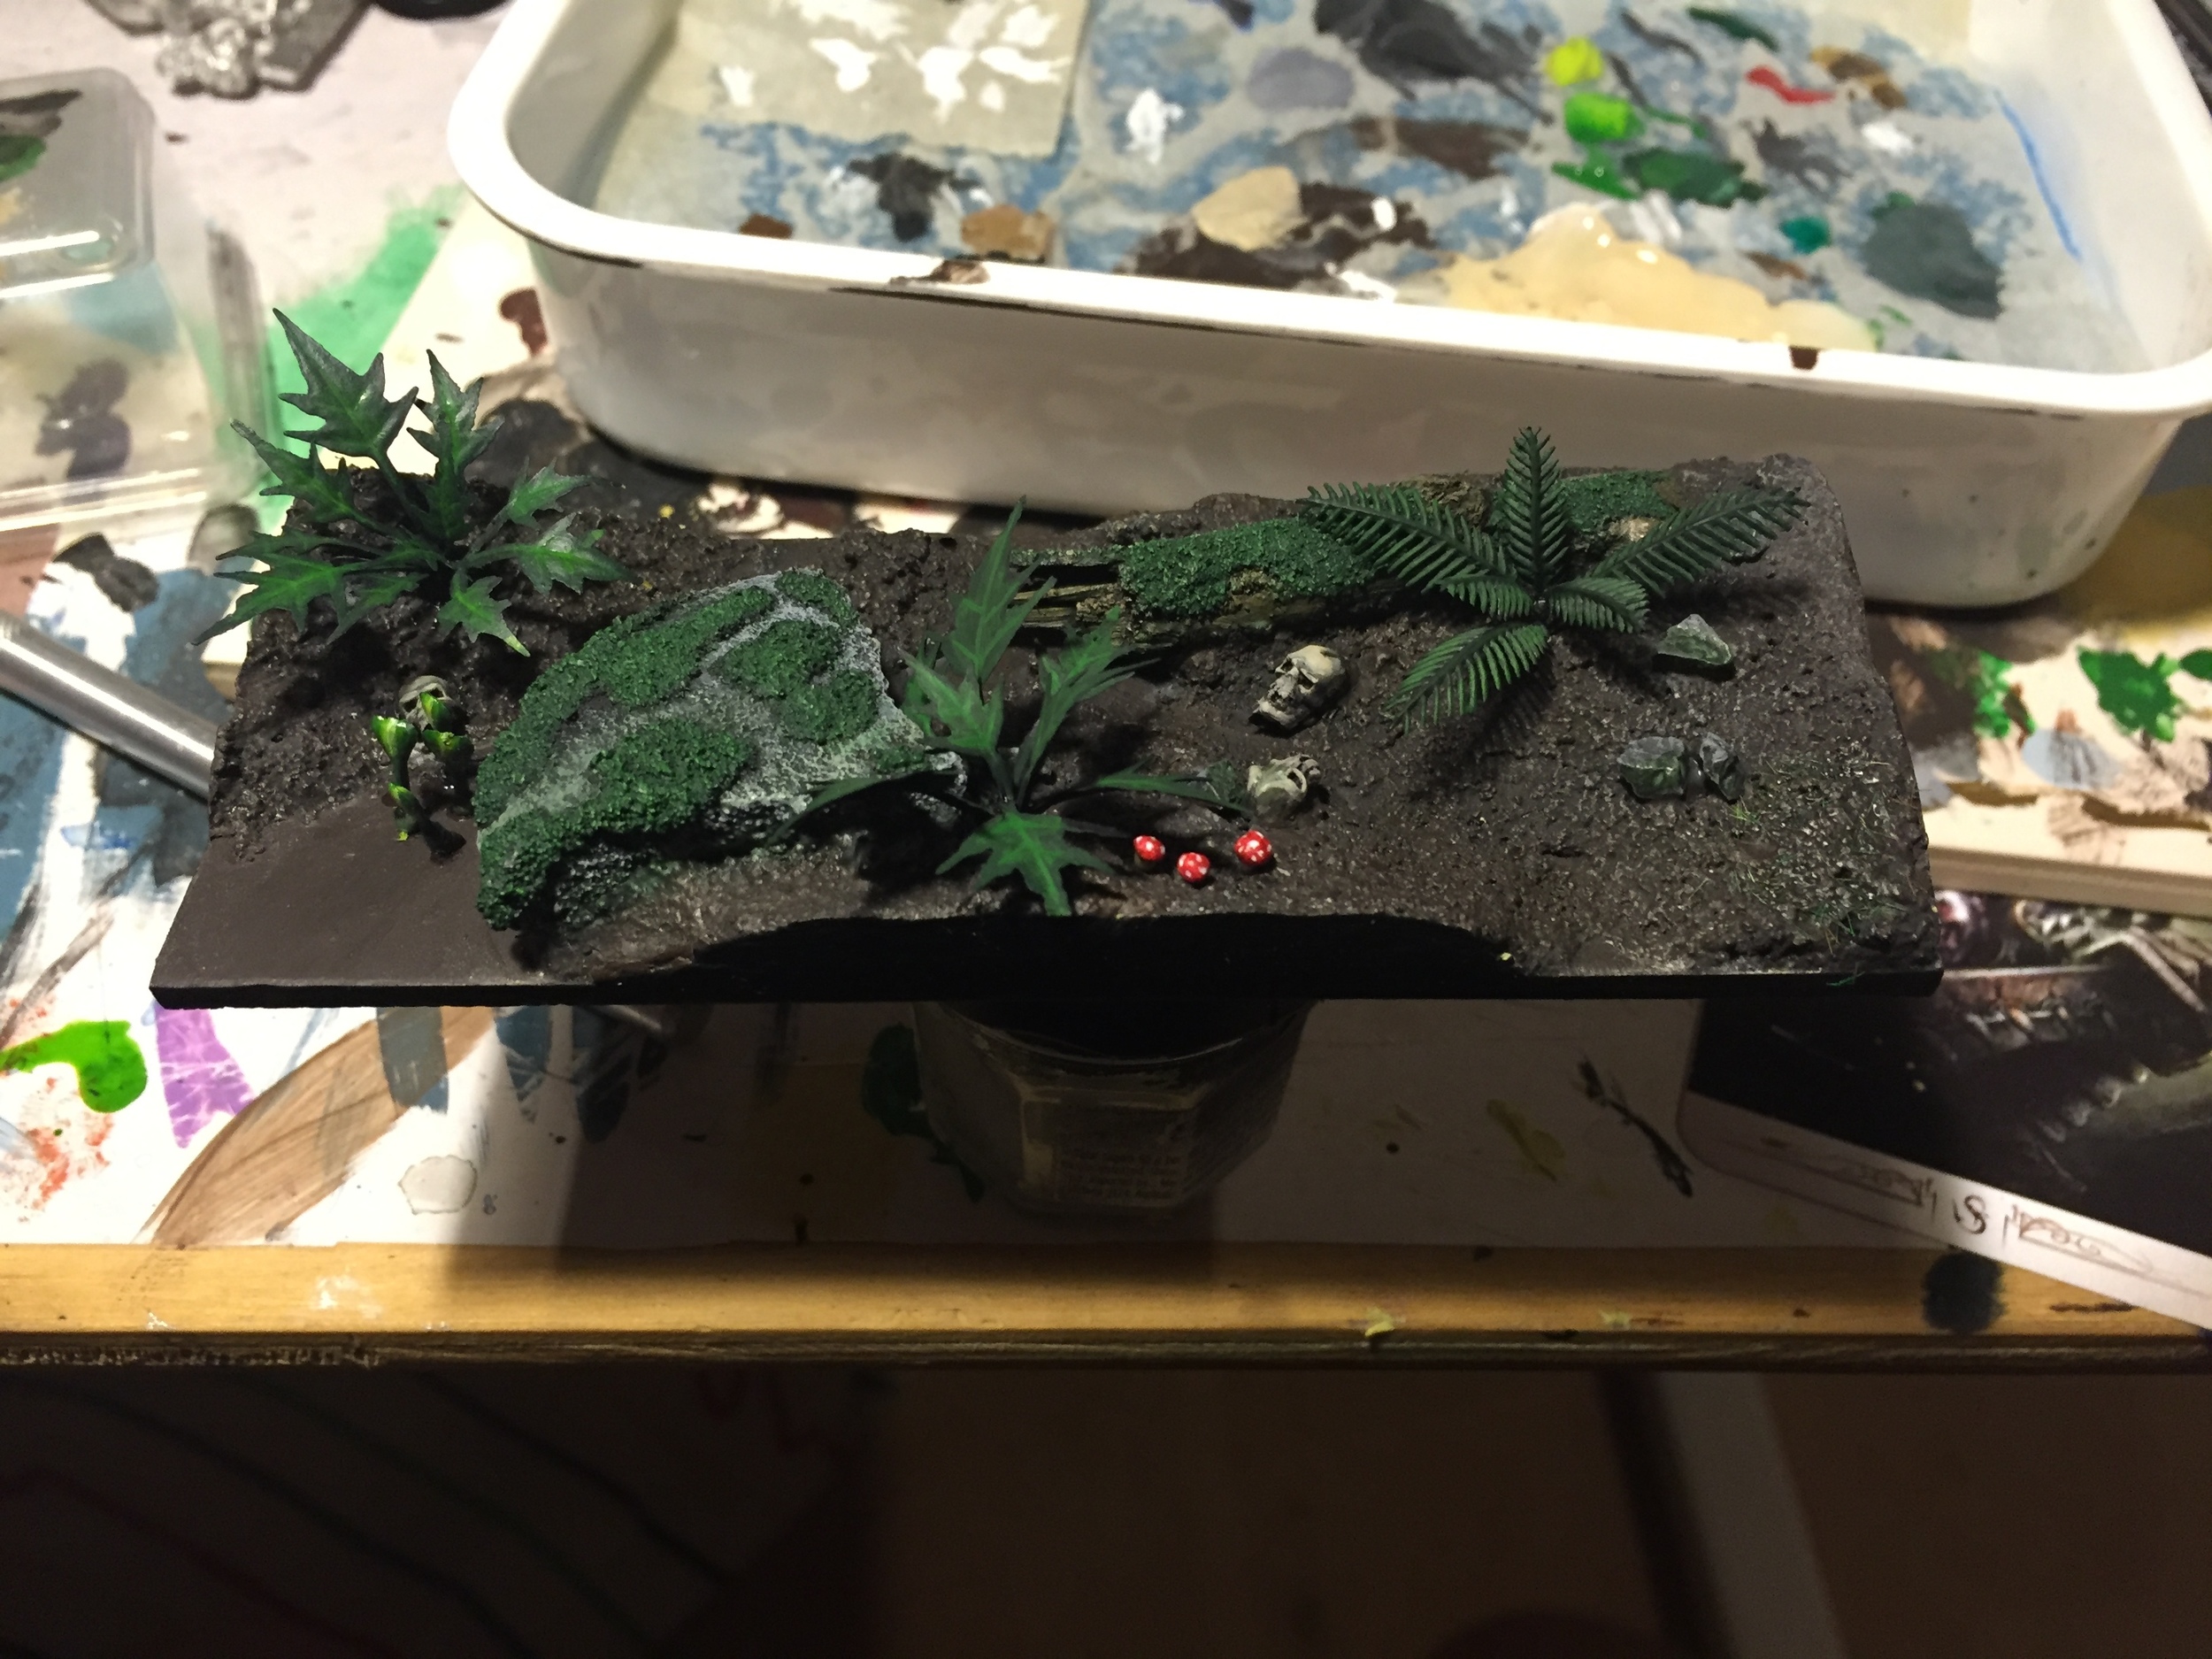
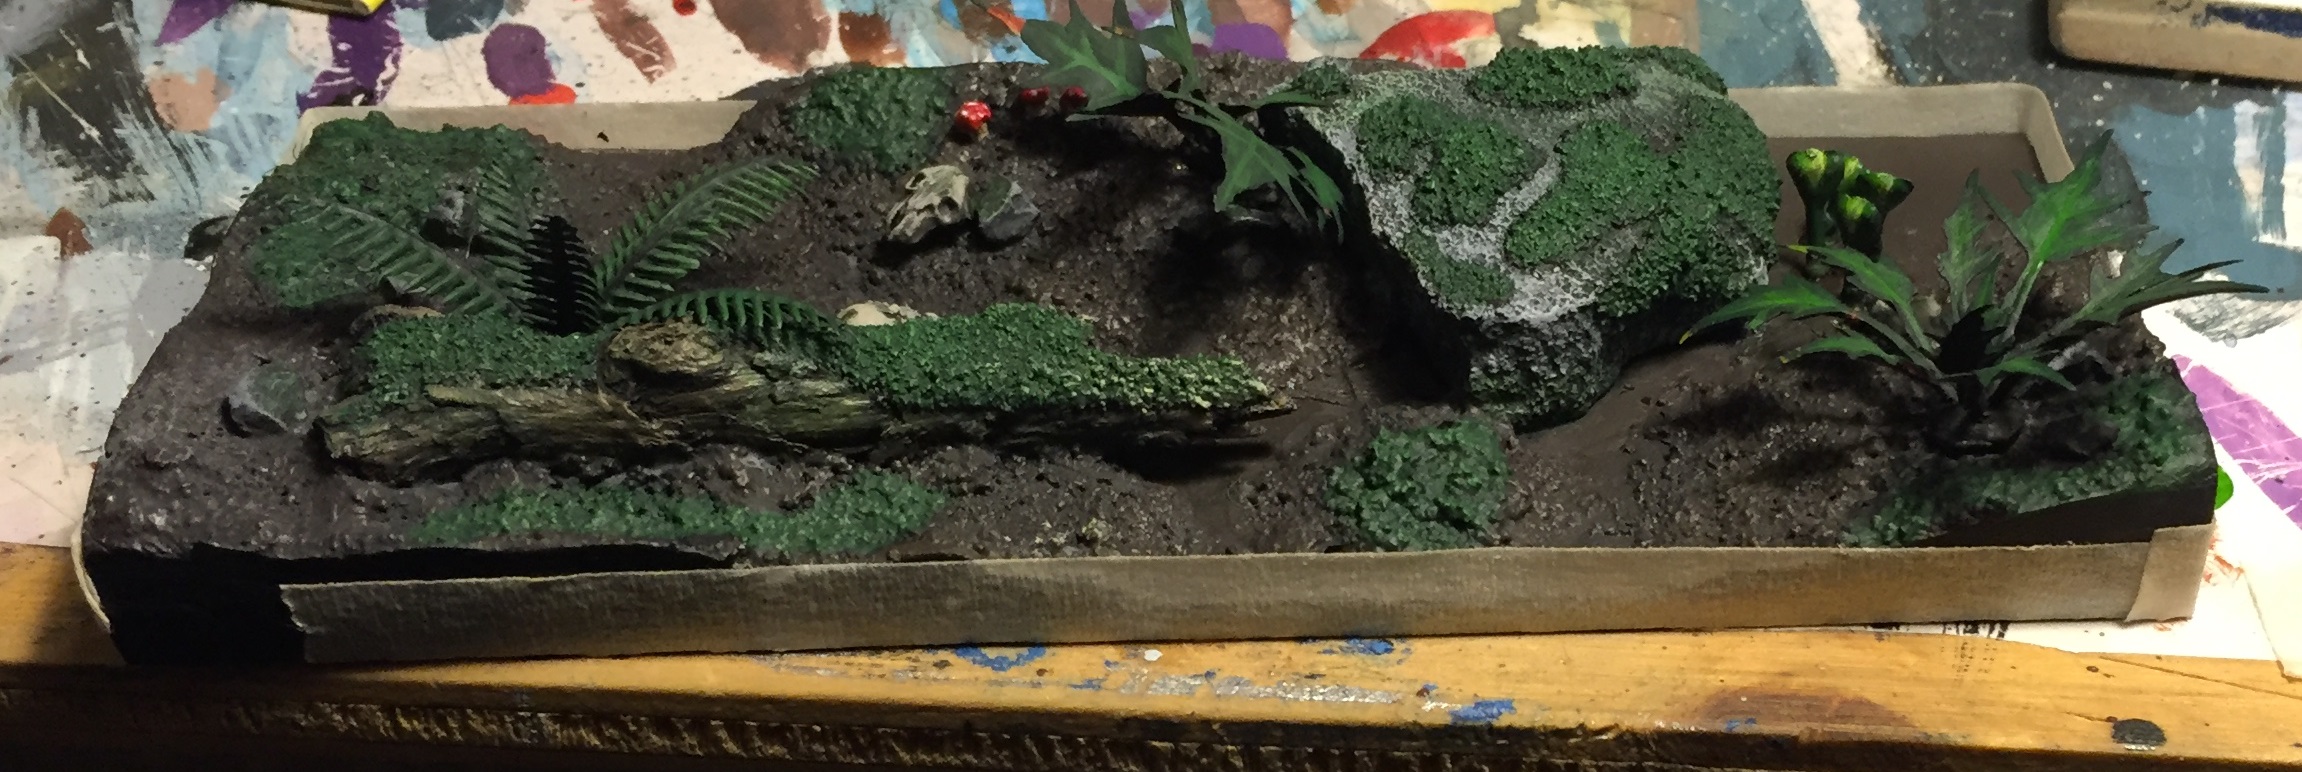
I'd like to finish up this post with a video I made on the Armies on Parade.  I might be biased, but I think that the Kings of War tournament had the best showing of hobby of all the other miniature games.  So much effort went into the armies and each army I played was very impressive.  At lunch on the first day was a small event called "Armies on Parade" where people could display their armies if they wanted for others to vote on a as best painted.  I took a small video for my own memory, but thought you might enjoy it.

The Ice Queen of Tyris

Ok so originally the Ice Queen of Kislev before her homelands were destroyed and she moved to Mantica.  I really love this model.  She isn't the fantastical animated glowing spikes messy elaborate giant of the new games workshop figures and I love her for it. 

I went with a very monochromatic cold colour scheme for the ice Queen.  Only 4 colours in total are needed to paint her.  Dark Sea Blue, Midnight Blue, Azure Blue Elfic Flesh.  Also a mix of black and white. 

IMG_5441.JPG

The horse weatherbeeta (I think that's what it's called) was my first attempt at free hand.  From black I shaded the moon haphazardly with an airbrush, then masked it with a round piece of tape, shaded the sky, painted the mountain and trees, then dotted the stars.  One thing to note, White is very hard to freehand with, the stars are light gray and just dotted white. 

Had a ball painting this witch.  She has so much character!  I'm pretty happy with the result and plan to take her along to the scale model show tomorrow for a bit of fun.

Rolling Plains - Multibasing with Removable Models

IMG_5385.JPG

My new army project is a KoM / Leave of Rhordia Mercenary army based on my old Dogs of War minis.  I have decided on a basing scheme of rolling planes of lavender and broken ruins overrun with greenery.  This is hard to do if you're individually basing all of your miniatures, which I want to do because I still play the occasional game of T9A and use the minis for dungeon games like Warhammer Quest and hopefully Dungeon Saga at some point soon.

First Challenge - Base

The standard GW bases have tapered edges.  These will create large gaps between my troops and make my base look broken so I ordered a bunch of 20mm square MDF bases.  They are laser cut and accurate with nice square edges.  

My base is made up of three layers.  

  1. The first layer is a perspex sheet, 2mm thick and cut into two troop sizes.  I cut a regiment size and then split it in half so that they would fit together exactly.  If you have 1mm perspex then you can just score and snap it so there is no wastage.
  2. The second layer is 2mm thick ferrous rubber (feels like rubber, but magnets stick to it), glued to the perspex and then trimmed to match the size exactly.  It's not strictly required but if you want to magnetize your miniatures for transport I'd recommend it.
  3. The final layer is the bases.  Each base has a rare earth magnet drilled into it.  My unit is a skirmish style unit so the MDF bases are placed on the ferrous rubber with their magnets spaced like a skirmish unit so that it will work for both T9A and KoW.  The gaps are filled with Milliput (don't use greenstuff, milliput sands better and fills like clay)

Lastly I placed some magnets in the joining ends so that they would stick together for when I use them as a regiment rather than two troops.   Final result looks like this.  Not much to look at but a good starting point for the rest of the process.

Gotta love magnets!

Gotta love magnets!

Second  Challenge - Scenery

I wanted a road through my base.  Even Halflings like to walk on stone every now and then.  I bought a green stuff roller from Laser Shark Designs .  I laid down a mat of green stuff over the joined bases and then rolled it over with the roller.  After trimming the edges I cut out the spaces between the MDF bases, removed them and let it dry.  A small amount of trimming was required one dry to slot the bases back in, but not much.

IMG_5276.JPG
IMG_5277.JPG
IMG_5278.JPG

Rolling hills are rarely flat.  I wanted a messy small edge of a hill dirty and rocky.  Cork is great for that.  I got mine from spotlight, a few bucks for a bunch of coasters.  Cut them up a little and stick them down with superglue and they look good.  Cut out the edges of the MDF bases once dry just as with the road and it's done.

IMG_5387.JPG

Time for a spot of paint.  The airbrush is great for bases, saves lots of time and give you good effects without much effort.  This base was German Black Brown, highlighted with Khaki and then final highlight with Bleached Bone.  I'm happy with the results.

IMG_5282.JPG
IMG_5283.JPG

Step 3 - Grassing

Two types of grass were used on this base.  Firstly I made a bunch of tufts.  Rather than buy these at a premium I made my own static grass applicator.  It's not hard and it works well and you can find a video on how to do it here.  I used 6mm grass for my tufts that would end up being lavender bushes and darker green than I was going to use for the rest of the grass.  I stuck the tufts along the road and along the edges of the hill where I thought they looked good.

For the rest of the grass I applied this directly to the base using the applicator.  I used a grass mix from Noch, Summer Meadow I think it's called and it's a mix of 4 different lengths in varying colours.  Once applied, I trimmed it in appropriate areas so it wasn't too tall where it shouldn't be.

I think the outcome was good.

Added a halfling for impact.  Isn't he cute?  Just ignore the base I forgot to slot into it's hole at the back ok?  Bet you didn't see it at first did you?  Damn, why did I call attention to it?

Added a halfling for impact.  Isn't he cute?  Just ignore the base I forgot to slot into it's hole at the back ok?  Bet you didn't see it at first did you?  Damn, why did I call attention to it?

Third Challenge - Lavender

This was surprisingly easy to make.  

  1. Take a single bristle of a coarse paint brush (best to use a large one for painting walls) and paint it green.  
  2. Once dry, dip the tip in white glue (PVA for us Australians) and then into fine white sand.
  3. Again once dry, paint the sand dark purple and then highlight in light purple.  
  4. Once dry, dip the other end in white glue again and then slide it into a tuft of grass.  Slide 1-6 of them into each tuft depending on density needs.

I'd suggest sticking down the tufts in their desired location before adding the lavender or other flowers and using tweezers is essential unless you have tiny fingers and not the clobbery ones I have.

FullSizeRender.jpg

End Result

I'm very happy with the end result.  There are 75 lavenders on the base, I did them in two batches and in total it probably took 1.5 hours for the lavender.  I painted the base with an air brush and  a quick dry brush that took less than an hour and the grassing took roughly 30 mins.  Comments, questions and feedback are always welcome here or on Facebook. 

IMG_5354.JPG

The Fighting Cocks

Love the old Dogs of War models and finally Lumpin Croop's Fighting Cocks are complete, well minus Lumpin's shield but I've lost it so I'll need to make a new one so that's a project for another day.

Lumpin, Ned and his Fighting Cocks are all painted with Non Metallic Metal.  The Leather is painted with preshading and glazes and the rest is simple layering and glazing.  I found the eyes were really hard to paint, not because of the size but because of the molding or the casts.  The eye balls just weren't all that well defined.  Other than that they were a pleasure to paint.

I am going to use these guys for Kings of War and 9th age so the basing has taken both into account.  It's shown in the picture, the base is slotted for 6 20mm bases in each but designed to fit together in a single design.  I'm quite happy with the result but would love your opinion.  The larger base is two troop sized units and they are inset with magnets to lock together as a single regiment as well.

I will do another post on the basing, but just for this one there are 75 hand crafted lavender sticks, 20 hand made grass tufts, cork, milliput and greenstuff that has gone into making the base.


Static Grass Applicator - First Steps

So this post will be a little messy because I'm really just fooling around.  Static grass is designed to react to a static field in a similar way to the reaction your hair has when you rub a balloon on it.  I have tried many times to apply grass without a static field and it just looks like matted rubbish, not a nice grassy field.   

You can buy products that do this for you, but as always I want to understand how it works so I am going to try and make my own.

The Apple is a key component! 

The Apple is a key component! 

Here are the parts I have.   

  • Two small steel plates
  • 9 volt battery
  • Bunch or wires and clips
  • Negative ION generator
  • Apple core (every project needs sustenance) 

The only important part here is the negative ION generator.  It basically creates a static field between the generator cable and ground.  Hook up the positive and negative terminals to the battery and clip the generator cable to one steel plate and the ground to the other.  Blue tack your base smothered with PVA glue to the ground plate and lay static grass over the generator plate.  

Turn it all on!  Grass everywhere!  It does work though.   

First attempt side view

First attempt side view

Second attempt top view

Second attempt top view

The grass flies all over the place and some of it sticks to the glue.  My problem with the first attempt is that it seems to go on thin.  It's good, but it could be better. 

Next step is to take away my hands, as they are grounded they mess up the field, and try to use gravity.

Pre-Shading and Leather

I've been looking for a good leather combination for quite a while.  I've tried lots of layering combinations and a few wet blending techniques and I could just never find something that looked realistic.  One thing I find when looking at pictures of leather (google searching leather things is weird) is that leather both holds shadows well (dark darks) and is reflective nearly as much as metal sometimes.

So I thought I'd try a new technique I'd been keen on giving a crack, pre-shading.  The technique is simple, just shade the area black to white using whatever technique you like best (I've used layering).  Then apply layers of very thin glazes over the top to give it colour.

Ignore the dodgy coat, it's a failed test.

So this picture shows the pre-shading step.  I wanted this leather to look a little darker so I've  left the blacks very black and not highlighted to high on the white.   I'm using Vallejo Model Colour black and white colours.  I find they are not grainy and handle the wet palette very well.  Next up is the shade.  Army painter to the rescue.  I generally don't like army painter products.  Their paints have arrived dry, their base coat sprays go on VERY thick and once i nicked a can with a plastic knife and BAM paint everywhere!  But they two excellent products that I've used.  Strong tone and Soft tone.

These are very thin paints with nice smooth pigment that go on as glazes.  When combined with the process above, they produce a leather I'm happy with.  Here is the same bag with just soft tone.  There are about 5 layers, maybe 6, on it, but each layer is really simple, just was it on.

To be honest, I'm not overly happy with my pre-shade or how dark it turned out, but the camera washes out the picture a lot so it makes it look worse than it is, but I am happy with the colouring and highlighting.  Different tones of leather can be achieved with adding inks into your soft or strong tone (not much!).  Also after your first layer, you can achieve greater contrast by avoiding the whitest of areas and focusing the colour on the darker areas.


The boots on the captain were done in this fashion, so was the belt.  The boots have a tiny bit of brown ink mixed in and lots of layers of soft tone, the belt has just a couple with no brown.  Different effects (I think) but the same process.  Now my goal is to make it a faster process.


The Captain - Non Metallic Metal Adventures

Finally finished the captain.  He didn't take all that long, but I got held up waiting for the right tools to finish his base.  He's a 28mm model from the Heresy miniatures line in white metal.  I normally prefer to paint plastic and resin, but this model is one of my favorites.  He has so much character and so nicely crafted I just couldn't wait to paint him.

The metal is entirely NMM (Non-Metallic Metal).  White to Dark Gray to Black for the metal plates, White to English Uniform to Burnt Umber for gold and White to Dark Sea Blue to Black for the sword.

The base is just cork, green stuff for the cobblestones (I got a green stuff roller from Laser Shark Designs, great web store), static grass (woodland scenics I think).  The lavender is made from bristles of a paint brush (a big one for painting walls) painted green then dipped in sand.  The sand is painted purple and then they are just stuck into the grass tufts.  Really simple.

I had heaps of fun painting this guy and learned a lot about NMM.  Questions, comments and criticisms are always welcome.

Project Complete - Swamp Monsters - Night Stalker Doppelgangers

I wanted to give the impression that my Doppelgangers were gooey swamp monsters oozing out of the slimy swamp that makes up the theme of my army.  To try and achieve this I've used a lot of my old miniatures (including a bunch of Warhammer quest minis).  I painted the eyes the same way as the rest of the army, glowing purple, and embedded them int he resin swamp.  I've used Vallejo water effects to goo them up.

I'm fairly happy with the result, though all the shading and highlighting I did has blended into the glossy effect and the glowing eyes don't have the impact of the other models I've done.  I still feel like they do the job well and I'm happy with the result.  I have two regiments of these guys, this is the first.

Photos have come out a bit dark, I don't think I'll re-do them though.  Perhaps when I do the second unit I'll add some new photos.

Project Complete - Arachnophobia Night Stalker Needle Fangs

The next unit up in the Night Stalker army creation is the Needle Fangs.  I had a vision of this swarm as a plague of void creatures skittering through the deeper and denser parts of the swamp taking on the guise of the greatest insect fears, arachnophobia.

The models are Warhammmer Quest spiders.  I've had them for 20 years and never have they been close to a paint brush until now.  I've followed the same formula as the rest of the army.  I decided in the end not to overcrowd the base as I just didn't think it would have the same effect.

The base follows the same scheme as the rest of the army.  It's a bit deeper in resin swamp water and has no land to represent difficult terrain.  The rocks are real rocks as usual, all painted of course, and the stick is a real stick also sealed and painted.  I really like the reeds so I'll be doing more of them in the future but perhaps the base could have used a little more colour.

I now have a regiment, two troops and a monster.  All the ingredients of a small army.  My next post will have a progress group photo.  The next unit I'm working on is the Doppelgangers, and here's a small spoiler you can expect to see the return of some of the Warhammer Quest miniatures.  What's more scary than old Warhammer Quest miniatures lurching out of the swamp to come and eat your dreams?

Project Complete - Night Stalker Shadow Hulk

The first of my three Shadow Hulks for my night stalkers. This model is almost entirely airbrushed.  Black undercoat first (Vallejo) then a dark gray for a small highlight from above.  Each set of scales was then highlighted with a lighter gray using blue-tack to mask and allow the airbrush to focus on a single scale.

Purple effect was airbrushed into each of the slits and holes to create a minor OSL glow effect.  White was painted into the slits and holes then, very thinned down to get into the cracks.  Thicker white painted over that for coverage.  Purple ink and some minor highlighting where required.

Lots of mat varnish to seal each layer and a final mat varnish to seal the whole model.  I find the airbrush paints rub off easily if you don't varnish.

The base is the same as the rest of my models.  I tried to create a little waterfall and while it didn't work as intended it did make a nice stream effect.  The water surface is broken up with Vallejo water effects.  They're good, but by prepared for them to shrink a lot.

I think it's my best night stalker yet and I'm getting better with the airbrush.  Comments are definitely welcome.

Project Complete - Mortis Engine

This conversion has been sitting in the back of my brain for months and months.  I bought the GW scenery a long time back with the intention of building this conversion and finally I've managed to complete it.

The base is built with plasticard, river sand, tuft grass and milliput.  I'm happy with the base but the OSL is not my best work..  The ethereal tornado is the part from the scenery, crafted into the base and I used an air brush to create the highlights.  It was harder than I thought it would be, but I'm happy with the result.

The platform is the base from the balewind vortex.  The stones are milliput and sand is stuck to them and the edge of the platform to make it appear as if it was plucked from the dirt. 

The necromancer is a wonderful model from hasslefree miniatures.  His cape is airbrushed and his body is completed with layering.  The slaves are zombie bodies and empire militia heads.  Inked and layered I've dirtied them up with black pigment.  The blood is my ink mixture, but the blood in to the pools is envirotex resin with the blood mix.  Vallejo water effects is used to create the ripples in the whirlpool.

I'm very pleased with the result, i hope you like it.

Project Complete - Night Stalker Fiends Regiment

So it's been a while between posts and it's not because I haven't been busy but I've been trying to run two projects at once so neither of them have been completed in a very fast fashion.  The other project is also almost done, but in the mean time here is my second Night Stalker unit, a Regiment of Fiends.

Different from the Shadow Hounds I have used an air brush for most of this unit.  I'm pretty new to air brushing and you can see some of my mistakes but I'm very happy with the end result.

I added a new plant to my basing theme and a tree.  The reeds are from a paint brush (wall painting flat brush) and stuck together at the base with hot glue.  Then under-coated with the air brush, base-coated Vallejo Black Green and then highlighted with Vallejo Air Khaki.  I'm pretty happy with them as they are pretty easy to make and I like the effect they bring to the base.

A little bit less water on the base in this model, which I regret.  Future night stalkers will have much more water as this one just doesn't look swampy enough for my liking.  

For anyone reading this I would love to hear what you think.

Project Complete - Dogs of War - Volands Venators

So this project started out as test to see how quickly I could paint non metallic metal using the loaded brush technique and an opportunity to practice my loaded brush wet blending.  I never really expected to be totally happy with the results due to the speed at which I wanted to paint them.

Credit where credit's due, Painting Buddha is an excellent site where I learned so much about how to paint with this technique and one of the main reasons for giving it a crack.  Please visit their site and check out their videos, or even better donate or join so that they can afford to keep it running.

I'm fairly happy with the results in the end, especially on Voland himself and I've really enjoyed painting these models.  There are actually 7 of them, I've only posted 5 because they photograph better.

New Project: Night Stalkers Fiends Regiment

Time for a new project.  Fiends are a core part of the night stalker MSU army with their great movement and strong combat skills so they're next on my table.  For this unit I'm going back again to the Tyranids and looking to use their Warrior models.

GW Tyranid picture taken from the GW site.

GW Tyranid picture taken from the GW site.

Justification

The warrior models are on hoofed feet and I figured they were appropriate for either Butchers or Fiends.  Butchers are shambling and the warriors just look to fast and agile to suit the shambling rule.  All of my shamblers are going to be on snake tails to make them easily identifiable.  The sprues come with lots of different arms and with some small mods I can setup a savage looking unit with minimal fuss.

Modelling

Obviously the guns have to go.  The sprues I have come with enough options for most of the limbs to be claws, but I'm two short.  I have spare bits I'll use for that or do something interesting with the non-gun arms as they have tentacles coming out of them that fit into the weapons.  I'm also re-positioning the legs as they look too static for a fast moving unit in their default pose.

Continuing my swamp basing scheme will be fun.  This time their going to be splashing and wading int he water a little and that's going to be much tougher in that I'll need to do some greenstuff modelling and then clear resin casting along with other water effects.

These models will be a little brighter than the hounds with some extra effects of light around their heads and hands, but they're still stealthy so expect them to still be quite dark and contrasting against the colourful swamp.  No fillers for these guys, 3 per base as they are supposed to be.

Non Metallic Metal - Practice Practice Practice


Non metallic metal, or NMM,  is a daunting endeavor.  Almost every video you see will look painstakingly difficult and time consuming.  The outcome looks fantastic and best of all you don't have to work with metallic paint.  I hate working with metal paints because the clump, they are hard to get even and in bright light they they are so reflective it's hard to see how you are painting.  They also get into your water and infect your other paints of you don't change your water.  

My Dogs of War / Kingdoms of Men / Empire of Sonnishtal are largely heavily armored humans and I want to paint a whole army with NMM, so with that in mind I needed a faster technique.  I stumbled across the loaded brush technique and here I am.  

Completed first attempt  

Completed first attempt  

​You can find heaps of detail on how to perform the loaded brush technique of wet blending on Painting Buddha, a wonderful site that you should really support if you find them helpful.  They make amazing videos. 

So the trick with this technique is practice practice practice.  Learning how wet to make the brush, how much highlight to put on the tip depending on the size of the material and how bright you want the highlight and the right thickness of each of the paints.  When you do it right the results are amazing and right now I get it right 1 in 2 or 3 (or 4) attempts. 

image.jpg

So to practice I'm painting a unit of Knights.  The pictures on Here are the WIP, and almost the whole model is done with the loaded brush.  They are far from my best work, but it is quick, maybe half an hour for the metal on each horse, and I'm getting faster.  Please (pretty please?) ignore the shoddy work on the extra bits like gloves and faces, like I said these are practice models for the NMM look and otherwise paited up to "battlefield" quality.

Final horse, obviously not complete but the armour is

Final horse, obviously not complete but the armour is

Nightstalker Shadow Hounds

Now that my swamp base is done I've been working on some shadow hounds to occupy it to define my night stalker army style.  I wanted something dark, nightmarish, black and evil but also a little colour.  Eyes aren't really enough colour for me, but the Tyranid models that GW use have lots of areas that I can set to glow with the inner purple power of these creatures.

 I used loaded brush a lot on these guys to get the blending of light gray to black to give them some depth.  The purple is simply white and then layered up to purple and a drybrush OSL.  I wanted a good effect without spending a month on each unit and I'm happy with the result.

Next step for me is the second unit of these Shadowhounds.  This unit is the lead and the second troop will be behind.  The scenic bases will match and join together with magnets when done to make a regiment.

On another note, I've added a subscribe link to my blog in case you're interested in hearing about what I'm working on.  

Creating a Swamp Basing Scheme for Kings of War

My last post was on the inspiration for the swamp basing scheme for a Kings of War Nightstalker army.  Since then I've completed my first base.  This is for a troop of cavalry and will be used for Shadow Hounds.  Those models aren't painted yet so won't be attached for a little while more, but I'm using Hormagants from the Tyranid range of GW 40K.  Water effects are easy and fun, so here's how to give it a go.

The finished product

The finished product

Step 1 - Cut your base

There are lots of places that will pre-cut you some MDF to the size you want and that's fine.  I have a large sheet of acrylic that I use and I just cut it with a jig saw and sand it down when I'm done.  It works fine and makes a good starting base, plus it's a little cheaper.

Step 2 - Mounds and Lakes

I use Fimo Modelling Clay for this step.  You can use something else if you like, Milliput for example, but just be sure that it's easy to sand once you're done.  I like clay because it's super cheap and you use quite a bit.  Mold it into place on base just as in the picture.  The low parts will fill with water.  If you have a log or a stone, make impressions in the clay before it dries.

Once the clay is all dry, snap it off and glue it down.  If you used Milliput it will bond to the base, but clay won't so use a little super glue will bond it.  Once bonded, mix some white glue with water and paint over it.  This creates a tougher surface and ensures it won't chip later.  Once again if you used Milliput this isn't necessary.

Step 3 - Sand, Rocks and Logs

Glue your rocks and logs down into the previously molded shapes you made in your clay.  I just used superglue for this part, white glue would work too just take longer to dry.

Clay and putty have too smooth a surface to look like mud or sand when painted so you'll need to add some texture.  You can use Modelling Sand (whatever brand you like) but I'm stingy so I just use cheap sand from the hardware store.  I got 10 Kg for about the same price as a small baggy of sand from a craft store.  It's fine, it's clean and it works really well.  If you want it finer (mud looks better with REALLY fine sand) like I did, just crush it in a mortar and pestle first.

Mix your sand with watered down white glue and paint it on over the mounds.  Clump it where you want to make it look wetter, messed up or mossy.

Step 4 - Who wants Moss?

Spread undiluted white glue across any surface you want to be mossy.  Don't add water because you won't get enough depth from your moss.  While the glue is still wet, you have a while white glue dries slow, pour on as much sand as you can or dip your base into the glue.  Press the sand down to spread the glue through the sand and then wait a few minutes.  The glue is pretty tacky when wet so you don't need to leave it to dry, so tap the excess sand off your base.

Stick down some extra skulls or rocks or whatever you like and you're ready to paint once it's dry.  You could add some things like mushrooms now but I find it easier to pick placement a bit later.

Step 5 - Paint.

Pick your colours, undercoat black, paint, ink, drybrush, airbrush, whatever you like.  This isn't a painting tutorial but if you're reading this and you want to know my formula just leave a comment below and I'll post it.

Step 6 - Plants

To make my plants I went to my local hobby store and bought everything that looked leafy that I could use.  I cut the leaves off and arranged them into plants.  To make the ferns I bought a few plastic palm trees from Eckersleys, cut the fronds off and stuck them together with a greenstuff base.  It's easier than you think.

Once you've put them together, undercoat black and paint them.  They're plastic so they are fragile and the paint might crack so cover them in mat varnish of your choice.

Mushrooms are easy.  Get a small peice of wire, put a small ball of greenstuff on the end and wrap it around into the stalk.  Then get a larger ball and just push it onto the end.  They look great and add some real contrast to your base.

Step 7 - Water

This is the hardest step and you can't just paint over it if you stuff it up, so take care and run a few tests first.  I did 4 test runs with different levels of ink and base paint colour to determine the colour scheme I wanted and settled on a fairly transparent green with a hint of brown.  The mix is roughly two table spoons of resin to 5 drops of ink (Vallejo) in a ratio of 4 green (Black Green specifically) to 1 brown ink.

The resin I've been using is Envirotex Lite.  It's readily available and pretty cheap.  Some forums will suggest other options, another is ICE Resin, but I've never tried them.  Envirotex Lite does a good job and is very simple to use.  Use gloves when you use it, not because it's overly harmful to your skin but because the risk of getting some on your fingers and then putting them in your eyes is high if you don't.  There are heaps of tutorials on you tube on how to use Envirotex Lite so I won't go into it here.  Google is your friend.

Once I was happy with the test results I used masking tape to mark around my diorama the height I wanted the resin to go to.  I had previously picked 6mm because masking tape comes in that height from the hobby store but you can pick any height.  

Then it's just a case of pouring your resin in.  Pour it in VERY slowly.  The best way to do this is to drill a small hole in the side of the cup holding your resin and drop it through that in a continuous stream.  It won't push into all the gaps on it's own, I used a toothpick to push it into any gaps that it's viscosity prevented it from going on to.

Step 8 - Cover and Let Cure

Cover it up so dust doesn't get in, trust me you'll regret it if it does or even worse if a bug crawls into it and get's stuck in the resin!  Once done, roughly 24 hours to be sure, pull the tape off and sand the edges flat with the finest sandpaper you can.  Use a gloss varnish to clear up the edge and here's the result.

Thanks for reading, I hope you get something out of this post, please leave a comment below or share this post.

Basing the Night Stalkers

In my previous post I talked about the inspiration behind the Night Stalker army I want to build.  In this post I'm looking into the basing of the army.  The creatures themselves will be mostly black with some OSL, so the bases really need to make the army.  The bases need to create a nice contrast with the evil black creatures stalking through them.  I've decided that I want a deep green swamp basing with plenty of water effects, colourful growth and deep green growth.  Fallen logs and moss will play a big part.

Here's my inspiration research.

Swamp bases work well when there's stark contrast between the elements.  I need to combine this with the stark contrast with the night stalkers treading through them.  I recently picked up a two part water effects resin kit and the next step is to get competent with that.

I've also never created mossy surfaces.  I really like the second picture with the mossy rocks and logs.  I've sourced a few places that sell stumps but I'm planning on using real sticks along with some greenstuff to model the fallen logs.

I'm still looking for a good place to get small plants like ferns and reeds from, but I'll try the color scheme and water effects first and make sure I can do it first.